unsupported overhang print order
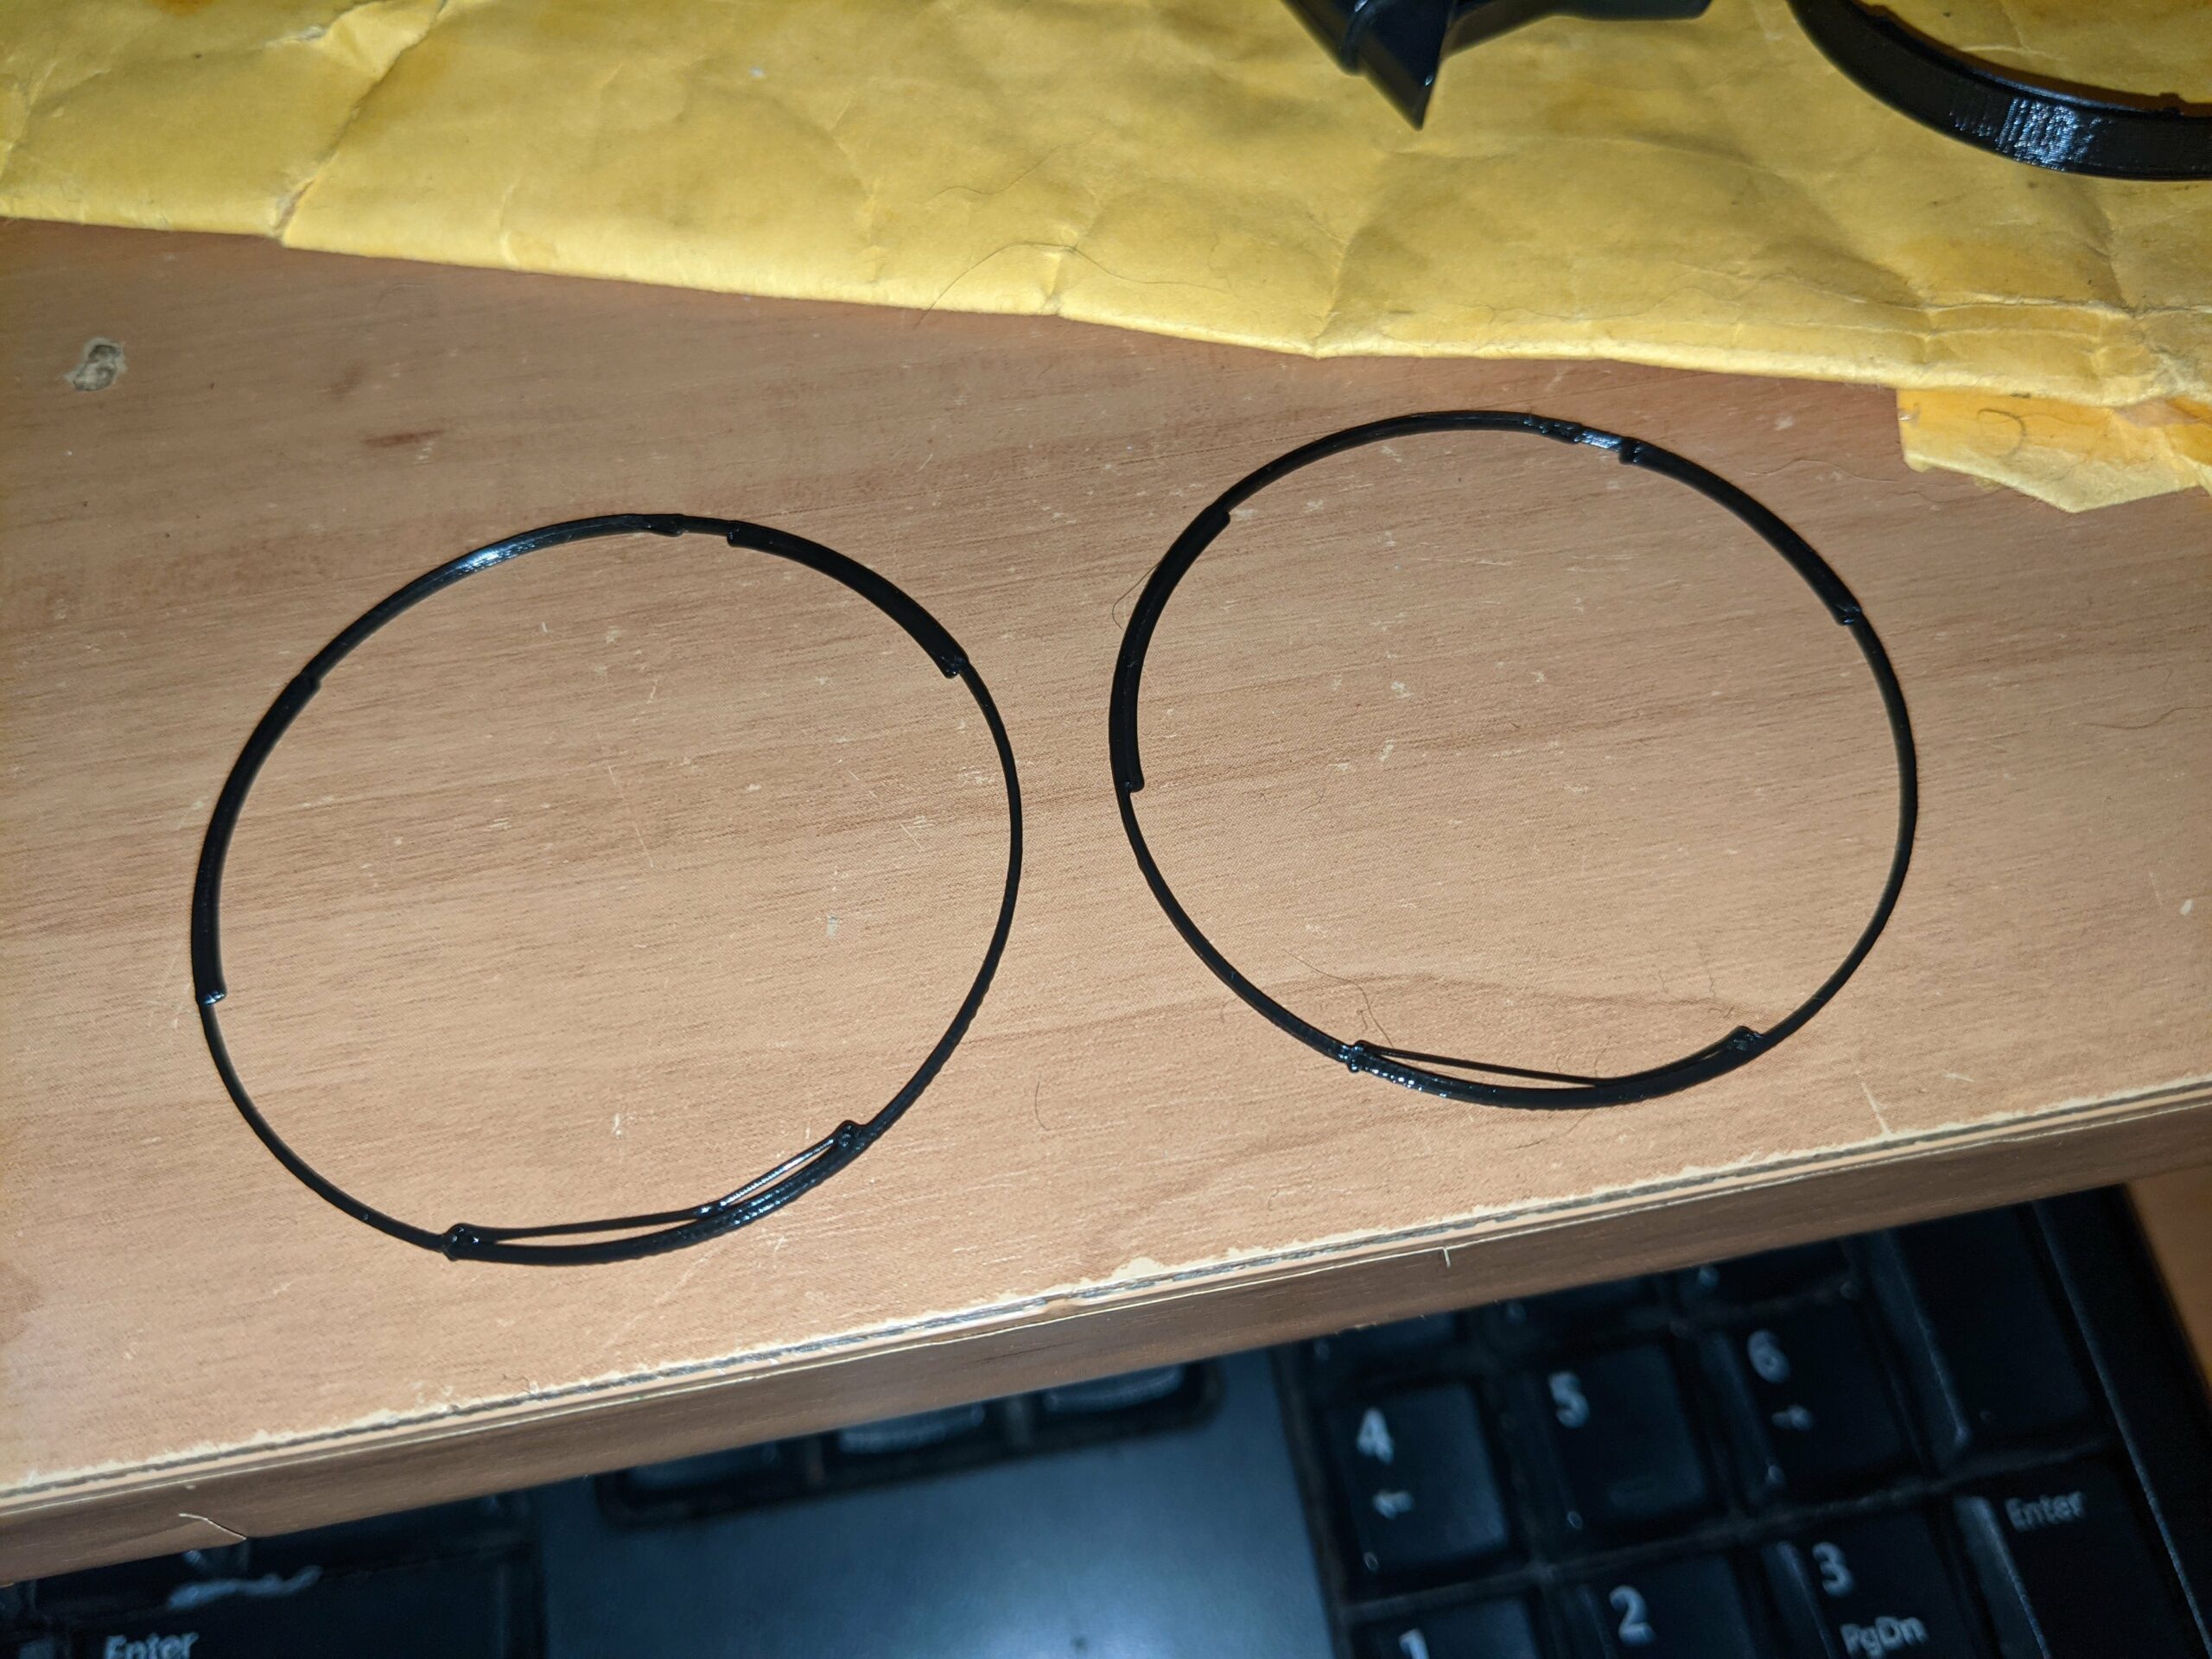
I'm experimenting with print settings for a lens cap that has little tab overhangs that hold it in place. 2 of the tabs print surprisingly well without support. But the first one is printed outer perimeter first which is disconnected from the wall below it.
Is there any setting that might fix the order that it's printing this tab?
(here's a link to the same photo and screen capture in case the inserted video doesn't work: https://photos.app.goo.gl/G412acBQ2qLG5F4fA )
Infill before perimeters
Try enabling 'Infill before perimeters': Print settings>Infill -- bottom of the page.
Mk3S+,SL1S
Photos/videos are of limited value. You have the highest likelihood of getting good advice based on more than guesses if you upload a 3mf project file. You can create if from the File menu in Prusaslicer. Before uploading it here, you have to Zip it, or the forum software will not accept it. A 3mf file contains your STL but also all your settings, so the good people here can see if any of them can be improved.
Overhangs are tricky, but there are techniques that may help
I'm experimenting with print settings for a lens cap that has little tab overhangs that hold it in place. 2 of the tabs print surprisingly well without support. But the first one is printed outer perimeter first which is disconnected from the wall below it.
What is happening is that the errant line is being pulled taut across the perimeter when it loses grip on the layer below (poor interlayer adhesion). As you've noted, this is due to lack of anything below to support it. You can try a few of things that might help:
- Use wider extrusion widths. If the print allows it, a wider extrusion width provides more overlap between layers. Note that thin walls may not print if they're smaller than the specified width, so it's a trade-off with small parts.
- User lower layer heights. Lower layers increase the amount of width-to-height ratio, which essentially means there's less weight not being supported by the layer below. This can improve interlayer adhesion.
- Reducing cooling might help.
- Slowing down might help.
As @fuchsr notes, being able to look at your part and settings helps a lot with troubleshooting. Save your current 3MF project file, zip it up, and attach it to a reply here so we can see your part & settings and give better recommendations.
project file
Here's the project file.
I've tried infill before perimeters but it doesn't make a difference because both the lines are perimeters (one is overhang perimeter). Before I noticed it was printing the faulty tab differently than the other two, I tried slowing down the bridge speed and increasing the bridge flow ratio, turning the fan off.
I think as long as it's trying to print the perimeter with a gap between it and the piece next to/below, it's just going to pull it tight.
RE: Layer height
I notice your layer height is .3 which is high for printing these overhangs. As Bobstro mentioned, try lower layer heights. I think you will get better results at .15 or .10 layer height.
Mk3S+,SL1S
RE: unsupported overhang print order
@erikm
Try rotate it 180° so tabs lay flat on the bed
In Print Settings:
Decrease layer height, I would try 0,15 maybe 0,1 if your printer is dialed in.
No "Elephant foot compensation"
In Filament Settings:
Lower min print speed to 10
Disable fan for the first 2 layers
Full fan speed at layer 3
The changes I made is in the attached file
I printed it on my printer, looks good, and it is sooo tiny 😀 (No photo, sorry)
Prusa i3 MK3S+ FW 3.11.0 (kit dec -20), PrusaSlicer 2.5.0+win64, Fusion 360, Windows 10
Have you tried inverting this print?
Here's the project file.
Maybe I'm missing something, but this looks like it will print just fine inverted with the tabs flat against the bed. It doesn't look like it will be very strong though.
Inverting
This is a test for the tabs of a lens cover. I gather this is not the entire model, only the section with the tabs?
Mk3S+,SL1S
Clarification
Sorry, I wasn't clear. This print is just part of the model that I've cut away so I could test print and adjust settings for the overhang without printing the whole thing. I can post the whole thing when I get home, but there's overhangs in both directions so flipping it doesn't help.
full cap model printing in the right order
So I just had a look at the whole cap model and it is printing the tabs how I want. I guess I'll just experiment with how much I'm trimming it for the test and make sure it's printing the same as the full whole cap. I've attached the .3mf for anyone that's interested.
Thanks for all your comments.
Tried it
@erikm
Printed it with support, and the result is really, Really, good 😀
Too bad I don´t own an Olympus....
You may have to tune support setting for your machine and filament.
I printed it with Orange Prusament PLA
Prusa i3 MK3S+ FW 3.11.0 (kit dec -20), PrusaSlicer 2.5.0+win64, Fusion 360, Windows 10