Uneven printing on MK3S
Hi everybody,
when my printer was still a MK3 some filament got stuck in the tube. Before everything worked flawlessly. In the process of getting the stuck piece out of the tube I installed the upgrade parts to the MK3S. Ever since I've not printed much, but every time a new problem came along.
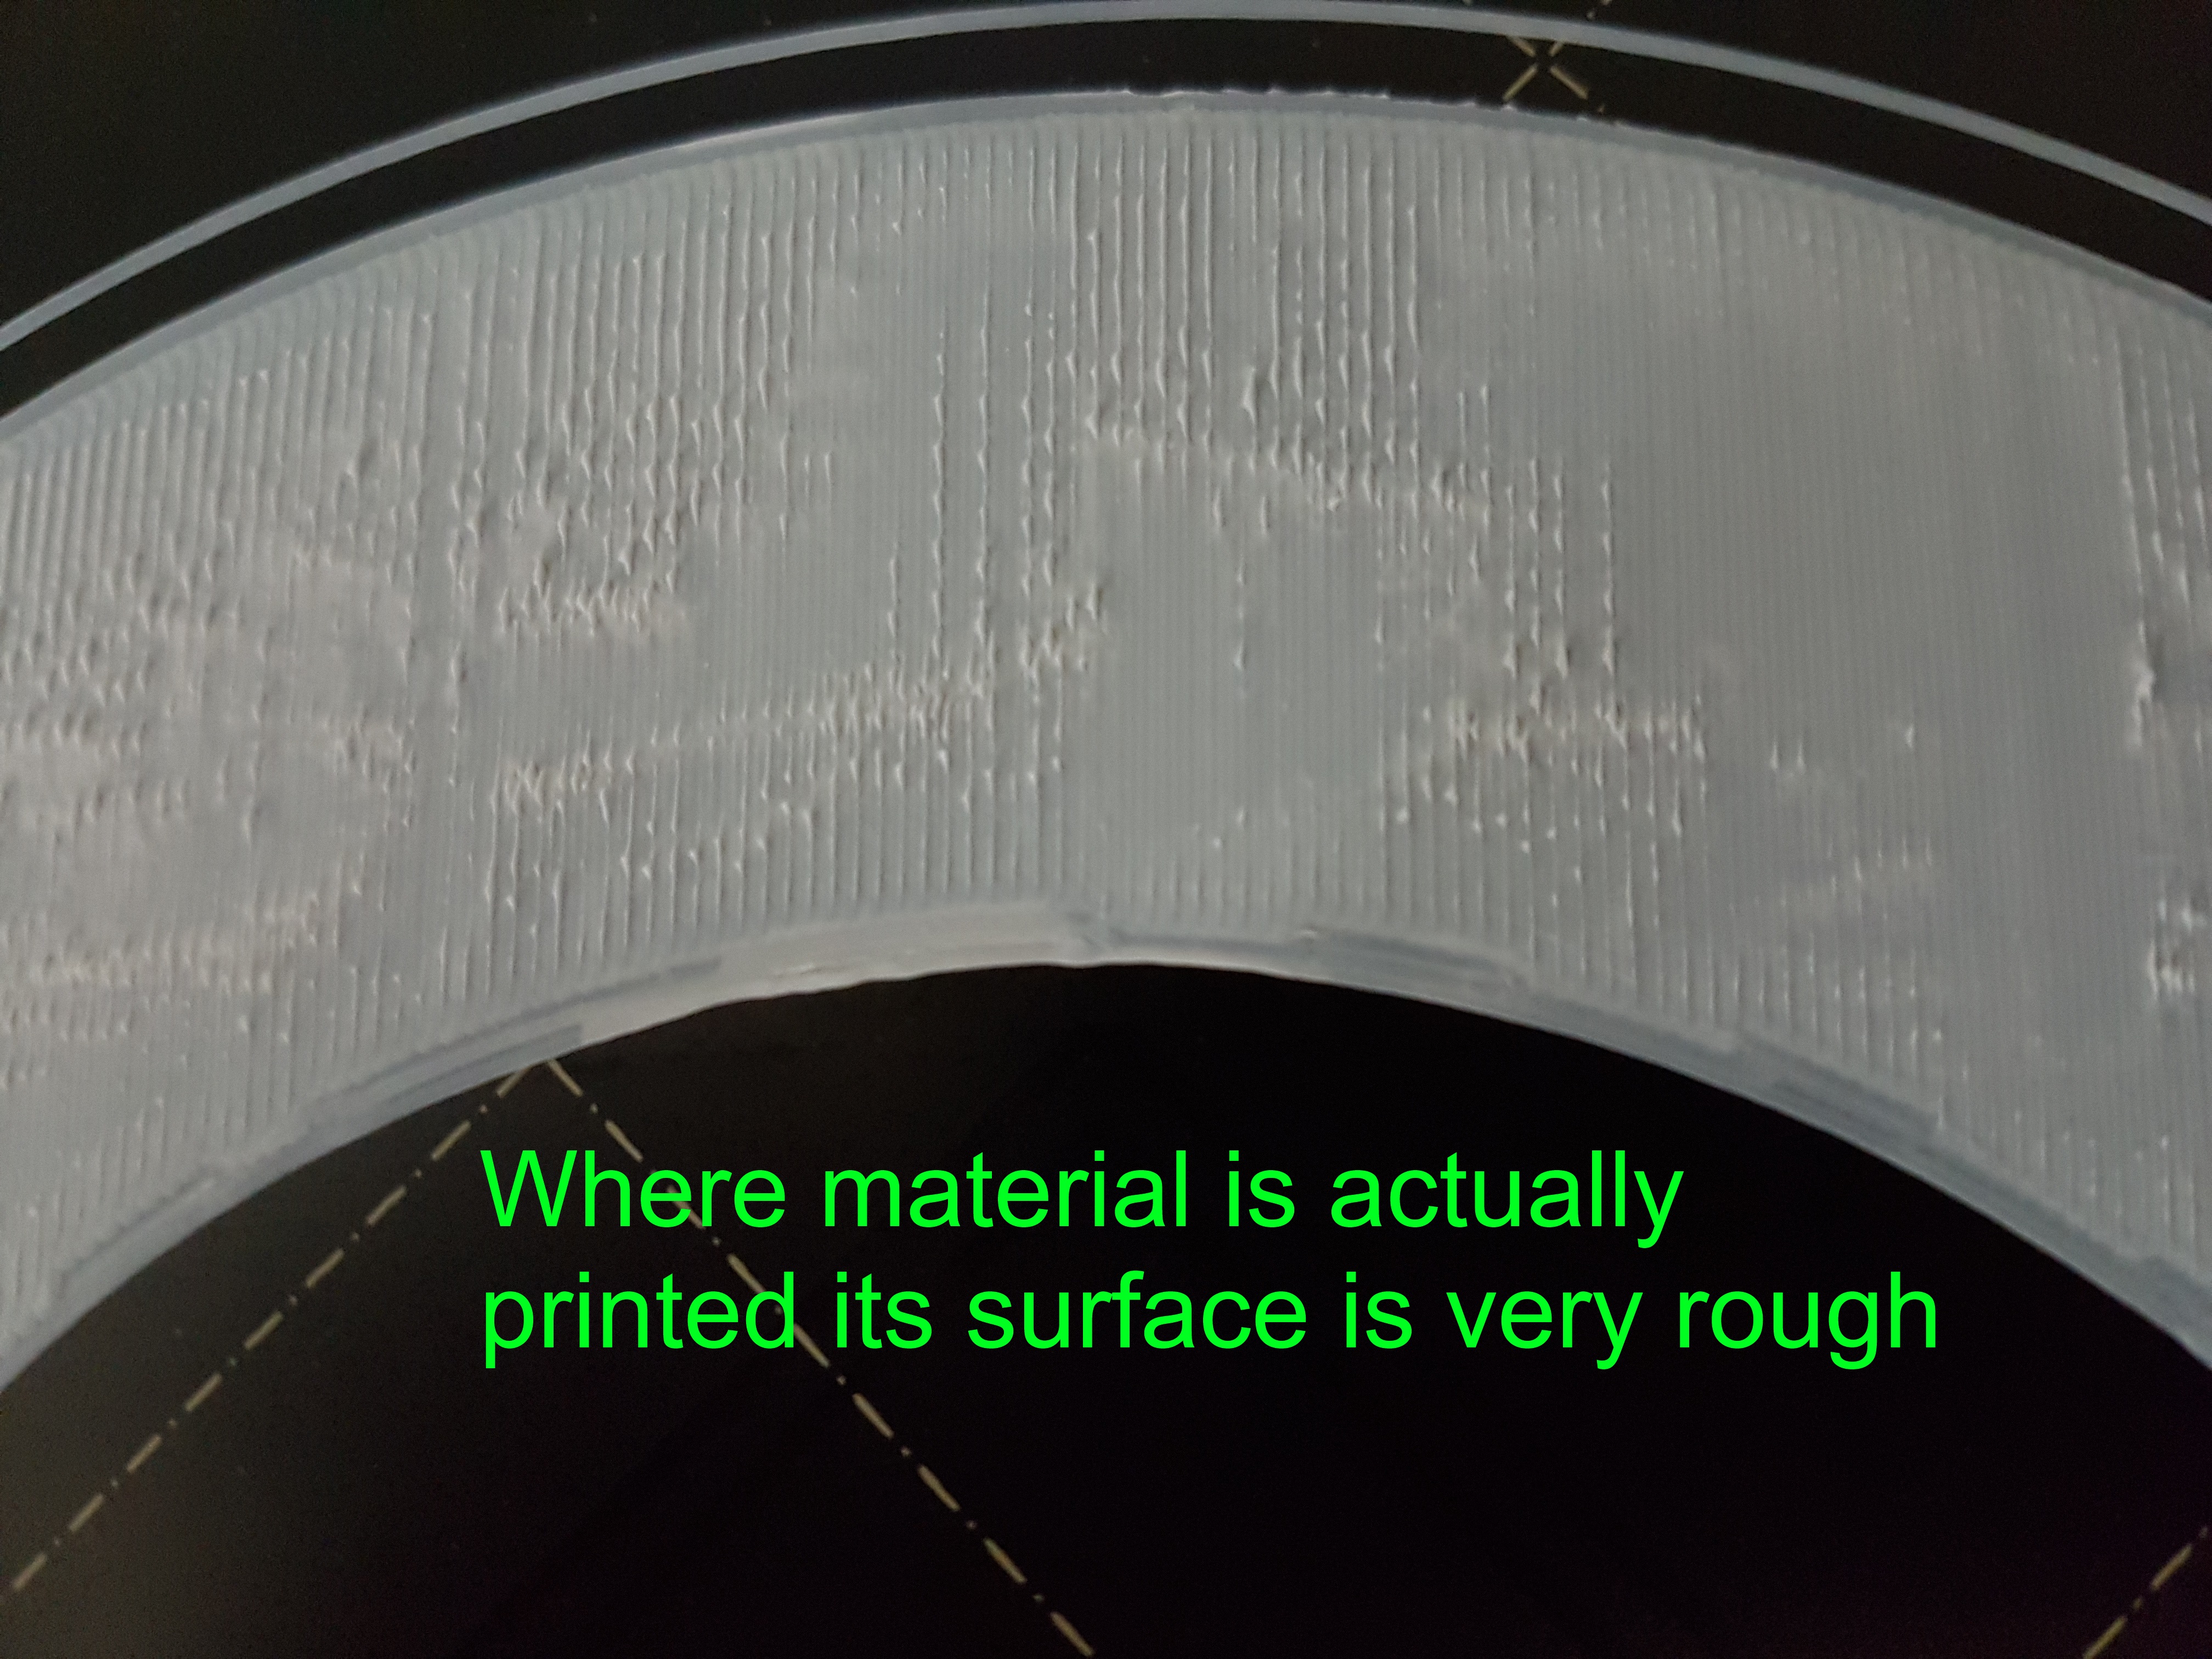
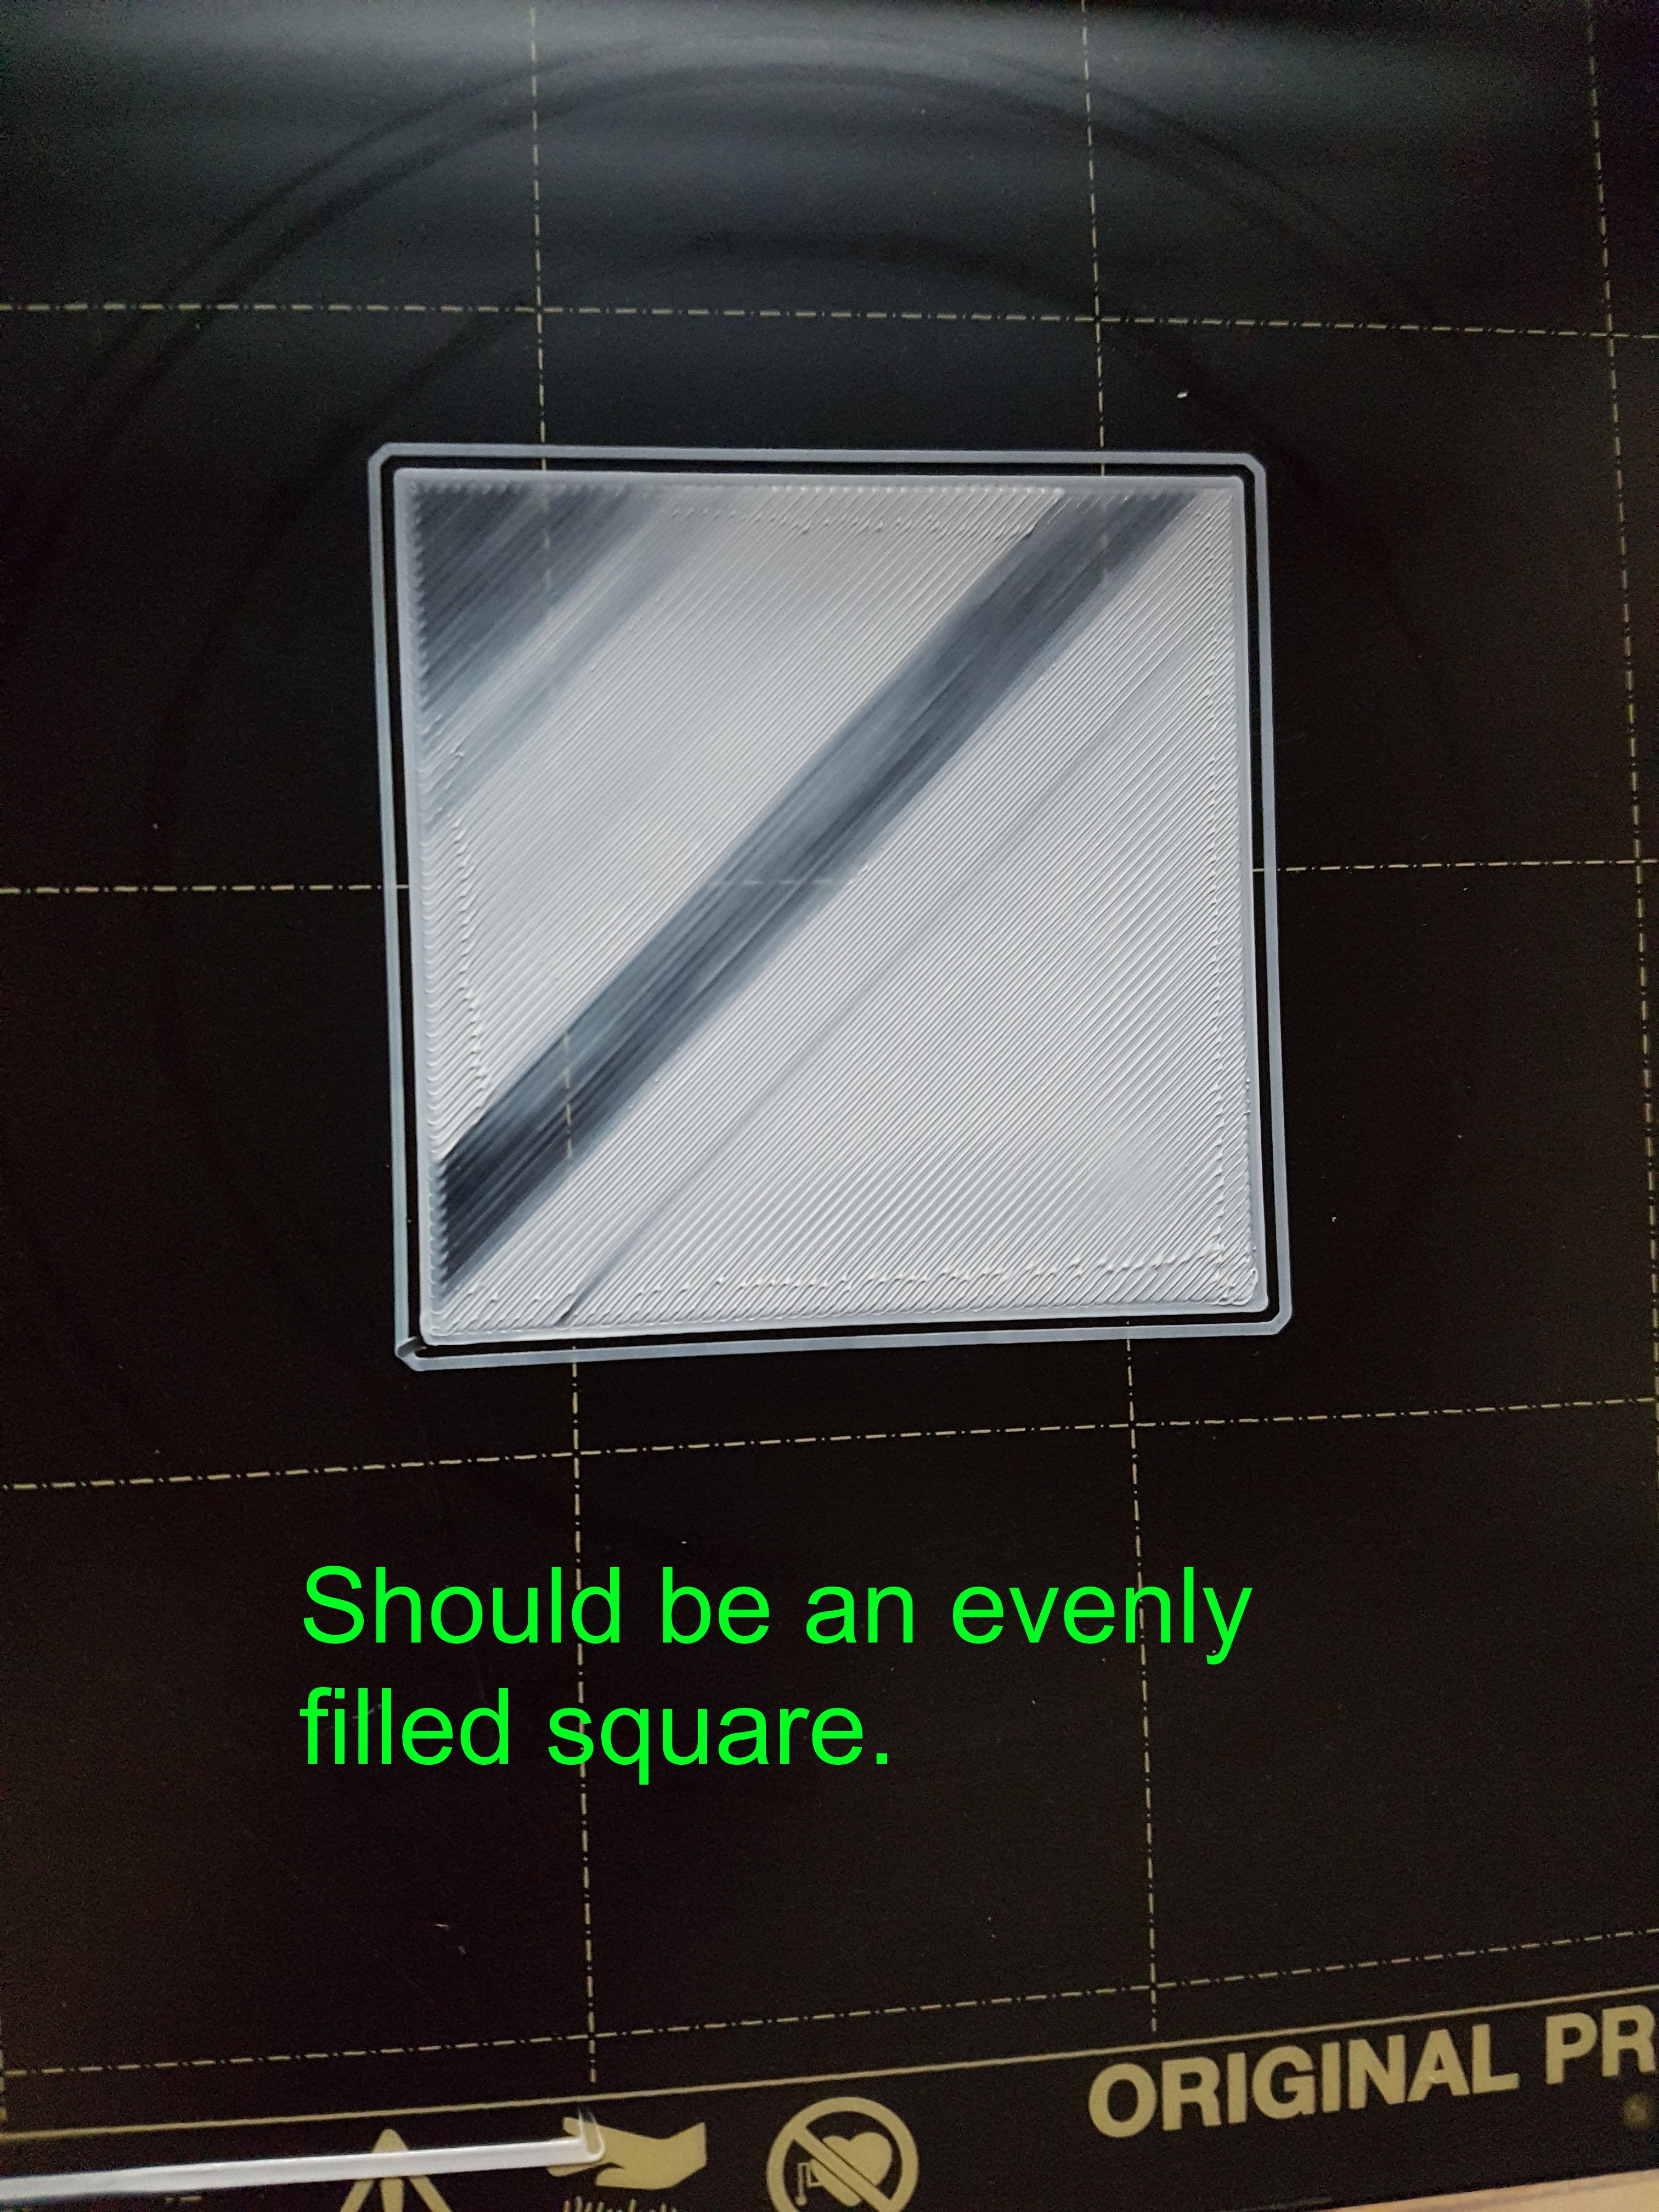
The current one is that a simple surface isn't printed evenly, e.g. the one for calibration from the forums. Either no material is applied or an extremely thin layer.
What would you say are the usual culprits for such a result?
Here are some pictures showing the problem:

What I could imagine would be:
- The printing sheet is worn out, especially because sometimes the nozzle was to low and scratched it.
- The nozzle might be worn out, I already cleaned the existing out several times, unloading and loading filament works fine however.
- Filament quality, but I tried an entirely different product already with the exact same result.
I've tried to play with the z-axis live adjustment, but that doesn't help. Either it's too low and will touch/scratch the sheet or it will be too high and will pull a filament thread behind it pretty soon. The current height is set to what I would personally consider to be the optimum already. I may be wrong of course.
I wouldn't think it's a differential between the two z-axes because when printing the square it's less a right/left problem, but instead the center is left out.
RE: Uneven printing on MK3S
Or you print bed it not flat.
--------------------
Chuck H
3D Printer Review Blog
RE: Uneven printing on MK3S
Your Live-Z is way too low. It is so low that filament can't extrude in some places, and I suspect you're hearing extruder clicking. The areas that are printing are rough because the nozzle is so low that it drags through layers, creating that "plowed" surface. I wouldn't worry about why parts can extrude slightly and others can't just yet. I'd immediately raise Live-Z (make it less negative) by 0.08-0.10mm. The entire purpose of the 1st layer is to compensate for such inconsistencies. You need to get the 1st layer printing properly (at a proper height) before worrying about anything else.
RE: Uneven printing on MK3S
Now that I see it on my computer and not my cell, I concur with Bob, Raise it +0.050 and try again. Post another photo afterwards.
--------------------
Chuck H
3D Printer Review Blog
RE: Uneven printing on MK3S
Well, the square I had test-printed earlier is from that (or a similar) calibration method. After remembering that after my initial assembly of the printer I had the head way too high, this time it appears I was too keen in the downwards direction.
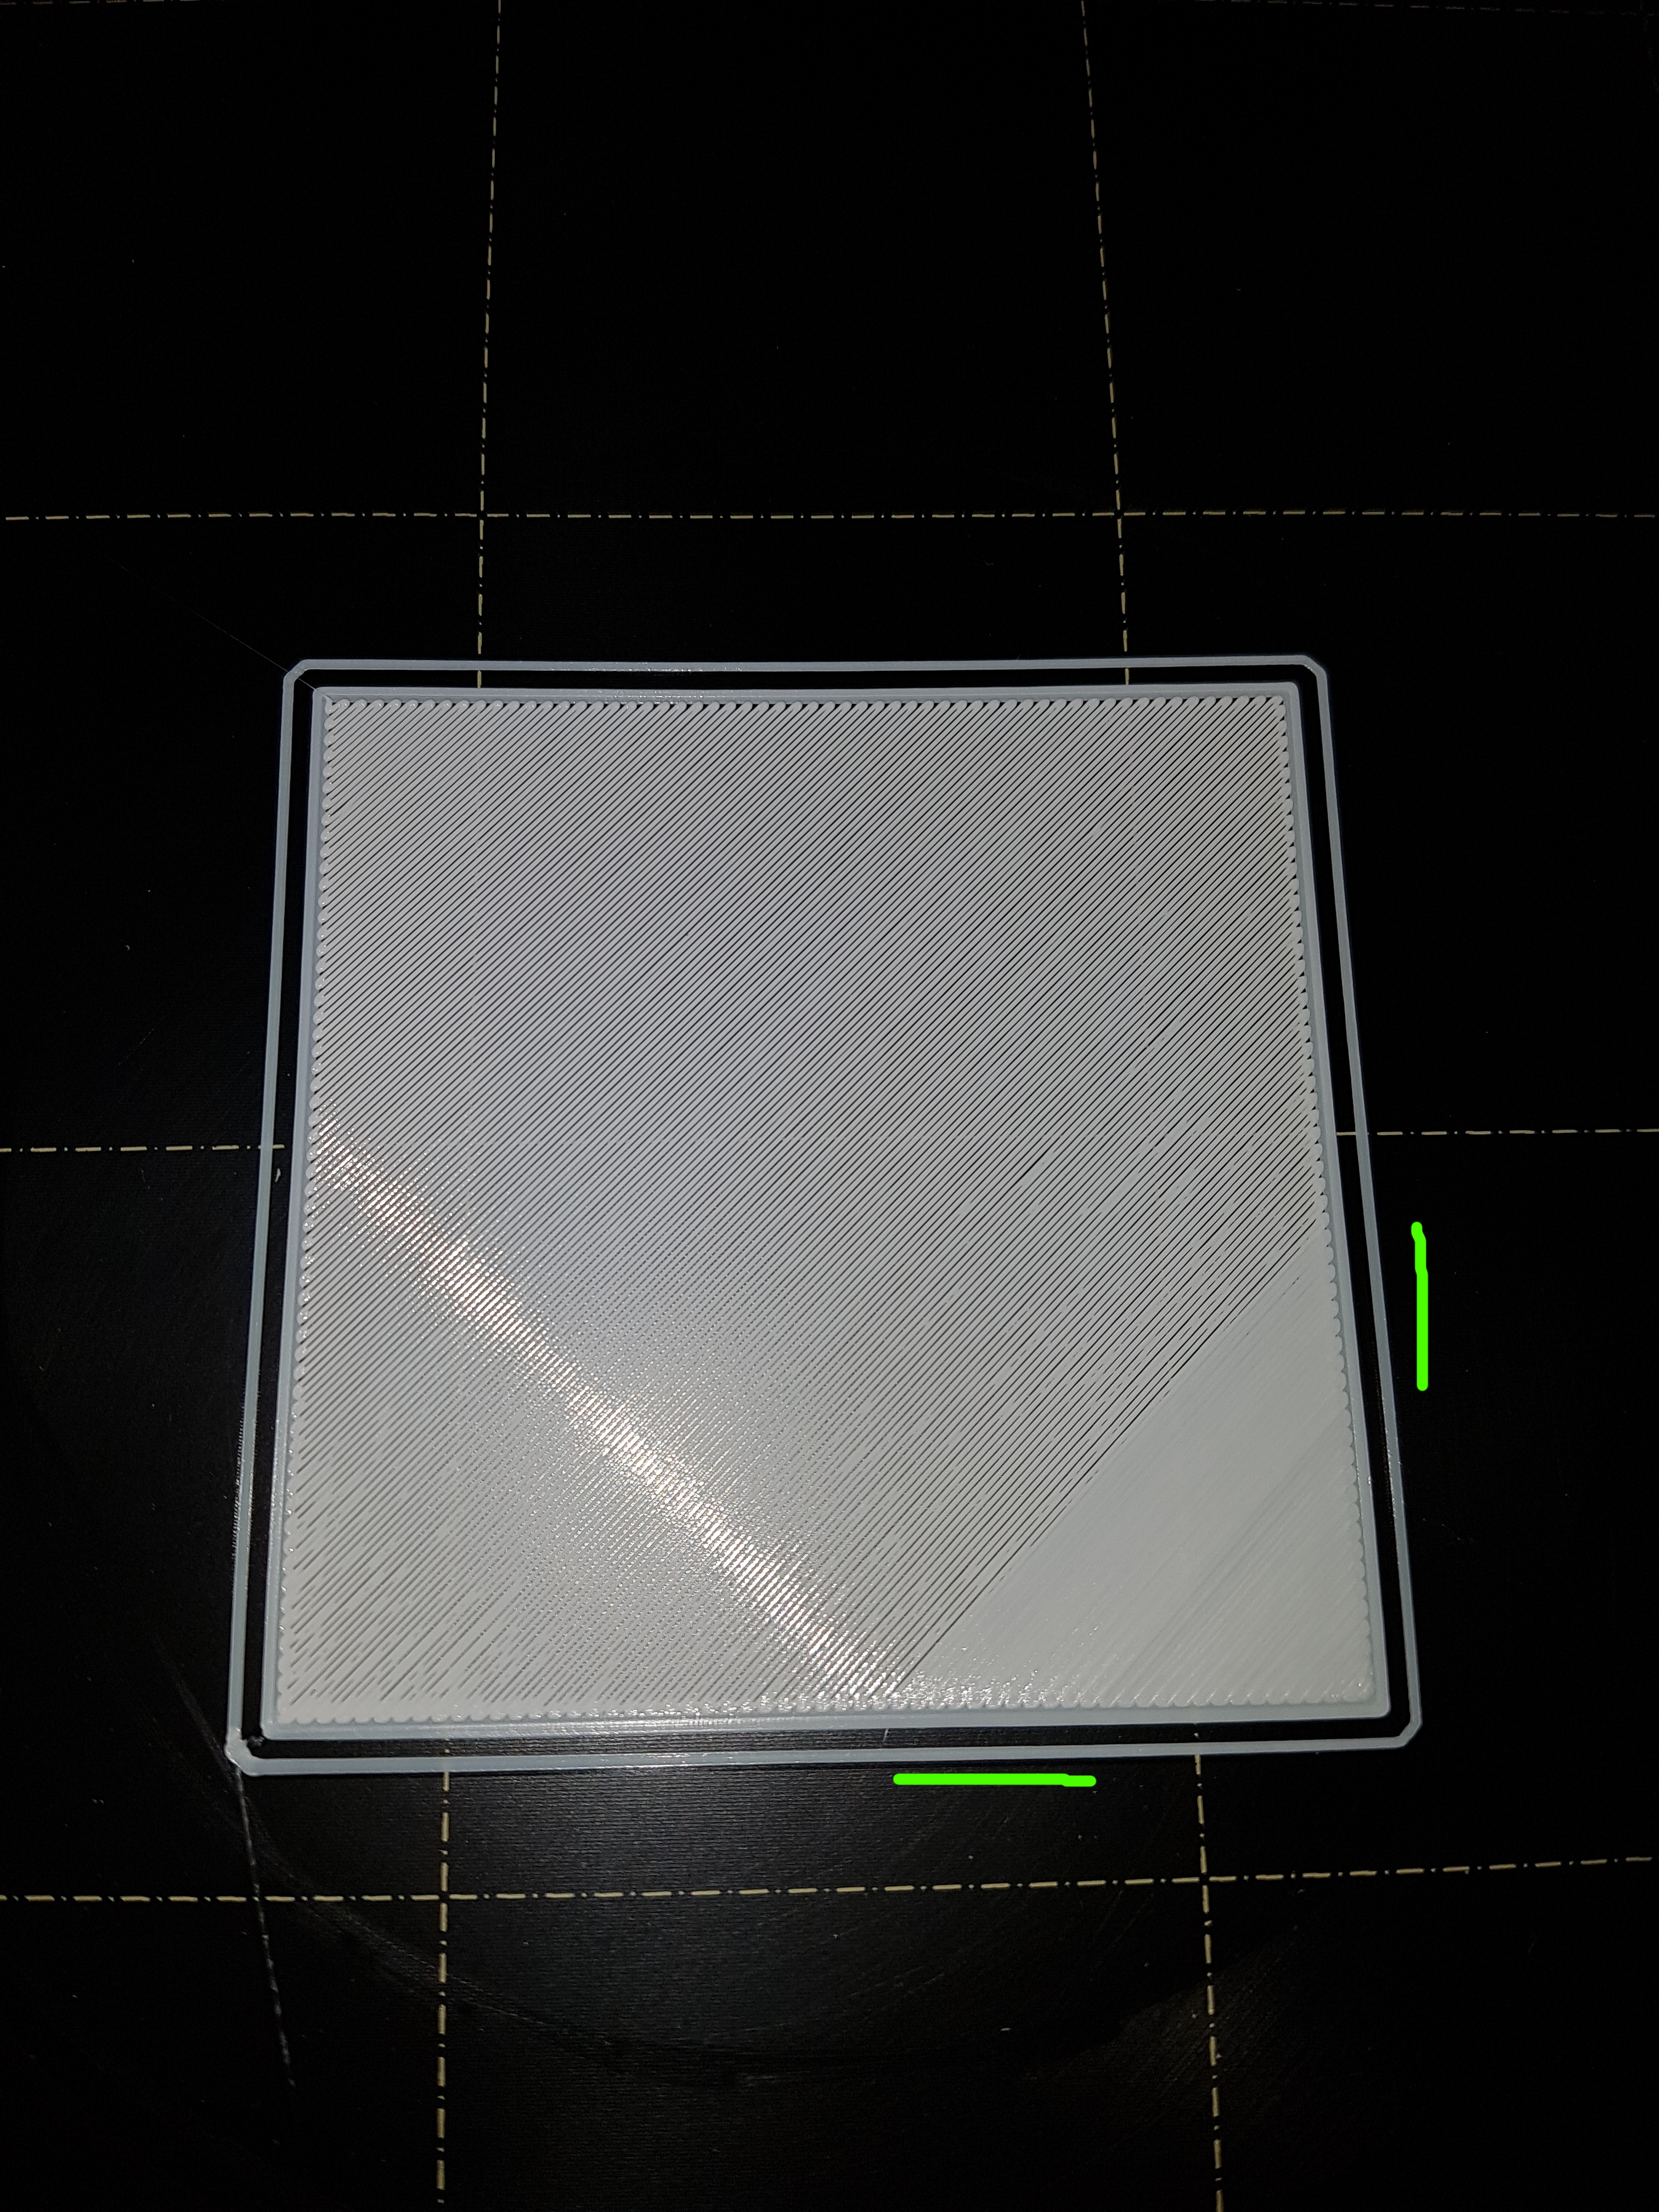
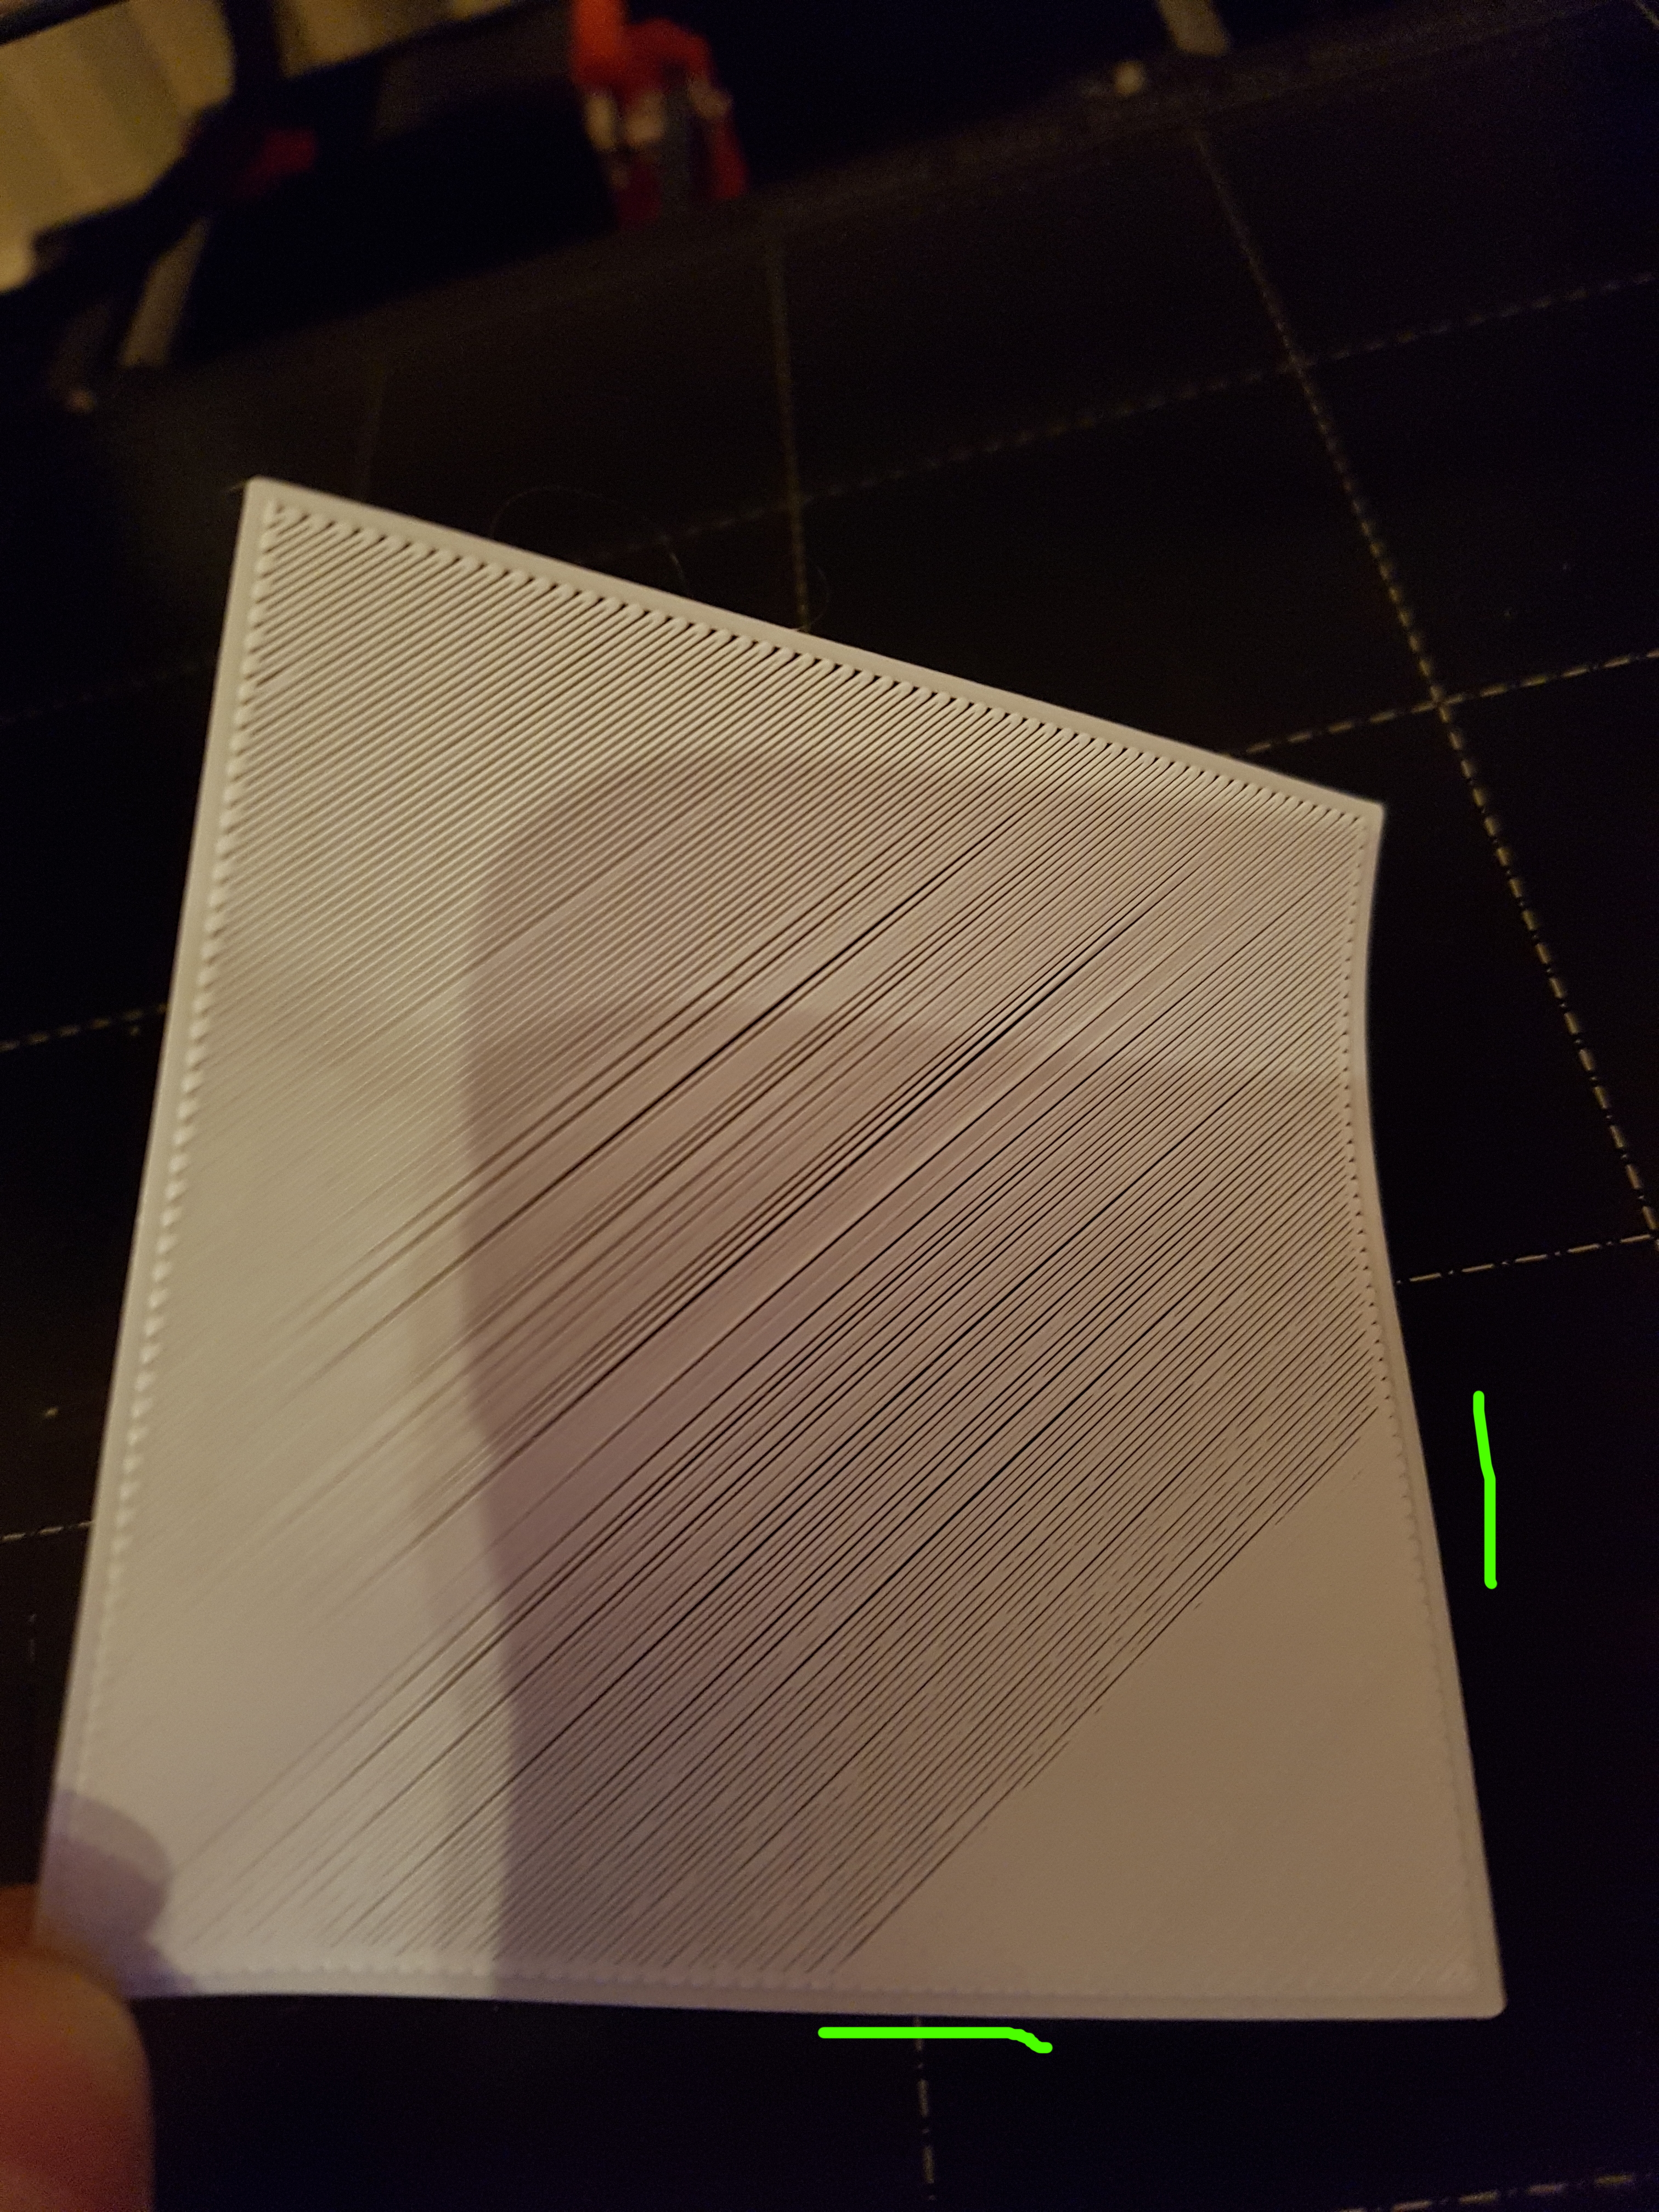
After raising the head 0.1mm at the very beginning of the following test print I raised it further in 0.050 mm steps. I've marked green what I consider to be the optimum.
Thanks a lot for your help!