A few MMU upgrades/Fixes
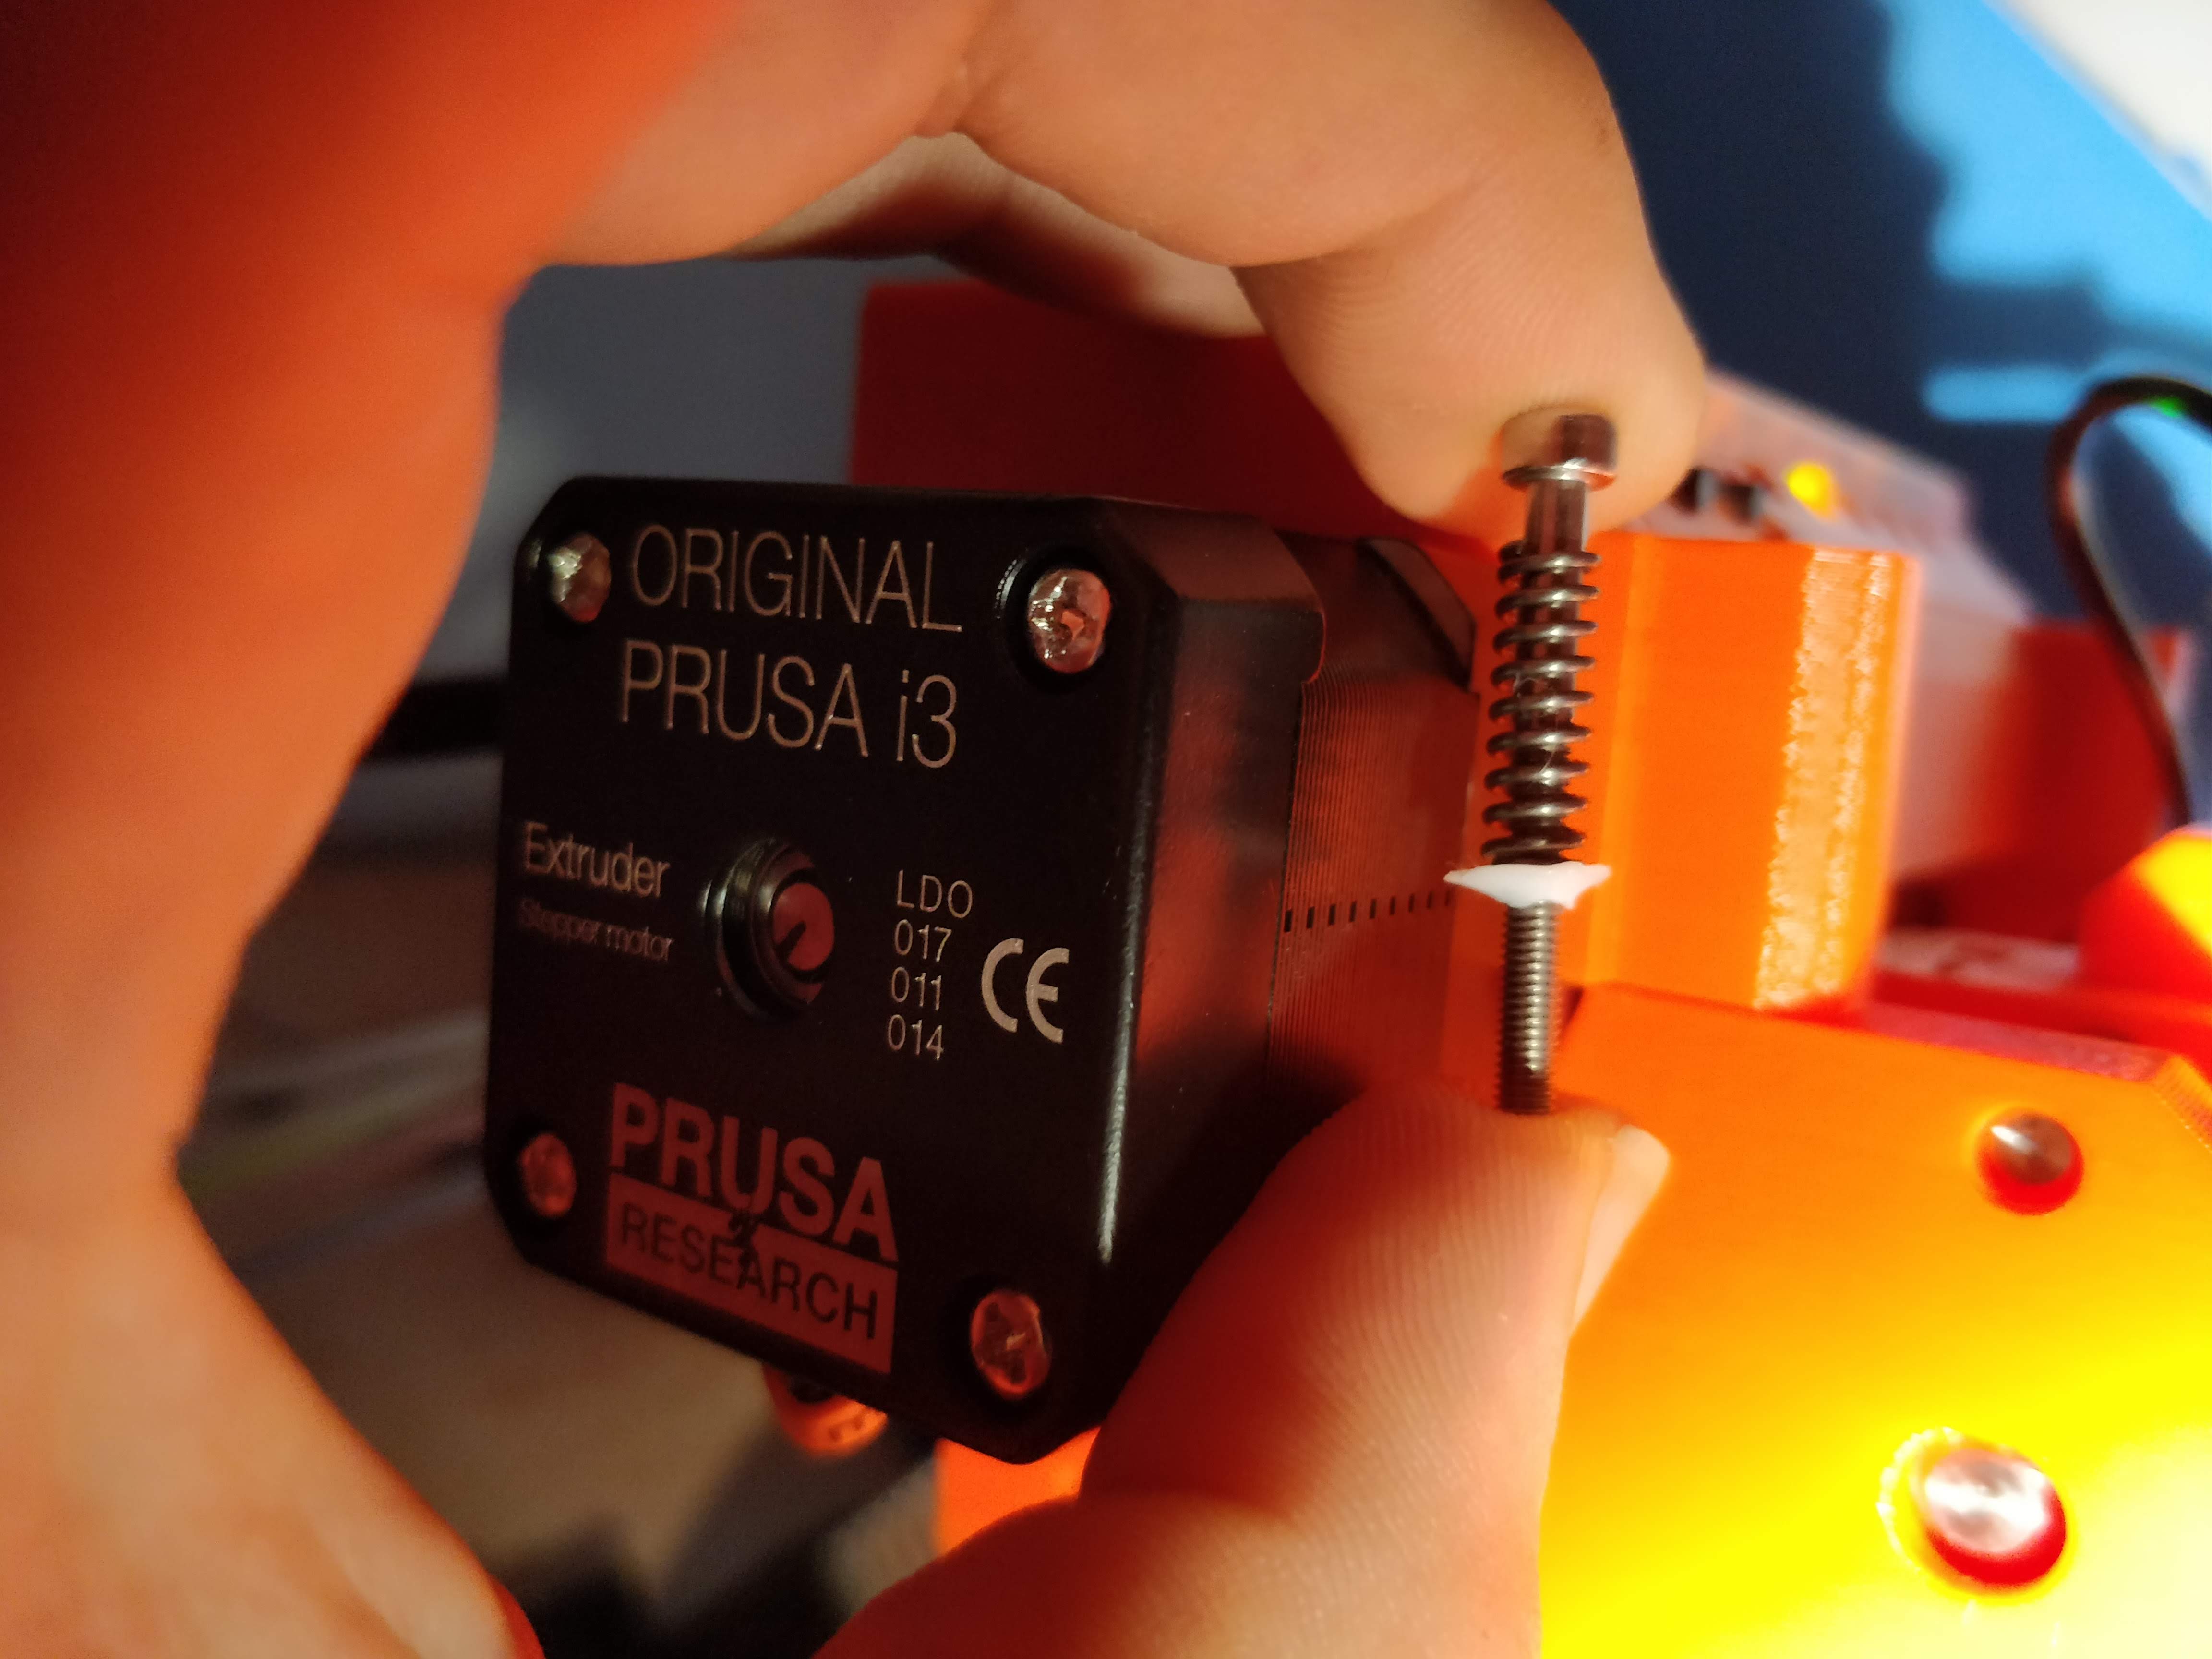
Keepers for the MMU tension springs/bolts so you don't have to crawl on the floor if you flip open the device.
https://www.thingiverse.com/thing:3152199
Drilled out and added setscrew to make it easier to work on selector:
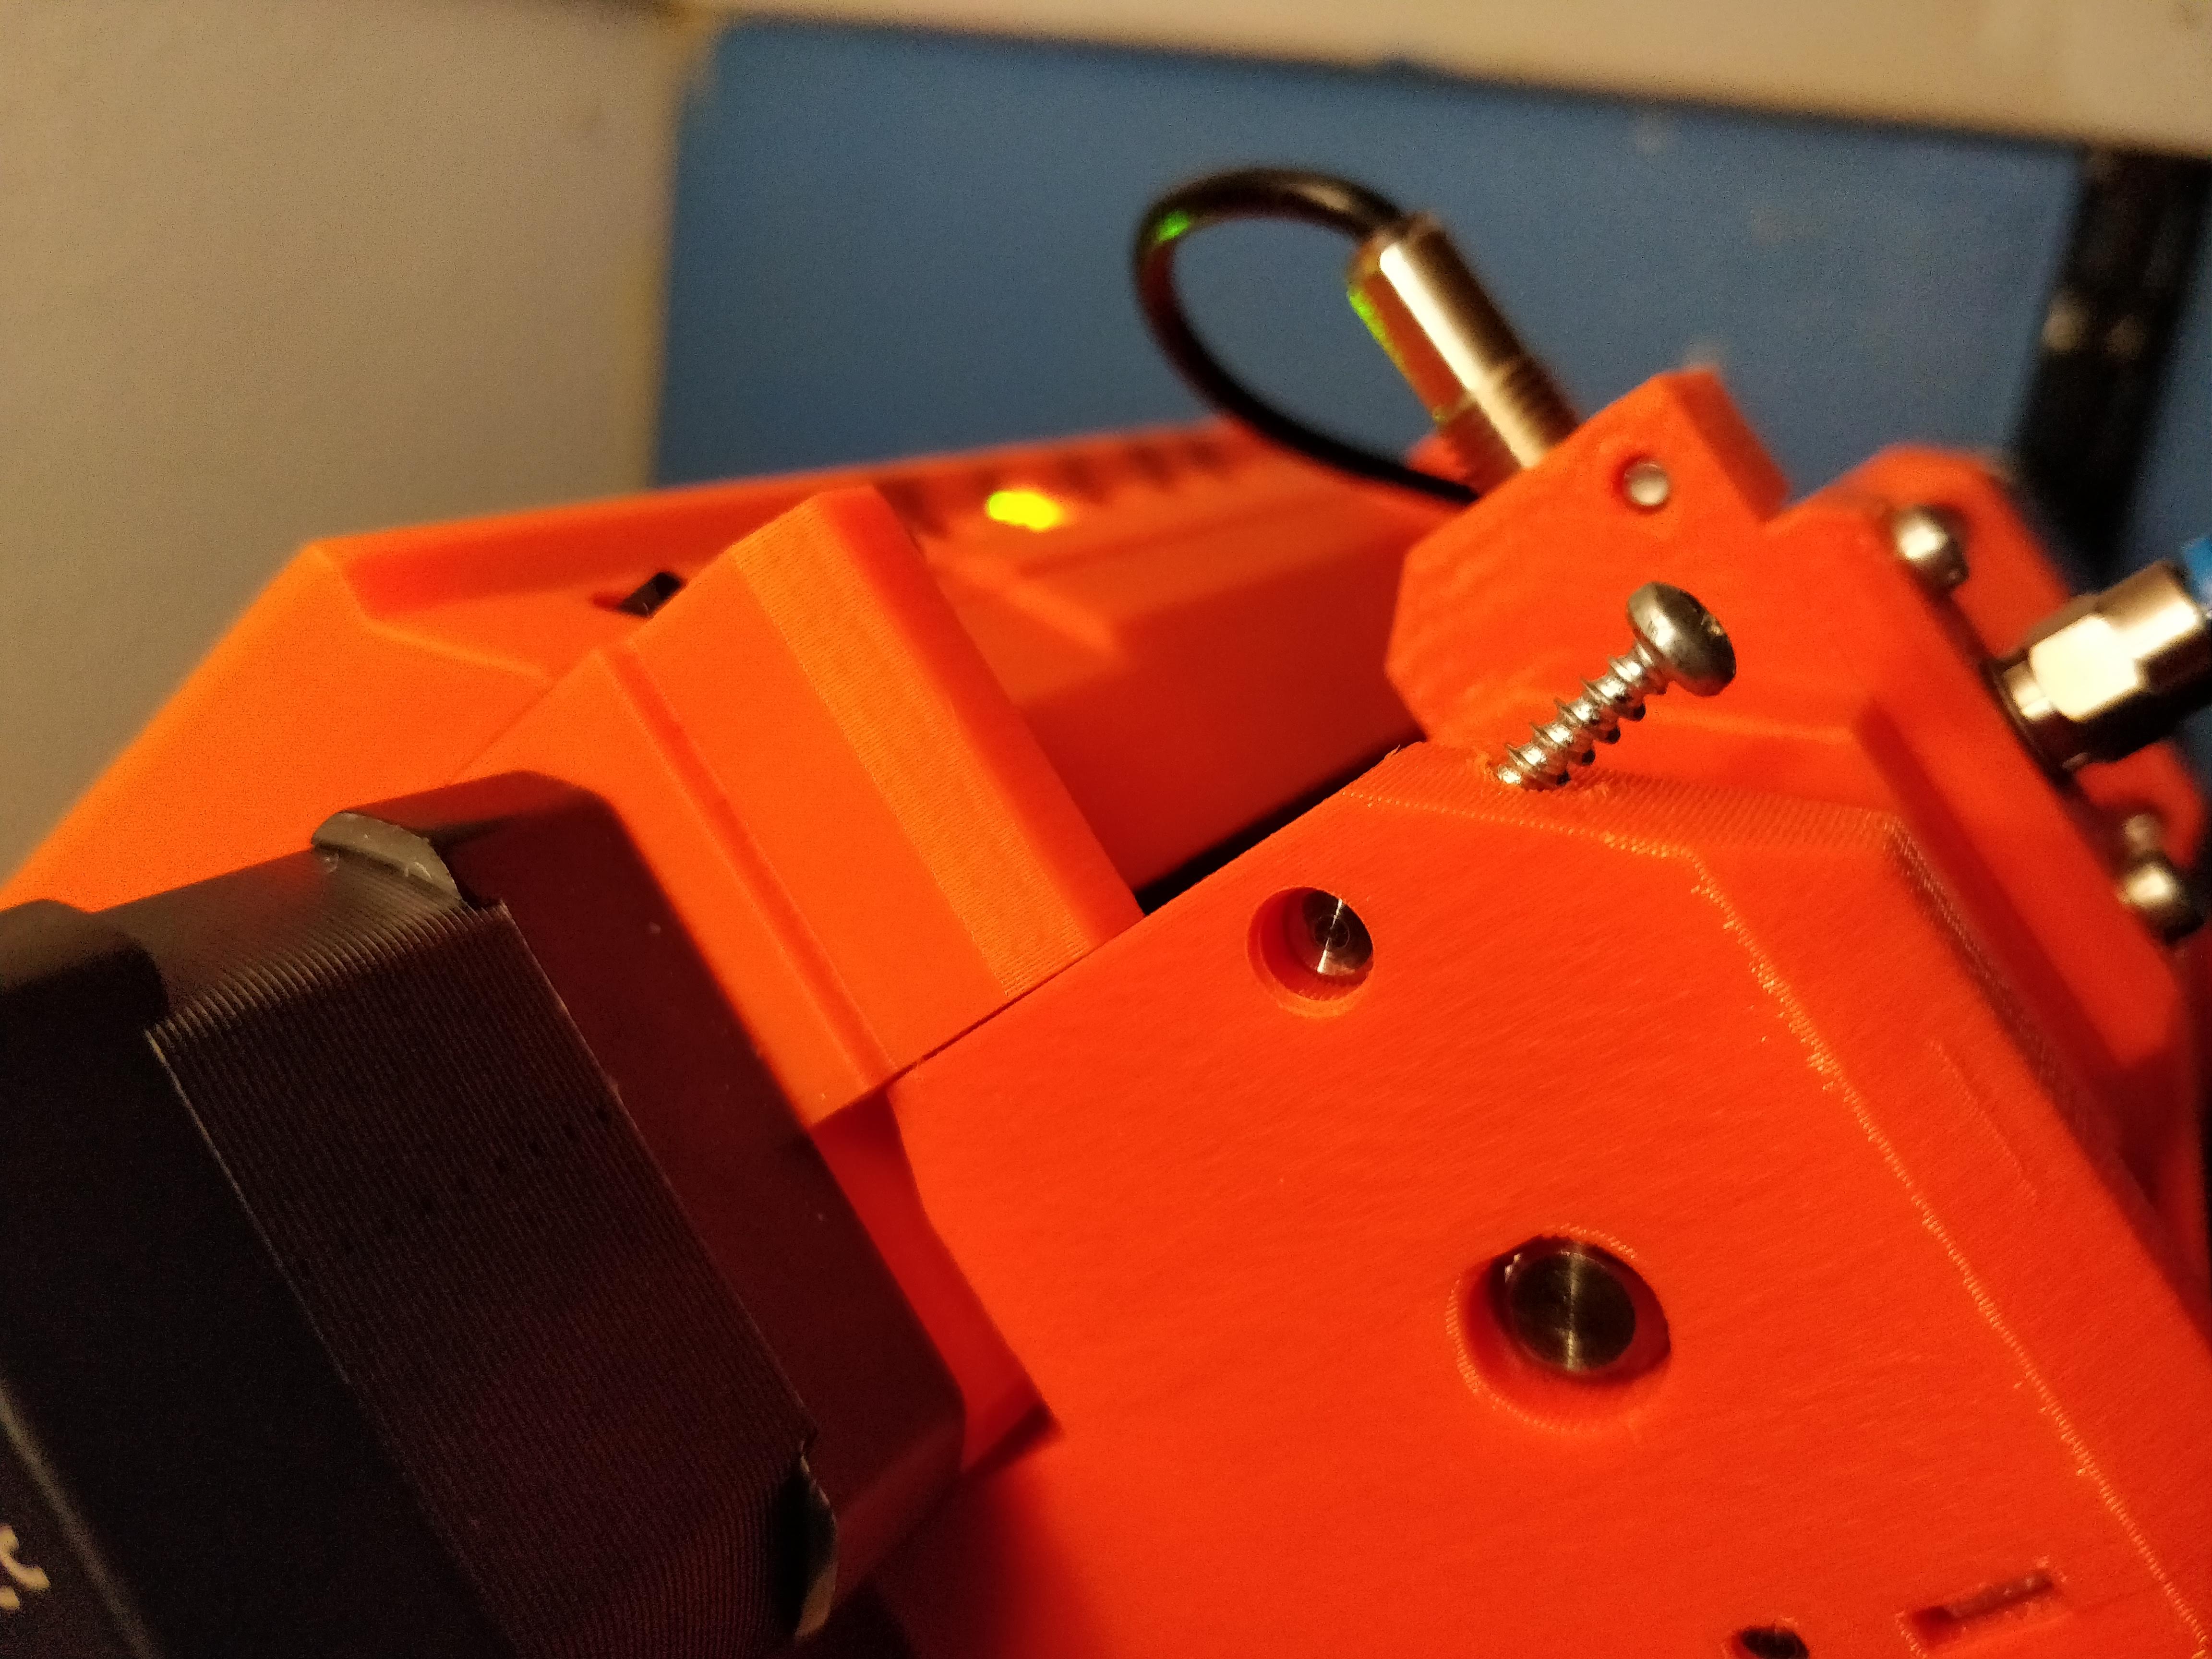
This is something that could have a captive but or at least a hole to thread into. It works as is but I assume it is a little delicate since there isn't a lot of plastic there.
Finally I added a Reset Button which doesn't have you looking for just the right thing to use each time, worrying about poking metal into the USB port on accident, etc.

https://www.thingiverse.com/thing:3153356
And there's my already posted, but the Best upgrade I've done yet:
https://www.thingiverse.com/thing:3138950
I've gone as far as attaching the cardboard with tape because the clamps are ugly and I don't need to take the device apart as much as I was afraid of. This particular one has a strong need for a V2 to be more visually appealing, but it works great and took my printer for rarely working to rarely failing.
I would love to see others' modifications, and hopefully by interacting we can improve collaboratively.
I maintain an informal list of San Diego, CA 3D printing enthusiasts. PM me for details. If you include a contact email and I can add you to the informal mailing list.
Re: A few MMU upgrades/Fixes
Very cool. I've had the tension bolts/springs fall on the floor multiple times. Once I had to crawl around with my son for 10 minutes before I found the spring. The bolt I can replace, the springs not so much.
I'm working on my own version of the wallet filament guide. I'll thingiverse it once I get it working to my satisfaction. I'm enjoying the engineering effort of thinking through how filament behaves and iterating in my design.
Paul
Re: A few MMU upgrades/Fixes
I'm curious where you're going with it. If there's some interest, it would be worth making mine more pretty - so far crickets. And in use, I've just found little to nothing wrong with mine (run the filament horizontally, flexible filaments flop around a bit more).
The right way to do the tensioner is with weights. They don't care the size of the retract and the force is steady.
I maintain an informal list of San Diego, CA 3D printing enthusiasts. PM me for details. If you include a contact email and I can add you to the informal mailing list.
Re: A few MMU upgrades/Fixes
I installed https://www.thingiverse.com/thing:3003239 in order to remove the additional transition from/to the secondary PTFE tube from the non-MMU i3.

I found two similar ones which don't use metal parts:
https://www.thingiverse.com/thing:3139446
https://www.thingiverse.com/thing:3140127
This has mostly been a 100% positive adjustment, but I found the PTFE to be pulled pretty tight. I went to a longer piece of tubing (Capricorn, the looser/lighter stuff) and have been mostly happy, but it IS high friction than the orange stuff. If anyone knows where to buy this (Prusa will NOT sell it to me), please share!
I maintain an informal list of San Diego, CA 3D printing enthusiasts. PM me for details. If you include a contact email and I can add you to the informal mailing list.
Re: A few MMU upgrades/Fixes
I'm curious where you're going with it. If there's some interest, it would be worth making mine more pretty - so far crickets. And in use, I've just found little to nothing wrong with mine (run the filament horizontally, flexible filaments flop around a bit more).
The right way to do the tensioner is with weights. They don't care the size of the retract and the force is steady.
I don't actually have a clear direction. I'm mostly using it as an opportunity to practice my Fusion 360 skills.
My general goals:
I enjoy tinkering with the mechanics/design of this all. It give me an excuse to design/print things.
Re: A few MMU upgrades/Fixes
[*] have the filament feeding across a wheel on a 608 bearing during printing(for coolness, not practicality)
[*] minimize friction in the entire system
Uh huh. I think if I WERE to do that (my initial thought) I'd probably use one of the really smaller bearings. But my set up uses no bearing at all, and it works just fine.
The issue is:
[*] learn about the way filament behaves on the retract, iterating to get the angles right (my initial version didn't have enough of an angle, and retract actually was able to push the filament back through the spool side of the system)
I enjoy tinkering with the mechanics/design of this all. It give me an excuse to design/print things.
I have a SMALL angle, less than 10 degrees total. What I found was if it is constrained off to one side, even if it bows the wrong way initially, it'll flip over under tension on its own.
The reason for the bend is TPUs, they are floppy and while they work well, they don't take the same predictable shape that I get with PLA/PET.
I've just started with Fusion myself, if you want to share a project, hit me up on email.
BTW: Here's a pic of it in current state: ~8 degree angle and no more clamps.

I maintain an informal list of San Diego, CA 3D printing enthusiasts. PM me for details. If you include a contact email and I can add you to the informal mailing list.
Re: A few MMU upgrades/Fixes
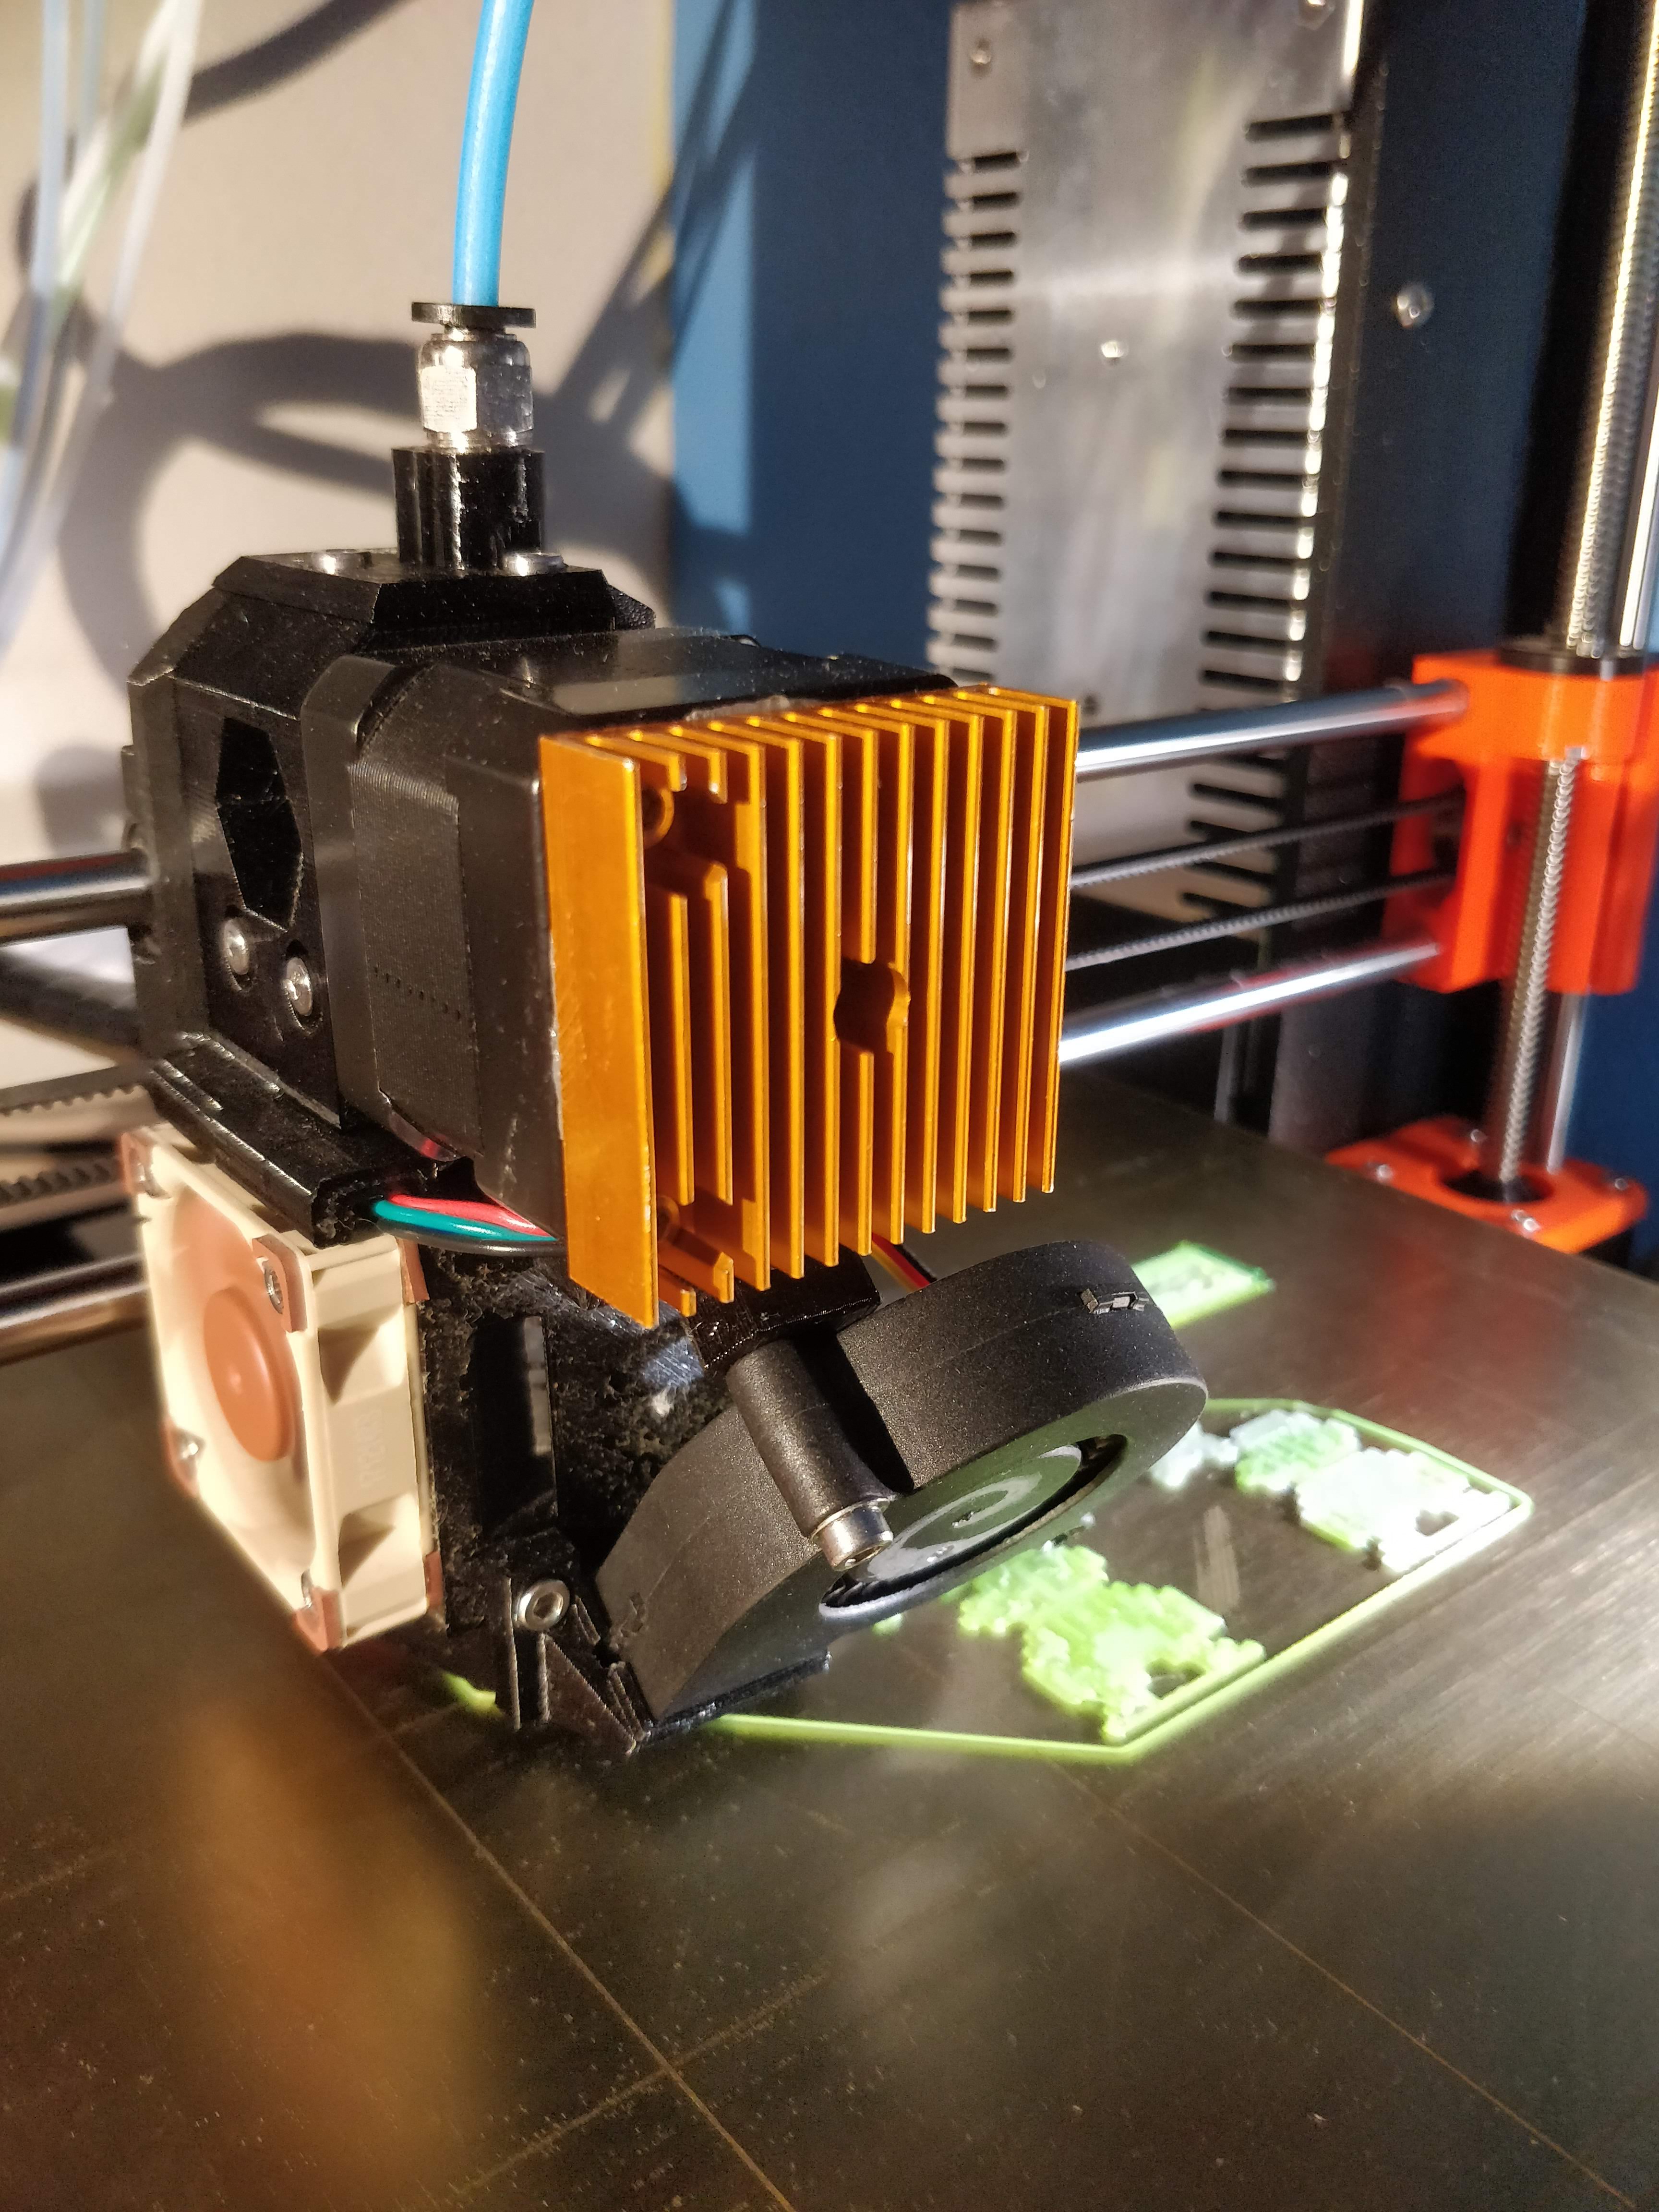
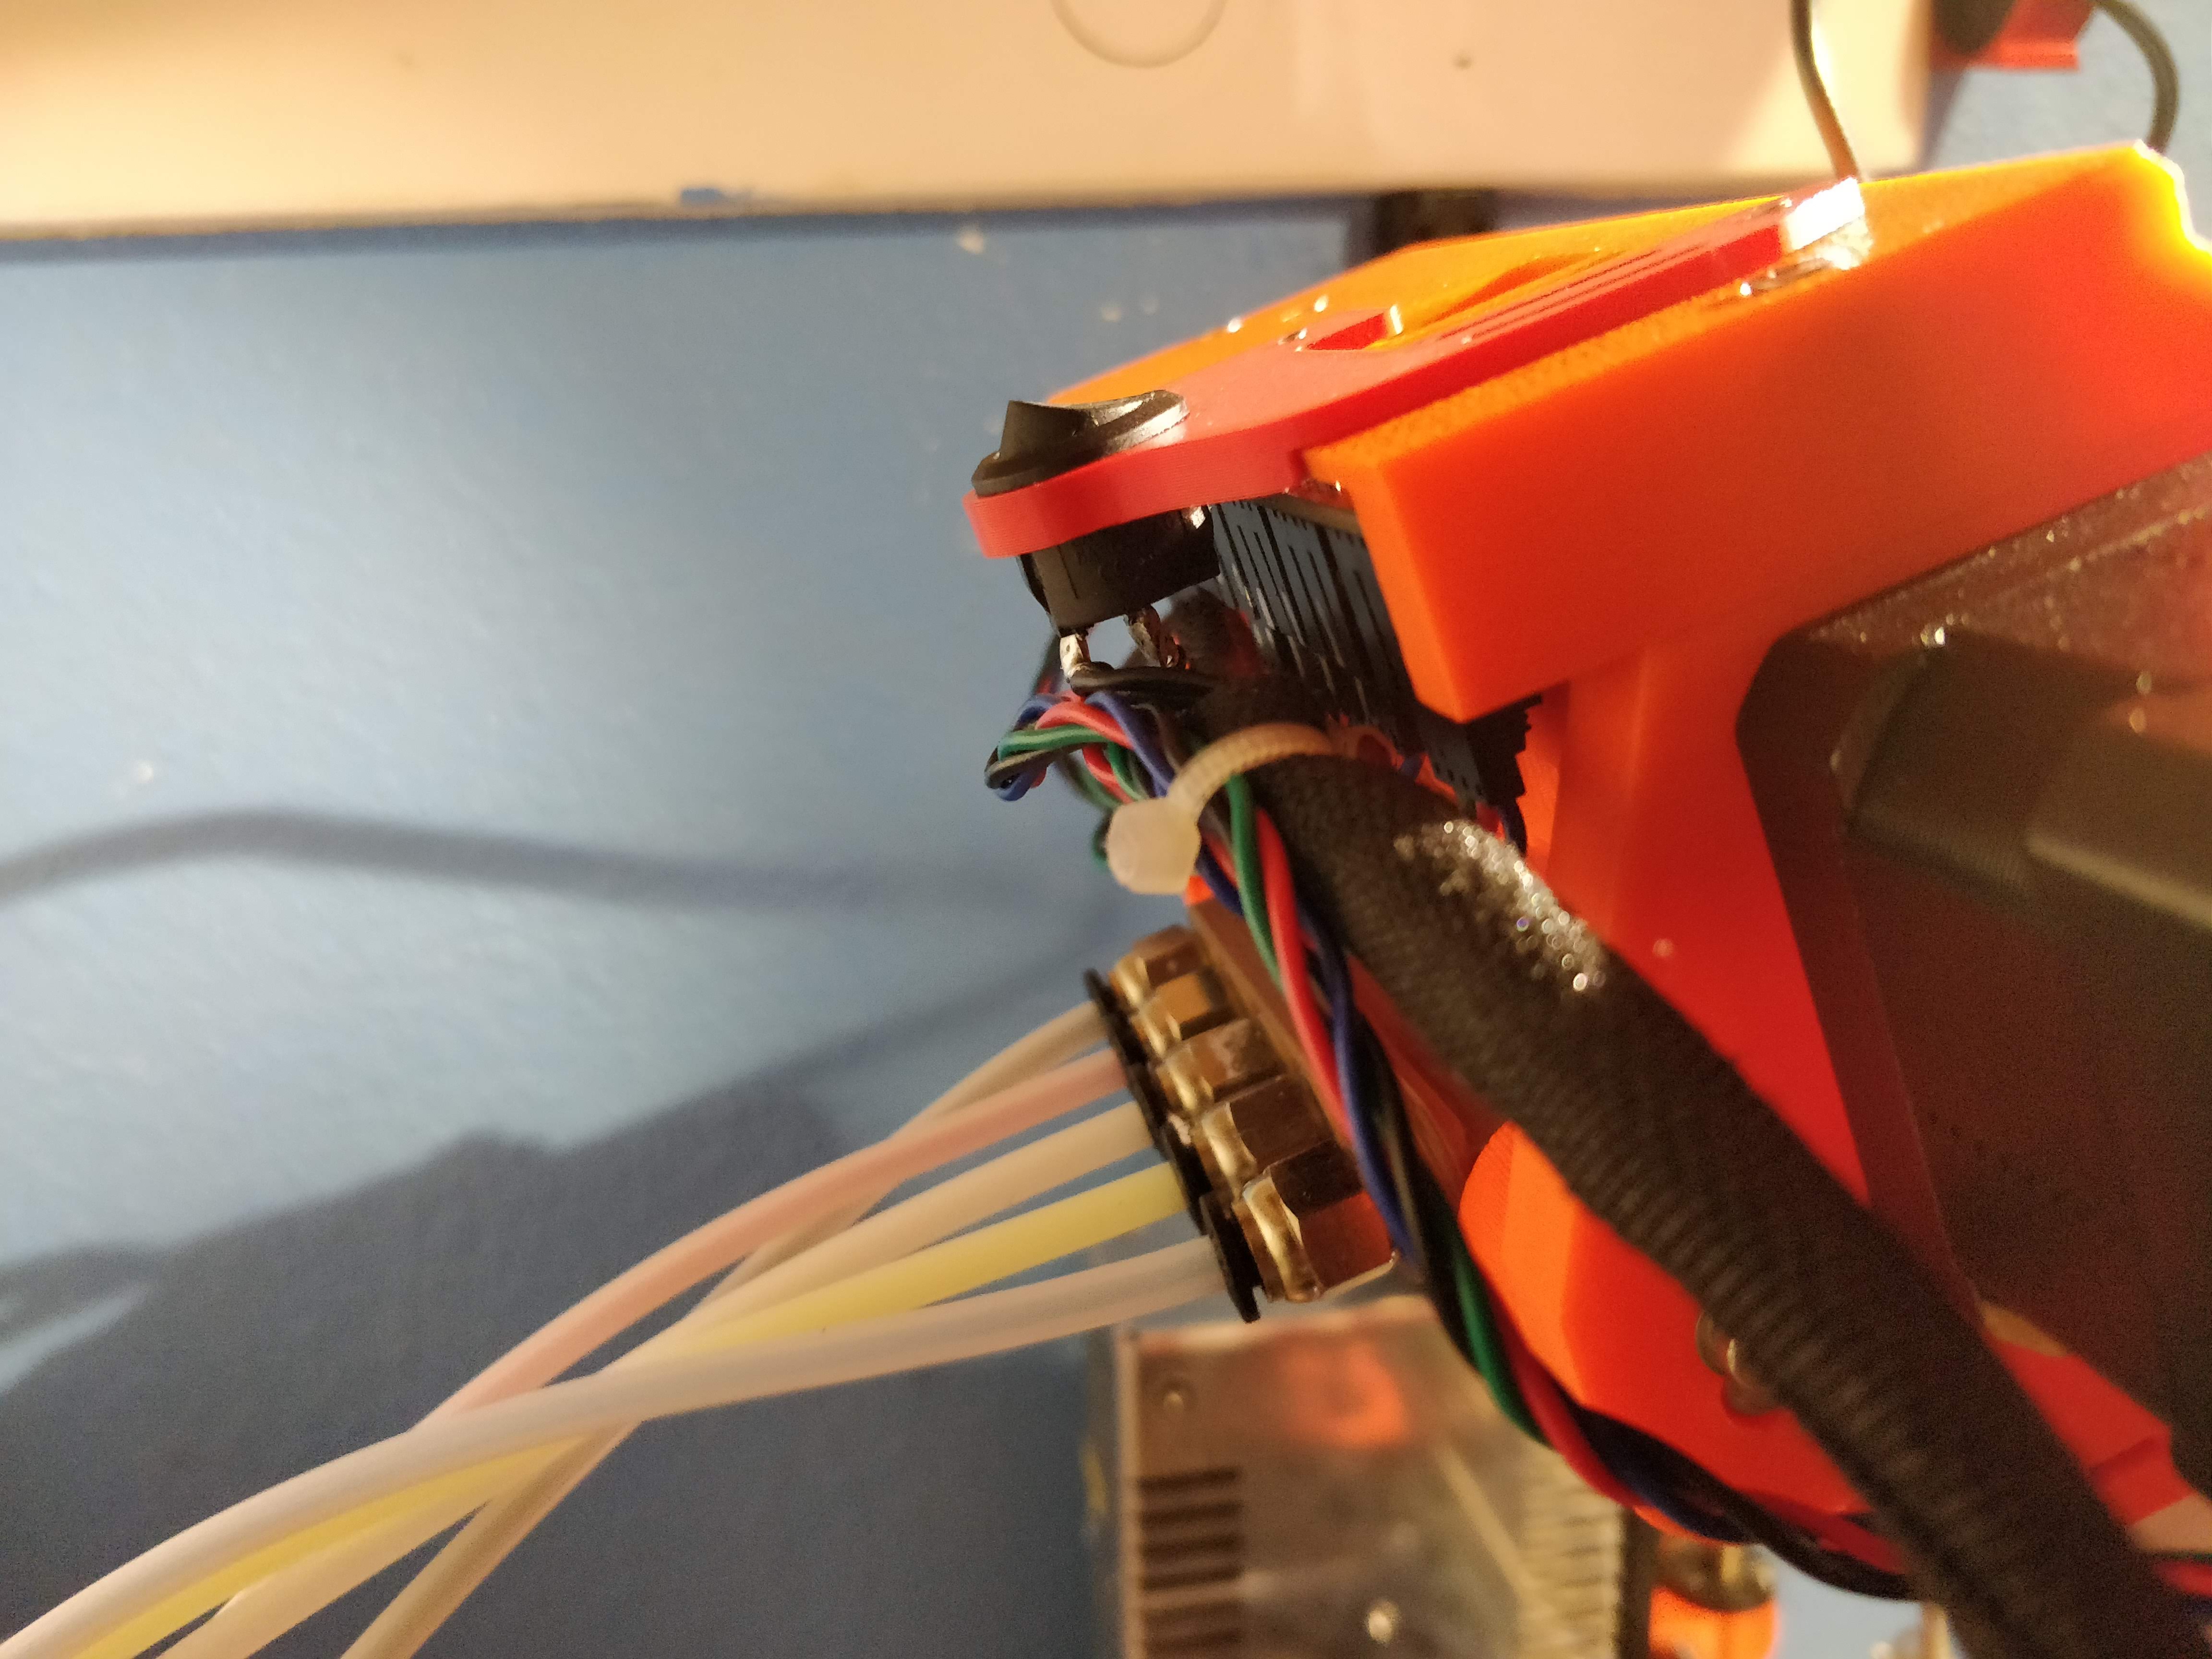
Some months ago, during the heat wave, when everyone was having issues with throat sticking, I added a heat-sink to the extruder for long prints.

For my critical, high temp stuff, I also strapped a fan on top.
There's clearly not a lot of normal force here, nor good thermal contact. That said, I saw 5-10C drop in temperatures with the heat sink on, more with the fan on.
Here I am giving up on the idea of drilling more holes in the heat sink and using it as is:
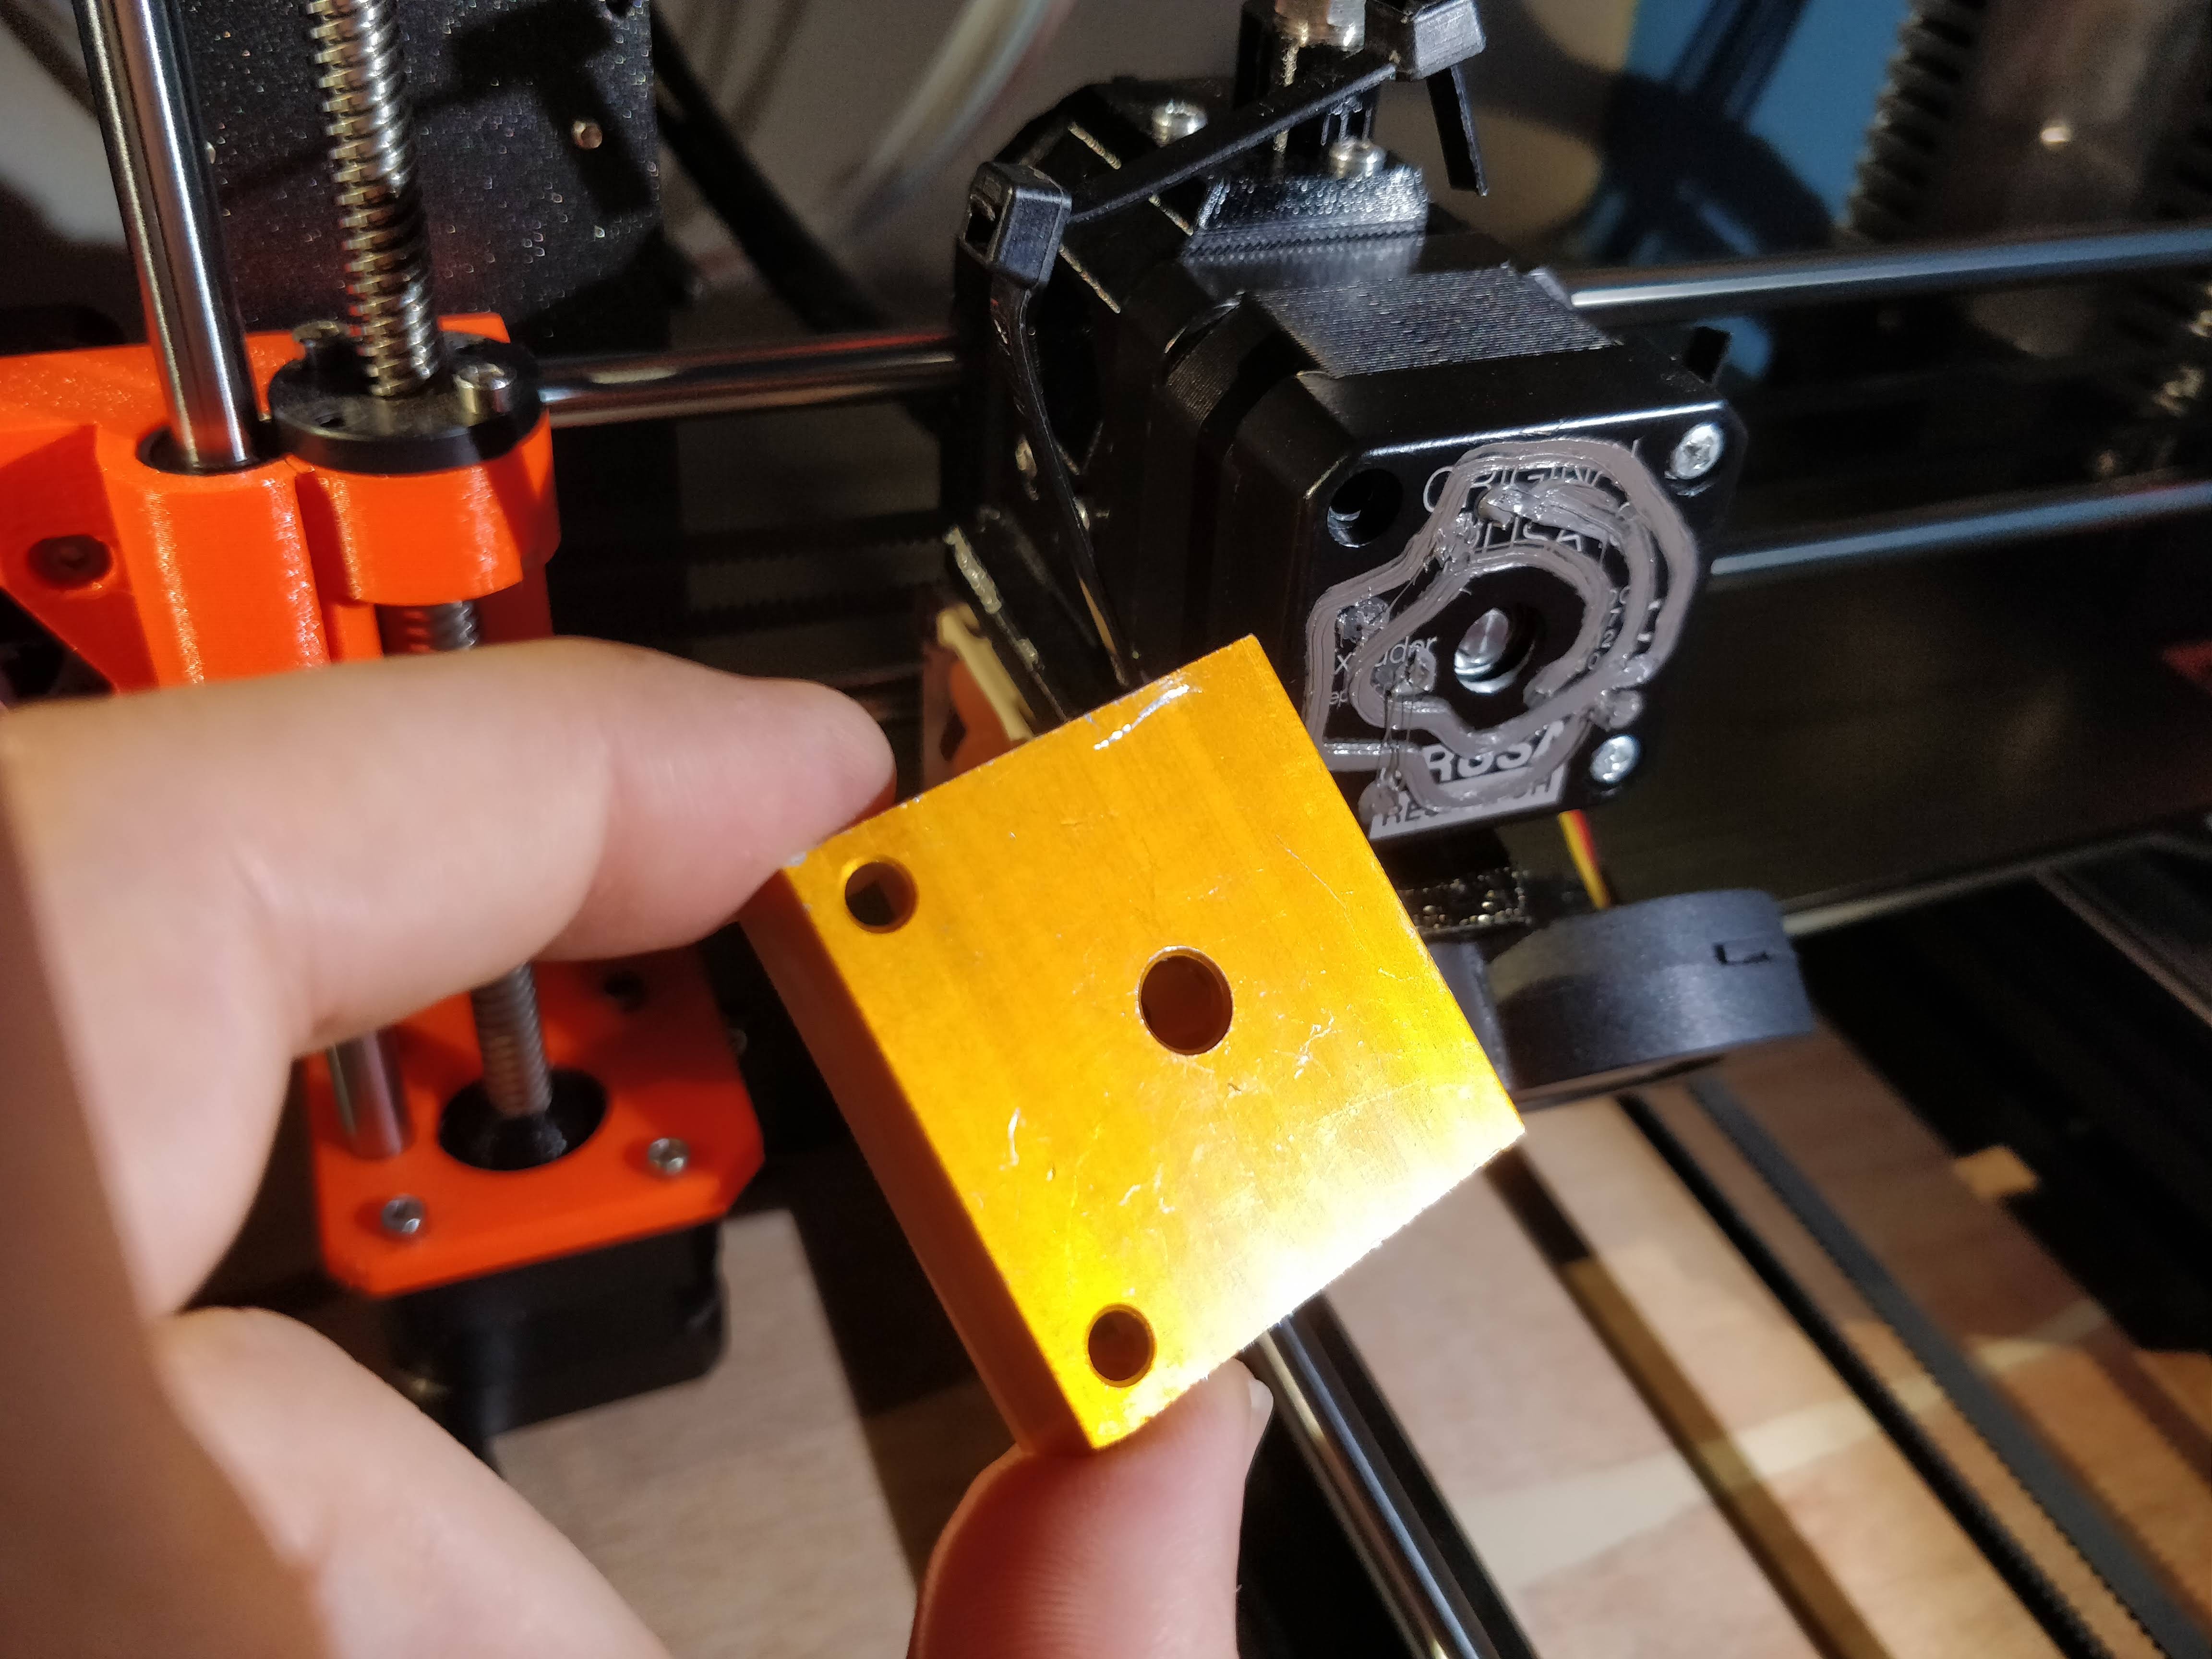
Note I needed 35mm screws (3-5 mm longer than stock) to hold it all together.
It looks nice and I don't have to check it all the time. The difference from extruder body to heat sink is about ~0.4 degrees C - so it's working nice. I definitely want to mount something to the top... Someday. Still trying to keep the mass down, and I don't think this one sink will be a problem.
I maintain an informal list of San Diego, CA 3D printing enthusiasts. PM me for details. If you include a contact email and I can add you to the informal mailing list.
Re: A few MMU upgrades/Fixes
Some months ago, during the heat wave, when everyone was having issues with throat sticking, I added a heat-sink to the extruder for long prints.
I found it much easier to drop the motor current when printing, increasing it during tool changes and reducing holding current.
M911 E16 ; reduce holding current in start G-code
M912 E31 ; increase running current for tool changes
M912 E24 ; reduce running current for printing - this value can be as lower - 20 also works fine (for me)
Peter
Please note: I do not have any affiliation with Prusa Research. Any advices given are offered in good faith. It is your responsibility to ensure that by following my advice you do not suffer or cause injury, damage…
Re: A few MMU upgrades/Fixes
Some months ago, during the heat wave, when everyone was having issues with throat sticking, I added a heat-sink to the extruder for long prints.
I found it much easier to drop the motor current when printing, increasing it during tool changes and reducing holding current.
M911 E16 ; reduce holding current in start G-code
M912 E31 ; increase running current for tool changes
M912 E24 ; reduce running current for printing - this value can be as lower - 20 also works fine (for me)
Peter
I wonder why a simple fix like this wouldn't be implemented by the dev team, its been a pain point on the forums forever.
Re: A few MMU upgrades/Fixes
I wonder why a simple fix like this wouldn't be implemented by the dev team, its been a pain point on the forums forever.
Well, the firmware and Slic3r profiles are provided and "must" work with every PR printer out there. There are some MMU2 users who have high friction feeds, so the power is high by default. Pre R3 extruder parts also required higher current 🙁
Incidentally, did you know that you can change micro-stepping on-the-fly as well (but only for E). M350 En where n = 8, 16, 32, 64 or 128. With no option for 1, 2, 4 and 256 🙁 Also no option to turn off interpolation.
M911 and M912 works with a range 0 to 63. 0 is about 1/32 power while 31 is 32/32 power. the range 32 to 63 uses a different current sense resistor and theoretically gives about 50% more power (so only about 49 to 63 is useful), but I never had any luck with the higher range 🙁
Peter
Please note: I do not have any affiliation with Prusa Research. Any advices given are offered in good faith. It is your responsibility to ensure that by following my advice you do not suffer or cause injury, damage…
Re: A few MMU upgrades/Fixes
To be more explicit for those who need it, you're saying that all under the printer definition tab, or put it in the filament code as shown:
Put in start code:
M911 E16 ; reduce holding current in start G-code
Put in filament end code:
M912 E31 ; increase running current for tool changes
Put in filament start code:
M912 E24 ; reduce running current for printing - this value can be as lower - 20 also works fine (for me)
or... not? There's no "pre" and "post" toolchange script I see.
I maintain an informal list of San Diego, CA 3D printing enthusiasts. PM me for details. If you include a contact email and I can add you to the informal mailing list.
Re: A few MMU upgrades/Fixes
or... not? There's no "pre" and "post" toolchange script I see.
That's one of the reasons I use KISS.
M911 E16 in Start G-code
M912 E31 may be OK in Printer/Tool Change G-code
M912 E20 may be OK in Filament/Custom/Start G-code setting.
But, I have not tested this. You would need to slice a model and check the G-code.
One other command, M913 used to report the motor currents in use, but I think that has been disabled in recent firmwares; not sure whether is has been re-enabled in current.
Peter
Please note: I do not have any affiliation with Prusa Research. Any advices given are offered in good faith. It is your responsibility to ensure that by following my advice you do not suffer or cause injury, damage…
Re: A few MMU upgrades/Fixes
Thanks! I'll put that into my infinite queue of things I need to try. 😛
I maintain an informal list of San Diego, CA 3D printing enthusiasts. PM me for details. If you include a contact email and I can add you to the informal mailing list.
Re: A few MMU upgrades/Fixes

https://www.thingiverse.com/thing:3379123
Constantly opening computer box or unscrewing MMU controller to disable it to get around whatever won't work with it on.
This is a lot cleaner.
Note: You cannot just cut the POWER lines, you must cut the GROUND lines, somehow the machine will draw the current to start up over the serial connection if you do not.
I maintain an informal list of San Diego, CA 3D printing enthusiasts. PM me for details. If you include a contact email and I can add you to the informal mailing list.
Re: A few MMU upgrades/Fixes
Note: You cannot just cut the POWER lines, you must cut the GROUND lines, somehow the machine will draw the current to start up over the serial connection if you do not.
It would be better to use 4PDT switch. Because now you have a floating ground on your active signal lines.
Often linked posts:
Going small with MMU2
Real Multi Material
My prints on Instagram
Re: A few MMU upgrades/Fixes
Agreed. This works, but it's not ideal.
If you draw up a simple diagram, and/or have a switch in mind, I can update my Thing.
I maintain an informal list of San Diego, CA 3D printing enthusiasts. PM me for details. If you include a contact email and I can add you to the informal mailing list.