Re: Official 3D printer enclosure from Prusa Research
Does anybody know where I can purchase something like this already made and have it shipped out? I simply do not have the time to put into making one, but want one.
Re: Official 3D printer enclosure from Prusa Research
Does anybody know where I can purchase something like this already made and have it shipped out? I simply do not have the time to put into making one, but want one.
Hi Beau,
Where are you situated? I'm pretty sure someone locally who made it already can ship you the printed parts and the required fasteners as they'll have spares. If you buy the Lack table and order the acrylic panels you'll keep shipping cost down for the expense of 15 minutes assembly work.
Re: Official 3D printer enclosure from Prusa Research
Does anybody know where I can purchase something like this already made and have it shipped out? I simply do not have the time to put into making one, but want one.
There's this one:
https://printedsolid.com/products/safety-enclosure-for-prusa-printers
Re: Official 3D printer enclosure from Prusa Research
Finished mine a While back with all sorts of custom personal tweaks...
How did you do the drawer?
Re: Official 3D printer enclosure from Prusa Research
I'm a complete newbie and this is going to be one of my first projects. I have Hatchbox PETG Orange which is just a touch lighter than the Prusa, but good enough - especially since I already bought it!
Question -- what would be a reasonable layer height and infill for the printed parts? I'm afraid my natural tendency would be overkill.
Re: Official 3D printer enclosure from Prusa Research
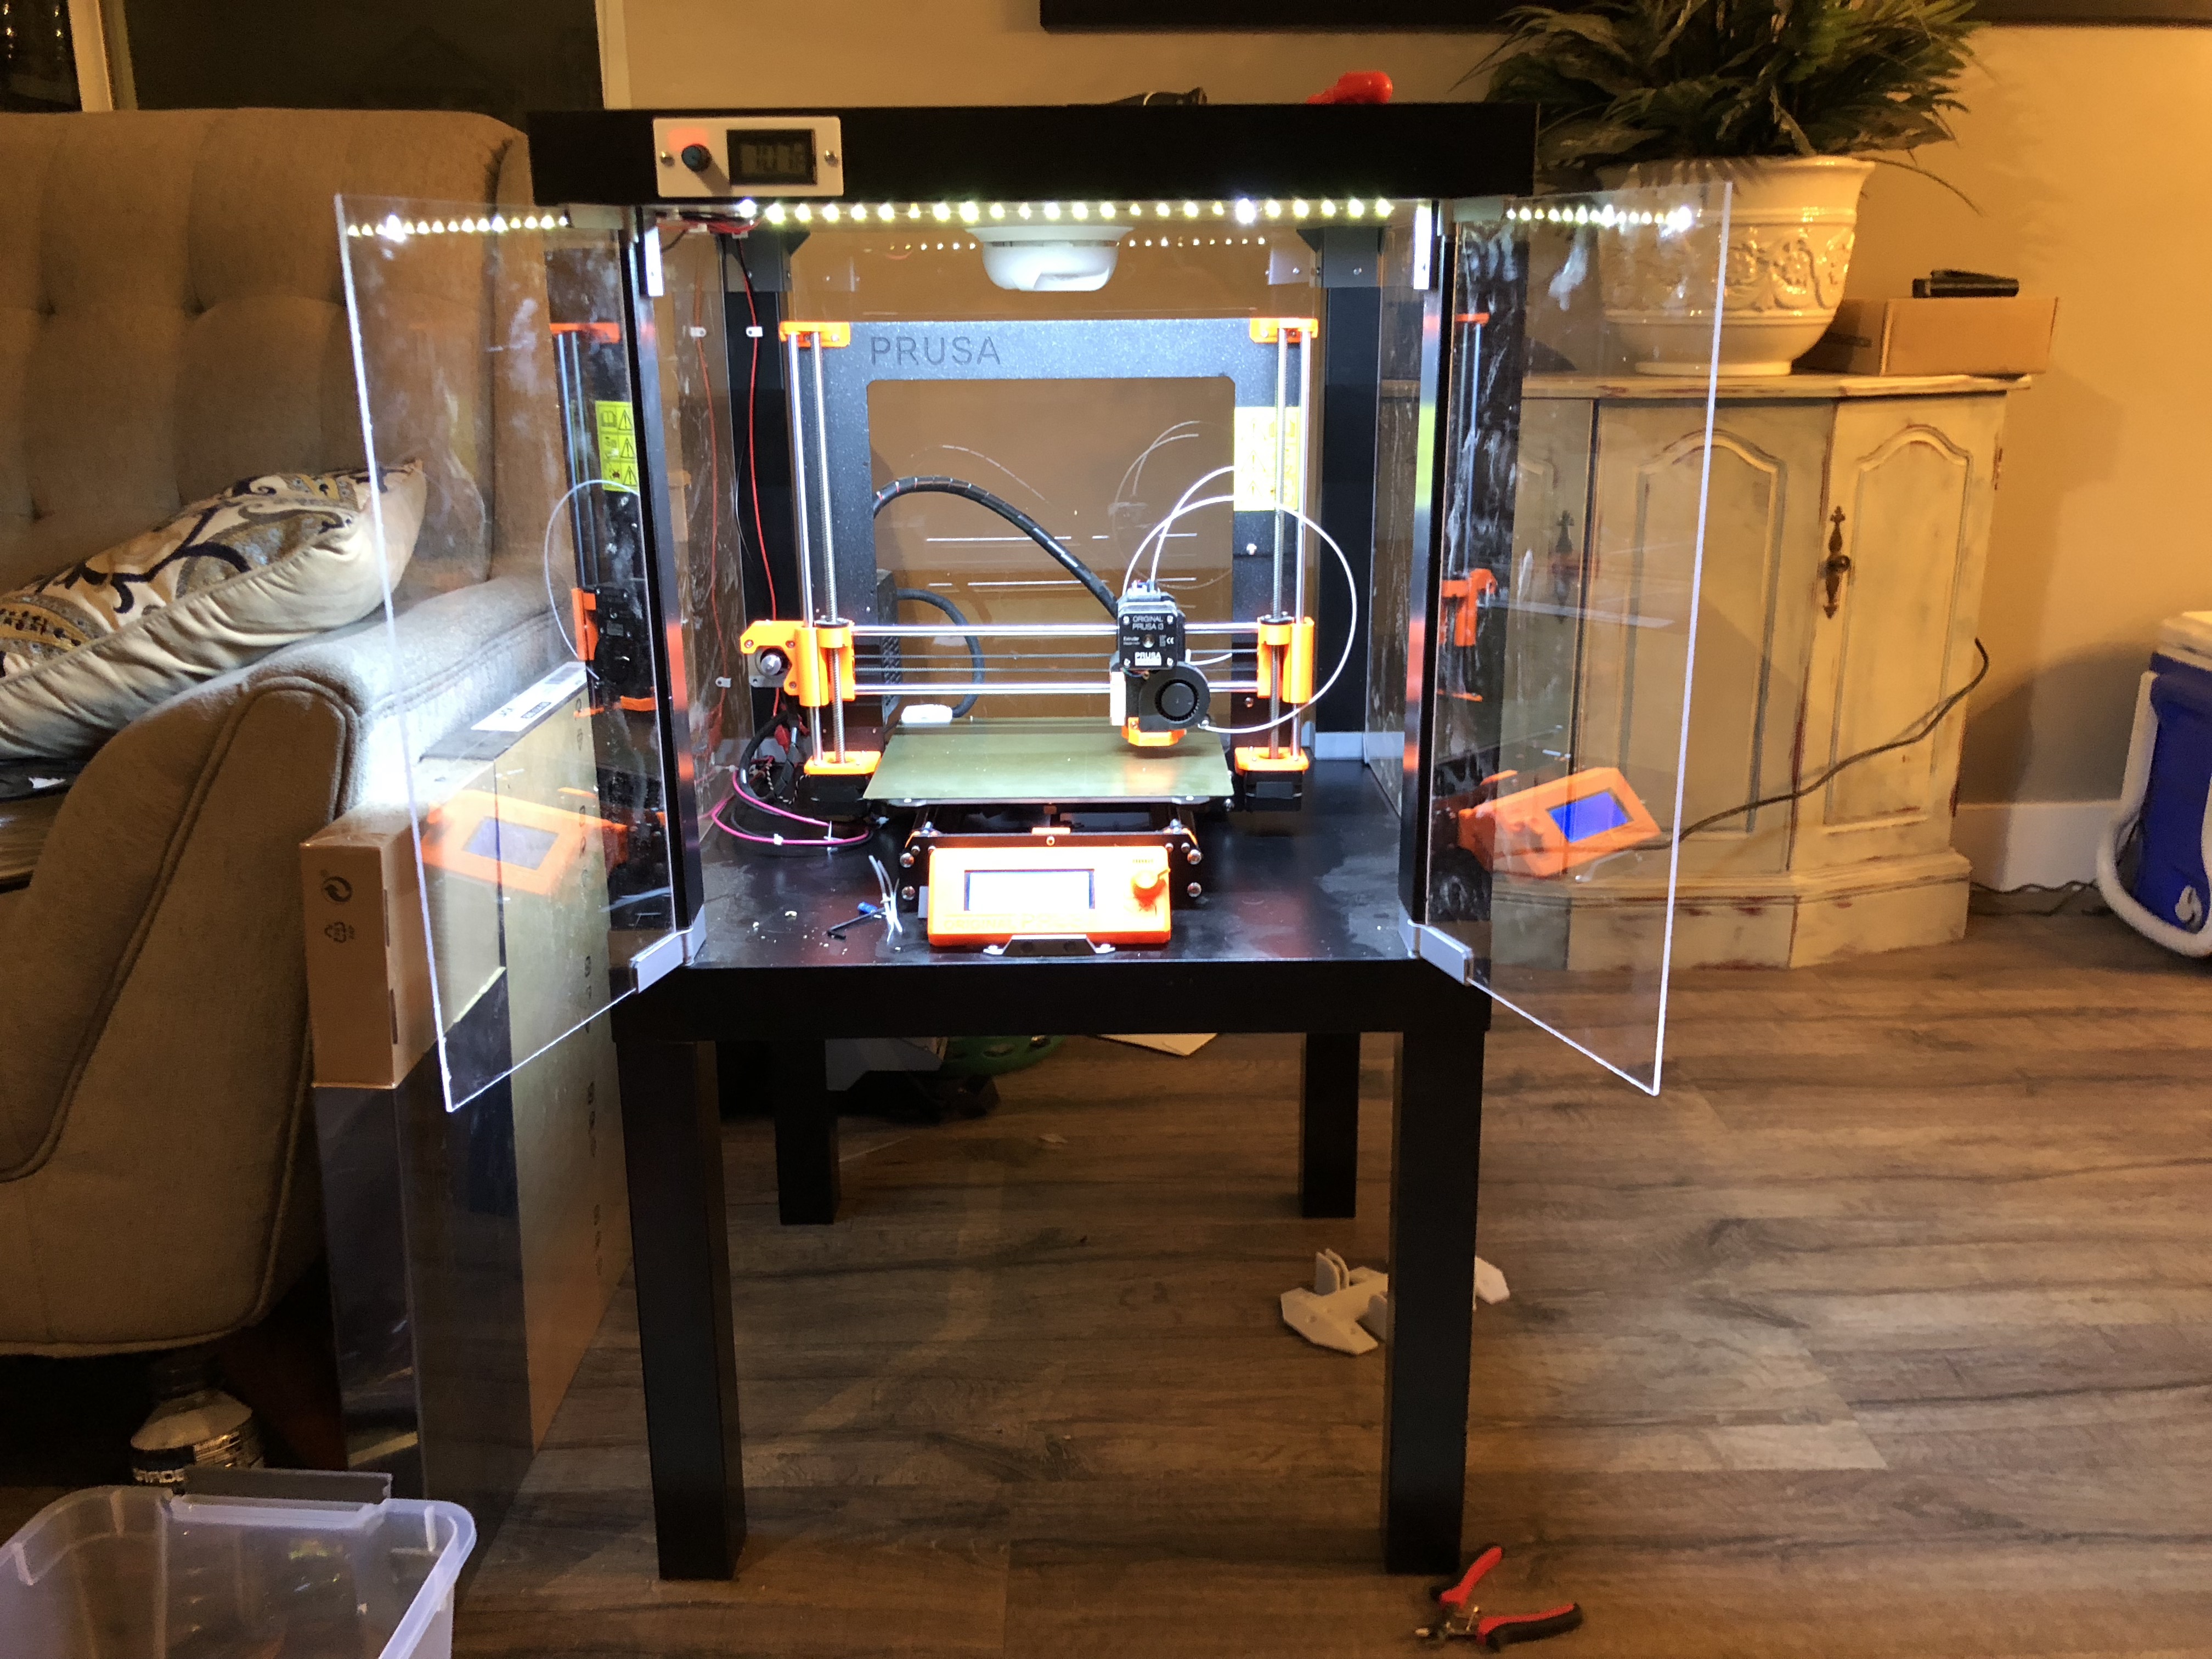
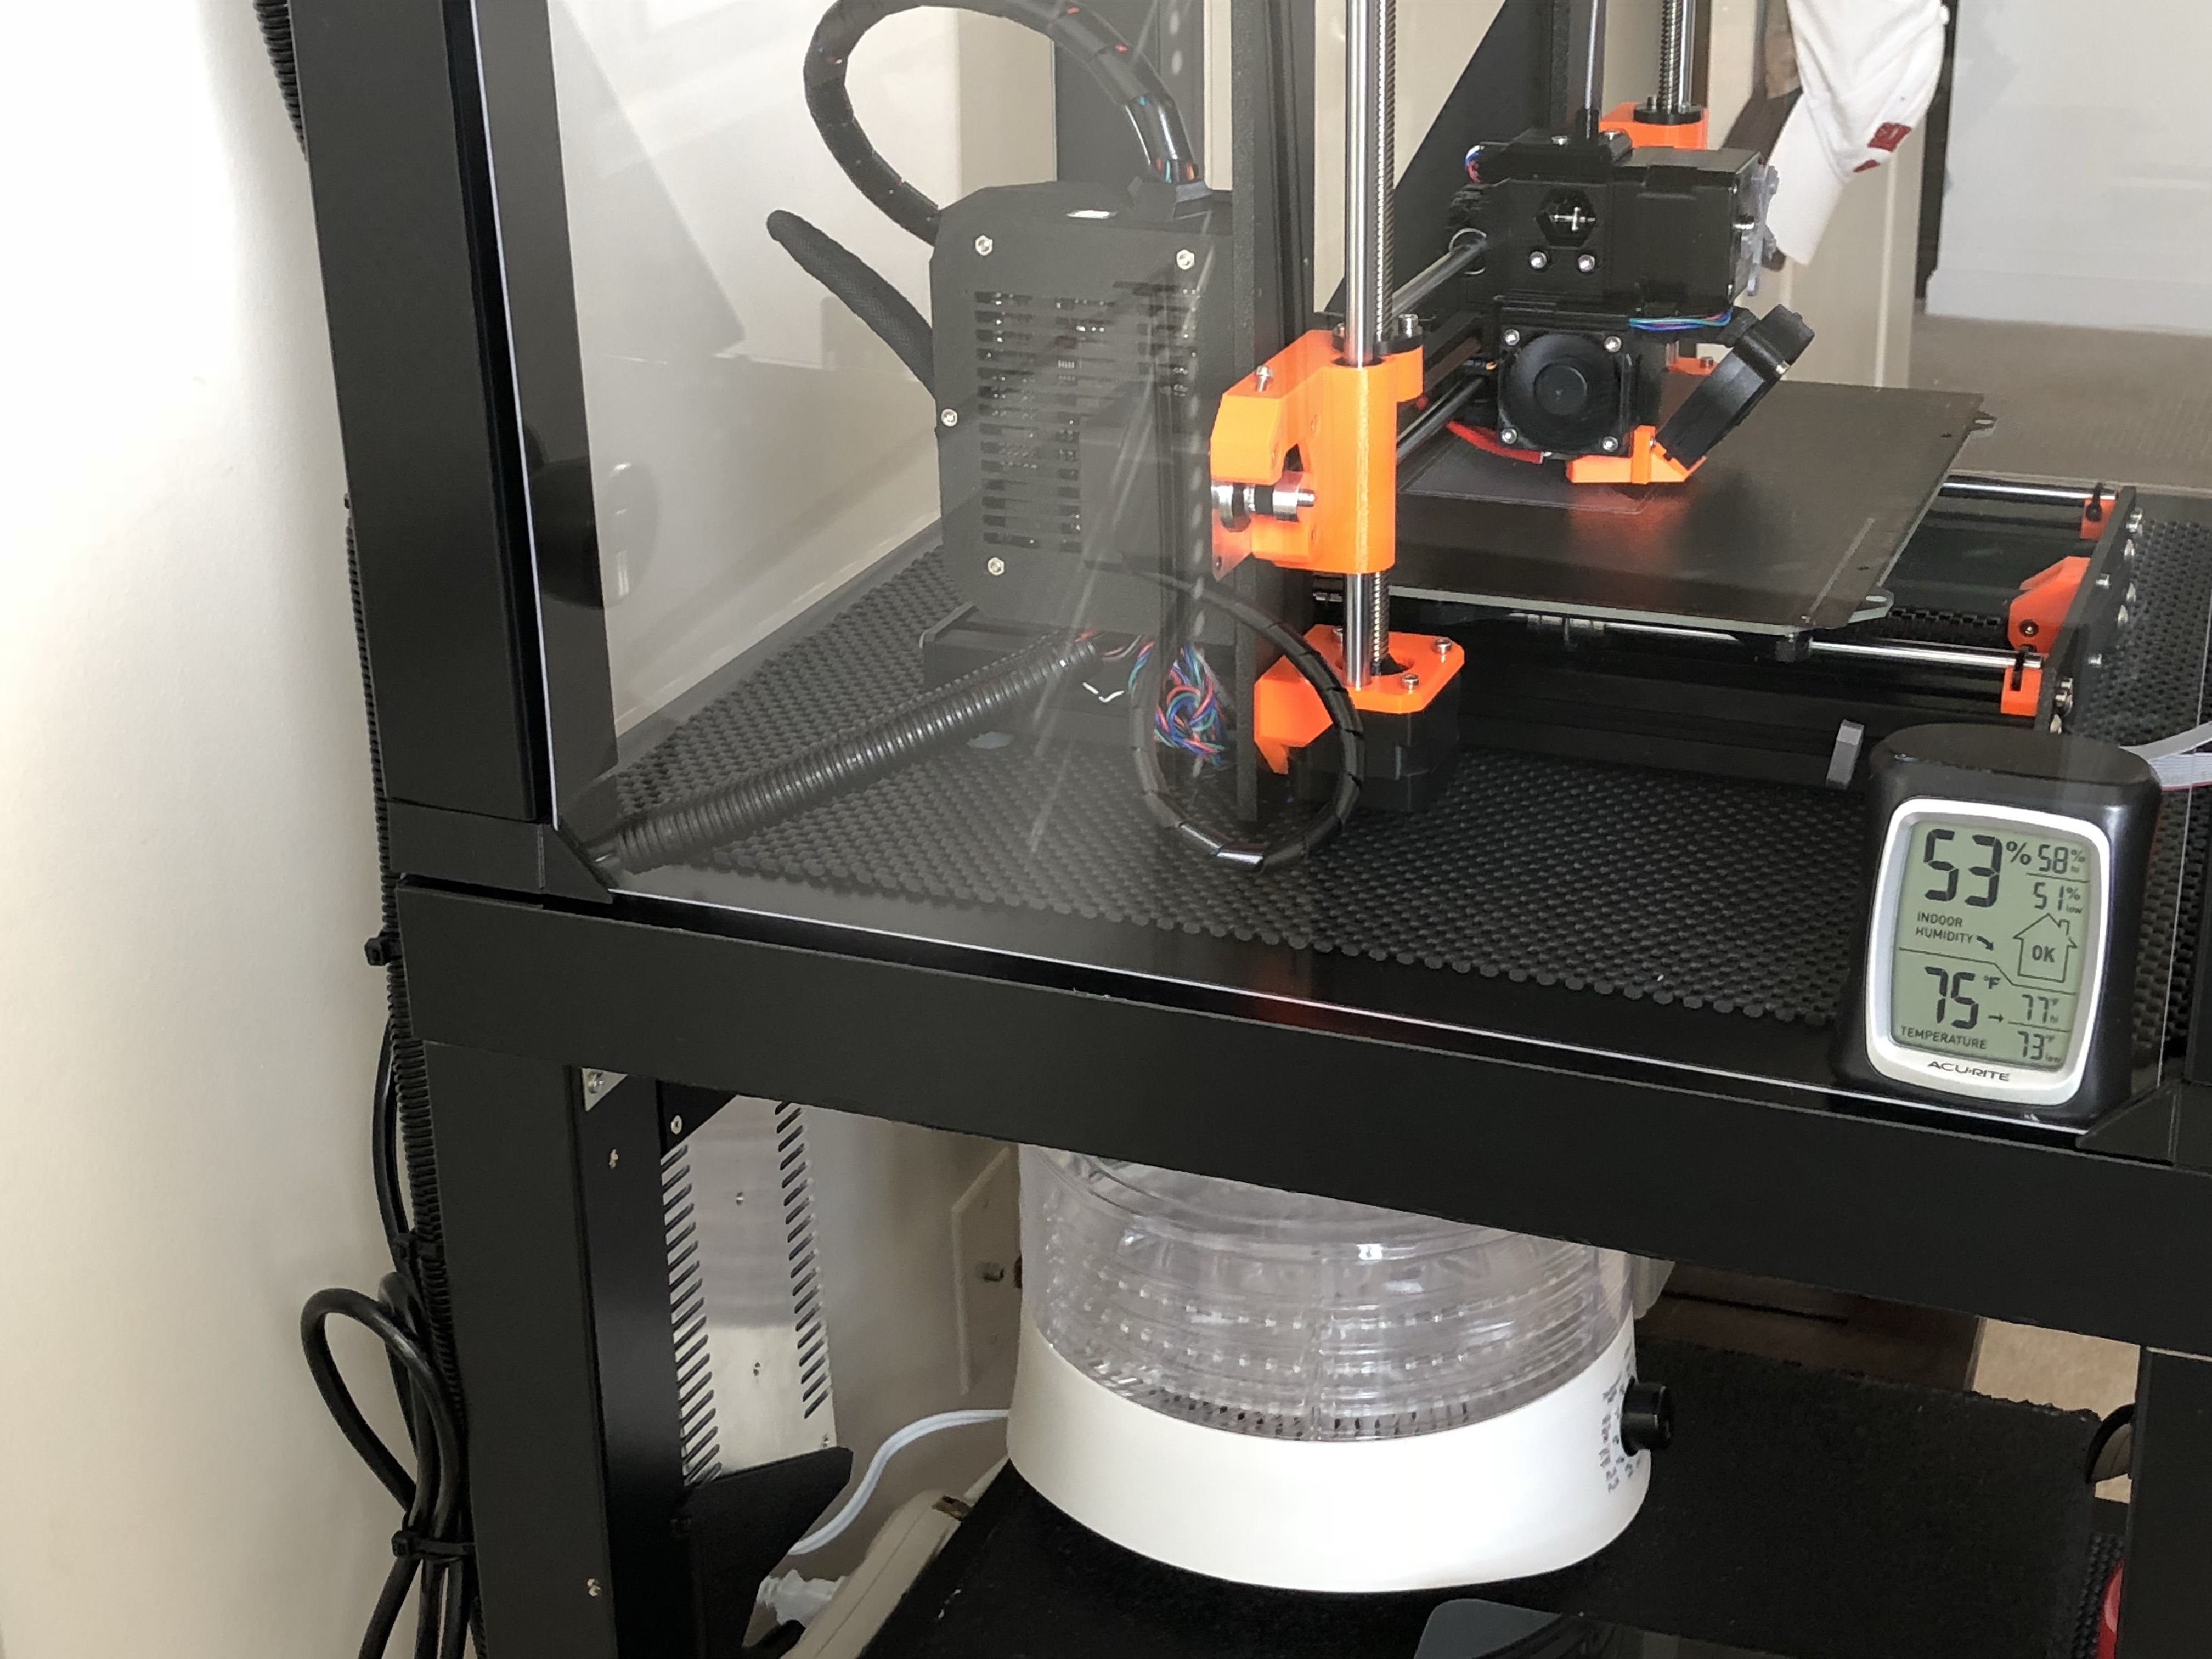
I completed my enclosure, with a couple modifications. I gave myself a little control panel inset into the side of the top LACK table top. I can see the internal temperature and adjust the brightness of the LED strip.
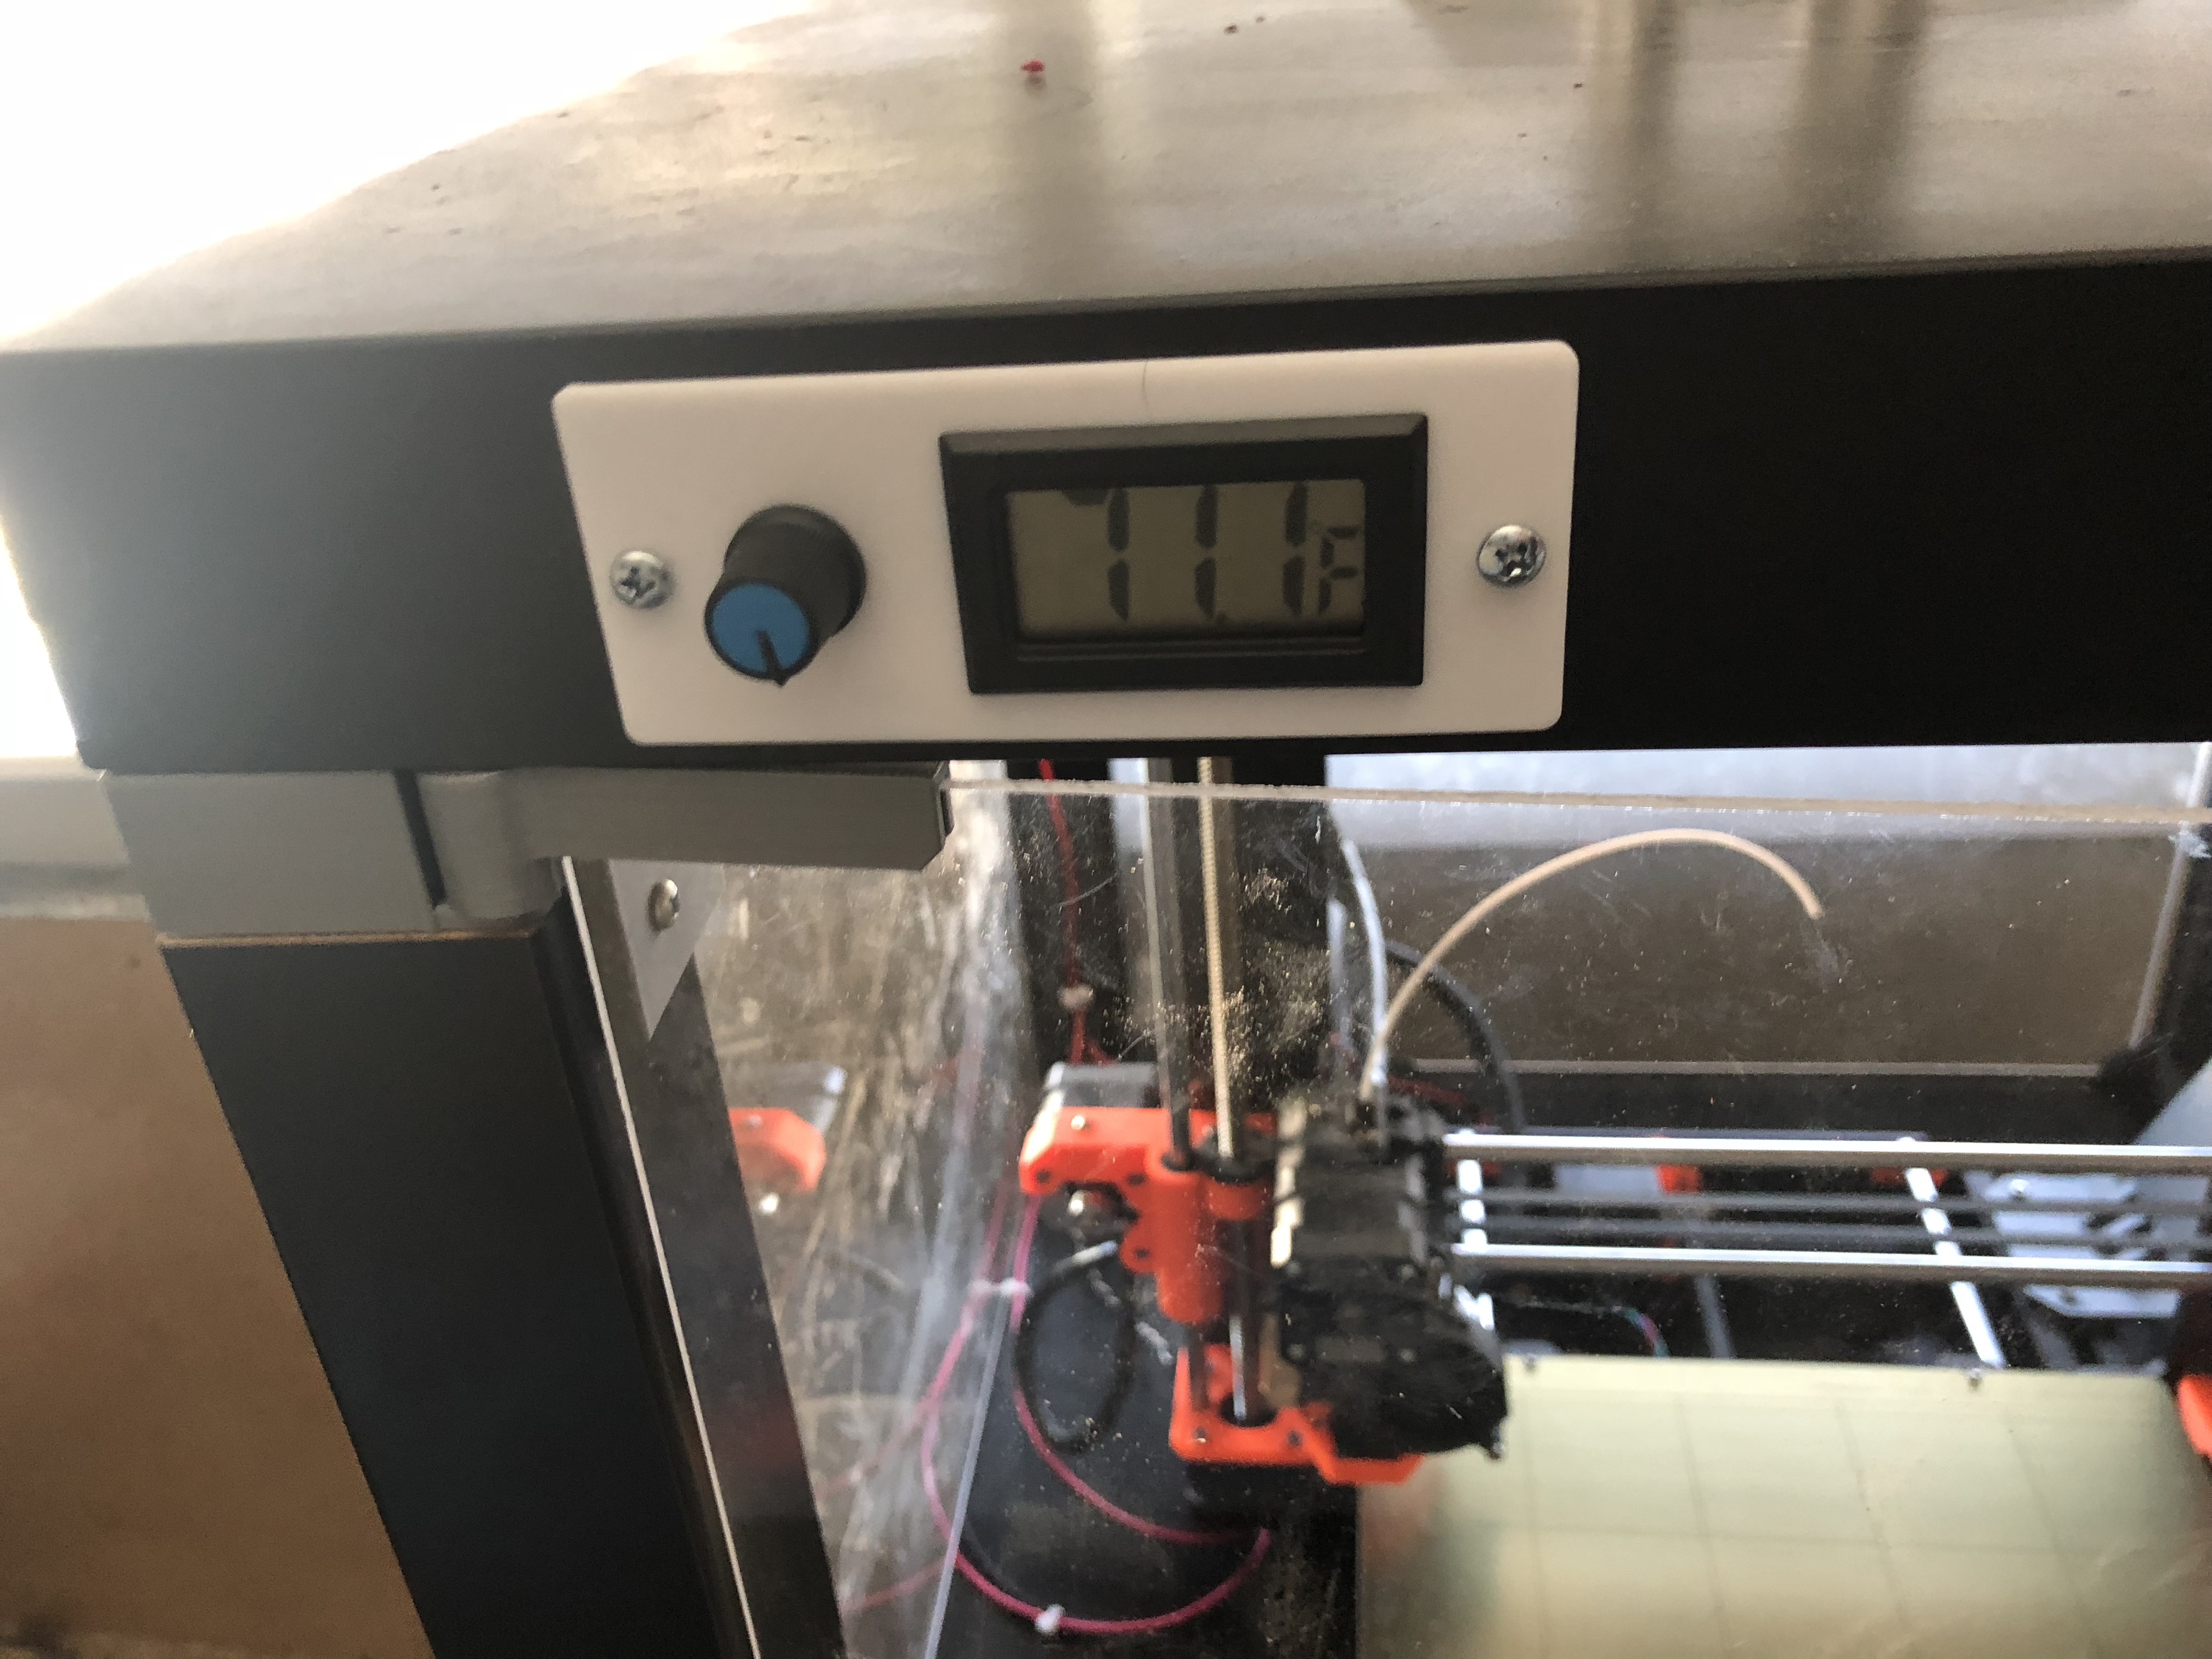
I absolutely love being able to control the brightness of my LEDs. I mounted the dimmer and thermometer LCD to a 3d printed frame, and routed the wires inside the enclosure. Nice and clean.

Thermometer: https://www.amazon.com/gp/product/B00PQ2GJNY/ref=oh_aui_detailpage_o09_s01?ie=UTF8&psc=1
"Dimmer" (worked fine with 24V leds): https://www.amazon.com/gp/product/B01241VJ4S/ref=oh_aui_detailpage_o09_s01?ie=UTF8&psc=1
Re: Official 3D printer enclosure from Prusa Research
I'm a complete newbie and this is going to be one of my first projects. I have Hatchbox PETG Orange which is just a touch lighter than the Prusa, but good enough - especially since I already bought it!
Question -- what would be a reasonable layer height and infill for the printed parts? I'm afraid my natural tendency would be overkill.
I used PLA. .2 layer height, 20% infill.
Re: Official 3D printer enclosure from Prusa Research
I used PLA. .2 layer height, 20% infill.
Thanks!
Re: Official 3D printer enclosure from Prusa Research
I completed my enclosure, with a couple modifications. I gave myself a little control panel inset into the side of the top LACK table top. I can see the internal temperature and adjust the brightness of the LED strip.
How did you rout out the Lack table? I thought it was hollow, was there enough wood to work well?
Re: Official 3D printer enclosure from Prusa Research
How did you rout out the Lack table? I thought it was hollow, was there enough wood to work well?
Yeah, it's mostly hollow. There's cardboard in there to help maintain structural integrity, kinda like a torsion box. I just used a dremel and a chisel to open up a properly sized rectangular hole in the edge of the table, then used pliers to pull out some of the cardboard, and push back other parts of the cardboard to make room. Really easy.
Re: Official 3D printer enclosure from Prusa Research
What about vibration with an enclosure that is so light that it could allow a resonance to affect the print? Wouldn't something more sturdy be better?
Re: Official 3D printer enclosure from Prusa Research
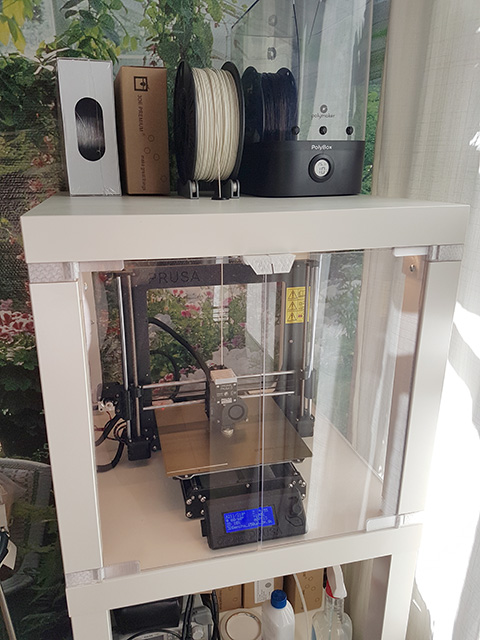
First print in my newly made enclosure. I opted for a white version to contrast the black Mk3.
Re: Official 3D printer enclosure from Prusa Research
can anybody who had to order longer power supply cables tell me what they googled for? i realize it's dumb...but i can't for the life of me figure out what the terminology is. googling "power supply cable" is not helping me one bit.
Re: Official 3D printer enclosure from Prusa Research
I absolutely love being able to control the brightness of my LEDs. I mounted the dimmer and thermometer LCD to a 3d printed frame, and routed the wires inside the enclosure. Nice and clean.
Hey, would you be willing to share or post the STL for the frame?
Re: Official 3D printer enclosure from Prusa Research
noob question here. I have a question on how much filament it takes to print the parts...
I do not even have my printer yet, but I have been reading up and ordering some filaments to I have them once my printer arrives.
I am planning on printing the parts for this enclosure at some point and it occurred to me to ask how much filament it takes to print the parts for the enclosure. I do not even have a frame of reference to go on.
Is a 1Kg spool of PETG enough or does it take more ? A full 1Kg spool? Less than one 1kg spool? More than one 1Kg spool? I imagine a 2Kg spool is enough, but wanted to get an idea of how much.
For people who have printed the parts, can you guesstimate how much filament it takes to print the parts in the enclosure thingiverse item?
I understand that I will need to print many practice pieces and get me feet wet first, but I wanted to get an idea of how much I need so I can make sure to have enough filament on hand and in the color i need when that time comes.
Thank you!
Strange women, laying in ponds, distributing swords, is hardly a basis for a system of governance!
Re: Official 3D printer enclosure from Prusa Research
noob question here. I have a question on how much filament it takes to print the parts...
I do not even have my printer yet, but I have been reading up and ordering some filaments to I have them once my printer arrives.
I am planning on printing the parts for this enclosure at some point and it occurred to me to ask how much filament it takes to print the parts for the enclosure. I do not even have a frame of reference to go on.
Is a 1Kg spool of PETG enough or does it take more ? A full 1Kg spool? Less than one 1kg spool? More than one 1Kg spool? I imagine a 2Kg spool is enough, but wanted to get an idea of how much.
For people who have printed the parts, can you guesstimate how much filament it takes to print the parts in the enclosure thingiverse item?
I understand that I will need to print many practice pieces and get me feet wet first, but I wanted to get an idea of how much I need so I can make sure to have enough filament on hand and in the color i need when that time comes.
Thank you!
A 1 kg spool is more than enough. You’ll have plenty to spare for waste and reprinting parts.
Re: Official 3D printer enclosure from Prusa Research
appreciate the response! good to know. Thank you.
Strange women, laying in ponds, distributing swords, is hardly a basis for a system of governance!
Re: Official 3D printer enclosure from Prusa Research
I don't have my printer yet, but I'm working on the frame in FreeCAD. Juliean, do you use any software to create STL files? I can send you what I have in whatever format FreeCAD can output (it does STL). Let me know if you are still interested.
I absolutely love being able to control the brightness of my LEDs. I mounted the dimmer and thermometer LCD to a 3d printed frame, and routed the wires inside the enclosure. Nice and clean.
Hey, would you be willing to share or post the STL for the frame?
Re: Official 3D printer enclosure from Prusa Research
I don't have my printer yet, but I'm working on the frame in FreeCAD. Juliean, do you use any software to create STL files? I can send you what I have in whatever format FreeCAD can output (it does STL). Let me know if you are still interested.
I absolutely love being able to control the brightness of my LEDs. I mounted the dimmer and thermometer LCD to a 3d printed frame, and routed the wires inside the enclosure. Nice and clean.
Hey, would you be willing to share or post the STL for the frame?
FreeCAD files would be great, I mostly use that and OpenSCAD. You can email it to me at jgalak at gmail dot com
Thanks!
Re: Official 3D printer enclosure from Prusa Research
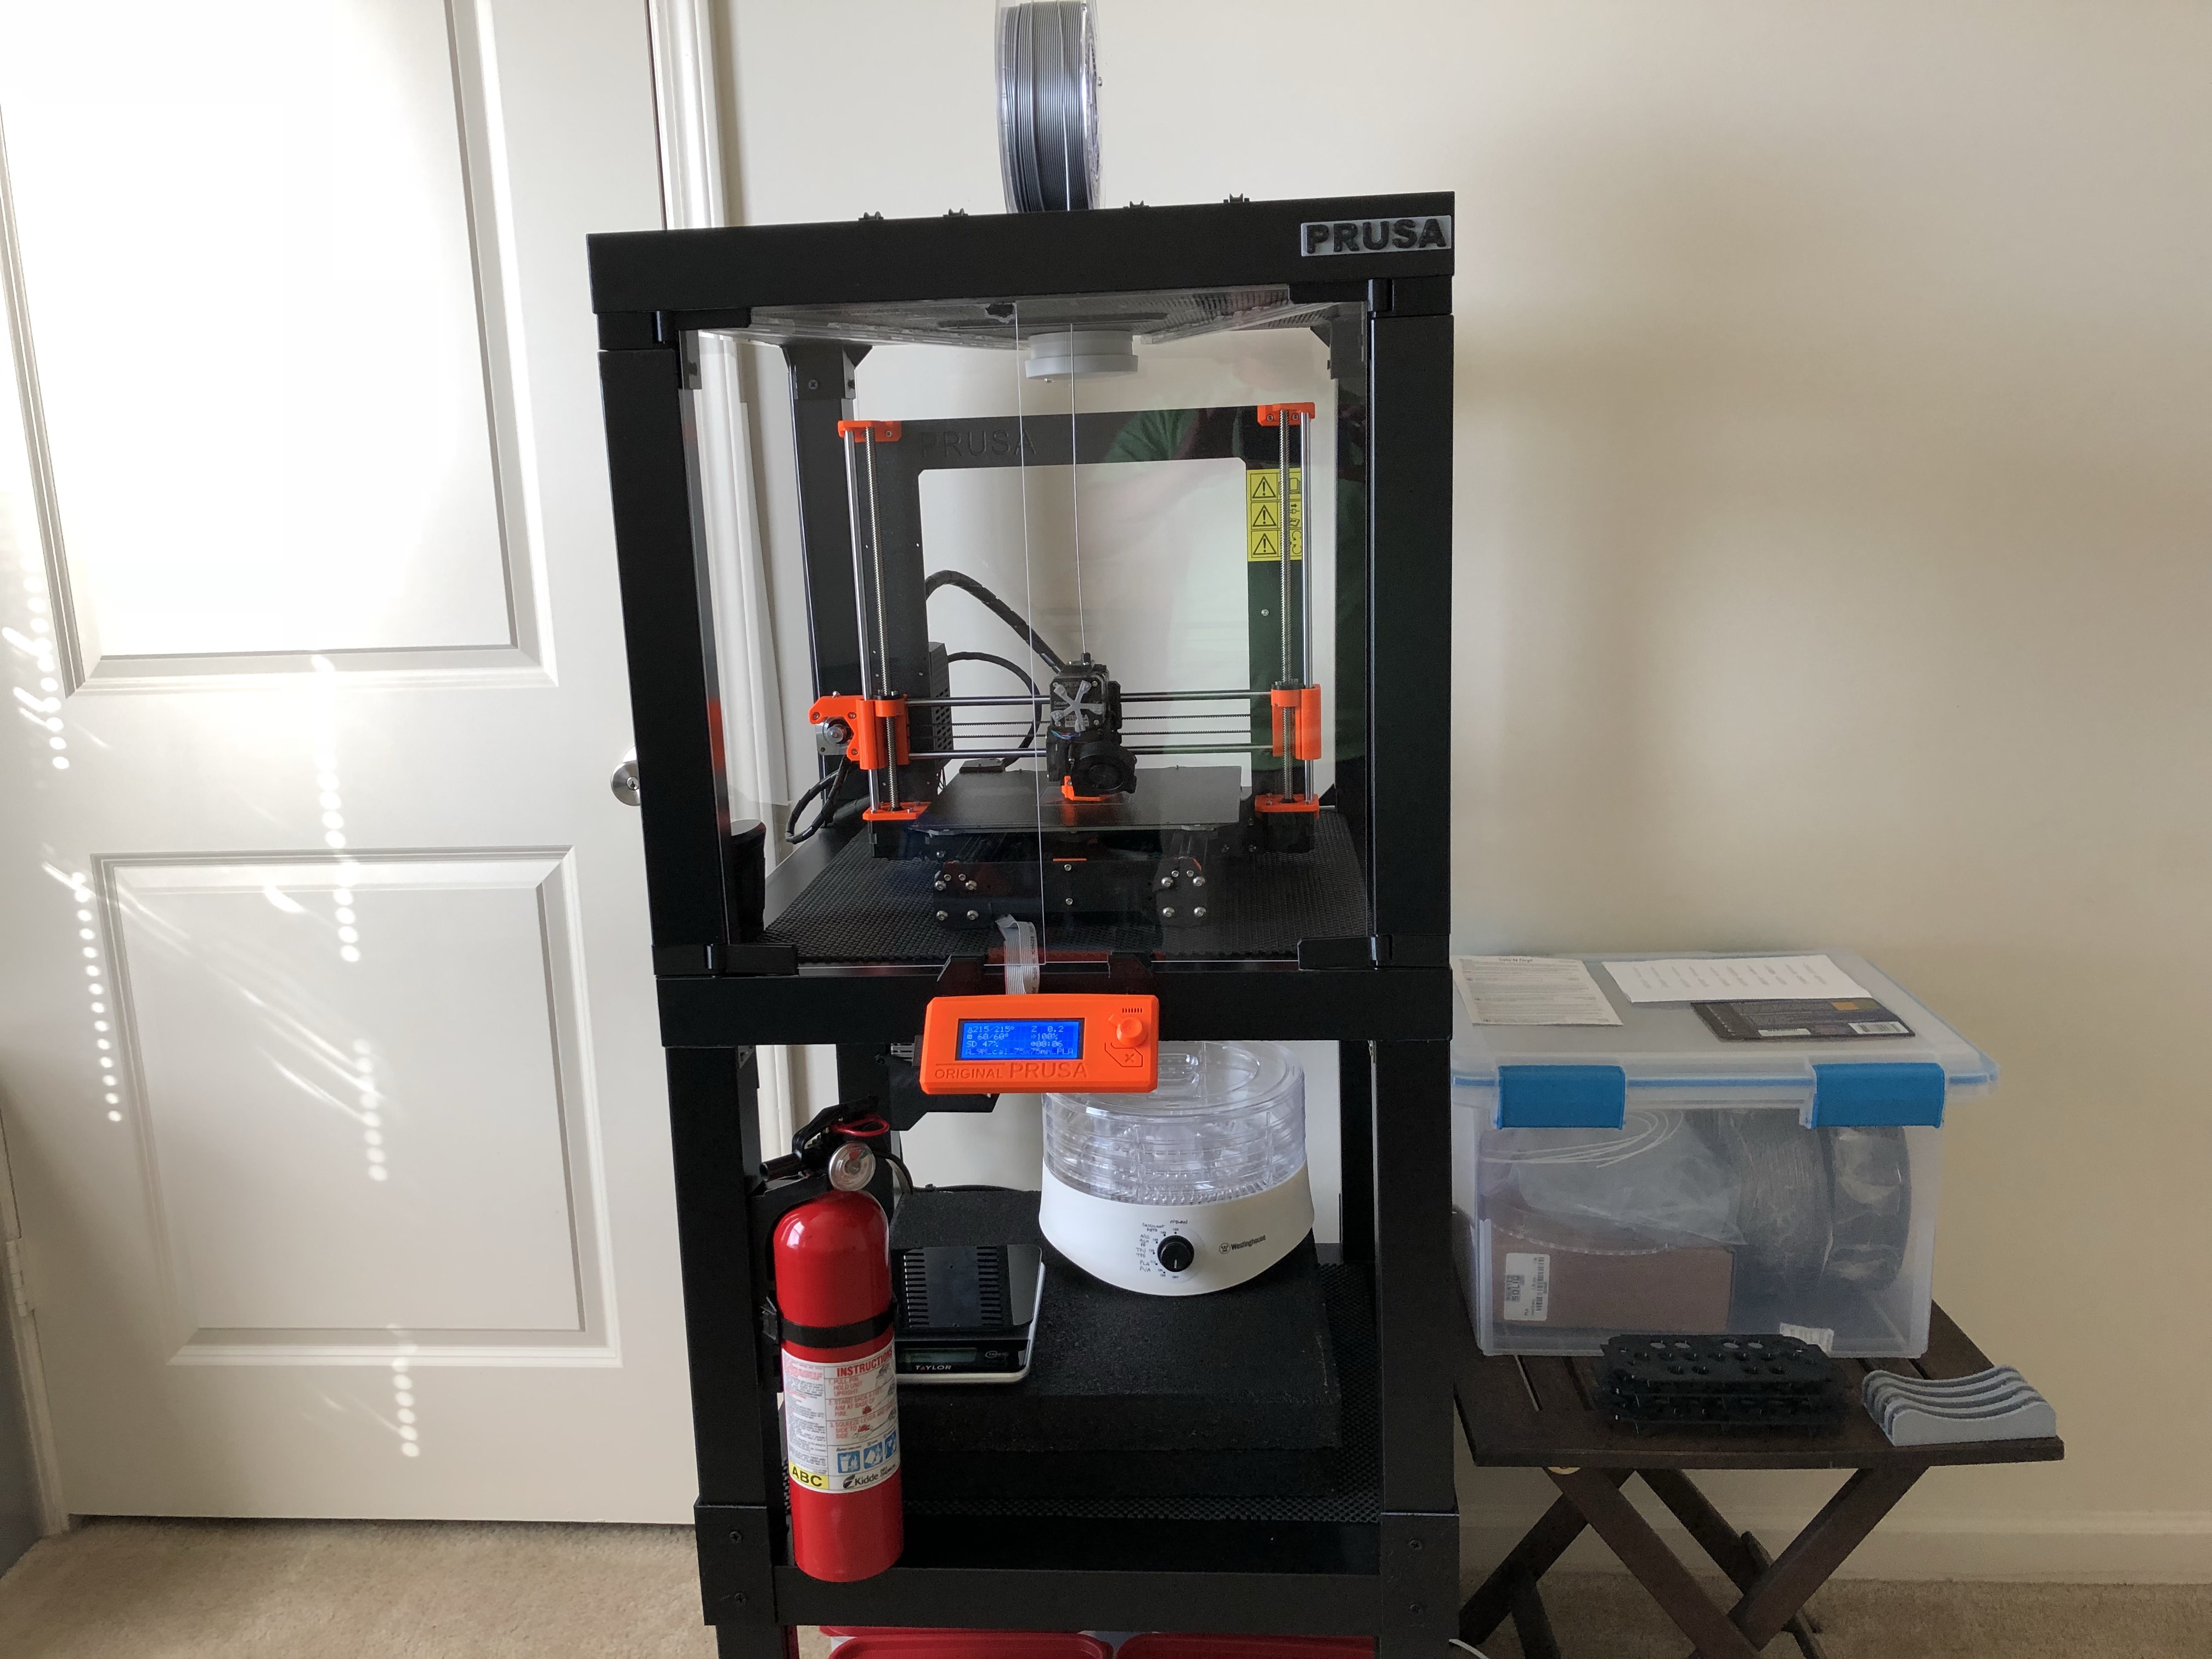
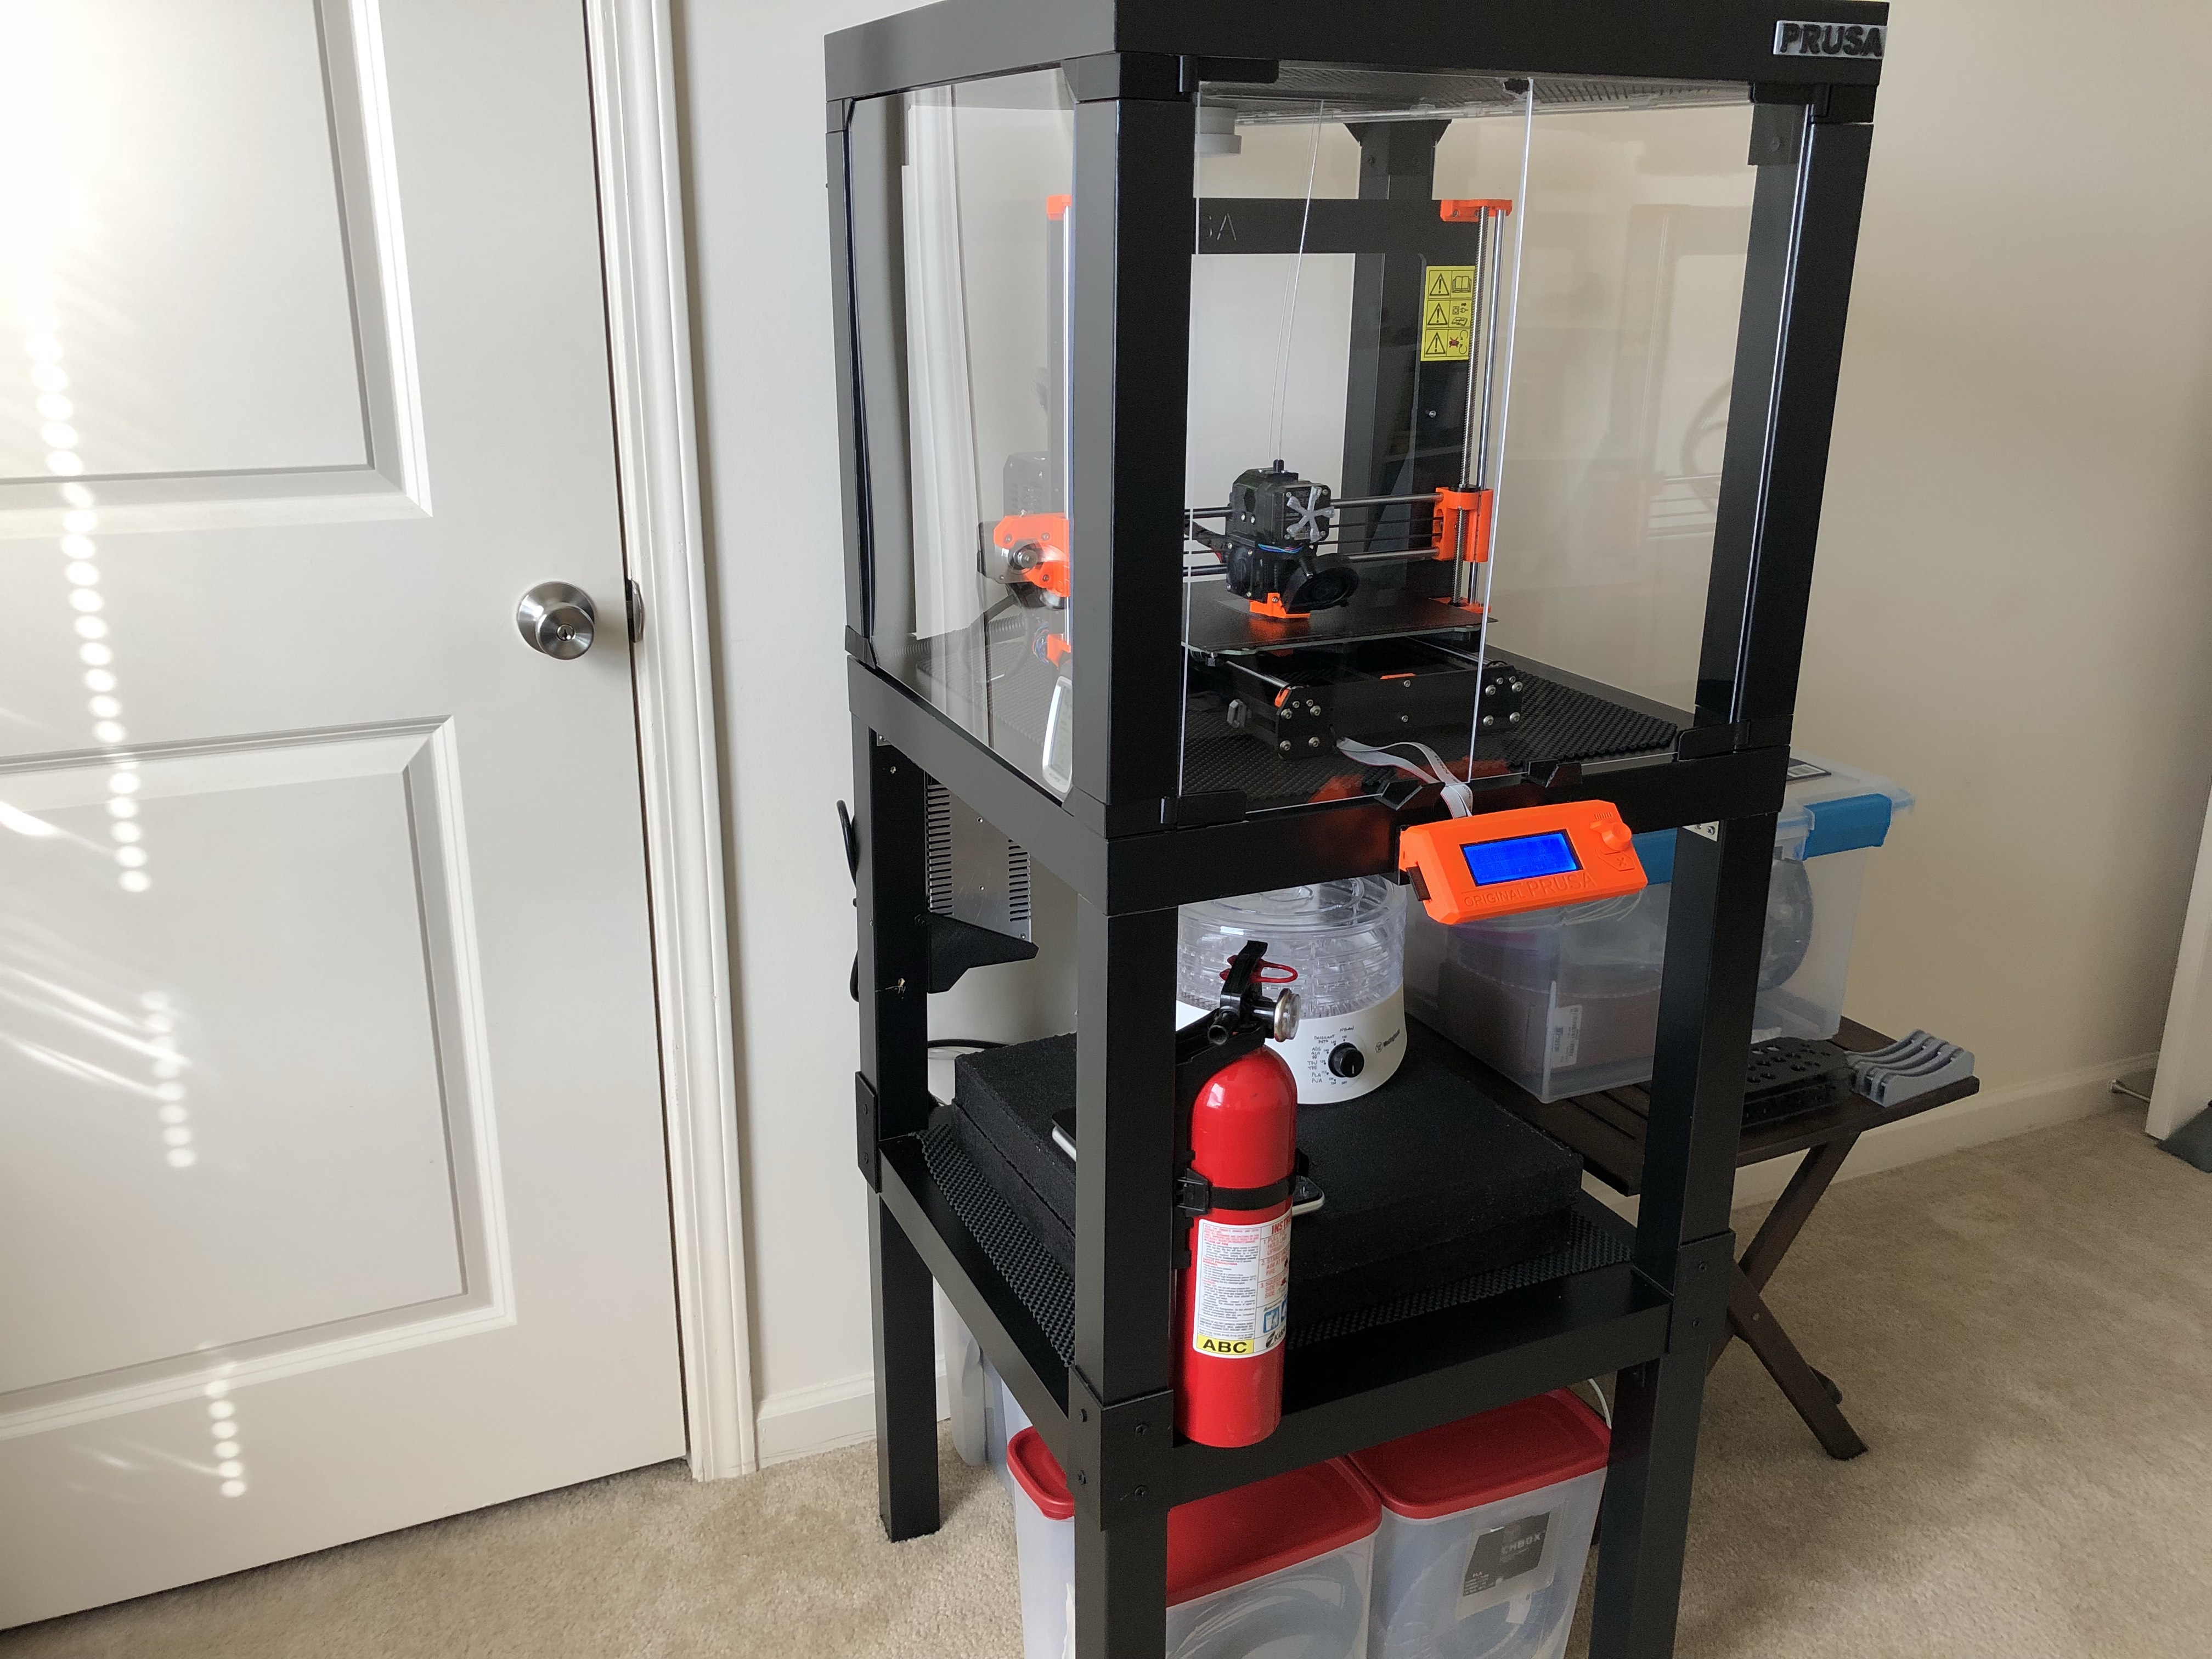
I completed and assembled my LACK enclosure. Pictures attached below for reference. The only unstated tricky part is the mounting of the PSU. It is mounted on the left rear, but it is on the back of the left rear which is not apparent from the pictures in the official enclosure post. This gave me some trouble to figure out
Please note the placement of the PSU on the left rear of the enclosure. No extension of the cables was necessary to make this work with the official instructions using this mounting method, however the placement of the cable pass through on the left rear post is to the inside, front to rear of the top and bottom left rear parts which is not clear from the pictures on the offical enclosure post.
All in all, I am pleased and it works well. I did a 3 LACK stack and used a couple of modified parts. The extra lack brackets for the third table, an extended filament pass-through instead of the one from the official files and the MK3 60 deg heatbed cable cover as well as the extended spool holders and a mount for the control panel all found on Thingiverse were used. I have 2 pavers covered in Plasti-dip on the bottom table to damper any shaking and have not had any problems with vibrations but is is slightly louder than when I had the printer on a table before I put in the enclosure. It is not loud enough to bother me, but it is more noticeable so that is something to consider. I like it and it
I guesstimate a little over a $100 for stuff to build. ( 3 lacks @ $9 each, $60 for PrintedSolid.com acrylic, and some$$$ for screws and attachments as well as filament costs, $5 for pavers and $10 for Plasti-dip spray). Definitely a satisfying project if you are into that sort of thing.
Strange women, laying in ponds, distributing swords, is hardly a basis for a system of governance!