New build, amazing results, but an odd problem compared to most
I got my kit and assembled it fine. I will say, judging by my experience and the comments, there are a few minor issues with black printed parts kits. It's like wall imperfections on nut holes, or tolerances being too exact, maybe even nut variation. It wasn't a big deal, but there were a few thirty minute tasks that took one to two hours, all related to very short bolts or nuts that wouldn't grab. I think I have one still in the extruder body, and that was after taking it apart once to fix another nut that had shifted.
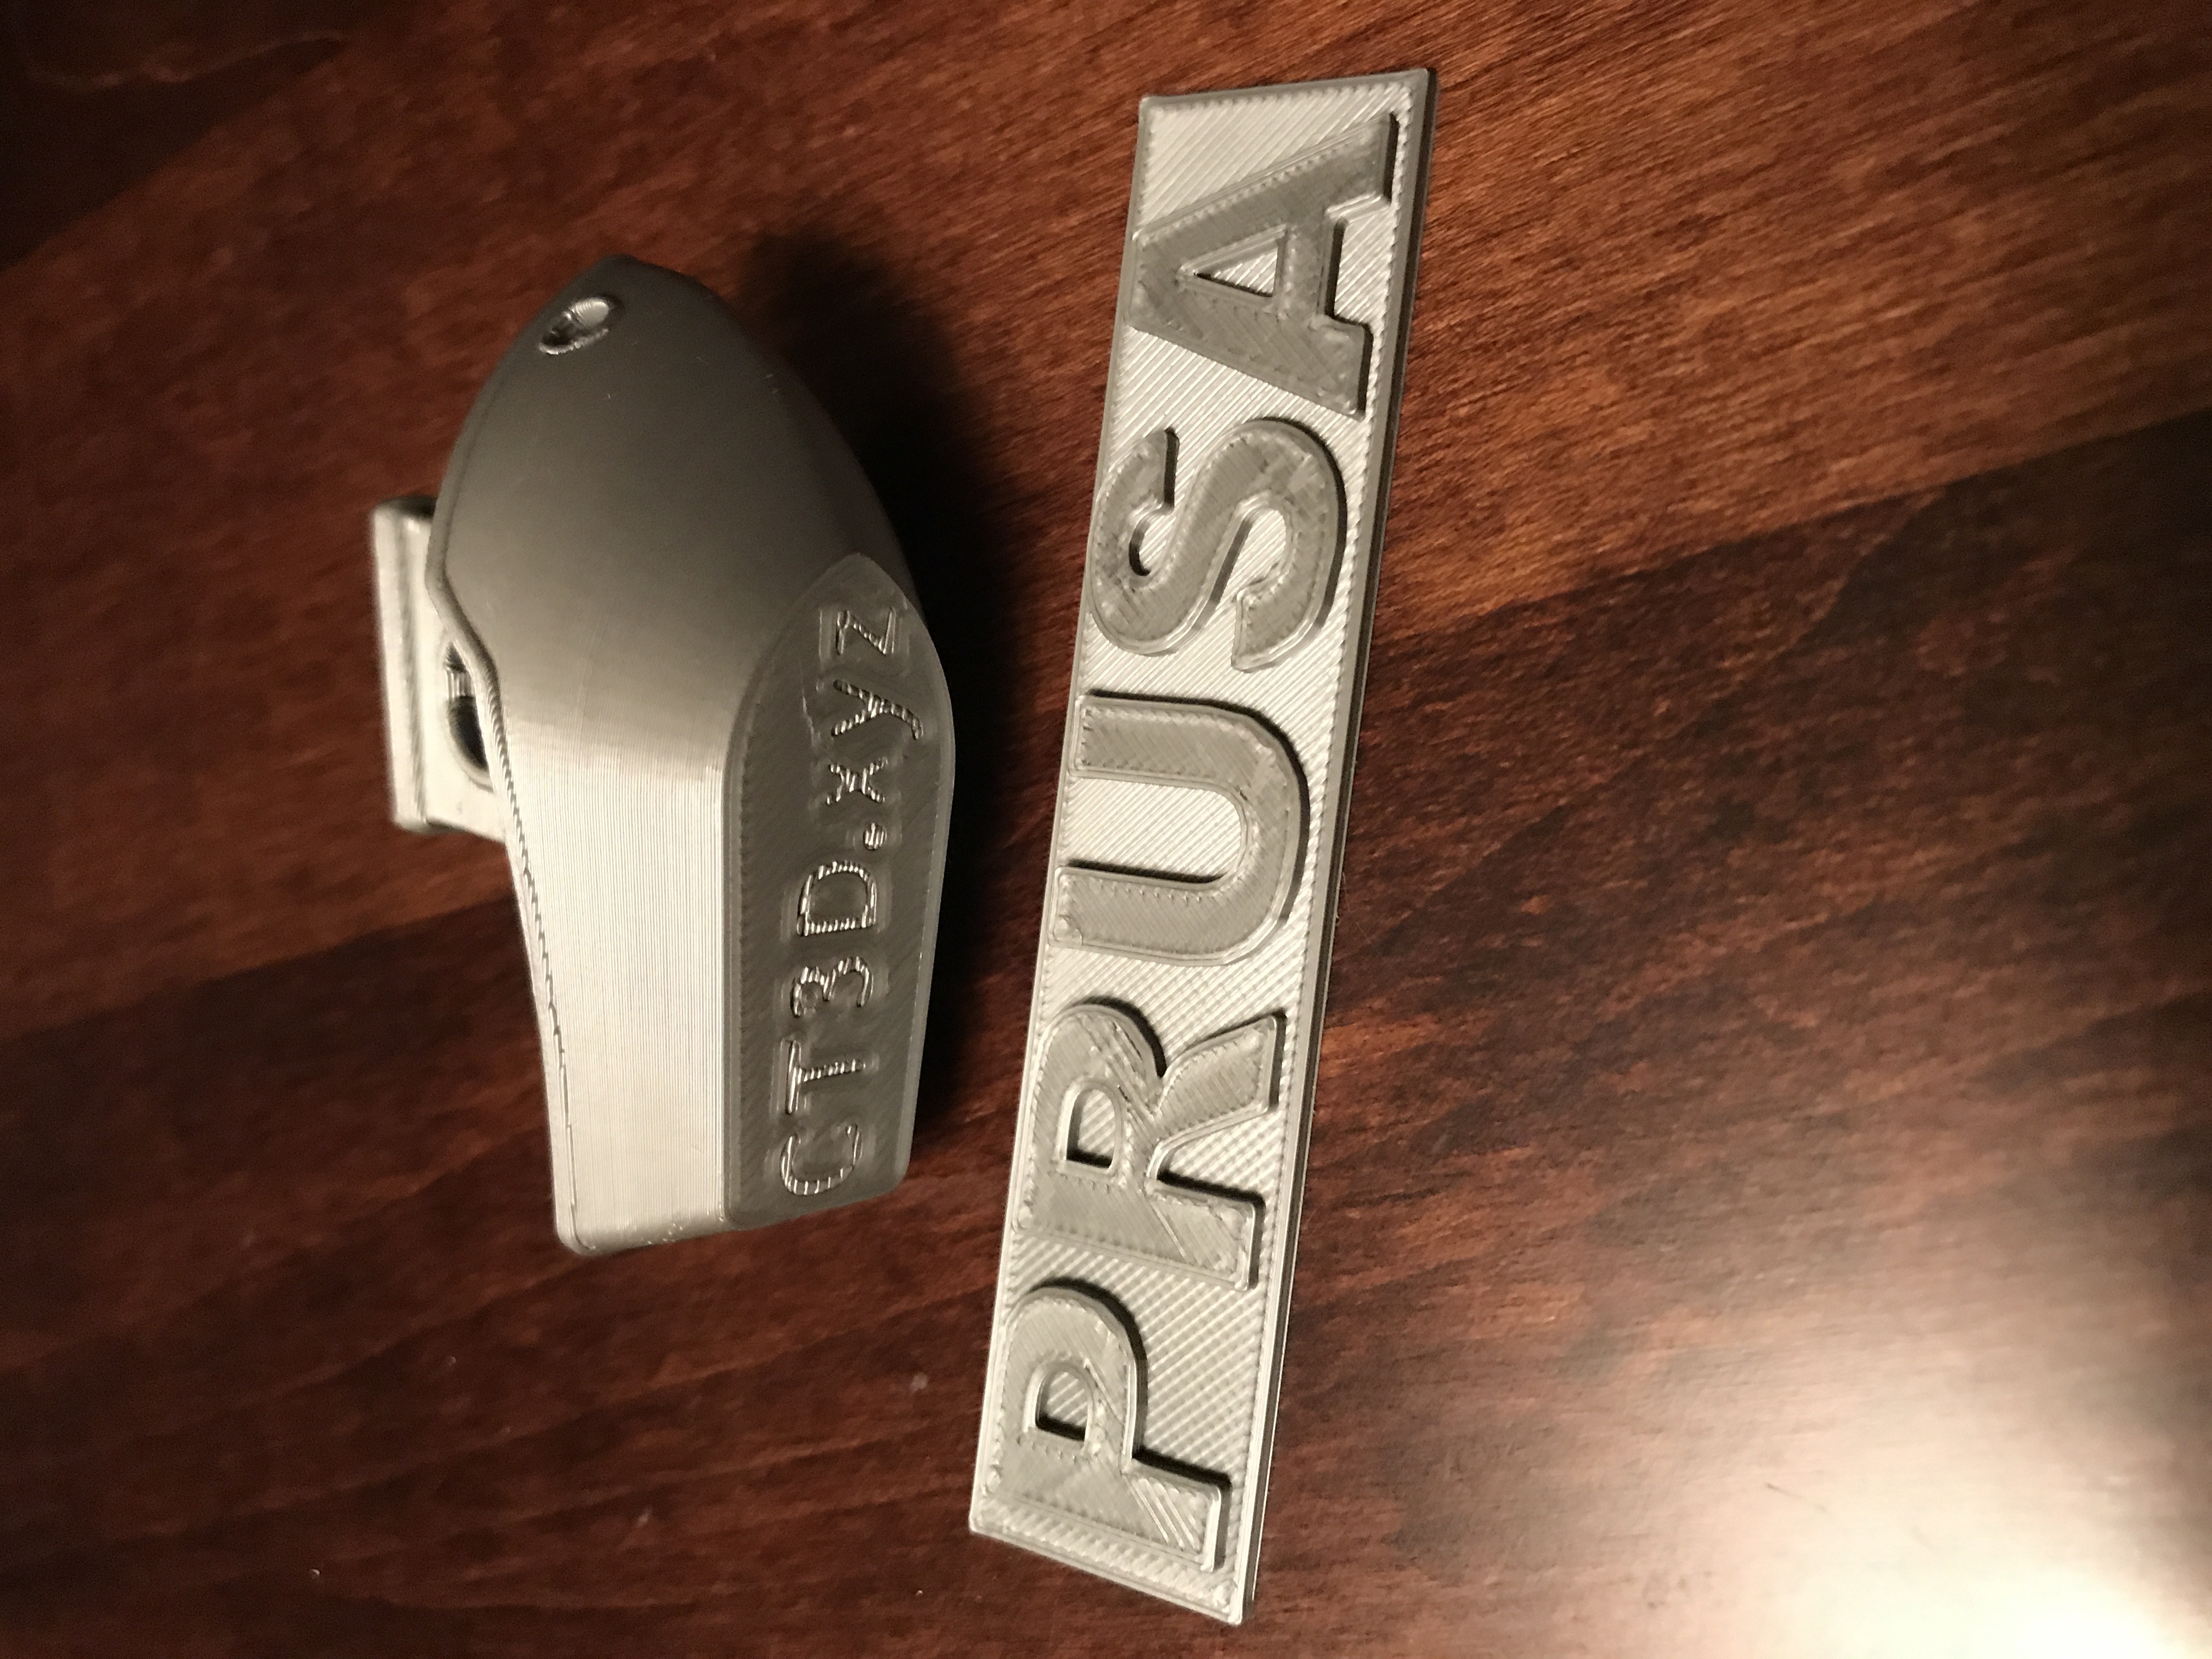
Now, that said, I am very detail oriented, more than most. I took a lot of time to assemble, and the results match. I expected good results from the i3, but not quite so perfect straight out of the box! I calibrated the live z in one shot, and even before that I was having good bed adhesion at 0mm, but it was round. I just moved it a bit until it started looking flatter and then tried the logo. The bed side of my prints looks better than basically anything I've seen, but the logo was quite hard to remove. I really worry about damaging my PEI, I feel like I should order two so I have them on hand, so I'm not stressing about it every print removal. I then printed a benchy, and overnight the tree frog. They all look essentially perfect, few tiny flaws I'd like to hear about, just if they can be avoided or if it's just part of printing? I searched and searched for this topic, but everyone has adhesion problems, not over adhesion, any tips? My guess is raising the live z some? My benchy was hard to remove, and I have a tree frog sitting on a fully cooled bed waiting for advice!


Re: New build, amazing results, but an odd problem compared to most
Three attachment limit?
Re: New build, amazing results, but an odd problem compared to most
So, I guess I solved it myself, but I'd still like to know if I should try and reduce bed adhesion? In the end I tried pre-heating the bed, to loosen it some, and tapping it around the sides with a plastic spatula, it finally came free. You could hear the feet and other parts breaking free as I tapped around.


Re: New build, amazing results, but an odd problem compared to most
I think your prints are looking really good. Maybe do e-steps calibration and the PID tuning as well if you haven't done so already. But overall, this is looking good.
With respect to bed adhesion. You could indeed raise the nozzle a tiny bit using live z-adjust or just wait until the PEI loses some of its initial stickiness.
If a print is too hard to remove, you could try dripping Isopropyl alcohol around its edges and wait a minute or two. It creeps under the print and makes it easier to remove. Having said that, there is nothing wrong with having a spare PEI sheet or two sitting in a drawer somewhere just in case. They're not always in stock and shipping can take a while..
Oh, one thing: if you are planing to print with PETG any time soon, do raise the nozzle a bit, as PETG sticks like hell to PEI and there is a point where too much adhesion really does turn into a problem.