'Hump' in bed.
I've already opened a ticket, but I am sure they are swamped, it has been a few days since the last email.
Anyway my bed has a 'hump' on the right side, just past the center of the bed. Pictures below. This causes the nozzle to be too close to the bed in this area when the bed to the left is at a good height. Has anyone else seen this behavior? Essentially I am not able to use the right side of the bed.
If there was a 'dip' in the location I could try to shim it, but I can't figure out a way to fix this.


Re: 'Hump' in bed.
Have you looked at the bed adjustment feature accessible from the Calibration menu and as new L R F B ?
Re: 'Hump' in bed.
I have, it is currently maxed at 50um and this allows me to print a little bit into the hump, but nothing past that, as the nozzle is now way too high above the bed.
Re: 'Hump' in bed.
Is it the PEI sheet? It may have lifted off the print bed.
Re: 'Hump' in bed.
Is it the PEI sheet? It may have lifted off the print bed.
I wish it was that simple.
I am thinking of taking aluminum stock and epoxying it to the bottom of the PCB, anyone know if this will affect the sensors used by the pinda probe?
Looks like two strips about 250mmx50mmx4mm across the bottom might fit between the mount points and bearing holders. Not sure if this would introduce any other problems though.
Still no word back from support. Probably shouldn't expect anything until after the holidays.
Re: 'Hump' in bed.
As an alternative, you could but blue tape around the perimeter to bring it level with the hump. If this temp solution works, you could replace the blue tape with and additional layer of PEI. Also, could you take another photo, same setup but use some front facing light or use the flash if available.
After the holidays, I plan on making a bracket to hold my dial gauge and will post a video of some gcode going across the board at different locations. This should show the extent of the warpage.
Re: 'Hump' in bed.
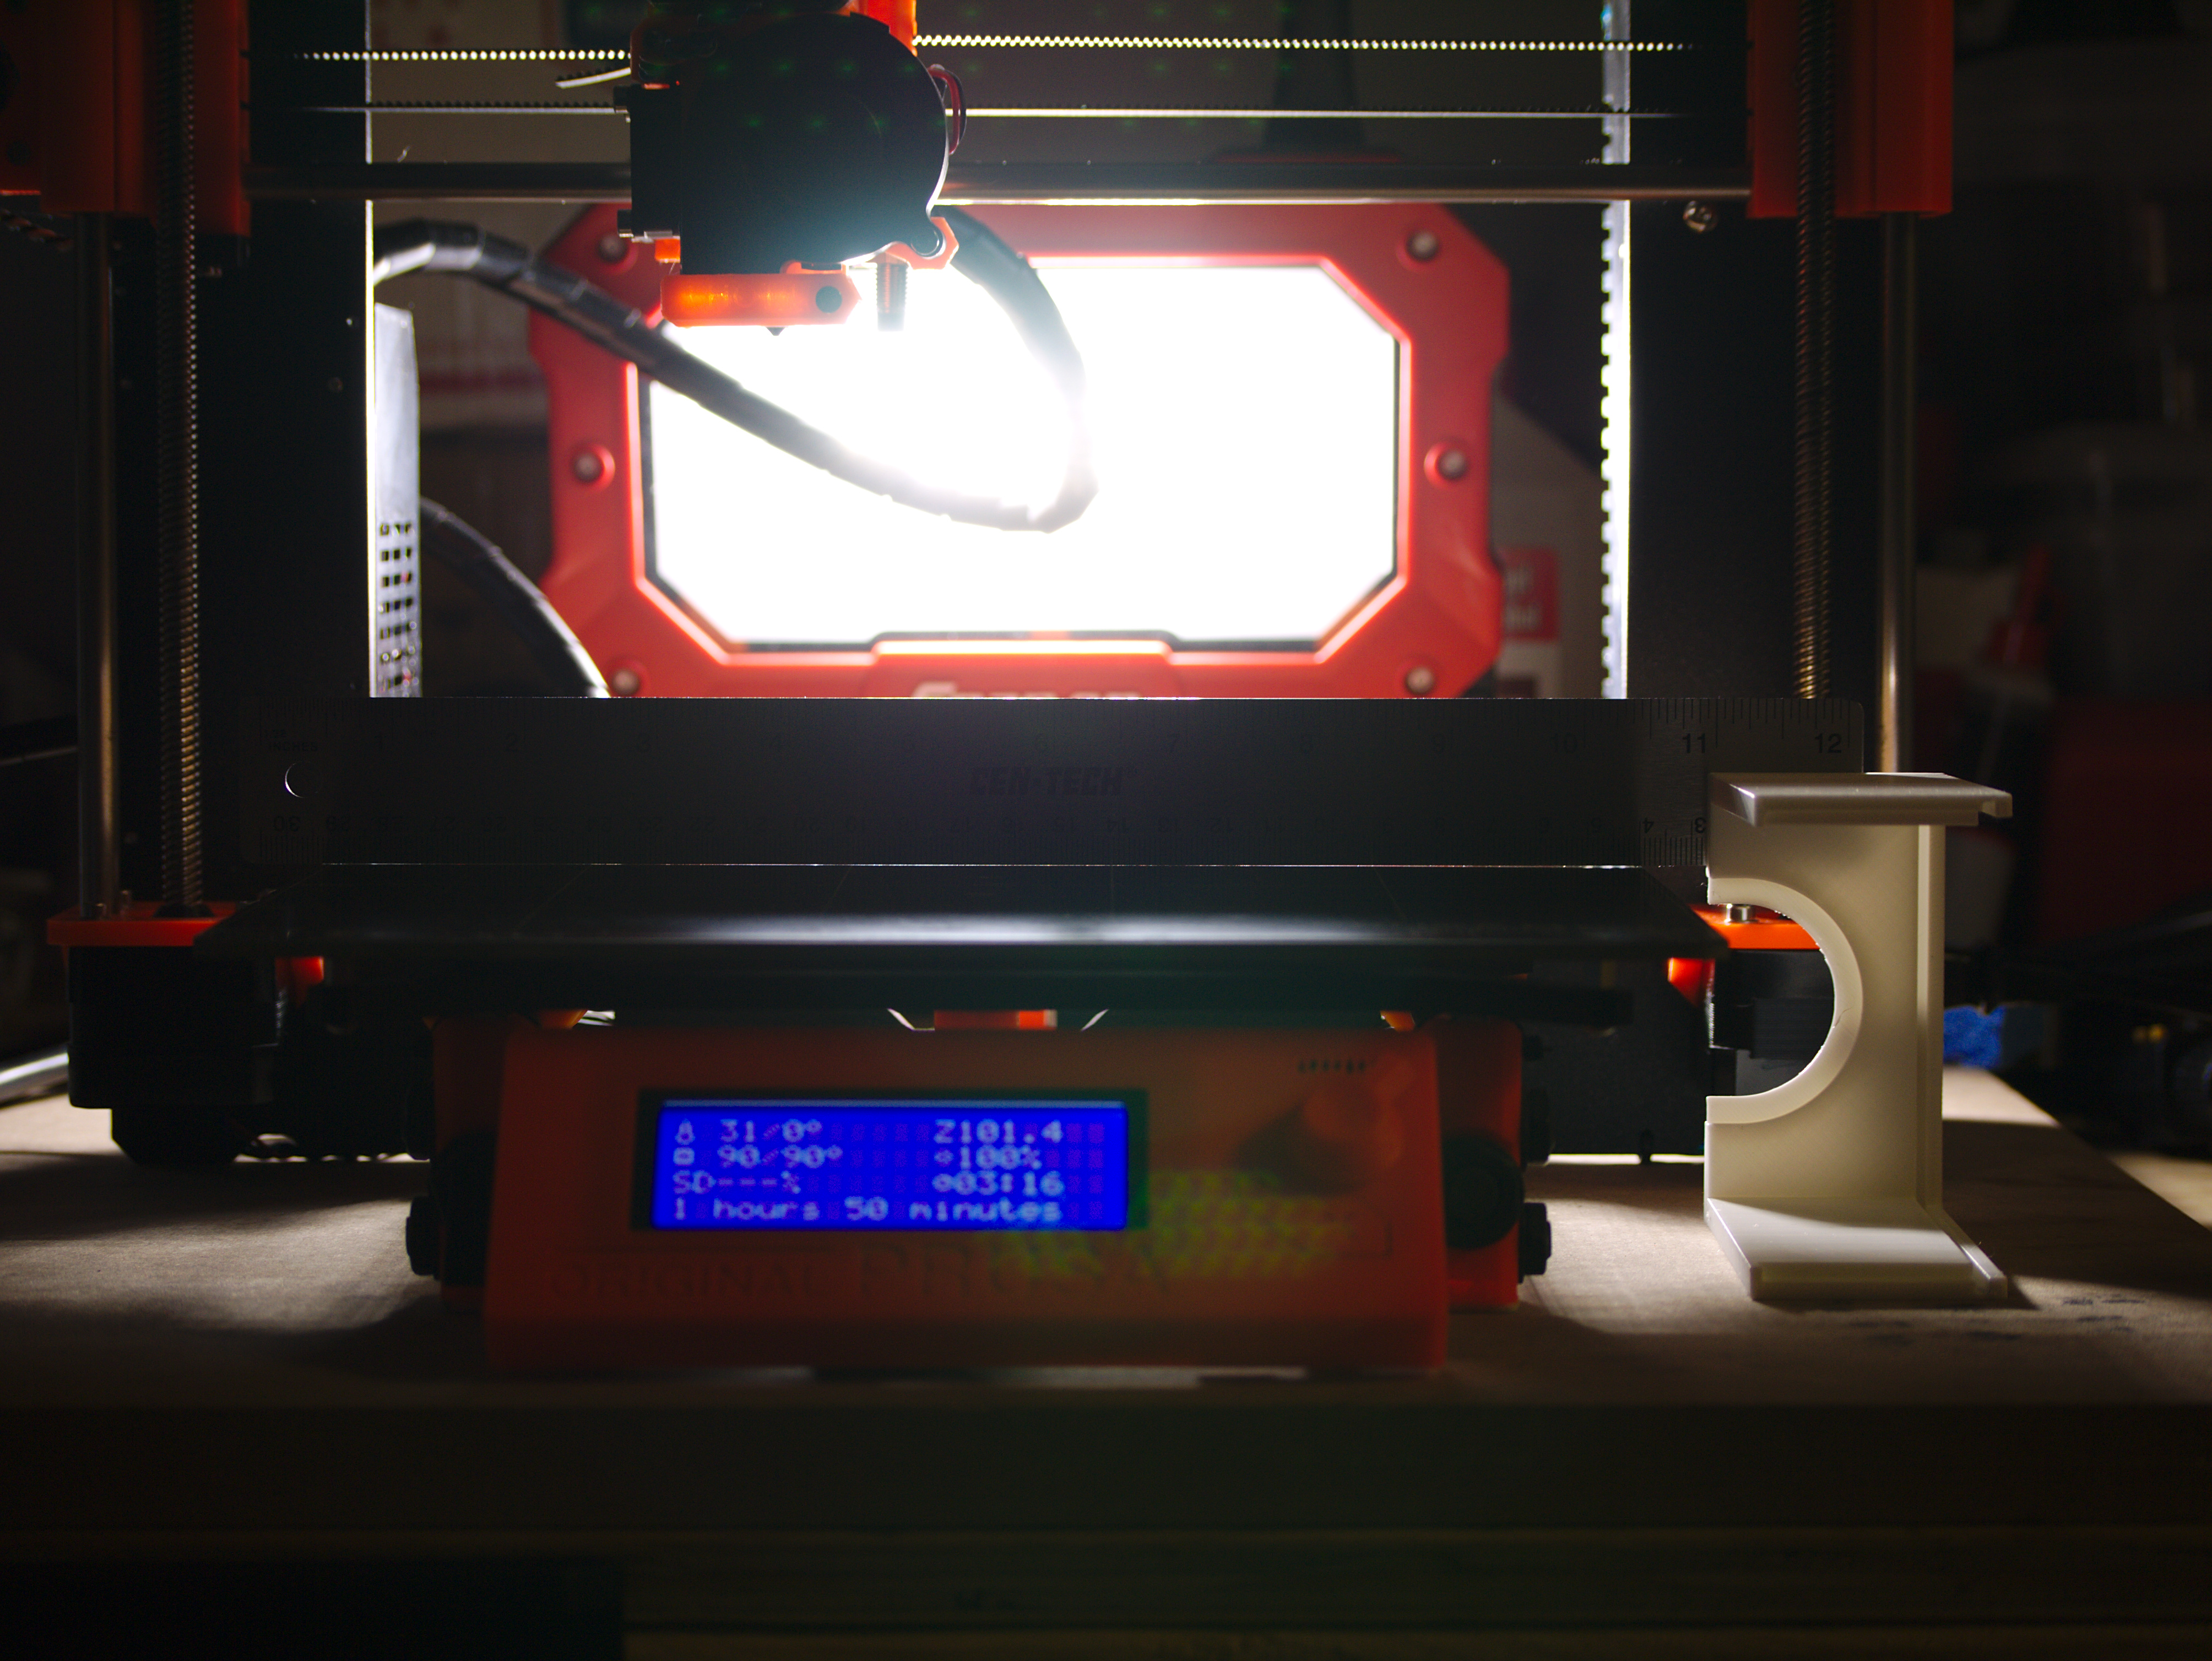
Requested by support. Remove heatbed and place on flat surface and check for warping.

Ruler flat across the bed.

Same shot, but I've pushed down the right side of the ruler, check out the gap on the left side.
Re: 'Hump' in bed.
Further back in the bed.


Re: 'Hump' in bed.
Again, further back.


Re: 'Hump' in bed.
Alright dial indicator mount made. Hopefully get it mounted and get some measurements this week.
http://www.thingiverse.com/thing:2022563
Re: 'Hump' in bed.
Spent several hours getting each corner inductive point very close to level with center point. After that I probed the bed every 25mm on the X/Y axis.
Here is the video of the process:
And the results:


I'm going to read up on how the mesh compensation works, but if it's a simple linear interpolation, there are 2 areas of my bed that would be worse off with mesh leveling than without. We'll see what support has to say. This has been an experience for sure. Looking at ways to fix my bed if it's within Prusa's tolerance for warp. Ideas are welcome.
Gcode posted on thingiverse at link in post above.
Re: 'Hump' in bed.
Really interesting how you figured this out. I am going to do the same thing, my bed is very much not flat. All my large prints have a clear 'wave' in it on the down side.
Re: 'Hump' in bed.
So, I'm waiting for my kit to arrive.. This is just me thinking about a" hump in bed" 🙄
OK, it may be when PEI sheet is installed a gentle warp happens to bed??
I'll check mine with a metal rule, and if the hump is noted, carefully apply heat gun to relieve any stress PEI sheet has put on bed.
Just an idea here people, but this might be what some are seeing, and the first few bed warming cycles might fix the issue.
Interesting. Let me run one with the bed heated.
Re: 'Hump' in bed.
Interesting. Let me run one with the bed heated.
Very interesting, maybe the PCB needs room to expand and contract. Problem could be the different expansion rates of the bed and the brace?
Bed @ 100*, original readings @post above was 20*.


Re: 'Hump' in bed.
It would be cool to also map how the MK2 mesh algorithm in adjusting for these values.
This can be done by putting a sticker on both z stepper motors where the steel rod meets the black part of the base.
Then run the calibration gcode and measure how much the z steppers move in degrees which will be the slope from the mesh calculations.
Re: 'Hump' in bed.
It is probably better to get a replacement bed, but as a thought experiment to get rid of the hump could/would the following apply?
-The bed is made of fiberglass
-Epoxy a small short bolt at the peak of the hump on the bottom of the bed
-Using a washer and nut going through the X frame, tighten down the bolt so the hump goes away
-- make sure the bolt and nut have enough clearance so it does not catch on the z-frame
Since the heating traces are on the top, if this does not work everything could be removed and the epoxy could be sanded away.
Re: 'Hump' in bed.
After having adhesion issues this weekend I took a steel level to my bed and there is certainly a hump right in the middle. If I push down on one side, the other side is about 1mm off the bed. That seems like a lot, but I guess well within the parameters of the machines precision.
Anyone try to print leveling knobs yet to level the bed? Old skool style, like before auto mesh bed leveling and pinda probes?
Re: 'Hump' in bed.
I have the same problem. Was driving me nuts the inconsistency in layers across the bed. Finally took the bed off and held a straight edge. I can slip a business card from the middle of the bed at the left or right edge. (X) Dead level on Y axis though. I got to thinking about the mesh bed level. Am I wrong to assume this only calibrates a flat bed that is askew in some axis and does nothing for warpage? Doesn't help my problem. Need to fire off some photos to Prusa. They promised to take care of me with a replacement or fix, which is sweet! Great company.