Vase mode and hole
Hi
I've designed an object and want to print it in vase mode. There's an hole at it's base. The problem is that when I slice it with slic3r PE, it automatically puts a bridge on my hole. How can I keep my hole ?
Thank you
My youtube channel about the Prusa I3 MK2 https://www.youtube.com/channel/UCz-zQZcKcvEDdd9C9hOKYWg
Re: Vase mode and hole
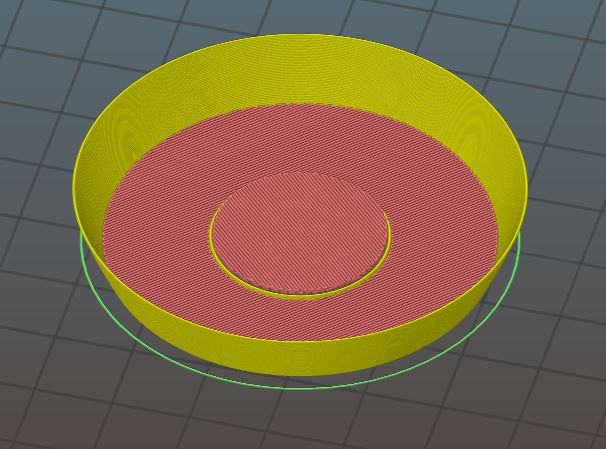
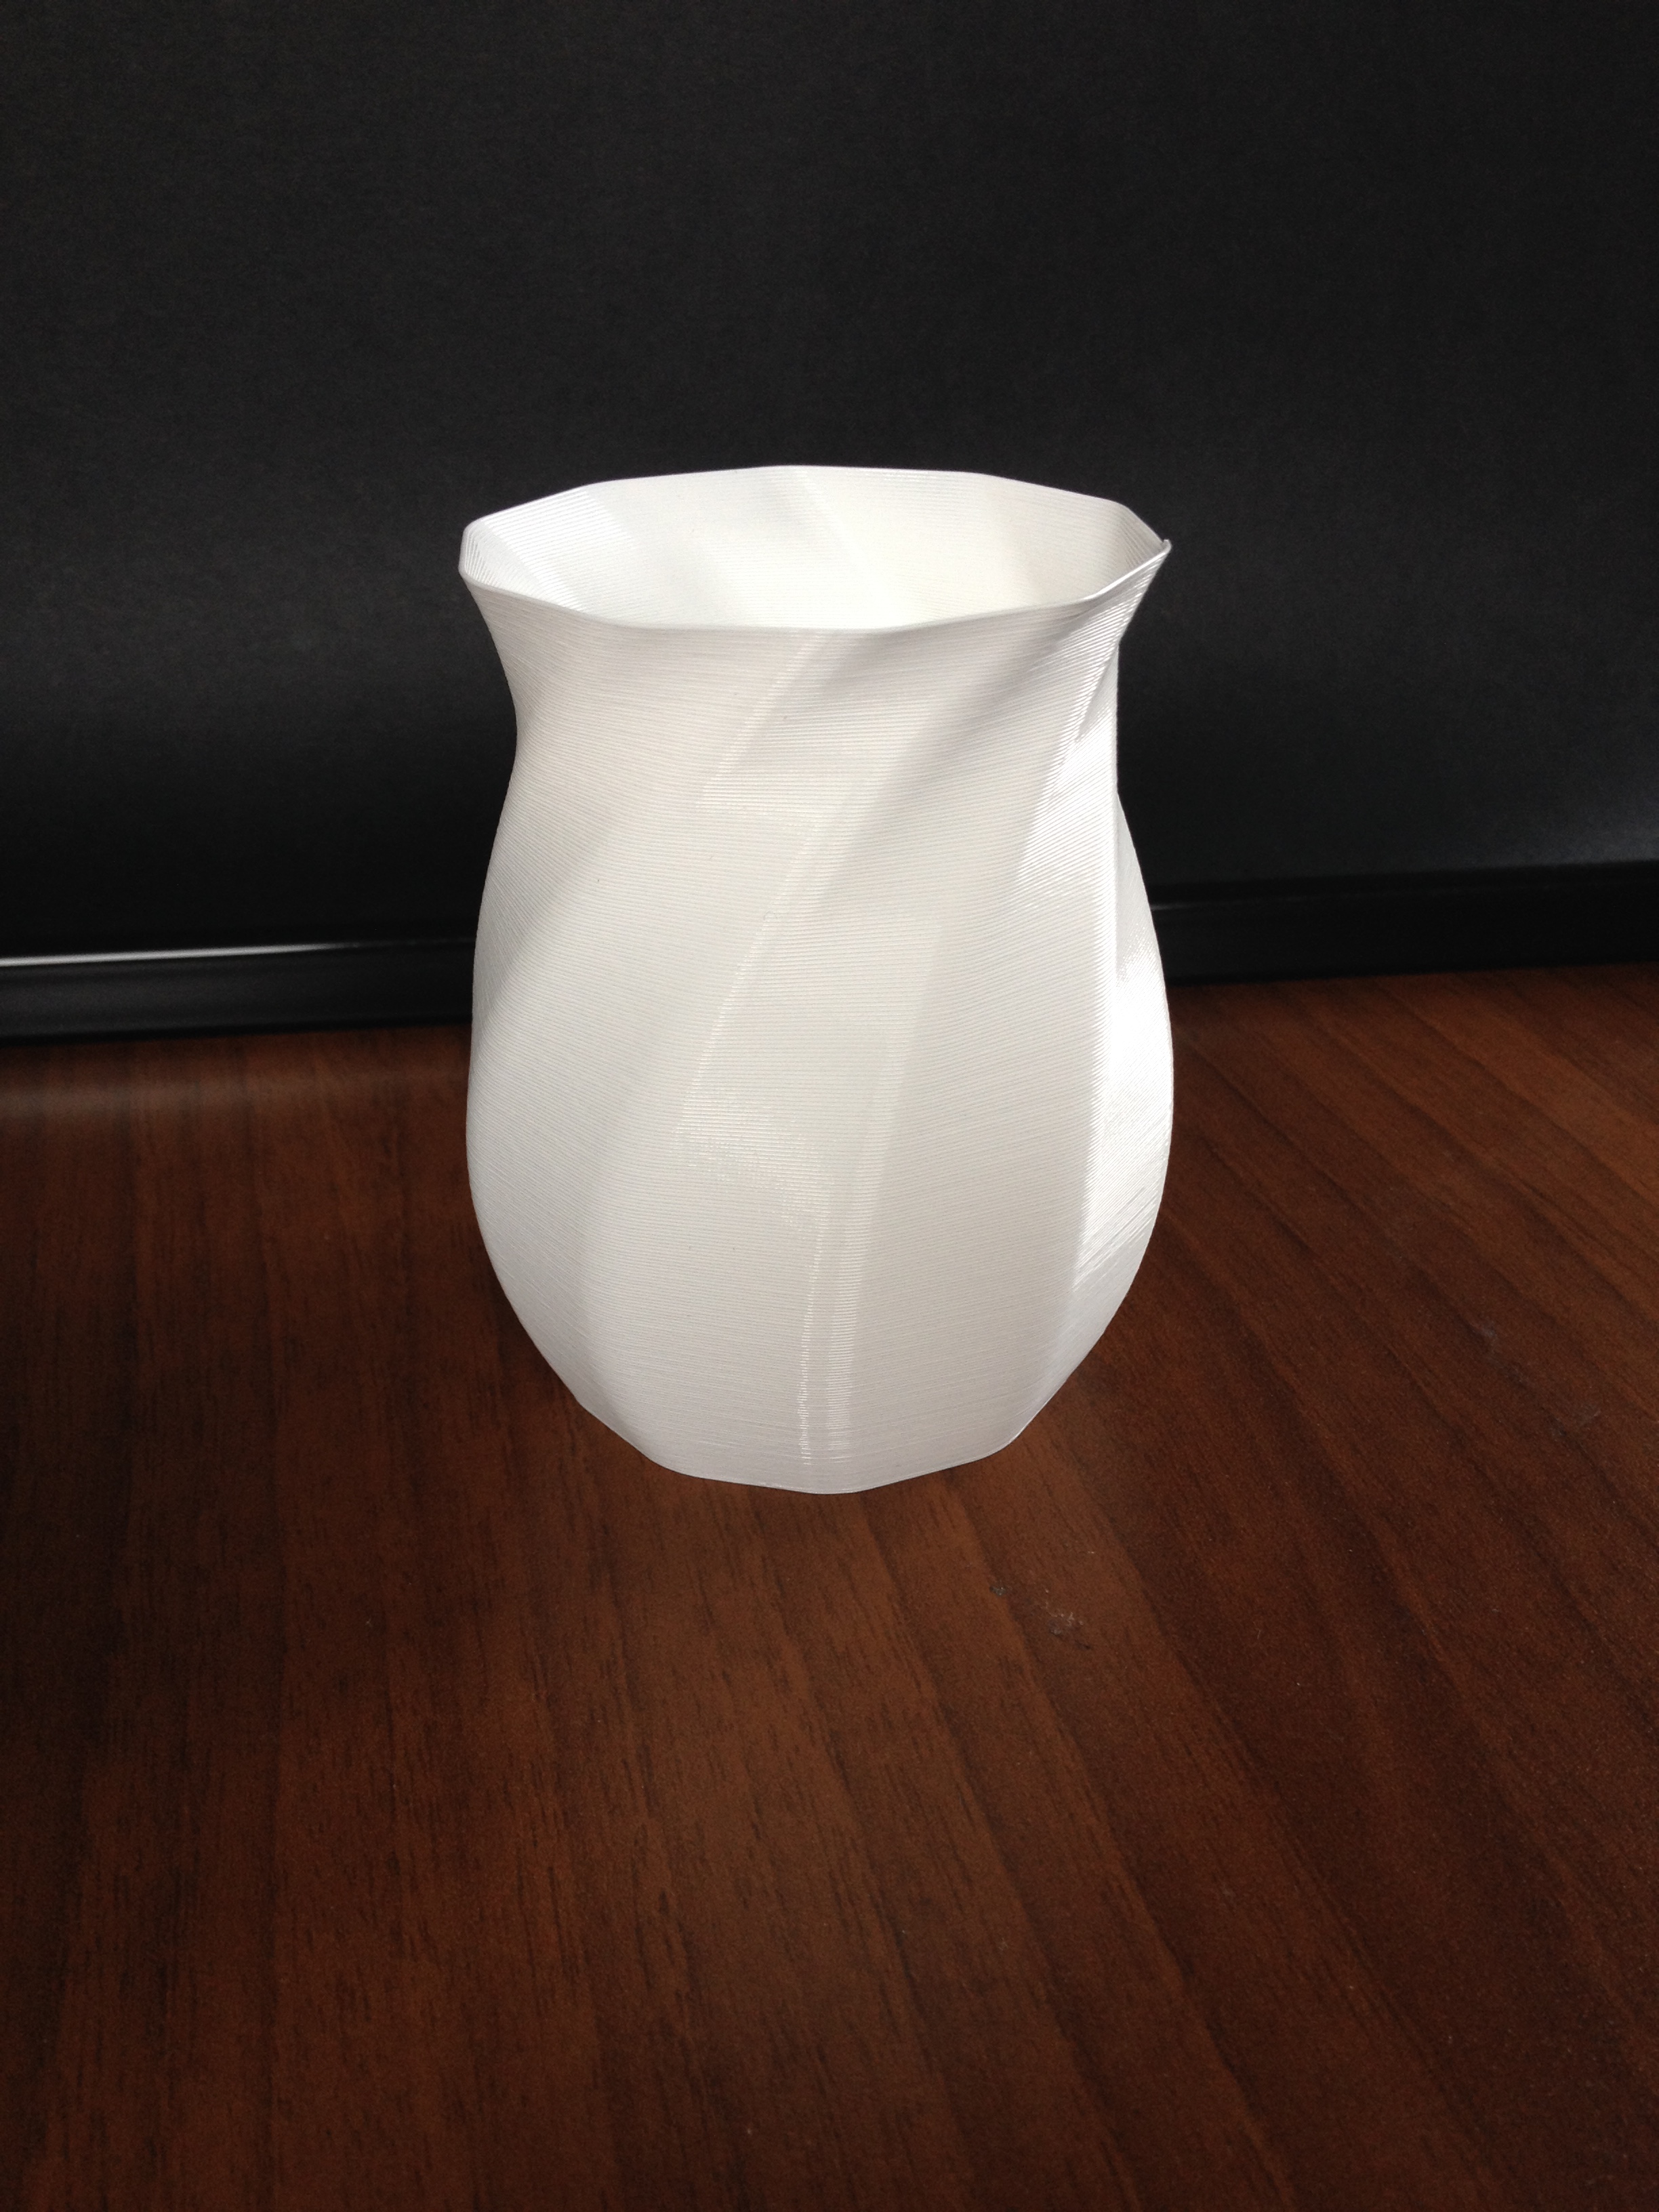
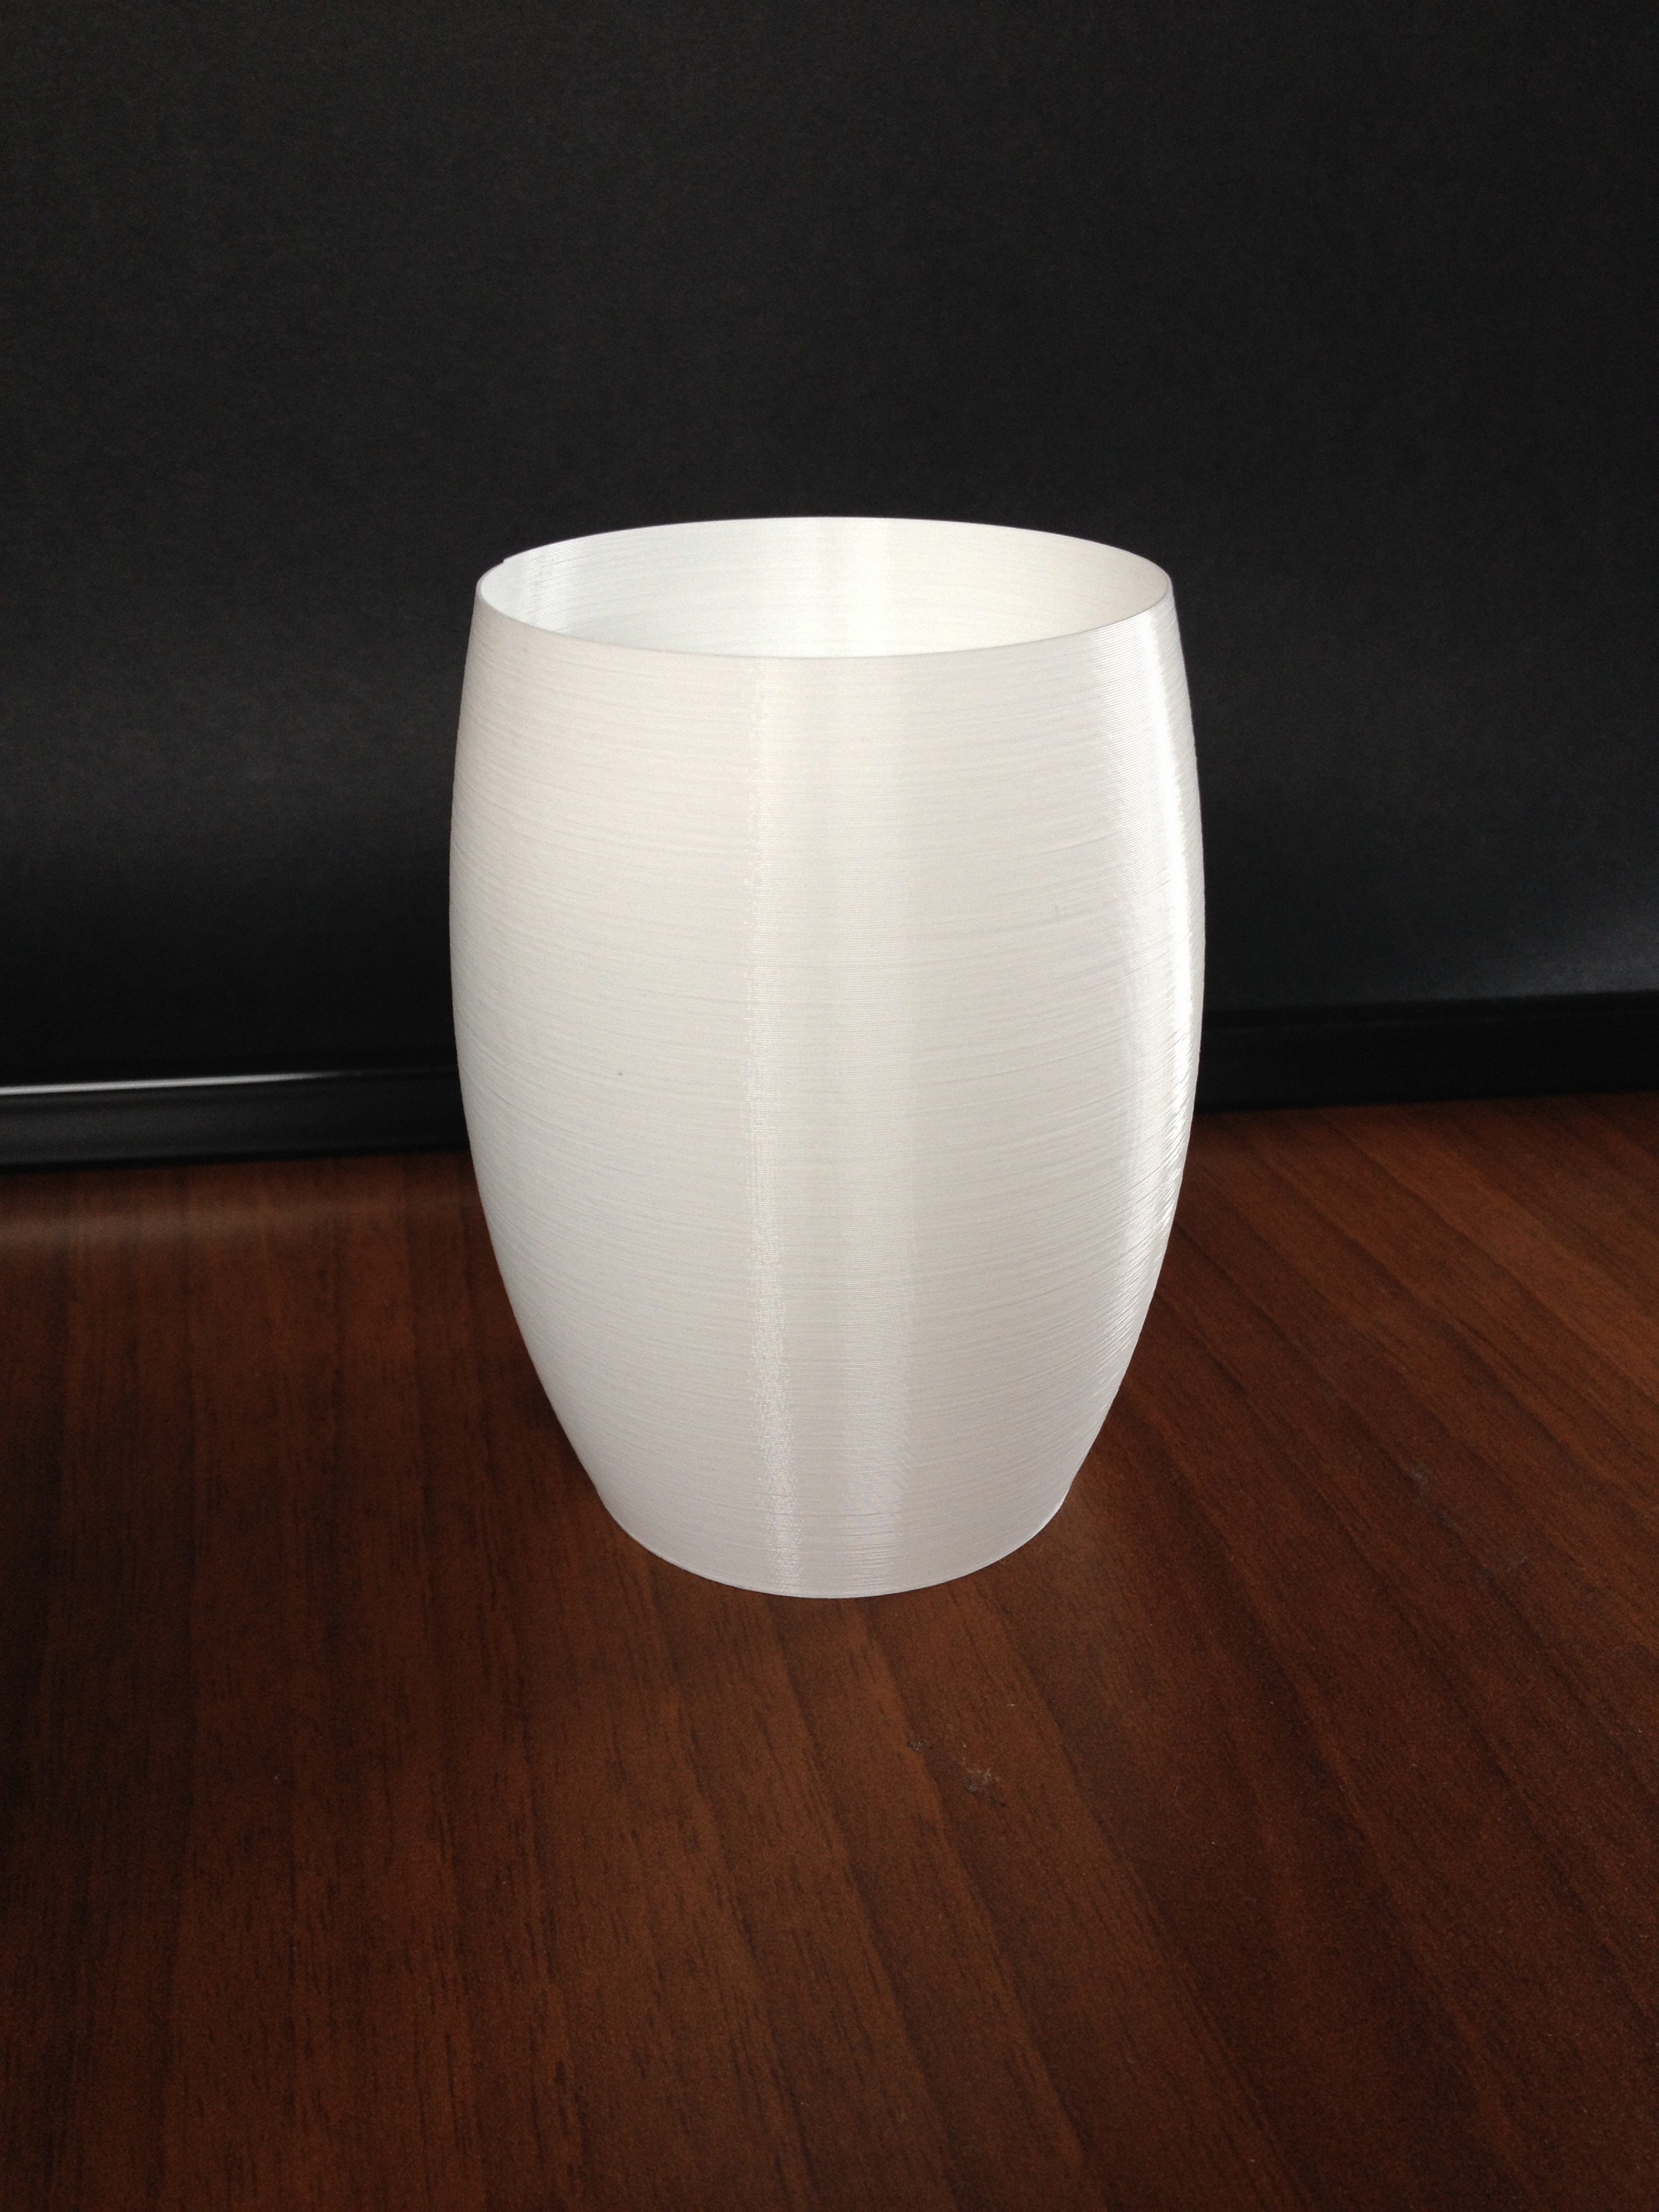
Here are some pictures, it's easier to understand what I mean:
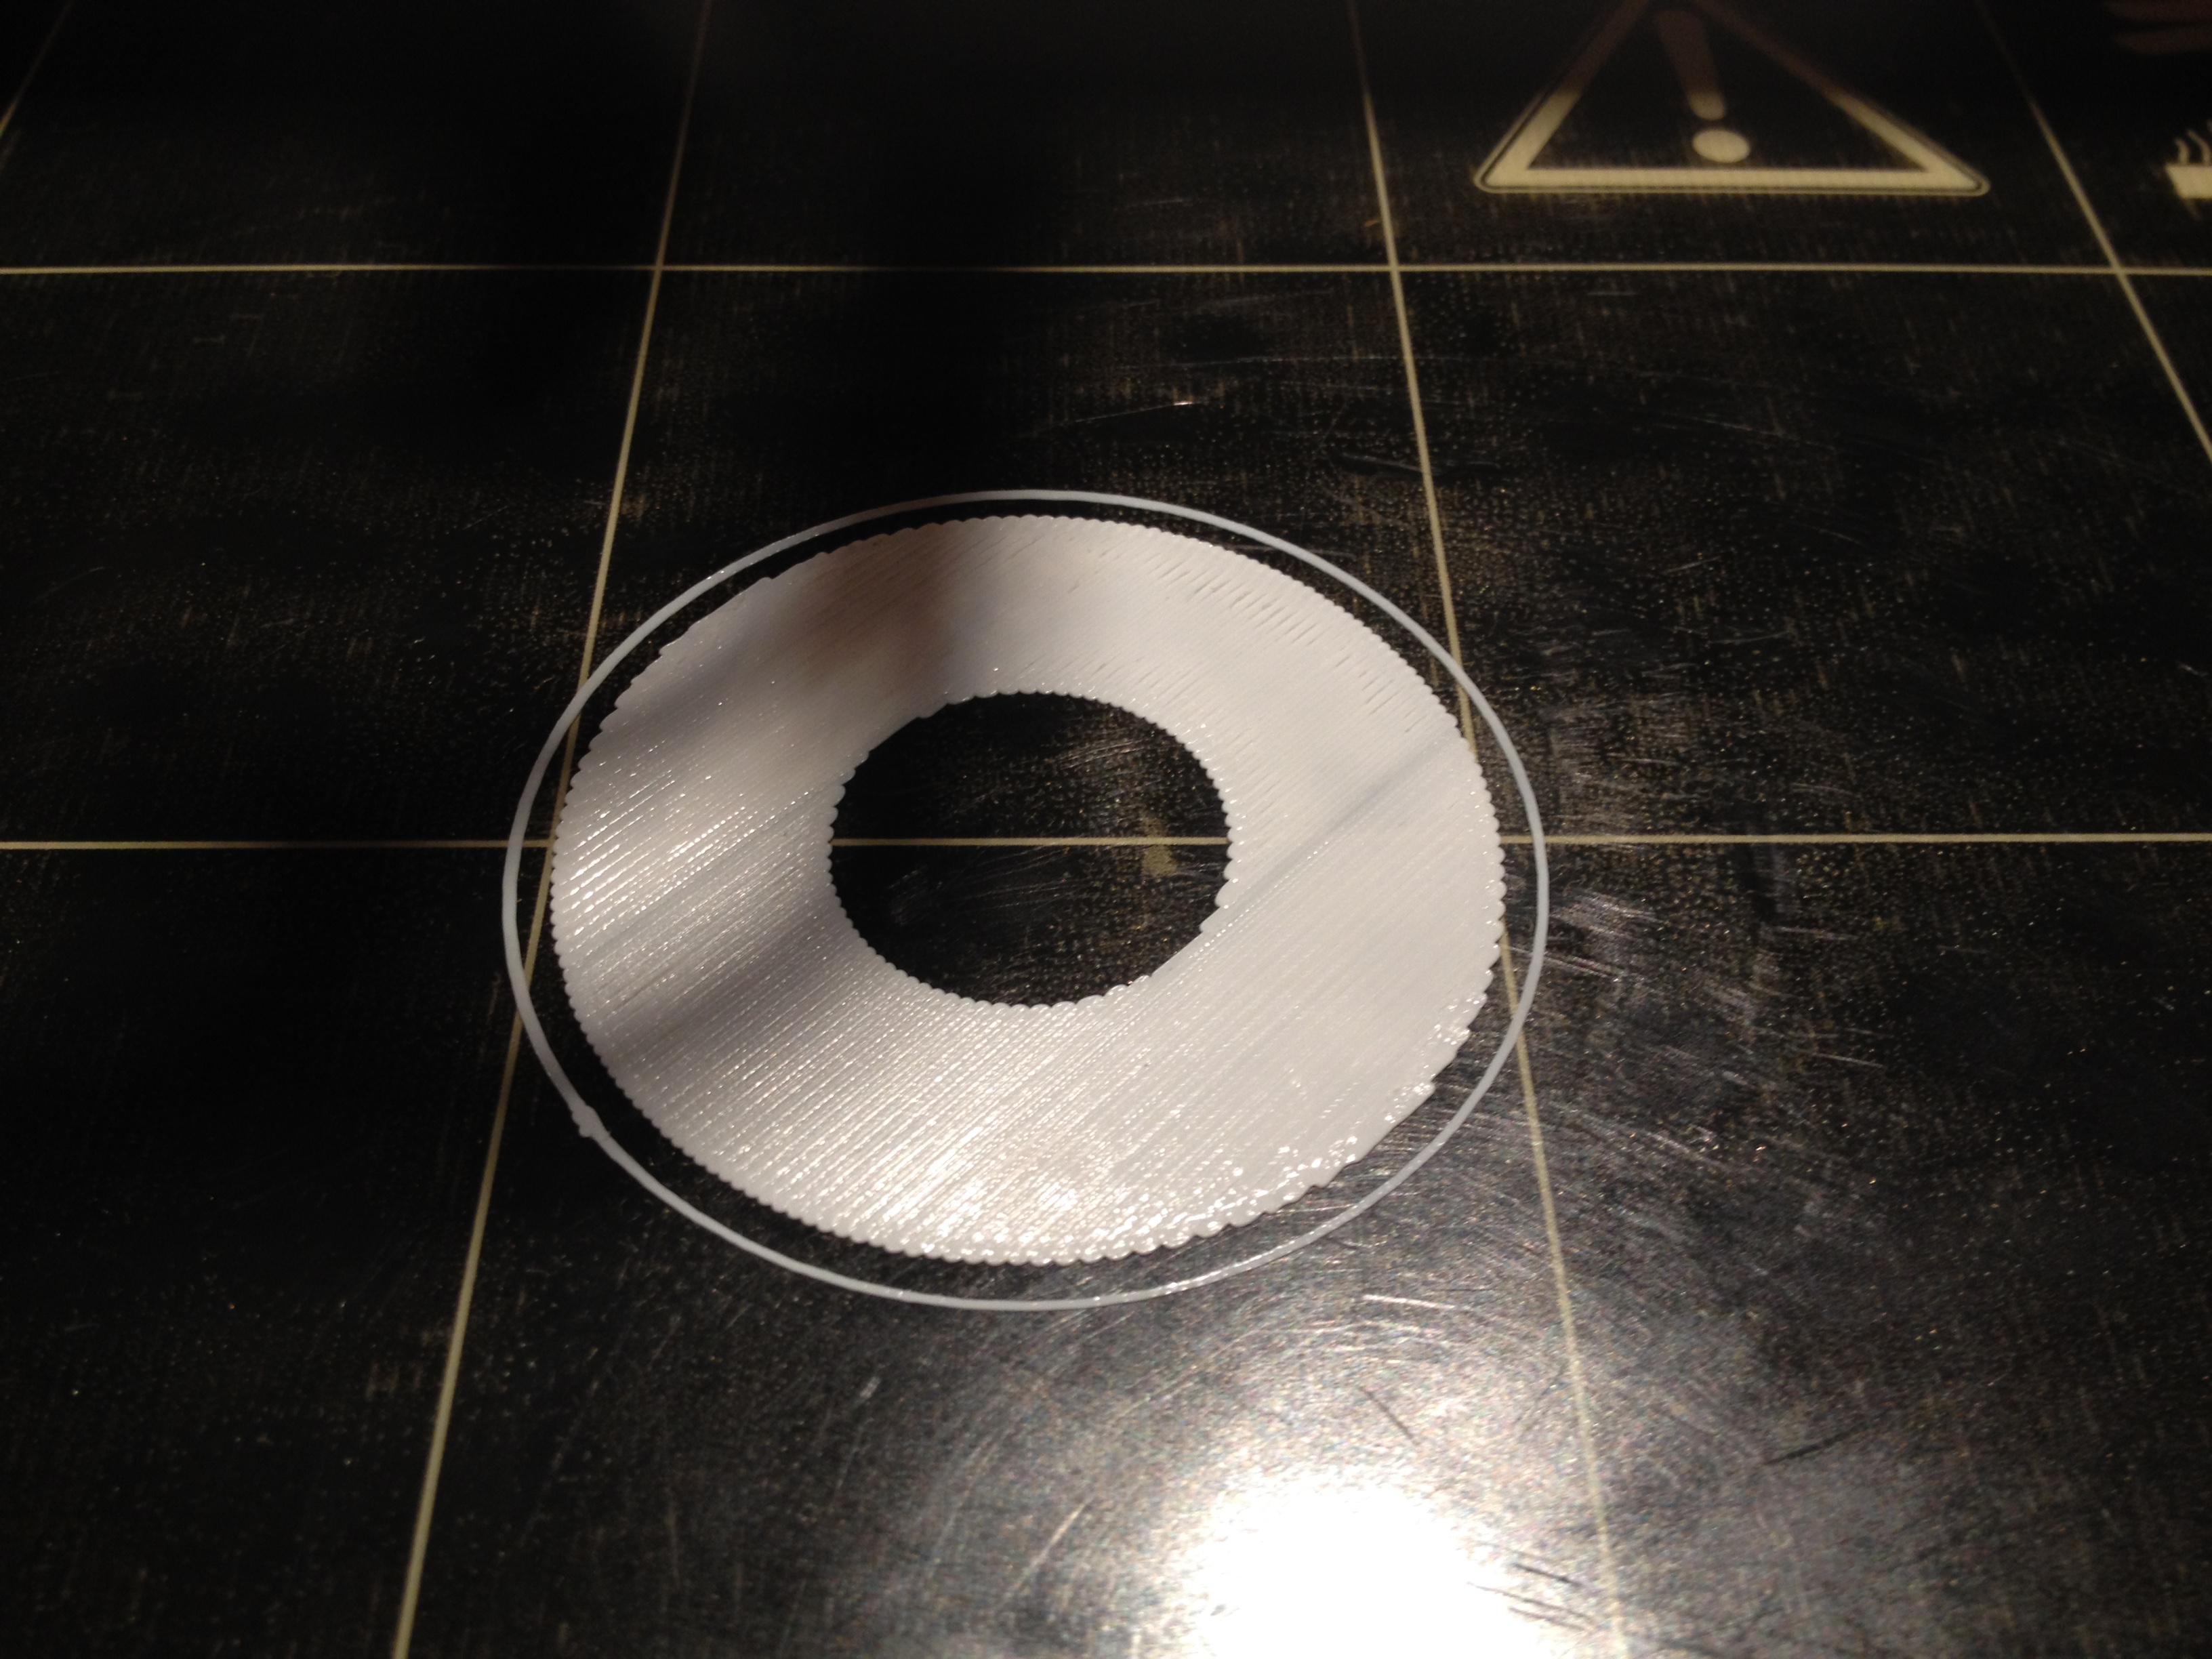
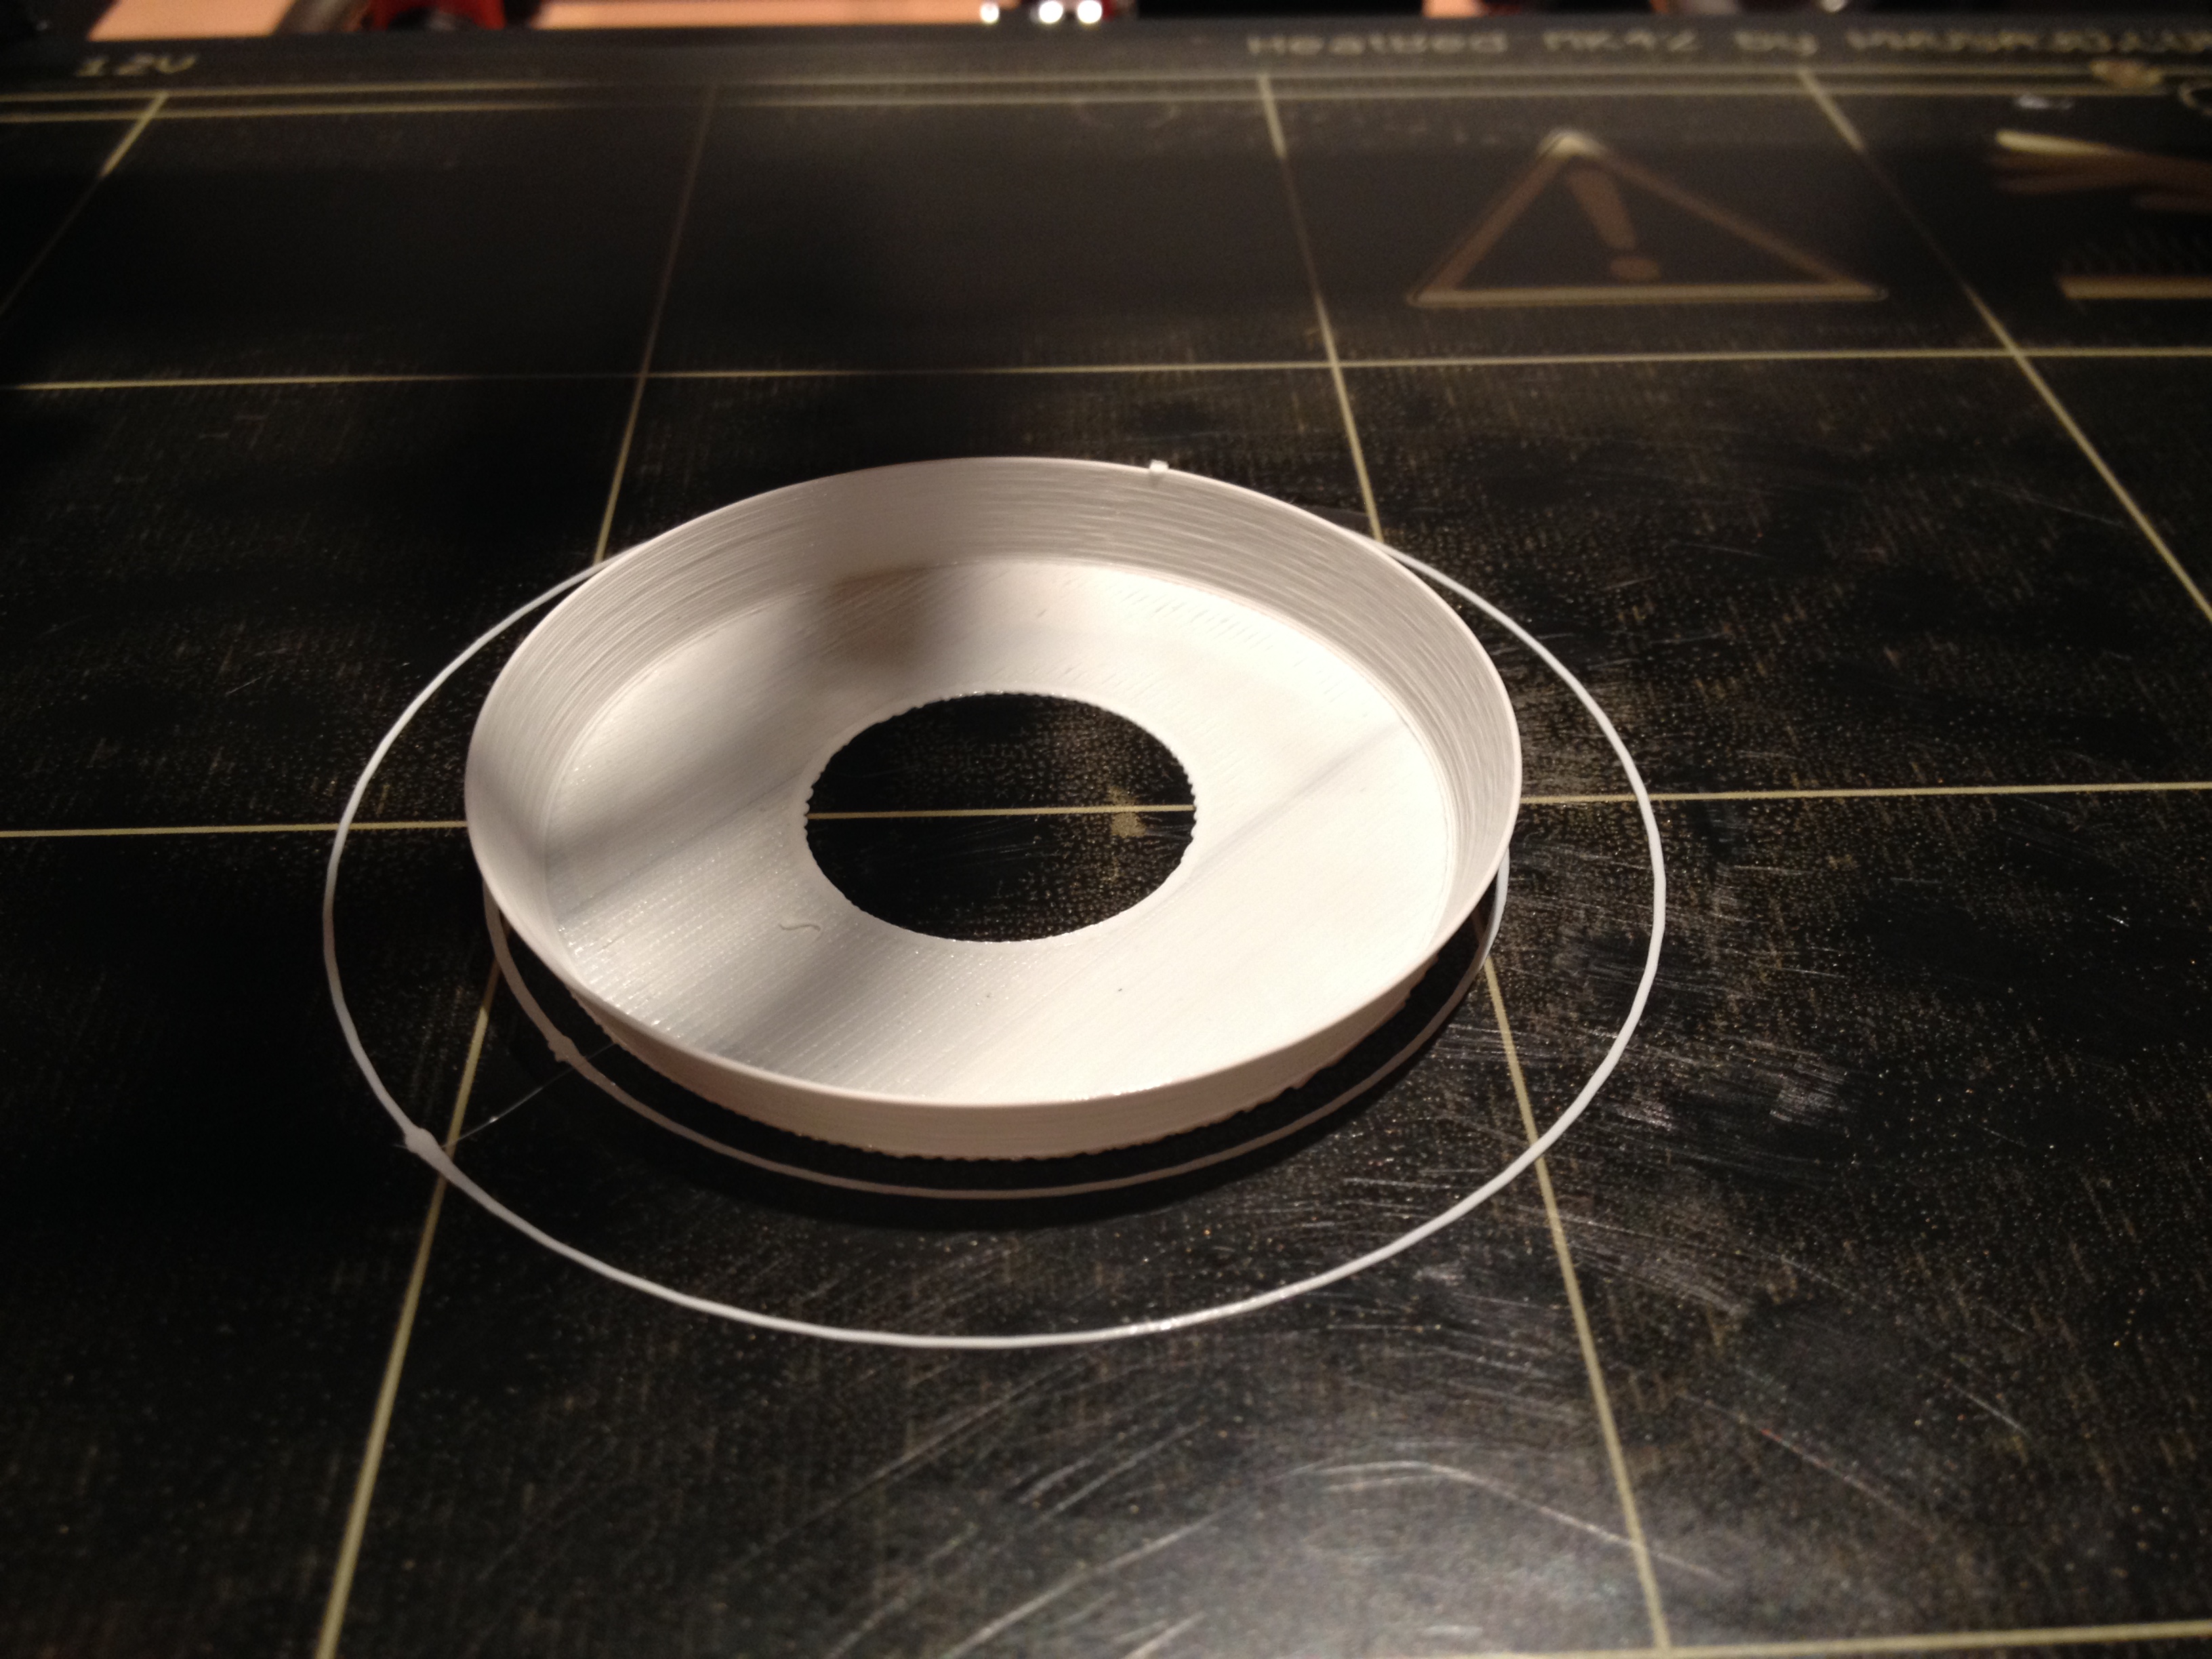
Full object:

hole (visible only in the first layers):
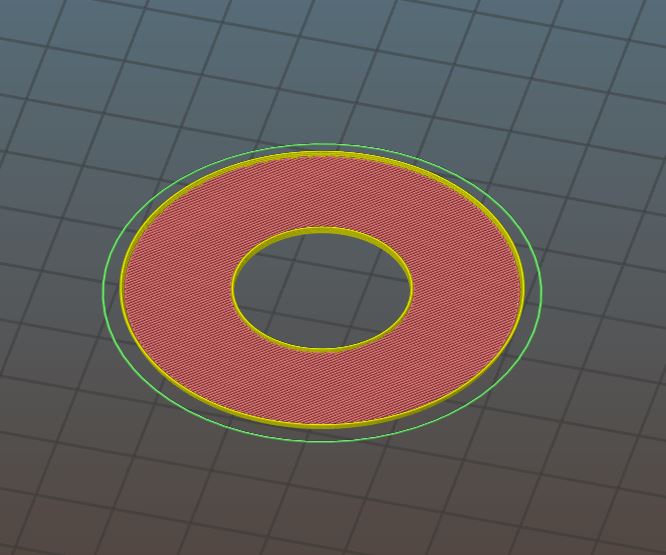
bridging (I don't want the bridge, I want a hole):
Thanks for your help if someone know how I can do that.
My youtube channel about the Prusa I3 MK2 https://www.youtube.com/channel/UCz-zQZcKcvEDdd9C9hOKYWg
Re: Vase mode and hole
could you put the stl on here?
Joan
I try to make safe suggestions,You should understand the context and ensure you are happy that they are safe before attempting to apply my suggestions, what you do, is YOUR responsibility. Location Halifax UK
Re: Vase mode and hole
Sure, here it is:

My youtube channel about the Prusa I3 MK2 https://www.youtube.com/channel/UCz-zQZcKcvEDdd9C9hOKYWg
Re: Vase mode and hole
Just wanted to chime in and say this drives me batty as well.
I've used vase mode for a few actual, functional purposes. Not decorative, test, or otherwise nonfunctional stuff. Actual useful stuff.
Being able to put holes in the base would be an immense time-saver.
Re: Vase mode and hole
Hmmm... Not an expert, but it looks like this is due to the slicer having a value set for bottom layers...
and it considers the top of the hole, to be the bottom of the central void... so it adds the bridged filament
abstract thought... if you make a second object, a tube with the bottom surface exactly the size that you require for your vase, in exactly the same location as your vase,
initially slice the tube with no top layers and no perimeters and say one bottom layer at .3mm
then slice the vase in vase mode with no top layers and no bottom layers
print the tube first to create what will be the bottom of your vase, then print the vase immediatly on top of the tube bottom...
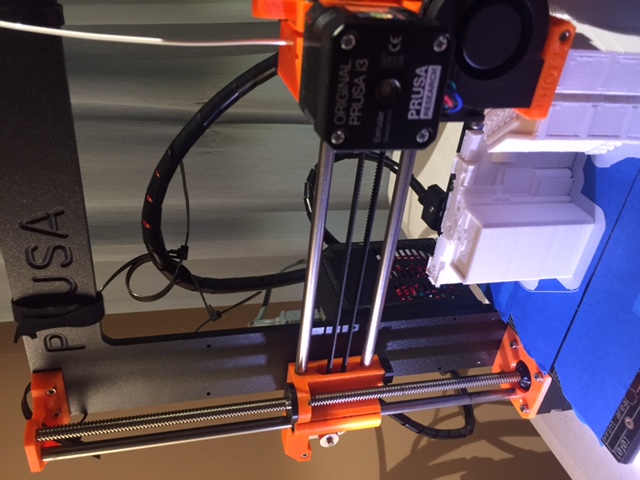
I did a quick proof of concept,

something like this
I try to make safe suggestions,You should understand the context and ensure you are happy that they are safe before attempting to apply my suggestions, what you do, is YOUR responsibility. Location Halifax UK
Re: Vase mode and hole
had another go... did the bottom with 2 extra layers to improve the bottom strength
this has 1 layer at .3mm and 2 layers at .2mm
then the vase with no bottom layers straight on top...
I tried the bottom layer with concentric infill...... because the edge of one of my test pieces pulled inwards at the edge...

regards Joan
I try to make safe suggestions,You should understand the context and ensure you are happy that they are safe before attempting to apply my suggestions, what you do, is YOUR responsibility. Location Halifax UK
Re: Vase mode and hole
Thank you Joan, that's an awesome tip and that works (I didn't dare to use more than one bottom layer, thinking that the nozzle could catch the 1st layer of the cylinder when printing the perimeter of the vase at the following printing. Perhaps it would be possible to print the base (wichever height) of the object with normal slicing (1st slicing), and then print the following in vase mode (2nd slicing) including an offset (offset=height of the base))
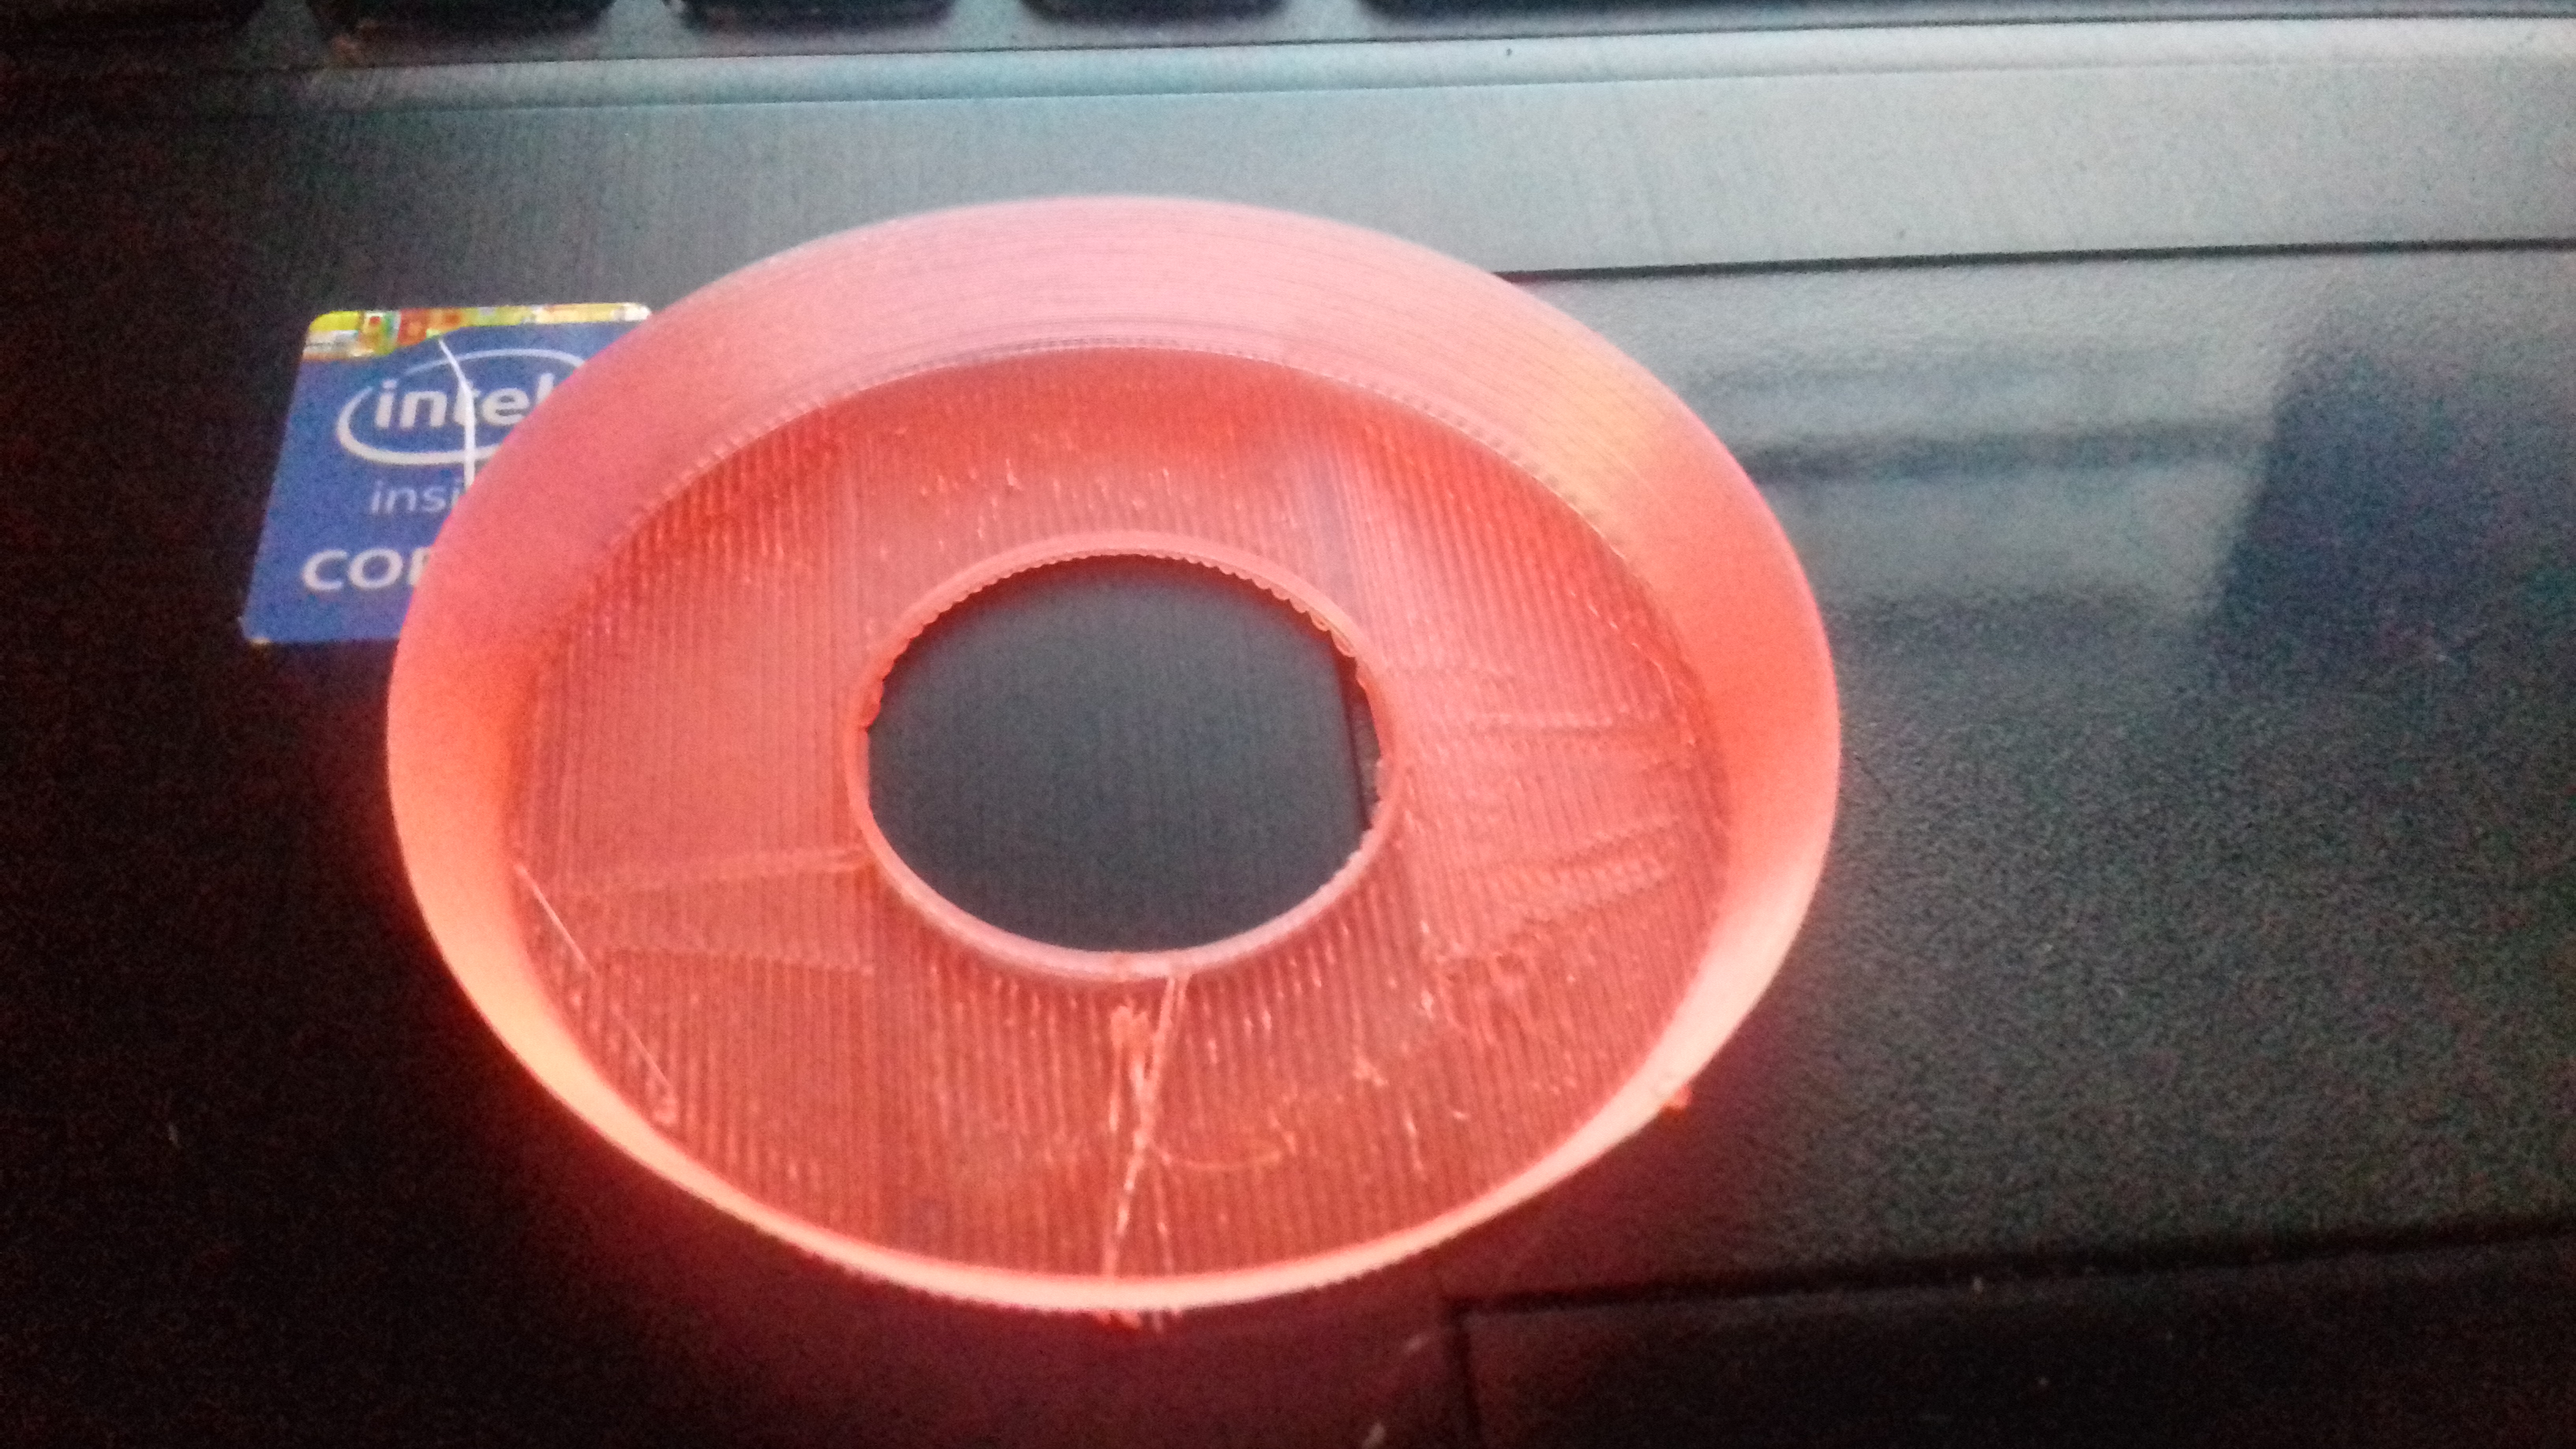
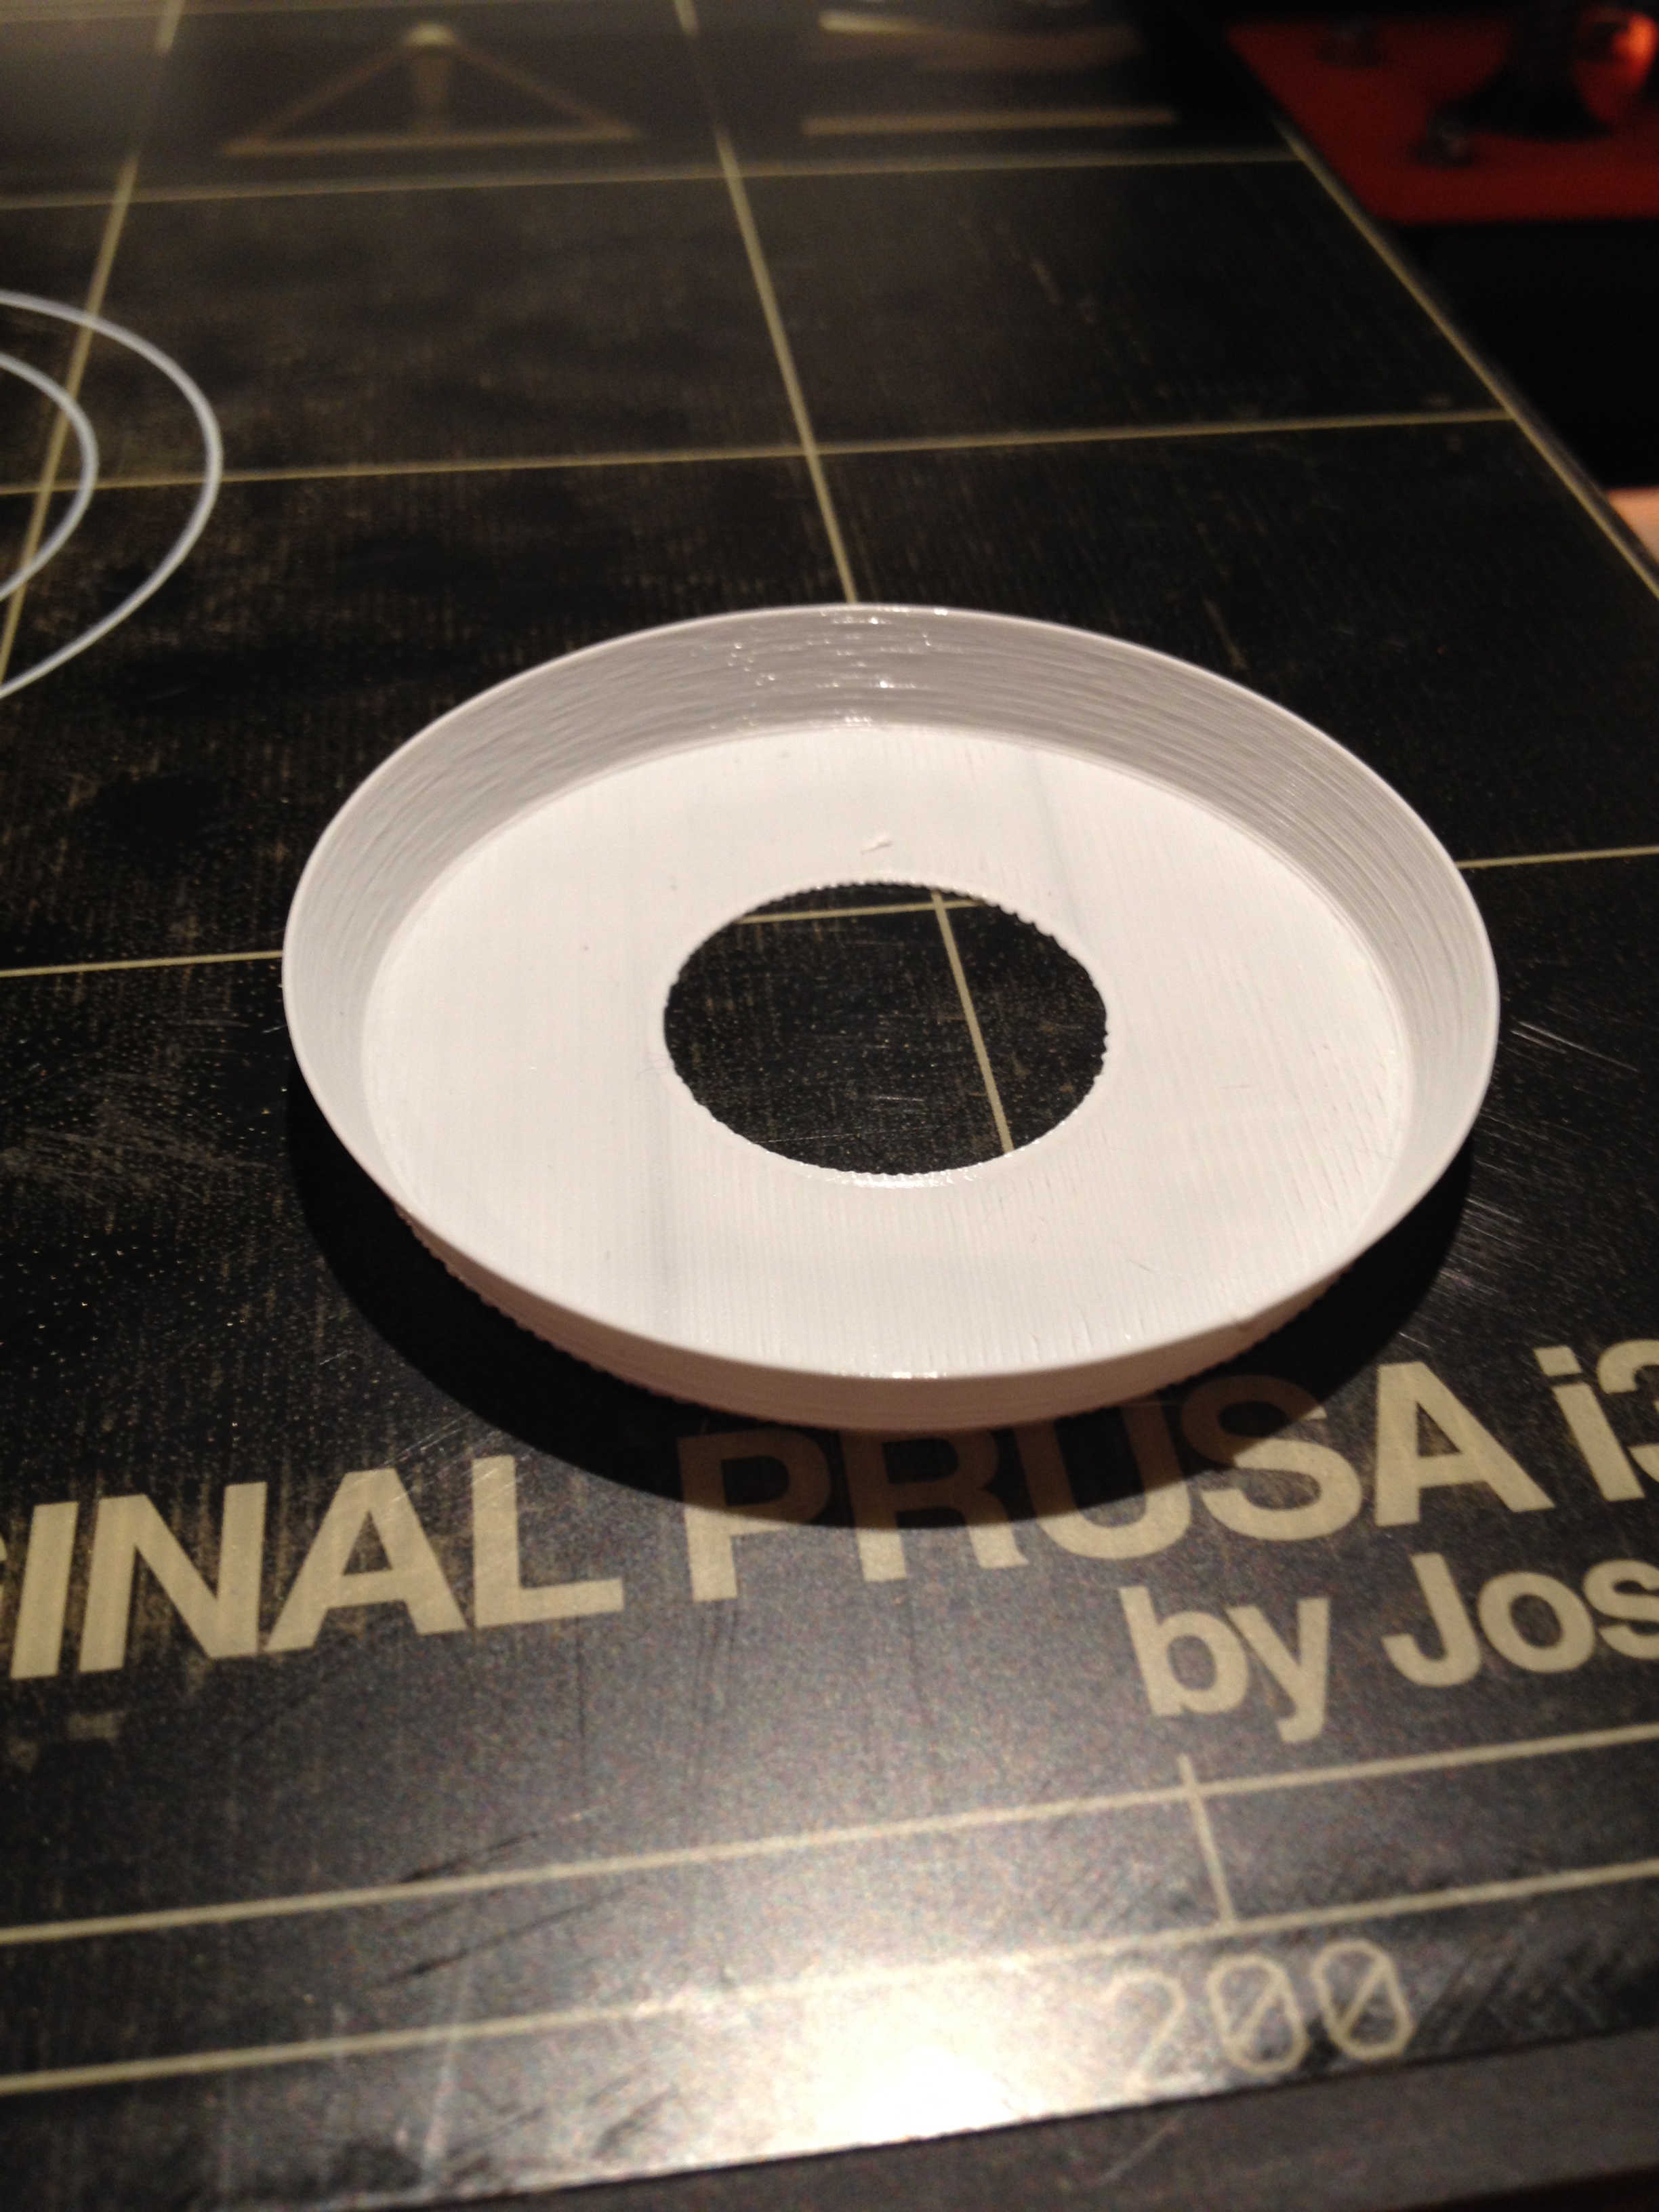
Here's a test of Joan tip:
1st print: the cylinder (no perimeters, no top layer, 0,2mm height, skirt distance from object 3mm):
2nd print right after the first one: the object in vase mode (no top layers and no bottom layers, skirt distance 10mm to prevent it from being printed on the first skirt):
all correctly welded (just a bit of overlapping...)
Thanks a lot Joan, I will try archimedean chords for the first layer to have a cleaner perimeter, and I will also try to experiment offset.
My youtube channel about the Prusa I3 MK2 https://www.youtube.com/channel/UCz-zQZcKcvEDdd9C9hOKYWg
Re: Vase mode and hole
That's actually a pretty good idea.
I wonder if you could also just splice the gcode files. The bottom layers are usually pretty normal so they would be easy to cut at.
The problem is getting the models in the exact same position, since without exact user input to the GUI you don't really know if you got it right.
Re: Vase mode and hole
I think offset could be simpler and cleaner, you just cut the object (for example a 1mm) and keep the lower part, then slice it in normal mode and save: this makes the 1st print.
Then, you delete it and reopen the same object, cut it at 1mm and keep the upper part, then you use an offset of 1mm in printer settings, slice it in vase mode without top and bottom layers and save: 2nd object.
I've tried it but the mesh bed leveling failed for the 2nd object as the nozzle touched the 1st print which was 1mm high. So I thought I just have to move it from the center to prevent the nozzle from touching the 1st print during mesh bed leveling, BUT how can you move precisely two object one after another to be sure they are perfectly aligned ? I woud need coordinates or something like that...because when I cut an object, slic3r automatically replace it in the center of the bed...
PS: sorry gz1, I posted my message without noticing you posted a new one...your idea is also good but I don't know how to do it
My youtube channel about the Prusa I3 MK2 https://www.youtube.com/channel/UCz-zQZcKcvEDdd9C9hOKYWg
Re: Vase mode and hole
It looks like you ran into some of what I was predicting.
I think you can splice the gcode files.
Take your version with the holes and slice it.
Take your version without the holes and slice it.
For the first version, look in the g-code where it finishes the bottom layers; you can probably figure it out by looking at the Z axis height; if the slicer is nice enough it might even tell you in the comments. Delete everything *after* that.
For the second file, look for the same point where it finishes the bottom layers, and delete everything *before* that.
Then add that to the end of the first version.
The only question is if it's doing a relative move or an absolute move between the two I think.
Re: Vase mode and hole
hhmm I can't try this, there are too much parameters that I don't master. Do you think it could be so simple ? What about other thing like speeds, relative or absolute mode like you're saying ... and so much other things that I don't even think about.
Otherwise, I did some other prints using the cut/offset and stop/restart tips described above. I just take care to not print above 0.4 for the base and everything goes well:
My youtube channel about the Prusa I3 MK2 https://www.youtube.com/channel/UCz-zQZcKcvEDdd9C9hOKYWg
Re: Vase mode and hole
My youtube channel about the Prusa I3 MK2 https://www.youtube.com/channel/UCz-zQZcKcvEDdd9C9hOKYWg
Re: Vase mode and hole
Heh, when I saw your first pictures I guessed you were making a light fixture.
I'll try the gcode splice method next chance I get.
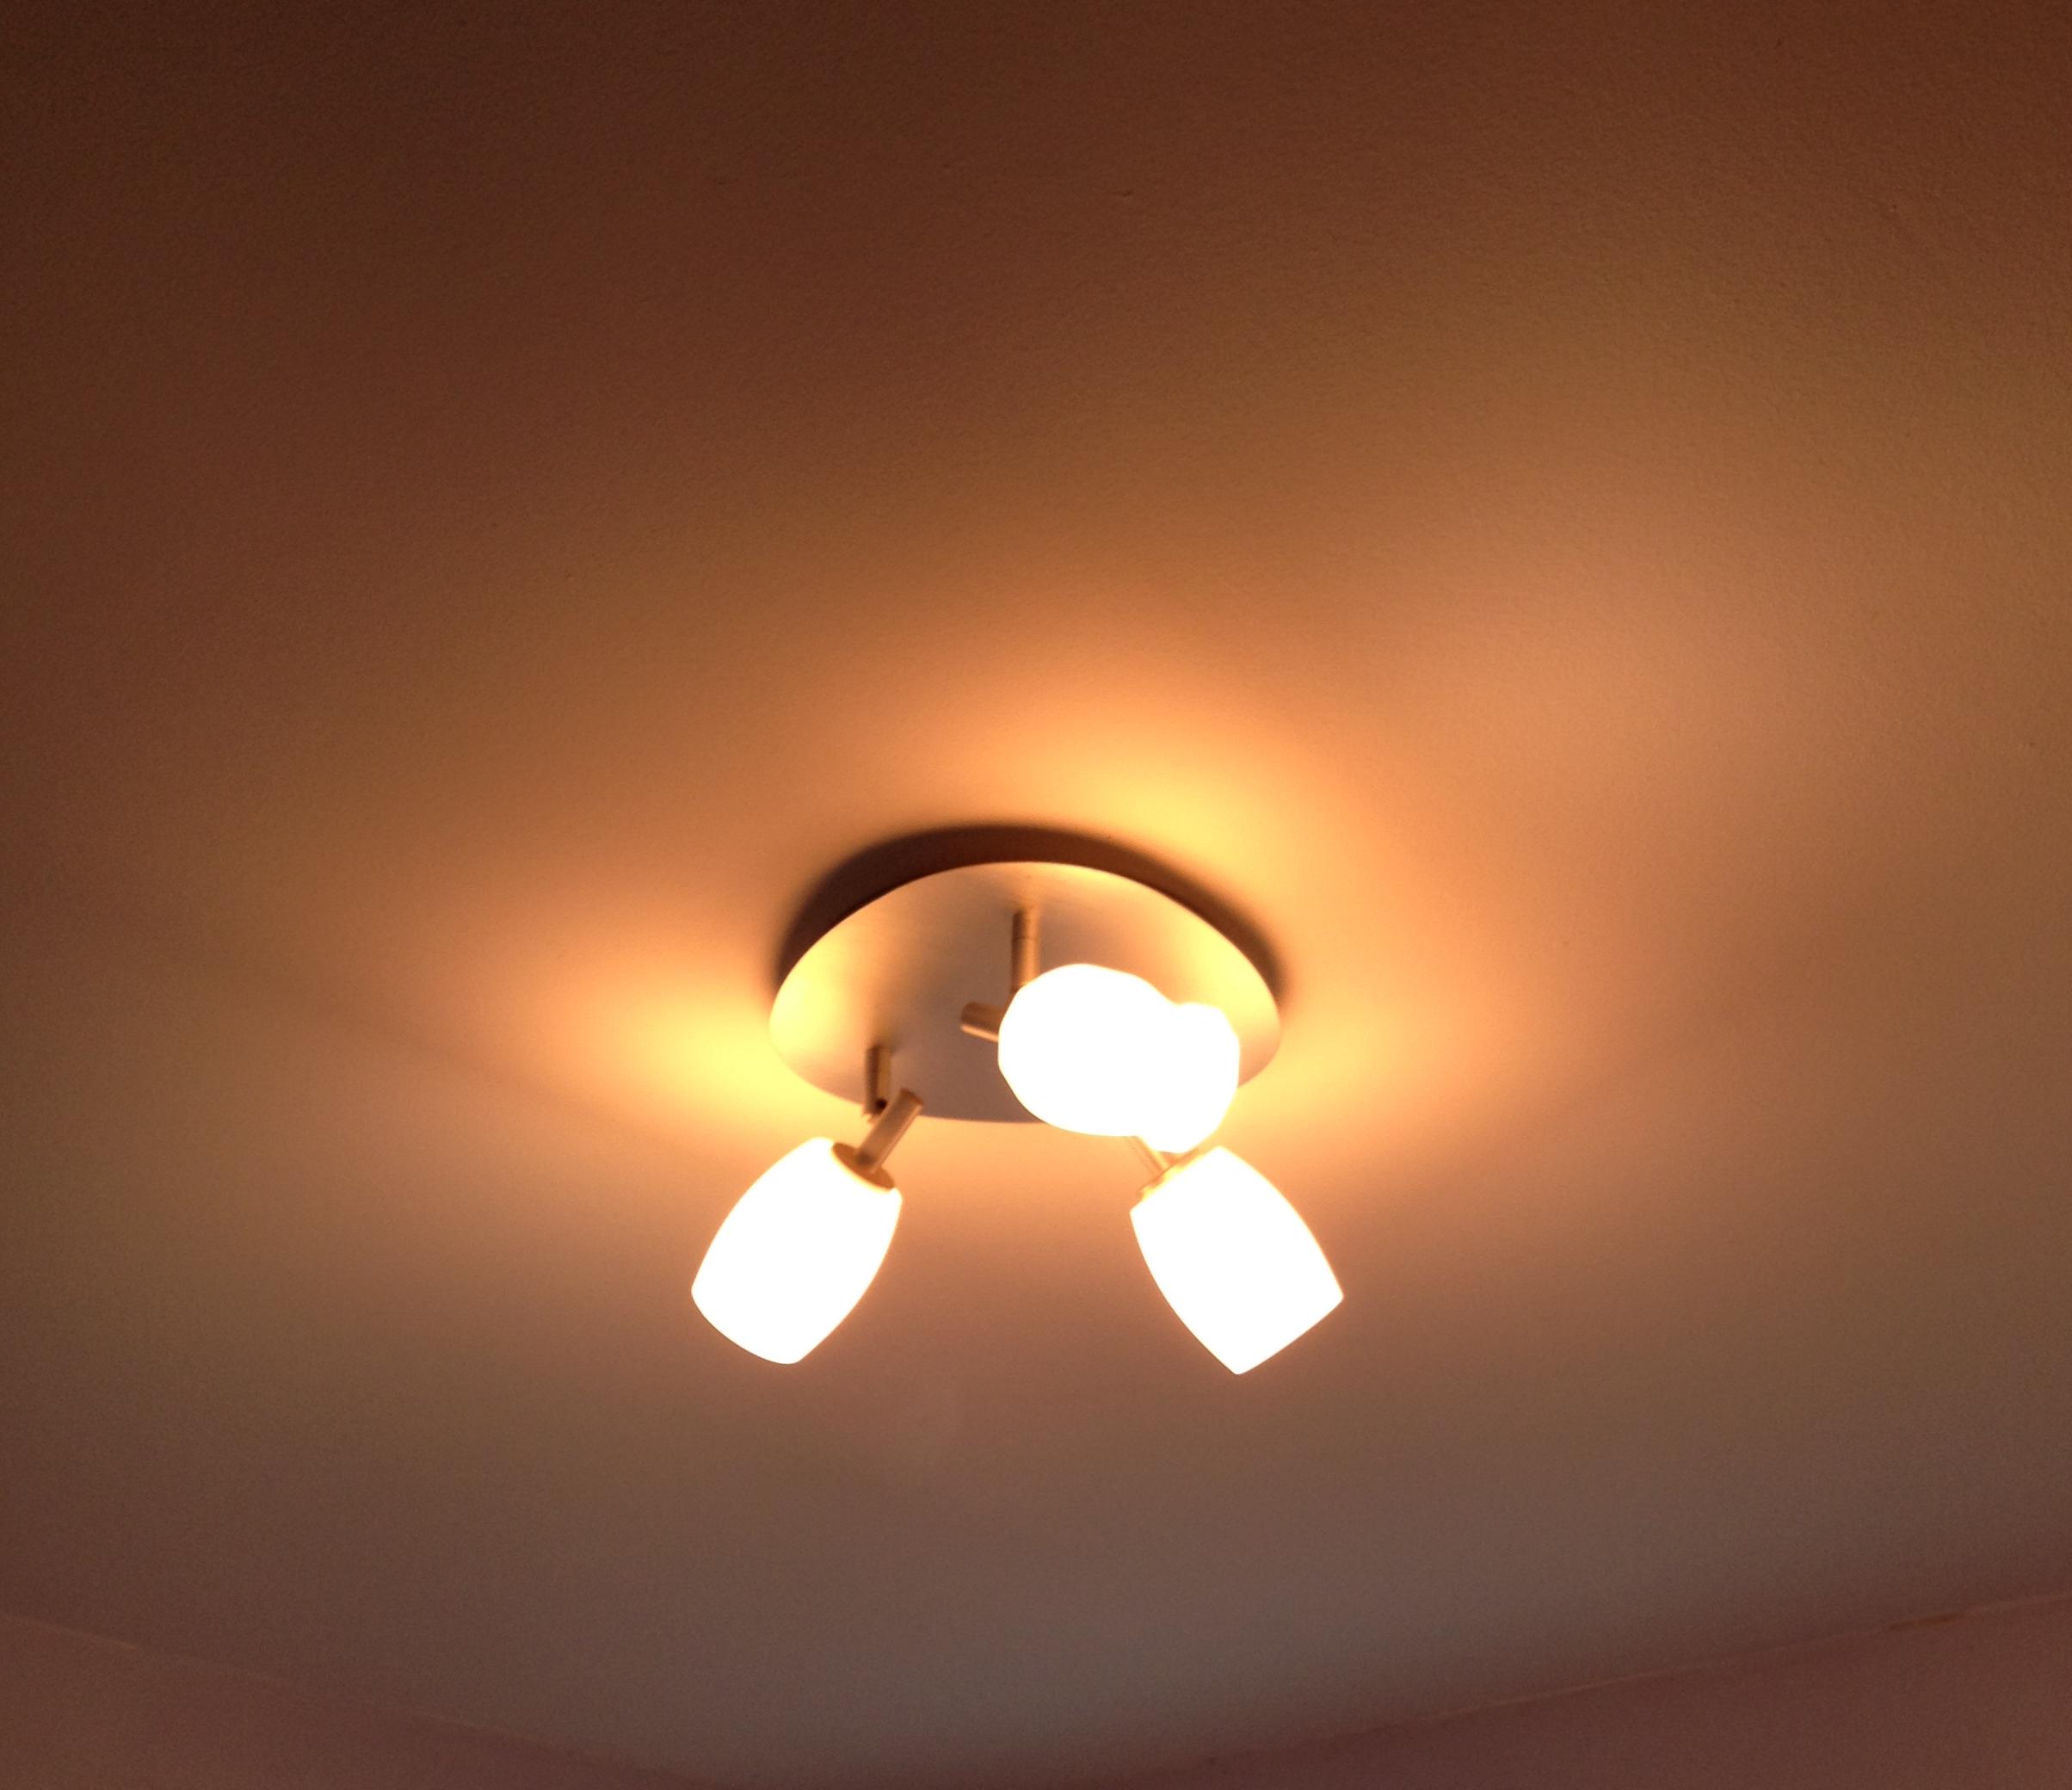
Re: Vase mode and hole
Do you need to ventilate the base to reduce heat build up? it looks like the holder gets quite hot!
I try to make safe suggestions,You should understand the context and ensure you are happy that they are safe before attempting to apply my suggestions, what you do, is YOUR responsibility. Location Halifax UK
Re: Vase mode and hole
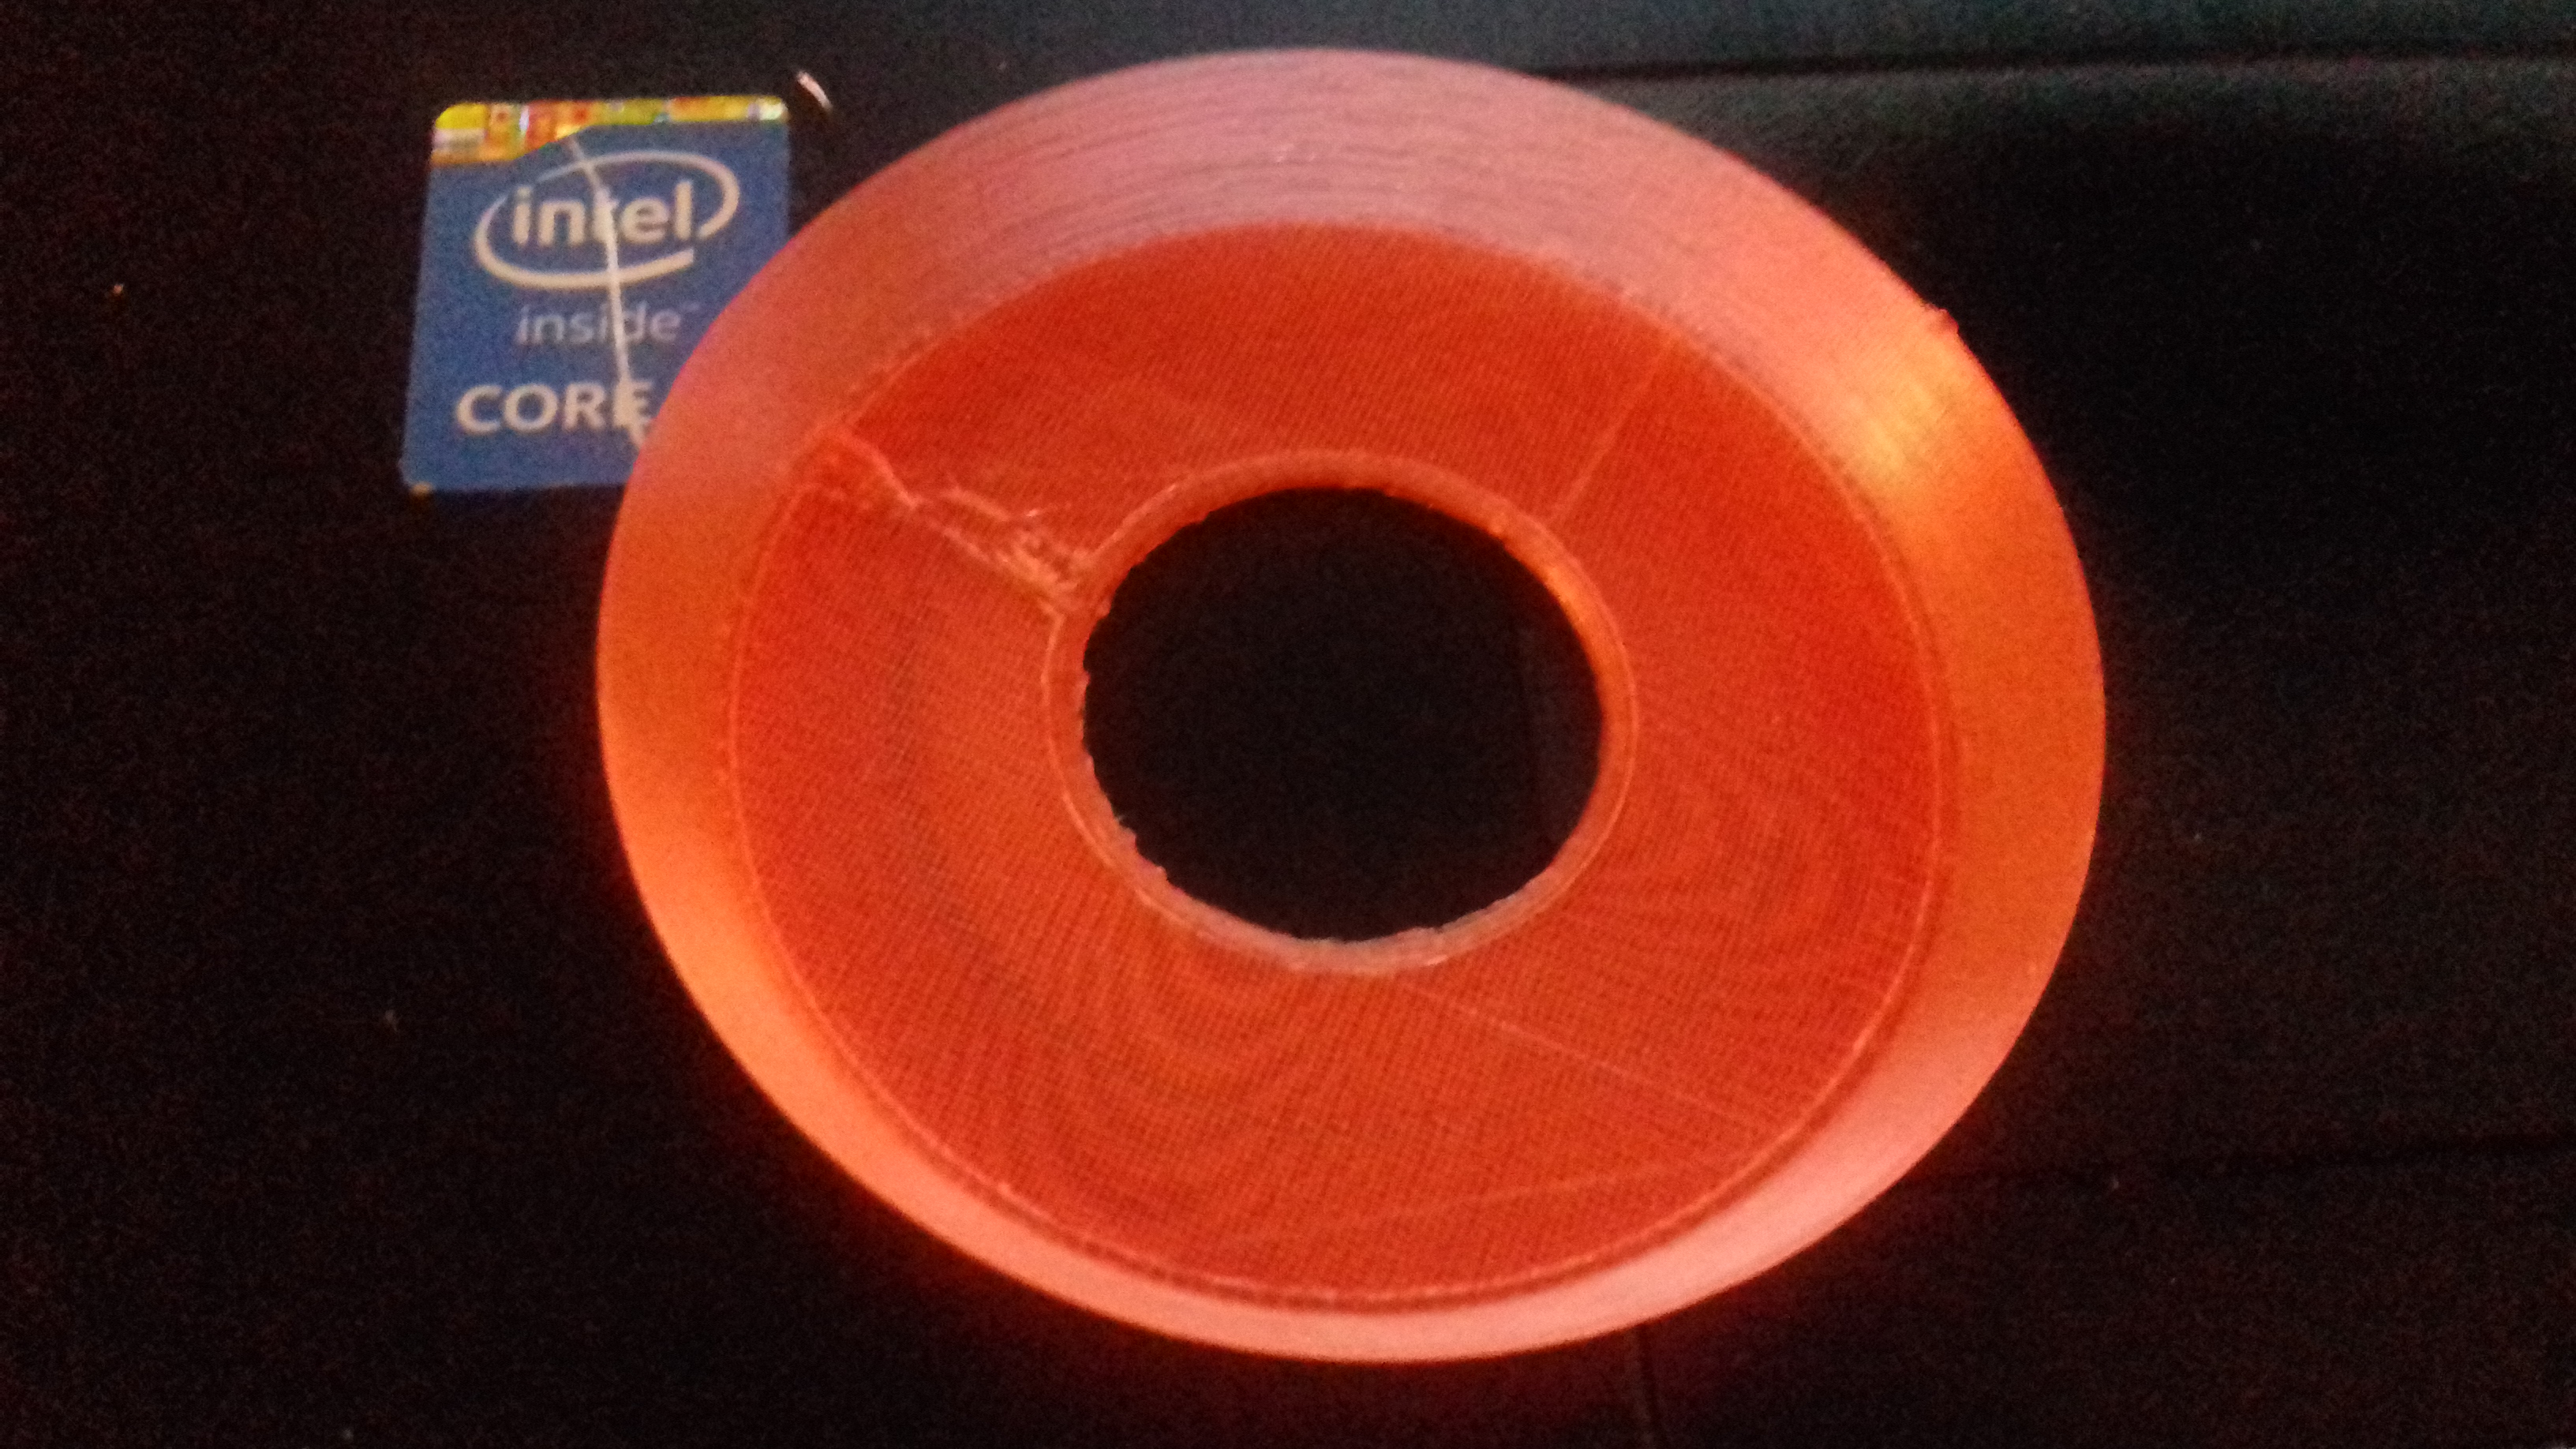
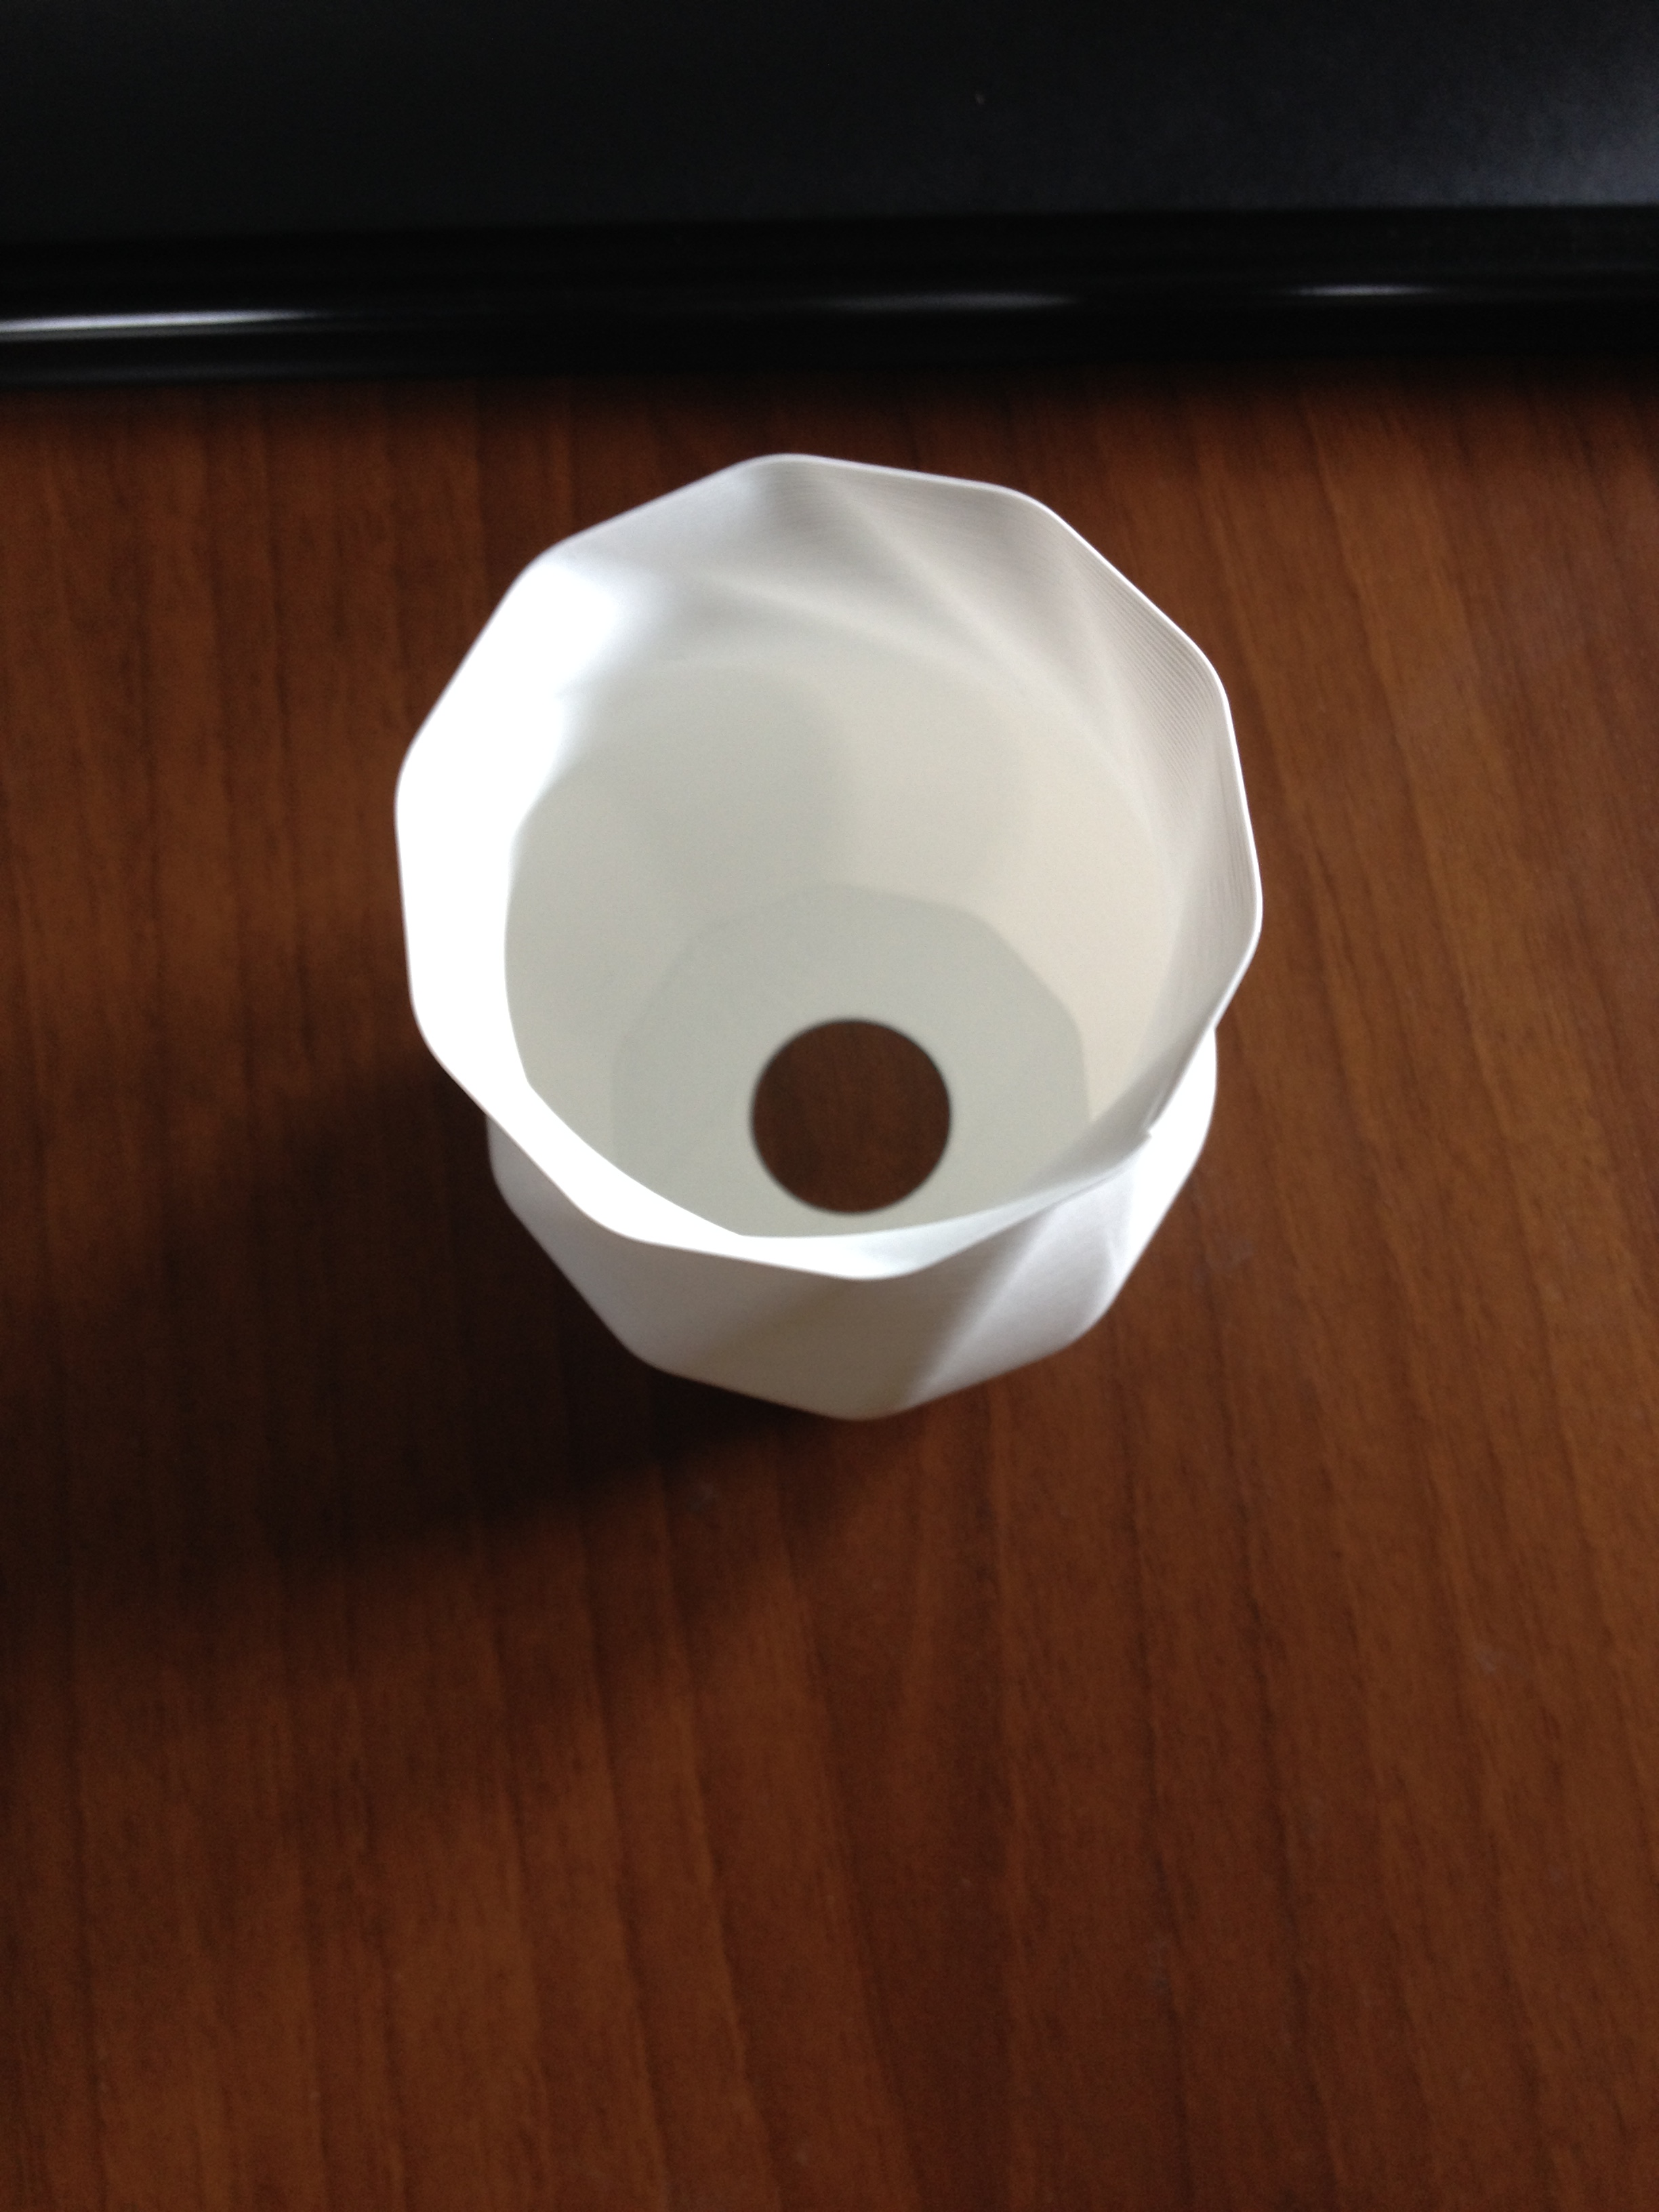
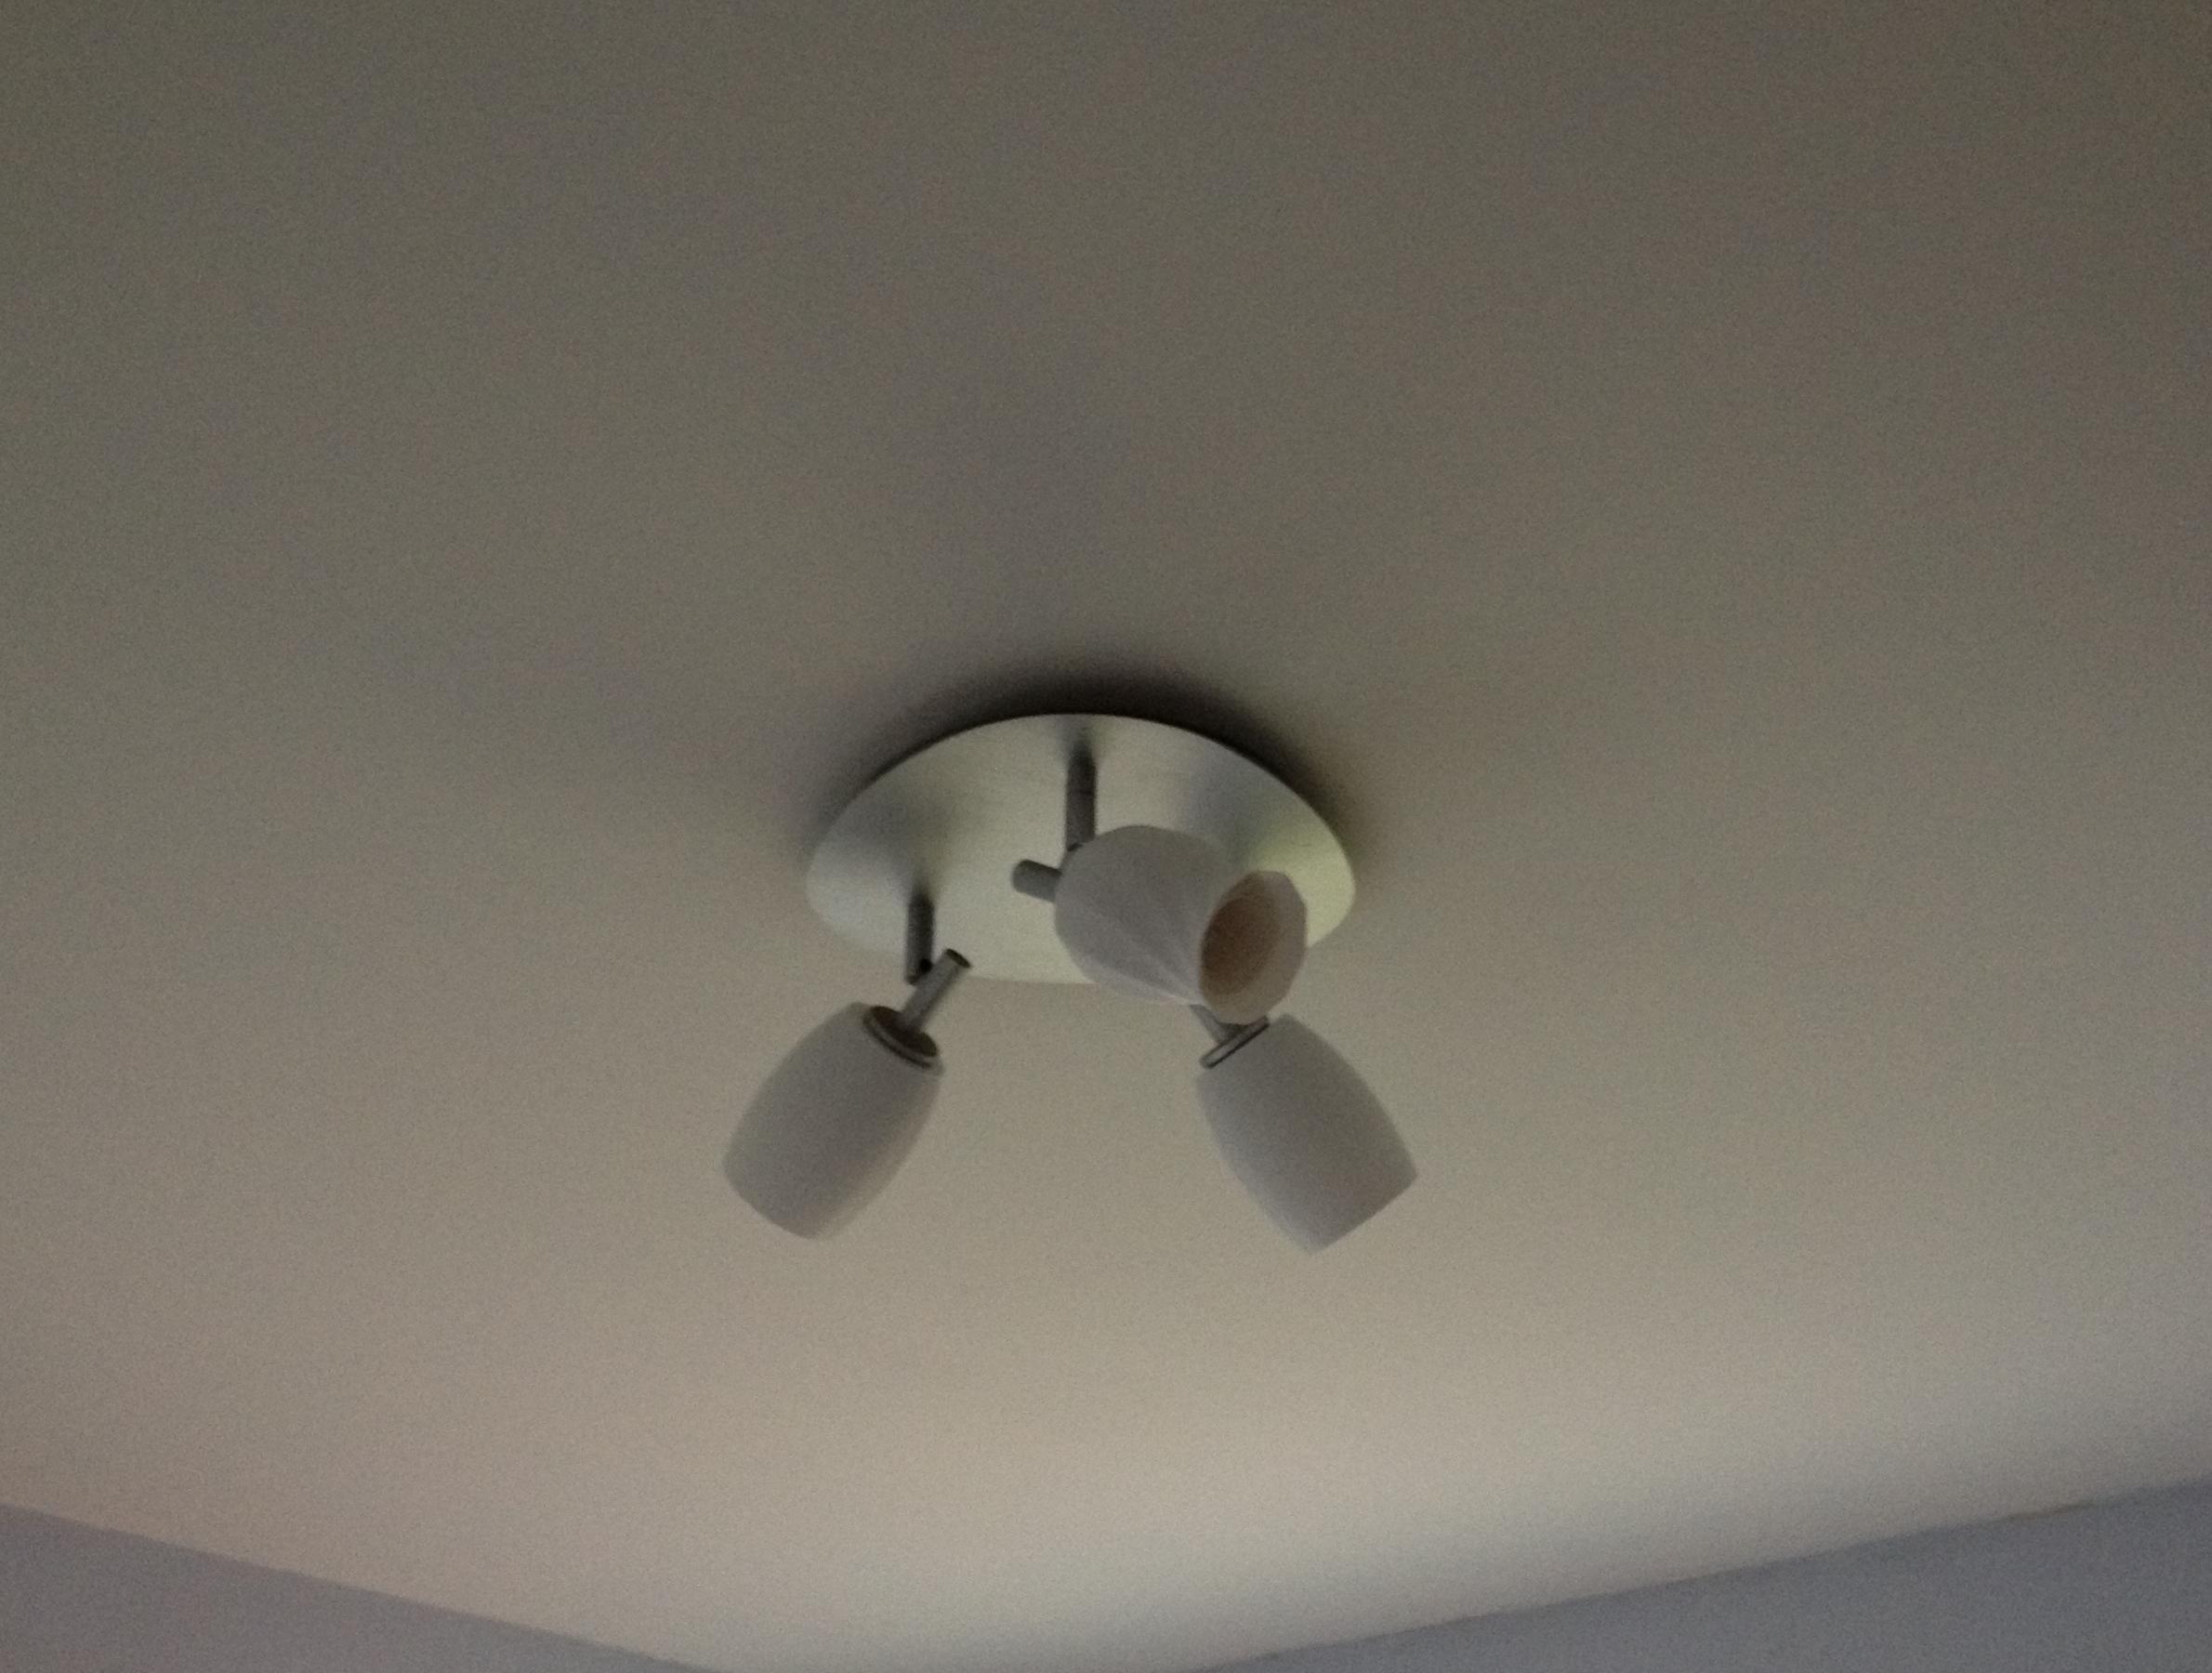
In fact in my model, there's an insulation between the holder and my print, so I think it's ok.
Here's how it looks like:
Thank you for your help joan and gz1.
My youtube channel about the Prusa I3 MK2 https://www.youtube.com/channel/UCz-zQZcKcvEDdd9C9hOKYWg
Re: Vase mode and hole
Hrm, not sure what happened to my post (might have accidentally deleted it).
The splicing method might work.
Take your model with holes and cut it above the bottom layers (0.4mm in my case). Save the gcode.
Take your model without holes and save the gcode.
Take the first file and delete everything after and including the end g-code.
Take the second file and find where it starts the spiral above the bottom layers. Again, it's Z=0.4mm for me. You'll notice that it starts raising the Z in very small increments, which means it's doing the shell.
Append that to the first file.
Gcode visualizer seems to indicate that it will work. Can't test it myself right now as I have a different filament loaded.
Re: Vase mode and hole
That would be great if it works. I wouldn't be limited to 0.4mm height wih the actual way of doing things concerning the first part of the print.
My youtube channel about the Prusa I3 MK2 https://www.youtube.com/channel/UCz-zQZcKcvEDdd9C9hOKYWg
Re: Vase mode and hole
Splicing the g-code works.
The only hitch is a problem with how the slic3r transitions from bottom layers to vase, which it just never quite did correctly anyways (at least on my old version of it).
Total timesaver; having to go back and drill out those exact holes and slots was a total waste of time.
Re: Vase mode and hole
I woud need coordinates or something like that...because when I cut an object, slic3r automatically replace it in the center of the bed...
You can turn that behavior off in "Preferences" and will have to to get this method to work.
Any advices given are offered in good faith. It is your responsibility to ensure that by following my advice you do not suffer or cause injury, damage or loss. If you solve your problem, please post the solution…