NinjaFlex 85A and Fillamentum Flexfill 98A print settings
Flexible filaments expand the list of things you can print just nicely. Both said filaments also print easy with the right settings - which I want to share. As it looks atm, both the NinjaFlex and the Flexfill also don't warp (in contrary to E3D Flex65, which is not really usable).
For the Flexfill98A, the preset in the Slic3r works relatively well, but I had to activate the fan for low layer print times, otherwise i got only a deformed blob. This is much the same as standard PLA settings. The data sheet also says 200-220°C instead of the 230°C in the preset. This material prints well with 20 mm/s print speed and a extrusion multiplier of 1.2x . The filament is not really like a well-done spaghetti, so you don't have feeding issues. You can't really stop the oozing, but the standard 0.8 retraction has no negative results.
As it is written in the manual, i reduced the spring force for the extruder idler to 14 mm from washer to washer.
For the NinjaFlex 85A, this is much different because it is very soft. Said 14 mm did the job in combination with a slightly higher print temp, 230°C. I print also with 1.2 extrusion multiplier and 0.8 mm retraction and the PLA cooling settings. You have to reduce the print speed even more to 15 mm/s, but then I don't have issues. I use a error-corrected version of the extuder idler, where the axis of the ball bearing is on the exact same height as the axis of the extruder motor (in the standard parts, its slightly higher): ninjaflex doesn't feed
I also changed the width of the infill extrusion to 0.6 mm for a .4 nozzle. With these settings, i printed successfully some vibration isolators:
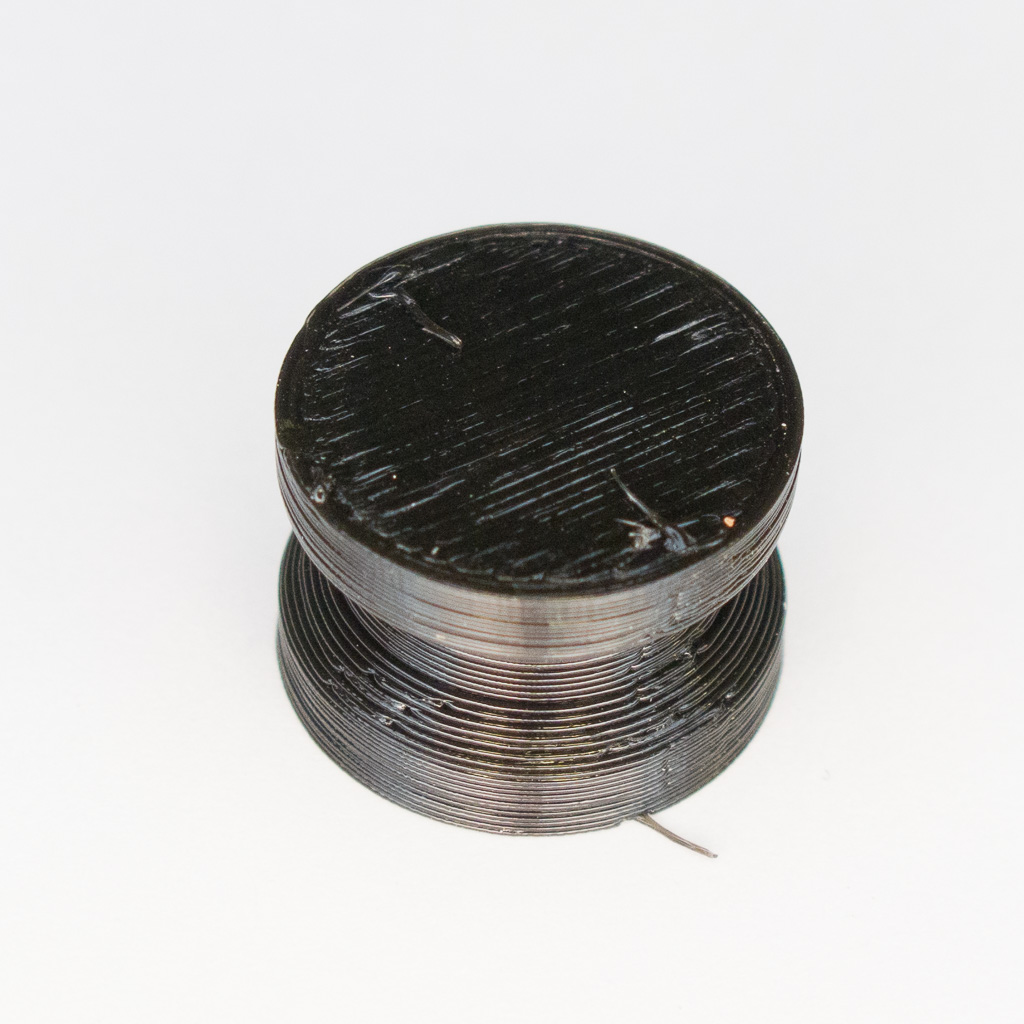
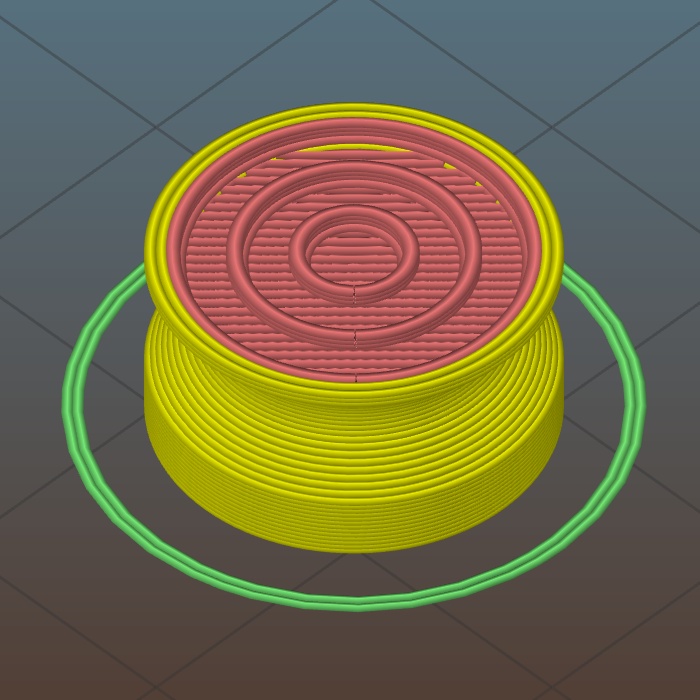
For these parts, "25% concentric" is a nice infill, i added the complete slic3r print *.ini files in the attachment.
To solve the problem with the Flex parts attaching hard to the PEI sheet, i used a PVA separating agent: surface preparation, which works like a charm, with it the adhesion is like PLA parts to the uncoated surface and is easily removable with water.
Re: NinjaFlex 85A and Fillamentum Flexfill 98A print settings
Great information!
I've been fighting my Ninjaflex for a while until I stumbled across information similiar to yours. However it didn't say anything about marking it as a .60 nozzle. I will try that next time.
Also, I'm not sure if its the same stuff, but the glue stick that Prusa provides with the printer works well for easier removal.
Re: NinjaFlex 85A and Fillamentum Flexfill 98A print settings
I print it with a standard 0.4 mm nozzle. I think the feeding issues are between the spring force on the idler, the print temperature and the extrusion multiplier. And a perfect alignment of the extruder mechanics, hence the remodeled idler. Glue stick for separation will work too because it's the same principle, but you have to wash the parts because they are gluey ...
Re: NinjaFlex 85A and Fillamentum Flexfill 98A print settings
Can you please give information on the remodeled idler? File location of file link?
RE: NinjaFlex 85A and Fillamentum Flexfill 98A print settings
are there any hints to print ninjaflex with the mk3s?
it doesn't feed good or most of the time not at all...
RE: NinjaFlex 85A and Fillamentum Flexfill 98A print settings
@veit
Using the MK3 with the MMU2, the only way I've been able to get ninjaflex to print reliably is by unscrewing the PTFE tube that runs from the MMU to the extruder assembly, from the extruder, letting the MMU feed enough filament to reach the extruder, then feeding it into the extruder by hand. This requires pressing in the screw that maintains tension on the extruder idler so that I can insert the filament all the way down to the nozzle, then releasing the pressure on the screw. You'll also want to make sure the extruder idler tensioner screw is nearly all the way unscrewed, as you want the lightest pressure possible. It usually takes a few attempts to get it working properly, but after it does start to print successfully I'll screw the other end of the PTFE tube back into the extruder assembly.
As for the adhesion problem, with ninjaflex, I clean the PEI sheet with windex before printing, then after it's finished, pour some 91% Isopropyl alcohol onto the part. After about 15 seconds, I can easily remove the part by hand
RE: NinjaFlex 85A and Fillamentum Flexfill 98A print settings
i don't have a MMU.
i will try to print slower, since it totally blocks at some point.
RE: NinjaFlex 85A and Fillamentum Flexfill 98A print settings
Hi Veit,
if you are getting blockages on the Mk3s with TPU, try
drying your filament before use.... then 0.00mm retraction and 0.00mm z lift. slow speed printing and low pressure on the Bondtech idler.
plus fan cooling on small print areas...
regards Joan
I try to make safe suggestions,You should understand the context and ensure you are happy that they are safe before attempting to apply my suggestions, what you do, is YOUR responsibility. Location Halifax UK
RE: NinjaFlex 85A and Fillamentum Flexfill 98A print settings
@veit
Also if you are getting a blockage part way through printing with flex it can be due to the extruder motor overheating, which in turn transfers along the shaft into the bond tech gears. This then heats up the filament in the gears causing the filament to buckle. This problem has been discussed here along with two solutions that may help you (if indeed this is the case...): https://forum.prusa3d.com/forum/original-prusa-i3-mk3s-mk3-general-discussion-announcements-and-releases/help-printing-with-flexfill-98a/paged/2/
In short, one option is to print out an extruder motor cooling shroud and add a fan to the top (this seems to be the most effective option). The other is to add a line of g-code to run the extruder motor at a lower current which in turn reduces the amount of heat produced by the extruder motor.
Having encountered this problem myself I currently use the motor cooling shroud and am able to use retractions to reduce stringing and surface bumps on transitions. Hope this helps.