PETG Printing Suggestions
Hi all,
I just began printing in PETG a few days ago and have been running into several major issues, including stringing, burning, blobbing, as well as finding the 1st layer to be extremely difficult to print. I've been researching and attempting to troubleshoot the problems I'm encountering and was hoping to solicit the advise of other owners of the MK3.
Currently, I'm attempting to print some weather station radiation shields from the following Thingiverse project: https://www.thingiverse.com/thing:1067700 . While I've printed these shields many times in the past in PLA with tremendous success, I'm unfortunately not having the same luck with PETG.
Yesterday I upgraded the firmware to 3.2.1. and re-ran the calibration wizard. I did a number of tests prints in PLA to ensure everything was working okay, and then swapped over to PETG. I'm using EconoFil White PETG from filaments.ca. I used PrusaControl to generate G-code for the PRUSA logo test object using the Prusa PET printer settings at 0.2 mm quality and 20% infill. I cleaned the bed of my printer with 99% isopropyl alcohol and then wiped it down with Windex. When attempting to print the PRUSA logo I found that it was very difficult to get the 1st layer to stick properly to the bed, but after tweaking the Live adjust-Z, I could sometimes get the first layer down and everything was okay afterwards. I was able to print up a few logo test prints with good results.
When I was finally ready to move on to the radiation shields, I found it was even harder to get that first layer to print without any errors (first image below). Through trial and error I discovered if I slowed the first layer down to 50% of what PrusaControl had set it to, things tended to work better, but then I'd run into print inconsistencies and rippling and burning (second image below).

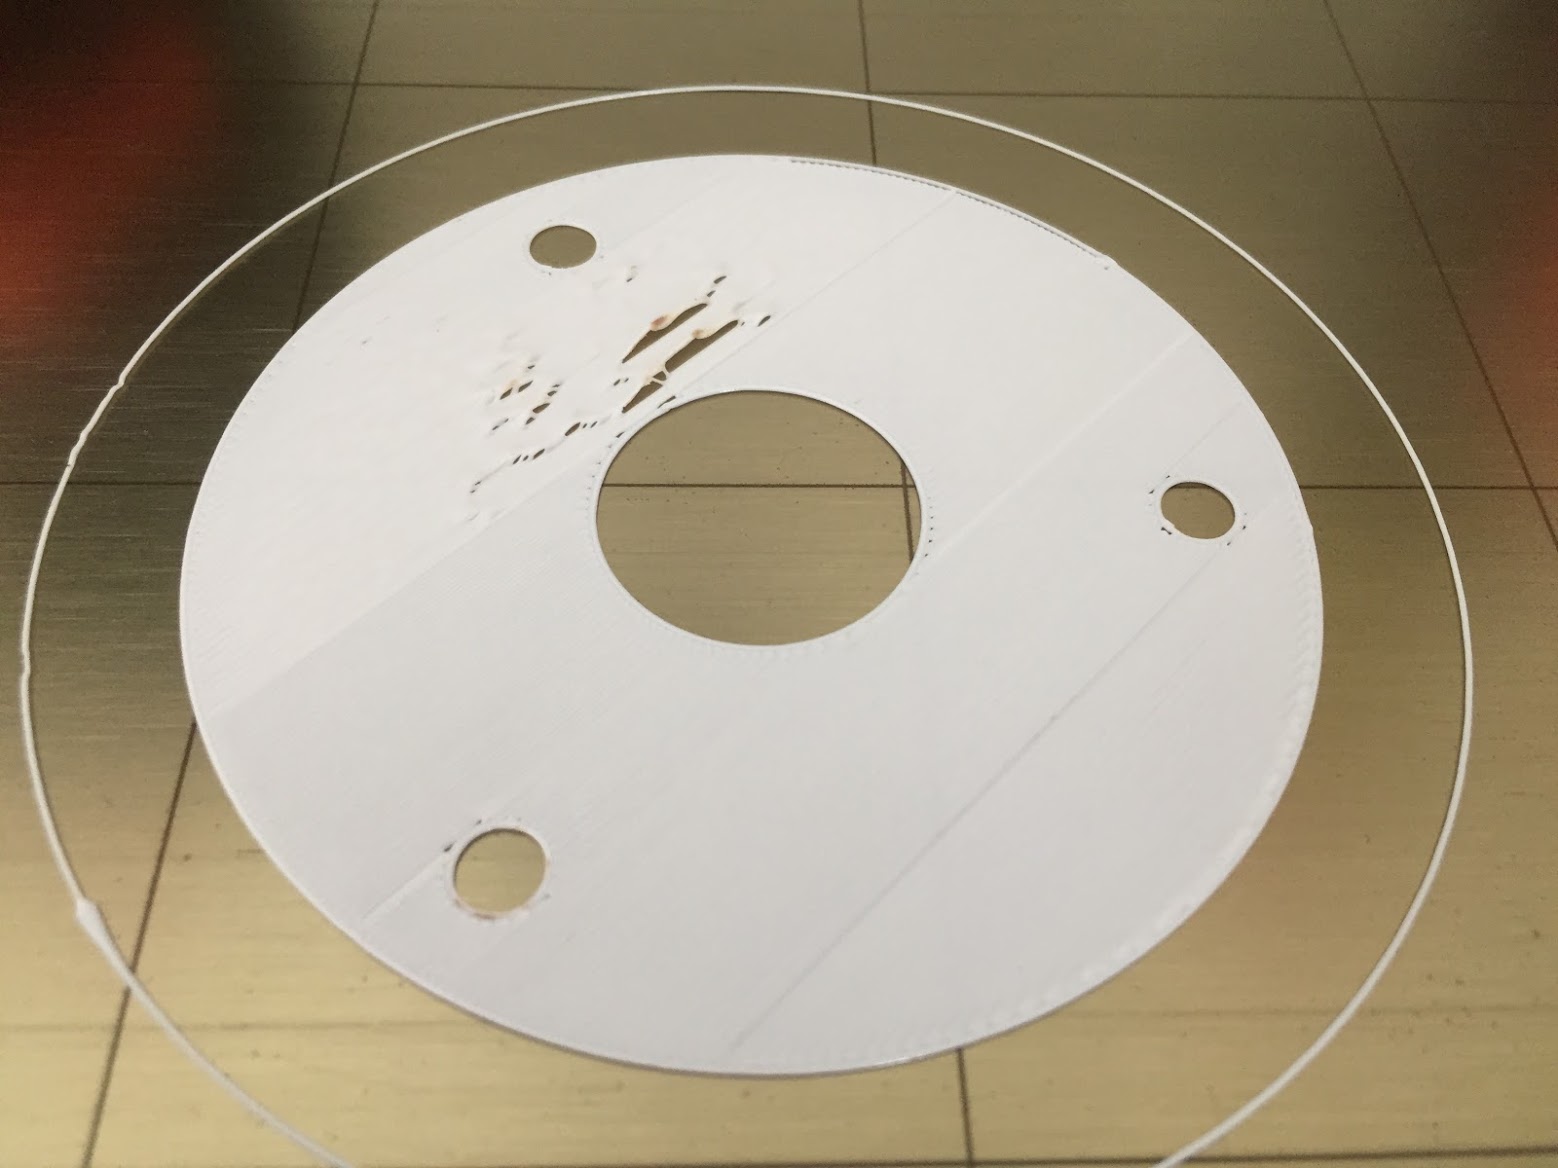
Finally, after having obtaining a somewhat successful 1st layer, I've discovered that while the infill is printed quite well, when attempting to print the thin rounded walls of the radiation shield fins that requires the nozzle to zig-zag over a small distance (~2 mm), I'll get major stringing issues. The screenshot below shows the movement of the nozzle that is causing the problem. I think the nozzle is simply moving to fast and it may possibly be too close to the previous layers, but by this point I was unable to access the live adjust-Z function of the printer.

If anyone may have any suggestions for a new PETG user, I'd greatly appreciate it!
Please note that I've also tried using Prusa Slic3r to export these shape files with a variety of different settings, including those specified here: https://shop.prusa3d.com/forum/others-archive--f66/first-time-printing-with-petg-problems--t14771-s10.html . It seems no matter what I do, I'll always have a poor quality first layer. Would a mesh bed levelling help perhaps? I'm not exactly sure where to go next!
Cheers,
Adam
Re: PETG Printing Suggestions
First thing I would do is re-clean your bed with soap and water. A quick search will bring up many posts on this topic.
Next try printing a set of calibration squares in PETG and see what they show about your current z height and bed level.
From there you can deal with the stringing that occurs with PETG, again plenty of posts and configs out there already to help you.
Good luck.
Re: PETG Printing Suggestions
Hi Rob,
Thanks for your reply.
I took your advice and printed up some calibration squares. One set from Thingiverse ( https://www.thingiverse.com/thing:1776031/comments ) and the other from martin.w15's post here on the Prusa forums. I also went back to gdo's recommended settings and had some good success.
I've found that by dropping the extrusion multiplier to 0.85, increasing the first layer to 0.35 mm, and dropping the speed for the first layer down to 20 mm/s has really helped. At temperatures of 245°C for the nozzle and 85°C for the bed, I've been able to watch as the printer is able to lay down the first layer perimeter and infill with ease (shown below).

The new problem I've run into however is some kind of rippling or bubbling underneath my infill. This seems to be fairly consistent across a wide range of nozzle and bed temperatures, infill speeds, live adjust Z values, and across my heated bed.

I thought I had solved the problem last night by increasing the nozzle temperature to 245, which yielded almost perfect calibration squares, but when I went to do a larger print, I ended up having massive issues (shown below).

I've been at it all day trying to slowly tweak and tune, but I just can't seem to get those ripples to go away. If anyone has any thoughts or advice, they'd be gladly welcomed!
Cheers,
Adam
Re: PETG Printing Suggestions
Maybe it’s the picture perspective but the bed seems to not be leveled. Filament is not equally squashed in all places. Have you tried using the octoprint plugin to see how leveled is your es and fix it?
Re: PETG Printing Suggestions
Hi Gaston,
Thanks for the great suggestion! I didn't actually have OctoPrint running, so I went and scrounged up and repurposed a Raspberry Pi 2 B+ I had laying around and installed the Prusa OctoPrint image. After getting everything setup and the Bed Visualizer plugin installed... lo and behold! With the bed heated to 85°C, the front right corner of the bed was way off!

While I'm sure this is definitely contributing to my problems, I can't see it being solely responsible for every issue. The calibration squares shown above are relatively small, and those squares printed in a more level part of the bed are still experiencing this rippling effect. I imagine I never noticed the warping of the bed previously because I've only printed in PLA, which appears to be much more forgiving than PETG.
Next steps are to properly level the bed and continue research into the rippling effect!
Thanks for the help!
Cheers,
Adam
Re: PETG Printing Suggestions
With PETG you should not be squishing the filament at all. Instead you should be adding a 0.15 to 0.2mm Z offset in your slicer. That is the reason the first layer has to be printed slowly as gravity is the only force that is pushing the filament into the bed so an uneven bed should have a minimal effect when printing with PETG.
With a nickel plated copper nozzle it my be possible to reduce or remove the Z offset as PETG is not ment to bond to that as much as it does to a brass one. I will experiment with that when I change over to nickel plated copper when my current print is finish. Currently 16 hours into a 37 hour print.
The ripping on the infill on the higher layers is being caused by the infill catching on the nozzle. When I first started printing in PETG I discovered raising the print temperature for the main part of the print solved this. So print as cold as possible for the first layer then go to as hot as possible for the rest. For reference I print Rigid ink PETG at 240/245. When I fit a Volcano to my printer I should be able to lower this to 220/230 and as a result reduce stringing.
I deliberately chose a small size of square in that test print. Just enough to show Z offset problems at the 9 calibration points so that it would print reasonably fast. If you want a full bed test I believe joan.t has provided to link/description of one in several of her posts
Regards,
Martin
Martin Wolfe
Re: PETG Printing Suggestions
With PETG you should not be squishing the filament at all. Instead you should be adding a 0.15 to 0.2mm Z offset in your slicer.
I don't believe you can be that prescriptive (if that figure refers to PLA as the "standard"). There appears to be a wider variation. Indeed Joan (she will correct me if I am mistaken) prints PETG with no additional offset compared to PLA. Is that correct Joan?
Re: PETG Printing Suggestions
With PETG you should not be squishing the filament at all. Instead you should be adding a 0.15 to 0.2mm Z offset in your slicer. That is the reason the first layer has to be printed slowly as gravity is the only force that is pushing the filament into the bed so an uneven bed should have a minimal effect when printing with PETG.
With a nickel plated copper nozzle it my be possible to reduce or remove the Z offset as PETG is not ment to bond to that as much as it does to a brass one. I will experiment with that when I change over to nickel plated copper when my current print is finish. Currently 16 hours into a 37 hour print.
The ripping on the infill on the higher layers is being caused by the infill catching on the nozzle. When I first started printing in PETG I discovered raising the print temperature for the main part of the print solved this. So print as cold as possible for the first layer then go to as hot as possible for the rest. For reference I print Rigid ink PETG at 240/245. When I fit a Volcano to my printer I should be able to lower this to 220/230 and as a result reduce stringing.
I deliberately chose a small size of square in that test print. Just enough to show Z offset problems at the 9 calibration points so that it would print reasonably fast. If you want a full bed test I believe joan.t has provided to link/description of one in several of her posts
Regards,
Martin
Hi Martin,
Thanks for your reply. I was glad to find your comments in the Problems with PETG first layer post yesterday, and decided that instead of playing with the Live adjust Z value, I'd try to only use the Z offset in Slic3r. This morning I switched back over to PLA, redid the XYZ and first layer calibrations, and dialled in my printer using jeffjordan's PLA calibration square. My ideal Z value for PLA appears to be -0.980.
After having switched back to PETG, I found that adding a 0.2 mm Z offset in Slic3r simply didn't work for me. The nozzle was far too far from the bed, and there was no adhesion of the filament. I also tried 0.1, but it was still too high. However, what did appear to work was changing the first layer height to 0.35, which I've seen suggested elsewhere. This permitted me to print your calibration squares but unfortunately, I still experienced the same rippling problems with many of the squares. I tried a larger print and the exact same thing happened, just on a larger scale (see below).

I'm at a loss of what could be causing this. If I watch the printer up close, I can see that as it lays down one line, sometimes a small section will slightly lift or curl. When the nozzle returns to do the next adjacent line, it looks like it pushes it back down but traps some air under it. If I raise the nozzle (i.e. increase from -0.980 to -0.960), the problem is exacerbated. If I decrease Live adjust Z, the problem is somewhat improved but then the nozzle is too close to the filament. I've found that by increasing the nozzle temperature to 255°C and bed to 90°C on the first layer, with the fan at 100%, the problem can be reduced somewhat but not eliminated. I have a feeling this may just be treating the symptoms.
I also wondering if my bed being unlevel has anything to do with this. To what extent can the MK3's autolevel eliminate irregularities in the bed?
The image below was recorded with Bed Visualizer at a bed temperature of 90°C. I kept the PINDA probe far away from the bed during the heating process so as to not skew the results. Would this significantly impact the print?

Cheers,
Adam
Re: PETG Printing Suggestions
With PETG you should not be squishing the filament at all. Instead you should be adding a 0.15 to 0.2mm Z offset in your slicer.
I don't believe you can be that prescriptive (if that figure refers to PLA as the "standard"). There appears to be a wider variation. Indeed Joan (she will correct me if I am mistaken) prints PETG with no additional offset compared to PLA. Is that correct Joan?
Hi Rob, I actually do change Live Z, for Petg...
I don'y use Gluestick, or other aids, just talcum powder or forehead grease, to reduce over bonding to the PEI.
which ever I use, is well rubbed in, with a paper towel. no loose powder left on the surface!
regards Joan
regards Joan
I try to make safe suggestions,You should understand the context and ensure you are happy that they are safe before attempting to apply my suggestions, what you do, is YOUR responsibility. Location Halifax UK
Re: PETG Printing Suggestions
Have you guy's seen the :
"Rigid Ink" Trouble shooting guide? https://rigid.ink/pages/ultimate-troubleshooting-guide
Or
"Simplify 3D" trouble shooting guide? https://www.simplify3d.com/support/print-quality-troubleshooting/
they offer generic solutions to many issues, sometimes the pictures speak volumes!
regards Joan
Thanks Joan!
I'm new to having to troubleshoot my Prusa MK3 as it's been working flawlessly in PLA for the past few months. I shall definitely take a look and bookmark these guides!
Cheers,
Adam
Re: PETG Printing Suggestions
Cheers Adam,
I Hope they help, and you get to enjoy your printer with different materials.
regards Joan
I try to make safe suggestions,You should understand the context and ensure you are happy that they are safe before attempting to apply my suggestions, what you do, is YOUR responsibility. Location Halifax UK
Re: PETG Printing Suggestions
Hi Rob, I actually do change Live Z, for Petg...
regards Joan
Oops, my bad. I was referring to this post https://shop.prusa3d.com/forum/assembly-and-first-prints-troubleshooting-f62/replaced-nozzle-t19028.html#p88677
but must've misinterpreted.
🙂
Re: PETG Printing Suggestions
No probs Rob,
the difference between petg live z and pla live z is different on my mk2 mmu and my mk3.
regards Joan
I try to make safe suggestions,You should understand the context and ensure you are happy that they are safe before attempting to apply my suggestions, what you do, is YOUR responsibility. Location Halifax UK
Re: PETG Printing Suggestions
Adam, I had exactly the same experience when I first switched to PETG material. Now I print nearly exclusively with PETG as it is about the best choice for the parts I make. My mk3 is my first printer and I am a complete novice (i think this is my first post!). I had the exact same problem with my first layers as you do, your pictures are a dead match. After much sweat and tears I found that my problem was the bed was not clean enough. I now have a strict regimen of using 99.9 iso but I do something i havent seen anywhere else, I do a good scrub on the bed with a white scotch-brite pad (specifically scotch-brite 7445) this pad is abrasive but in an extremely understated way, the pad actually feels sort of soft in your hands. I am a machinist by trade and if you have a very good finish on aluminum and then use one of those 7445 pads on it you can nearly turn it into a mirror. I have run one kilo of pla, and just finishing up my second kilo of PETG and my print bed (where i havent dropped a tool on it or that one spot where i didnt wait for my PETG to cool before removing it) looks like brand new, so I dont think I'm doing any lasting damage to the pei sticker. AFter the ISO evaporates off the bed after the quick scrub with the 7445 pad I then wet a paper towel with the windex and get a wet layer in the print areas for ease of part removal.
I'm sure there are a lot of things i could to much much better, but my first layer is no longer even something I think about. Hope that helps!

Re: PETG Printing Suggestions
Adam, I had exactly the same experience when I first switched to PETG material. Now I print nearly exclusively with PETG as it is about the best choice for the parts I make. My mk3 is my first printer and I am a complete novice (i think this is my first post!). I had the exact same problem with my first layers as you do, your pictures are a dead match. After much sweat and tears I found that my problem was the bed was not clean enough. I now have a strict regimen of using 99.9 iso but I do something i havent seen anywhere else, I do a good scrub on the bed with a white scotch-brite pad (specifically scotch-brite 7445) this pad is abrasive but in an extremely understated way, the pad actually feels sort of soft in your hands. I am a machinist by trade and if you have a very good finish on aluminum and then use one of those 7445 pads on it you can nearly turn it into a mirror. I have run one kilo of pla, and just finishing up my second kilo of PETG and my print bed (where i havent dropped a tool on it or that one spot where i didnt wait for my PETG to cool before removing it) looks like brand new, so I dont think I'm doing any lasting damage to the pei sticker. AFter the ISO evaporates off the bed after the quick scrub with the 7445 pad I then wet a paper towel with the windex and get a wet layer in the print areas for ease of part removal.
I'm sure there are a lot of things i could to much much better, but my first layer is no longer even something I think about. Hope that helps!20180620_173948~01.jpg
Hi Seth,
Thanks so much for your reply! It's great to hear about how others have managed to overcome the same issues that I've been encountering. I am absolutely going to try and the 7445 pad cleaning method and will report back with how things turn out. I'm pretty sure that I still have some bed level issues that I'll also need to address, so hopefully between these two methods, I can start to get as great of a first layer as you have shown!
Cheers,
Adam
Re: PETG Printing Suggestions
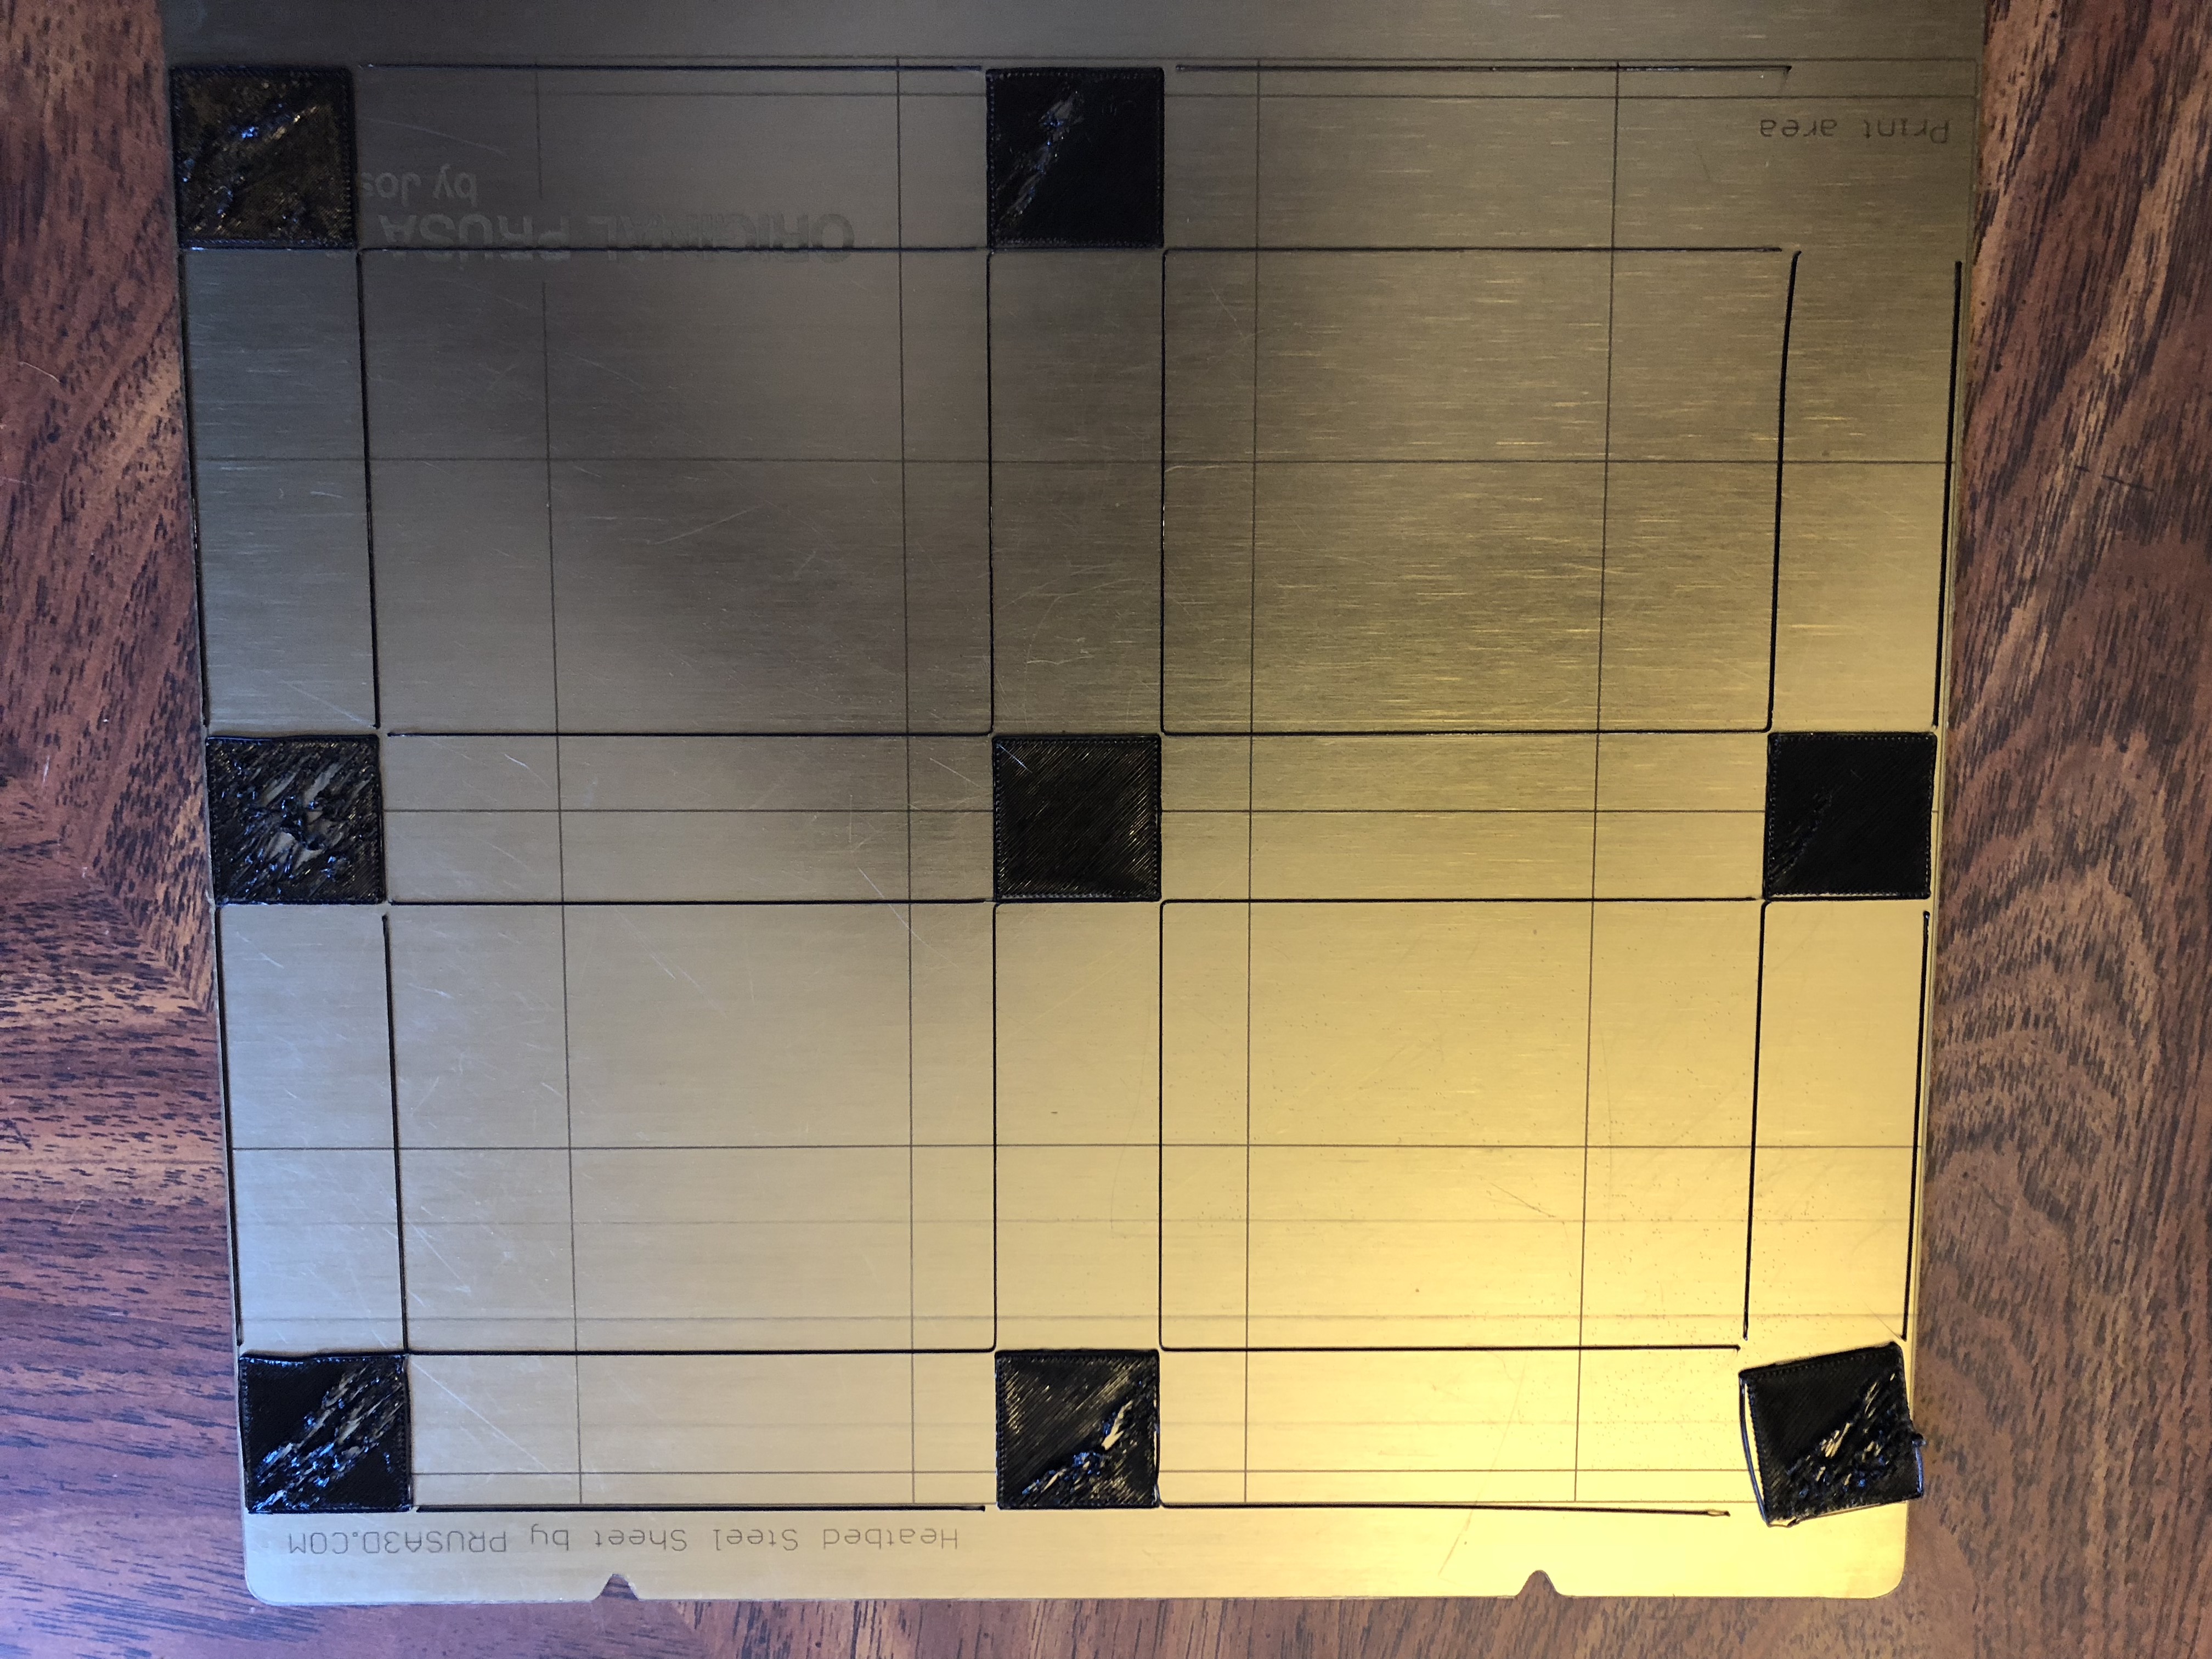
I'm having difficulty and following this thread to see if you guys can offer suggestions. I printed as suggested with the settings in slicer. I have prepared my PEI surface with Acetone first, then Windex as a buffer as recommended. It looks like the nozzle is digging through. I ran it again with the Z offset as suggested and it made no difference. I ran it again finding the middle square looking perfect, whereas before, it was the top right square looking "perfect." I have recalibrated x, y, z, axis all to the same horrible effect! What's going on!?!?!?


Re: PETG Printing Suggestions
Don't know if it can be of any assistance, but I found the default print speed, especially for solid infill, to be way too high for most PETG filaments I tried. It just doesn't get time to stick. The first layer is ok, second and third are where trouble starts, especially on very big surfaces, and by the end of the third layer a blob has formed so big that all filament that gets extruded simply sticks to that blob and it's over and out.
My solutions:
- add 0.05mm to the live Z. 0.1 was too much
- use gluestick to avoid having the PETG stick like crazy to the build plate.
- slow down solid infill/layers speed from 200 to 80 mm/s (maybe faster works, didn't try 20 times)
- when doing big solid layers, either pause the print yourself by triggering a filament change in the menu or add filament color changes every solid bottom layer so you get time to clean the buildup off the nozzle.
- check the extrusion multiplier. Make sure it's not too high
Seems to work fine so far. Nearly finished my first big surface print in matte PETG.
Re: PETG Printing Suggestions
Thanks Joris!
I don't think my print is being squished enough. My first attempt with PETG stuck like it was welded to the PEI sheet. I found Windex to work great. But, with this print, it really does not stick much at all. However, if I slice an object with the exact same settings in Slicer as the checkerboard that I took pictures of, the new object sticks like crazy. I am getting so frustrated not being able to print this filament!
I'll add 0.05mm to the live Z and see if that helps. Also, what does the extrusion multiplier do?
Re: PETG Printing Suggestions
Just a small update. I have retuned my PETG settings for the platted copper nozzle and block combination without sock.
I increased my Z offset from 0.2mmm to 0.3mm this completely eliminated any dragging. So I upped my first layer speed to 30mm/s (the default in Slic3r as set by Prusa.) A perfect first layer at speed.
Regards,
Martin
Martin Wolfe