PETG corner lifting
Hi!
Ever since I got my MK3S+ back in January, I've had issues with PETG curling off of the build plate. Before, this was not an issue for me as I was able to ignore it, even though it was annoying. Now though, I am printing a model which has multiple parts that need to fit together, and it is a long print so I don't want to be in a situation where it gets far along and then curls, ruining it and wasting tons of filament.
Here are some examples of the warping/curling I'm seeing:
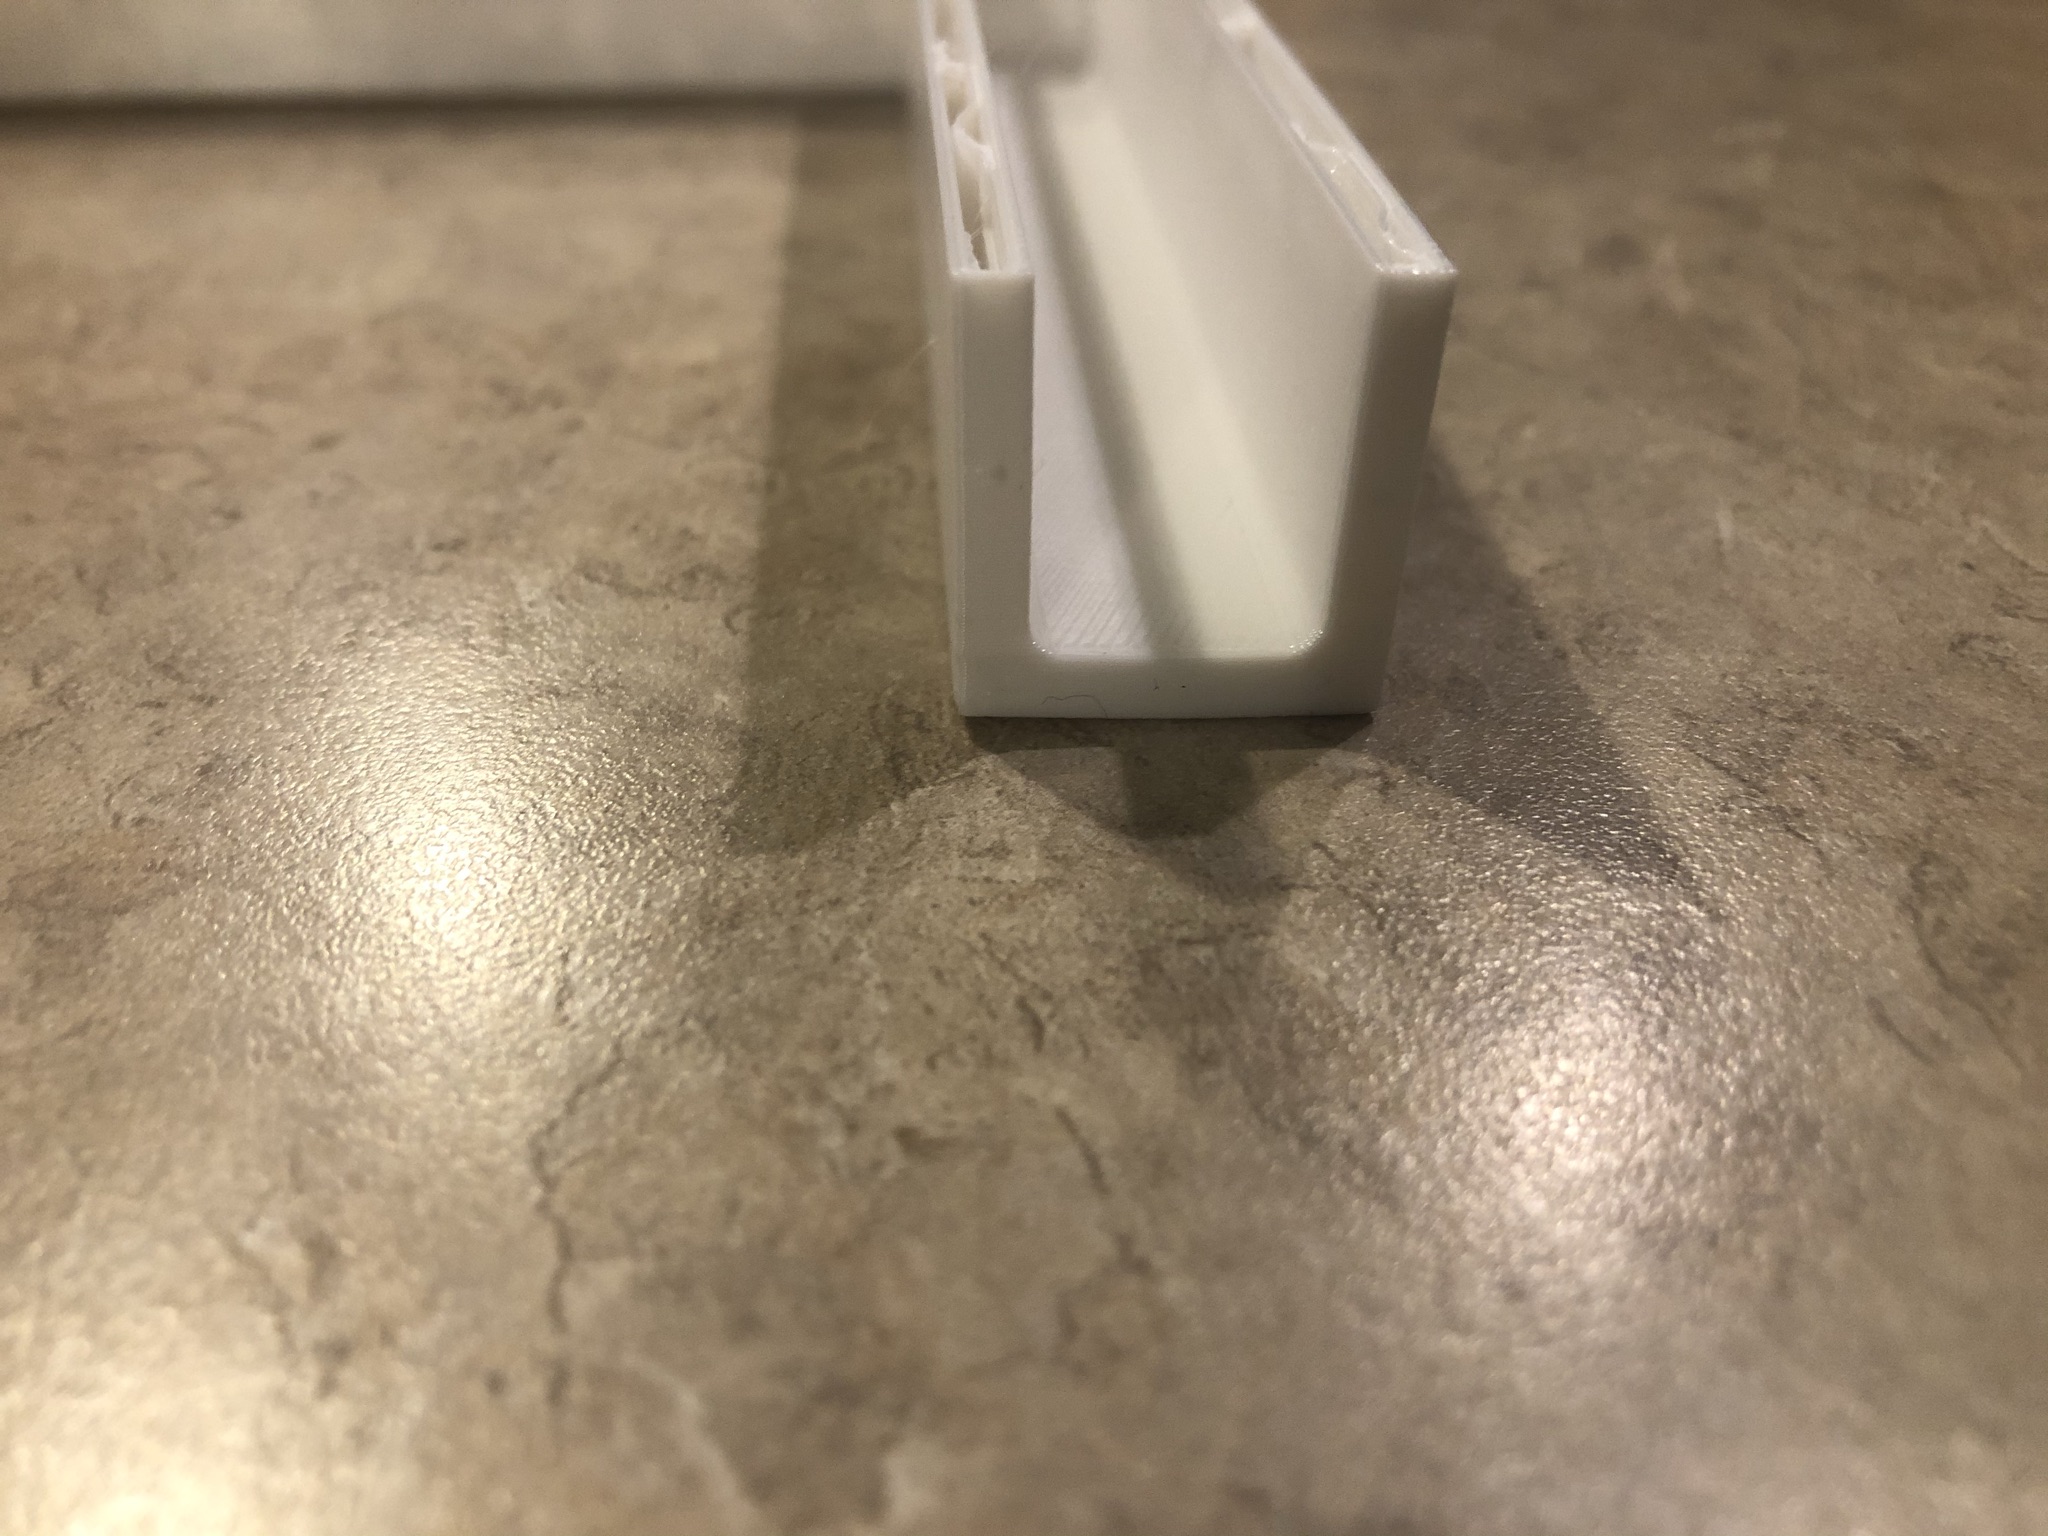

It looks small, but the ensuing shifts and warping could cause large dimensional accuracy issues on this tall (200mm) print.
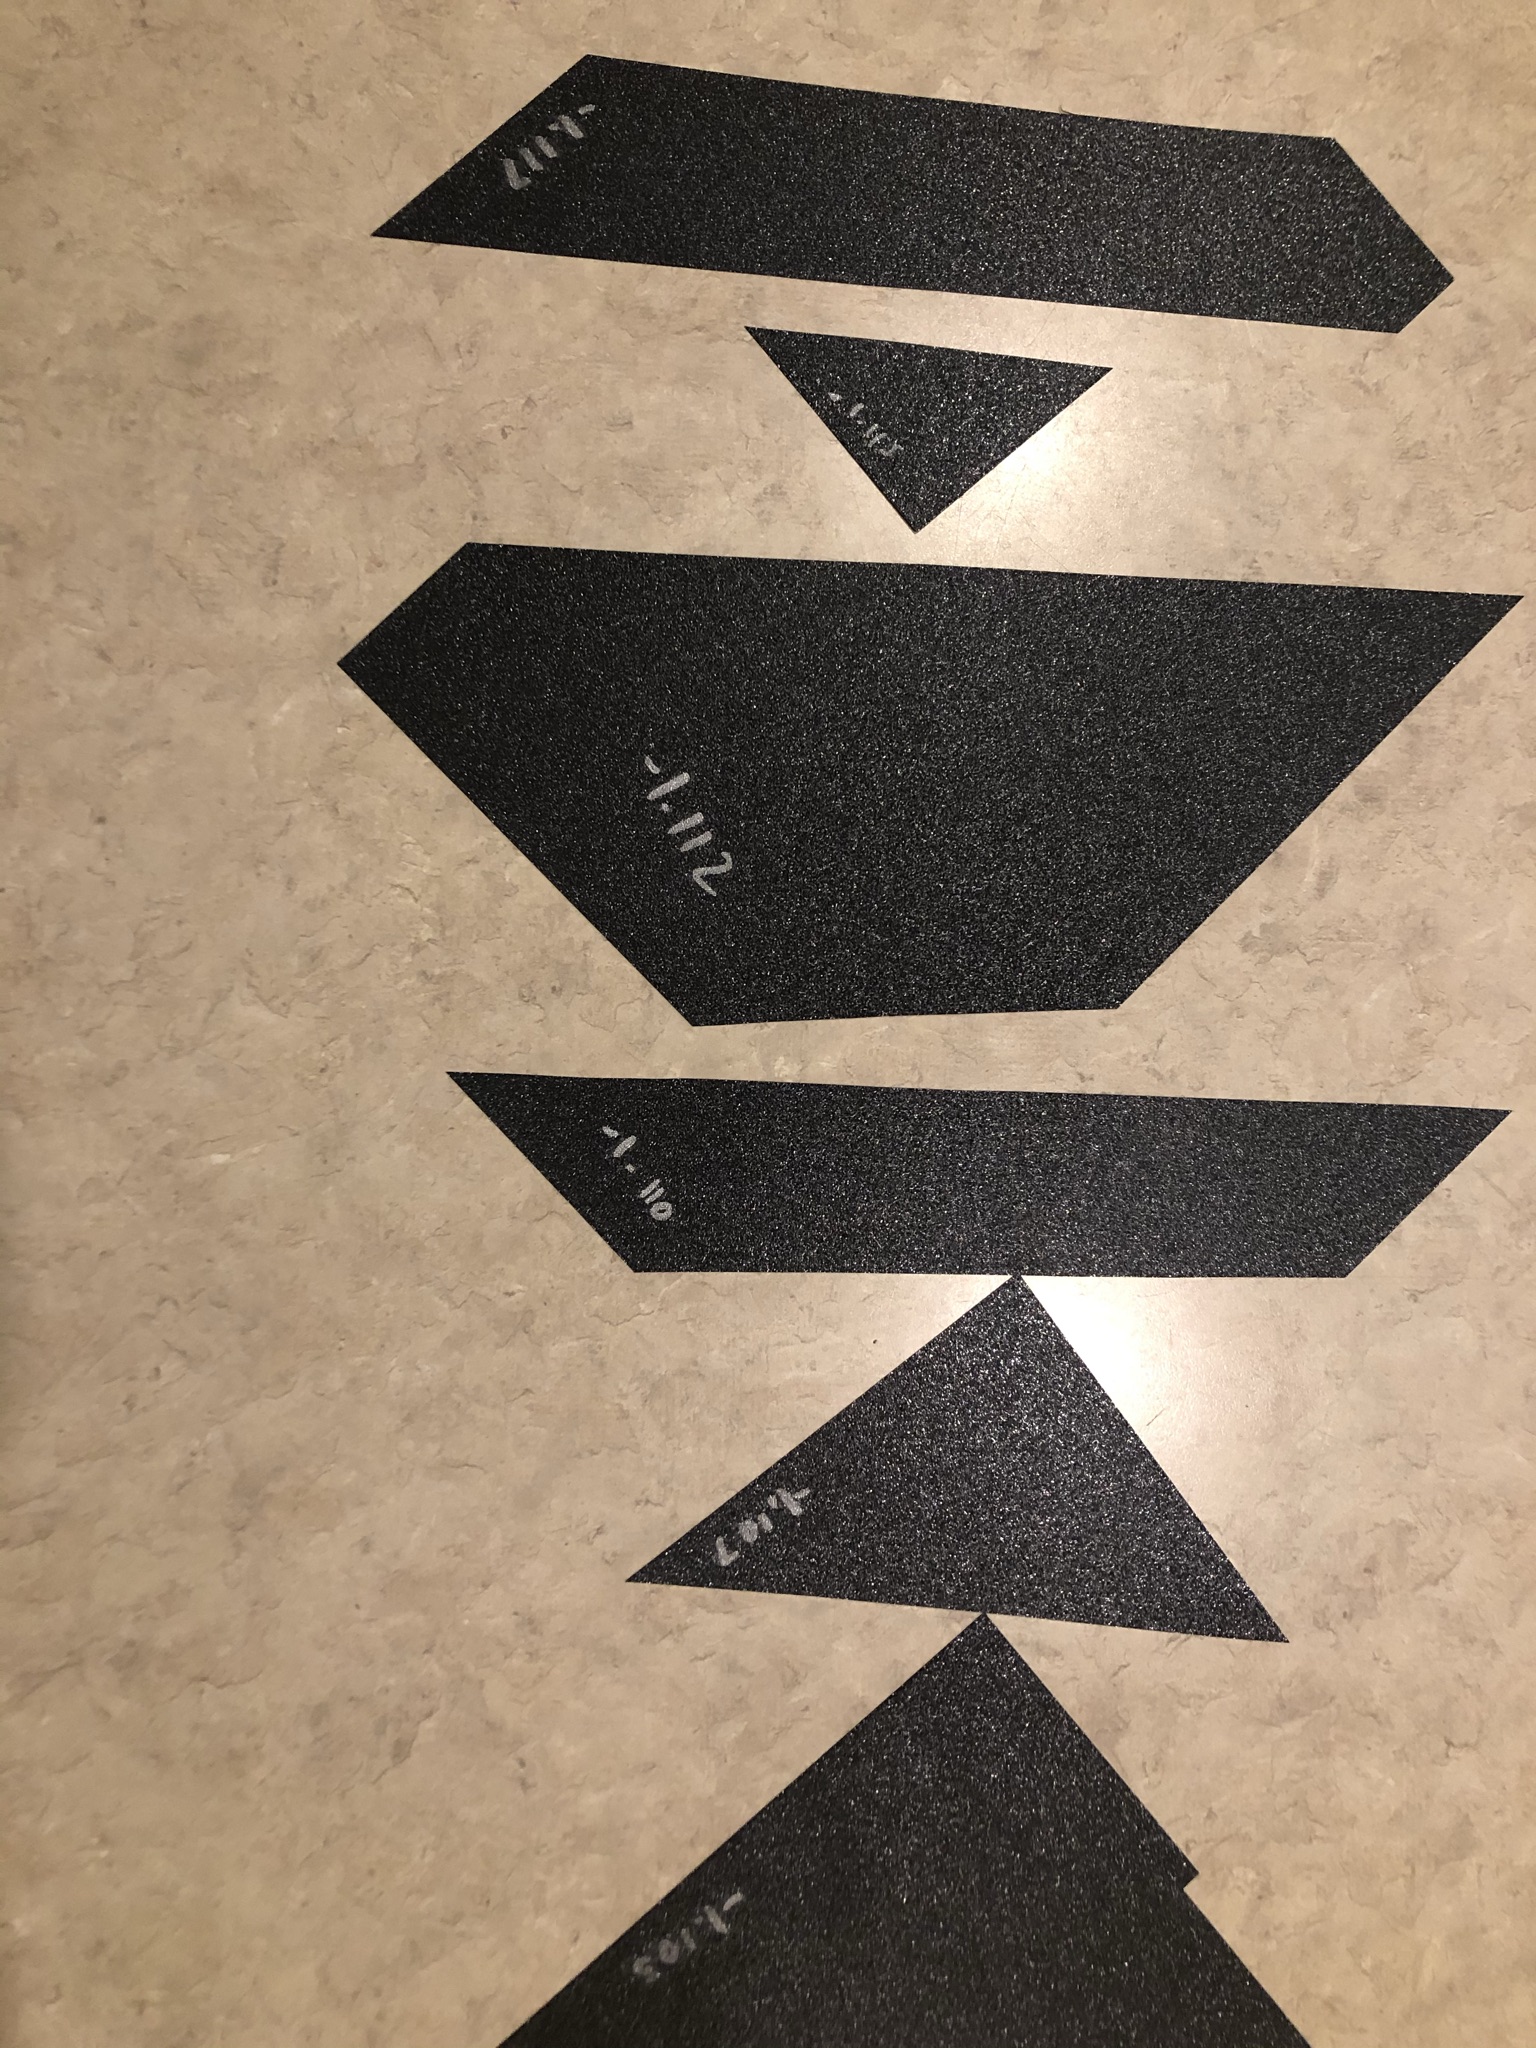
I've seen many suggestions on these forums such as calibrate your live Z, which I have attempted to do (using a modified version of the "life adjust" method, but I do about 4 graduations per sheet and then cut them out to compare them) as shown by the pictures below.

At this point, I'm at a loss. I clean the textured sheet with 91% IPA between prints and avoid touching it afterward. I have seen other suggestions like putting circular things around the corners but this model barely fits on the plate as it is so I do not think that would work.
Any suggestions are greatly appreciated!
RE: PETG corner lifting
Pictures are not usable.
-To clean a bed 100%, use dish soap use a lot of hot water, and do this a few times.
-First layer needs to 100%, the powder coated bed needs to a little lower, look at underside.
Both these settings are for getting the best sticking to the bed.
A little wind, or cold air, then the part will warp. Try a box around the printer, or build a box with foam. Or a photo tent.
Before you print let printer heat up longer.
RE: PETG corner lifting
And a square model is bad for warping.
Extra holes in the corner could help, of course not every model can have this.
RE: PETG corner lifting
Thanks for the suggestions. Unfortunately this is part of an assembly and it needs to have square corners. I bathed the sheet in hot water with soap and wiped with a brand new sponge before giving it a vigorous cleaning with 91% IPA. I reevaluated my live Z value, and still found the -1.117 to be the best value, so I upped the flow for the first layer by 5% to hopefully get it to stick more. I am now printing in my "enclosure" made of cardboard, hot glue and plastic wrap (for a window). the enclosure reaches about 45C during printing.
Despite all of this, I still am getting warping on my part. It's about 5 hours in now (out of 29 hours) and it has already detached more from the heatbed at the corners than the version with none of these adjustments.
Would it be better to print this on the smooth sheet for the higher adhesion? Or is there still something about the textured sheet I don't know.
Thanks in advance for any additional help.
RE: PETG corner lifting
Warping is always difficult because it also could be the filament, but normally it is temperature.
Use a big brim attach to the model model.
Try a pei sheet, but use window cleaner or glue stick, otherwise it will destroy the pei sticker
On youtube there were also tips on warping.
RE: PETG corner lifting
Sorry, I should have mentioned that I am using prusament PETG, with the tuned profiles. I cannot attach a brim due to the fact that the model already just fits on the bed, with less than a mm to spare (even when it's rotated). I think that I will try the smooth sheet with window cleaner, and try some of the other things to improve the adhesion of the textured sheet.
Thank you for your help.
RE: PETG corner lifting
Scale it down. Scale it all down. You're not going to get it to fit together if you don't add brim.