Improving first layer above support
I noticed that the first layer above support for an horizontal surface looks much better along one direction than along another. I know that the layer above support can't have a good finish, but here it's even worse as it's especially weak.
This one is printed along the width and is good (the part is upside down)
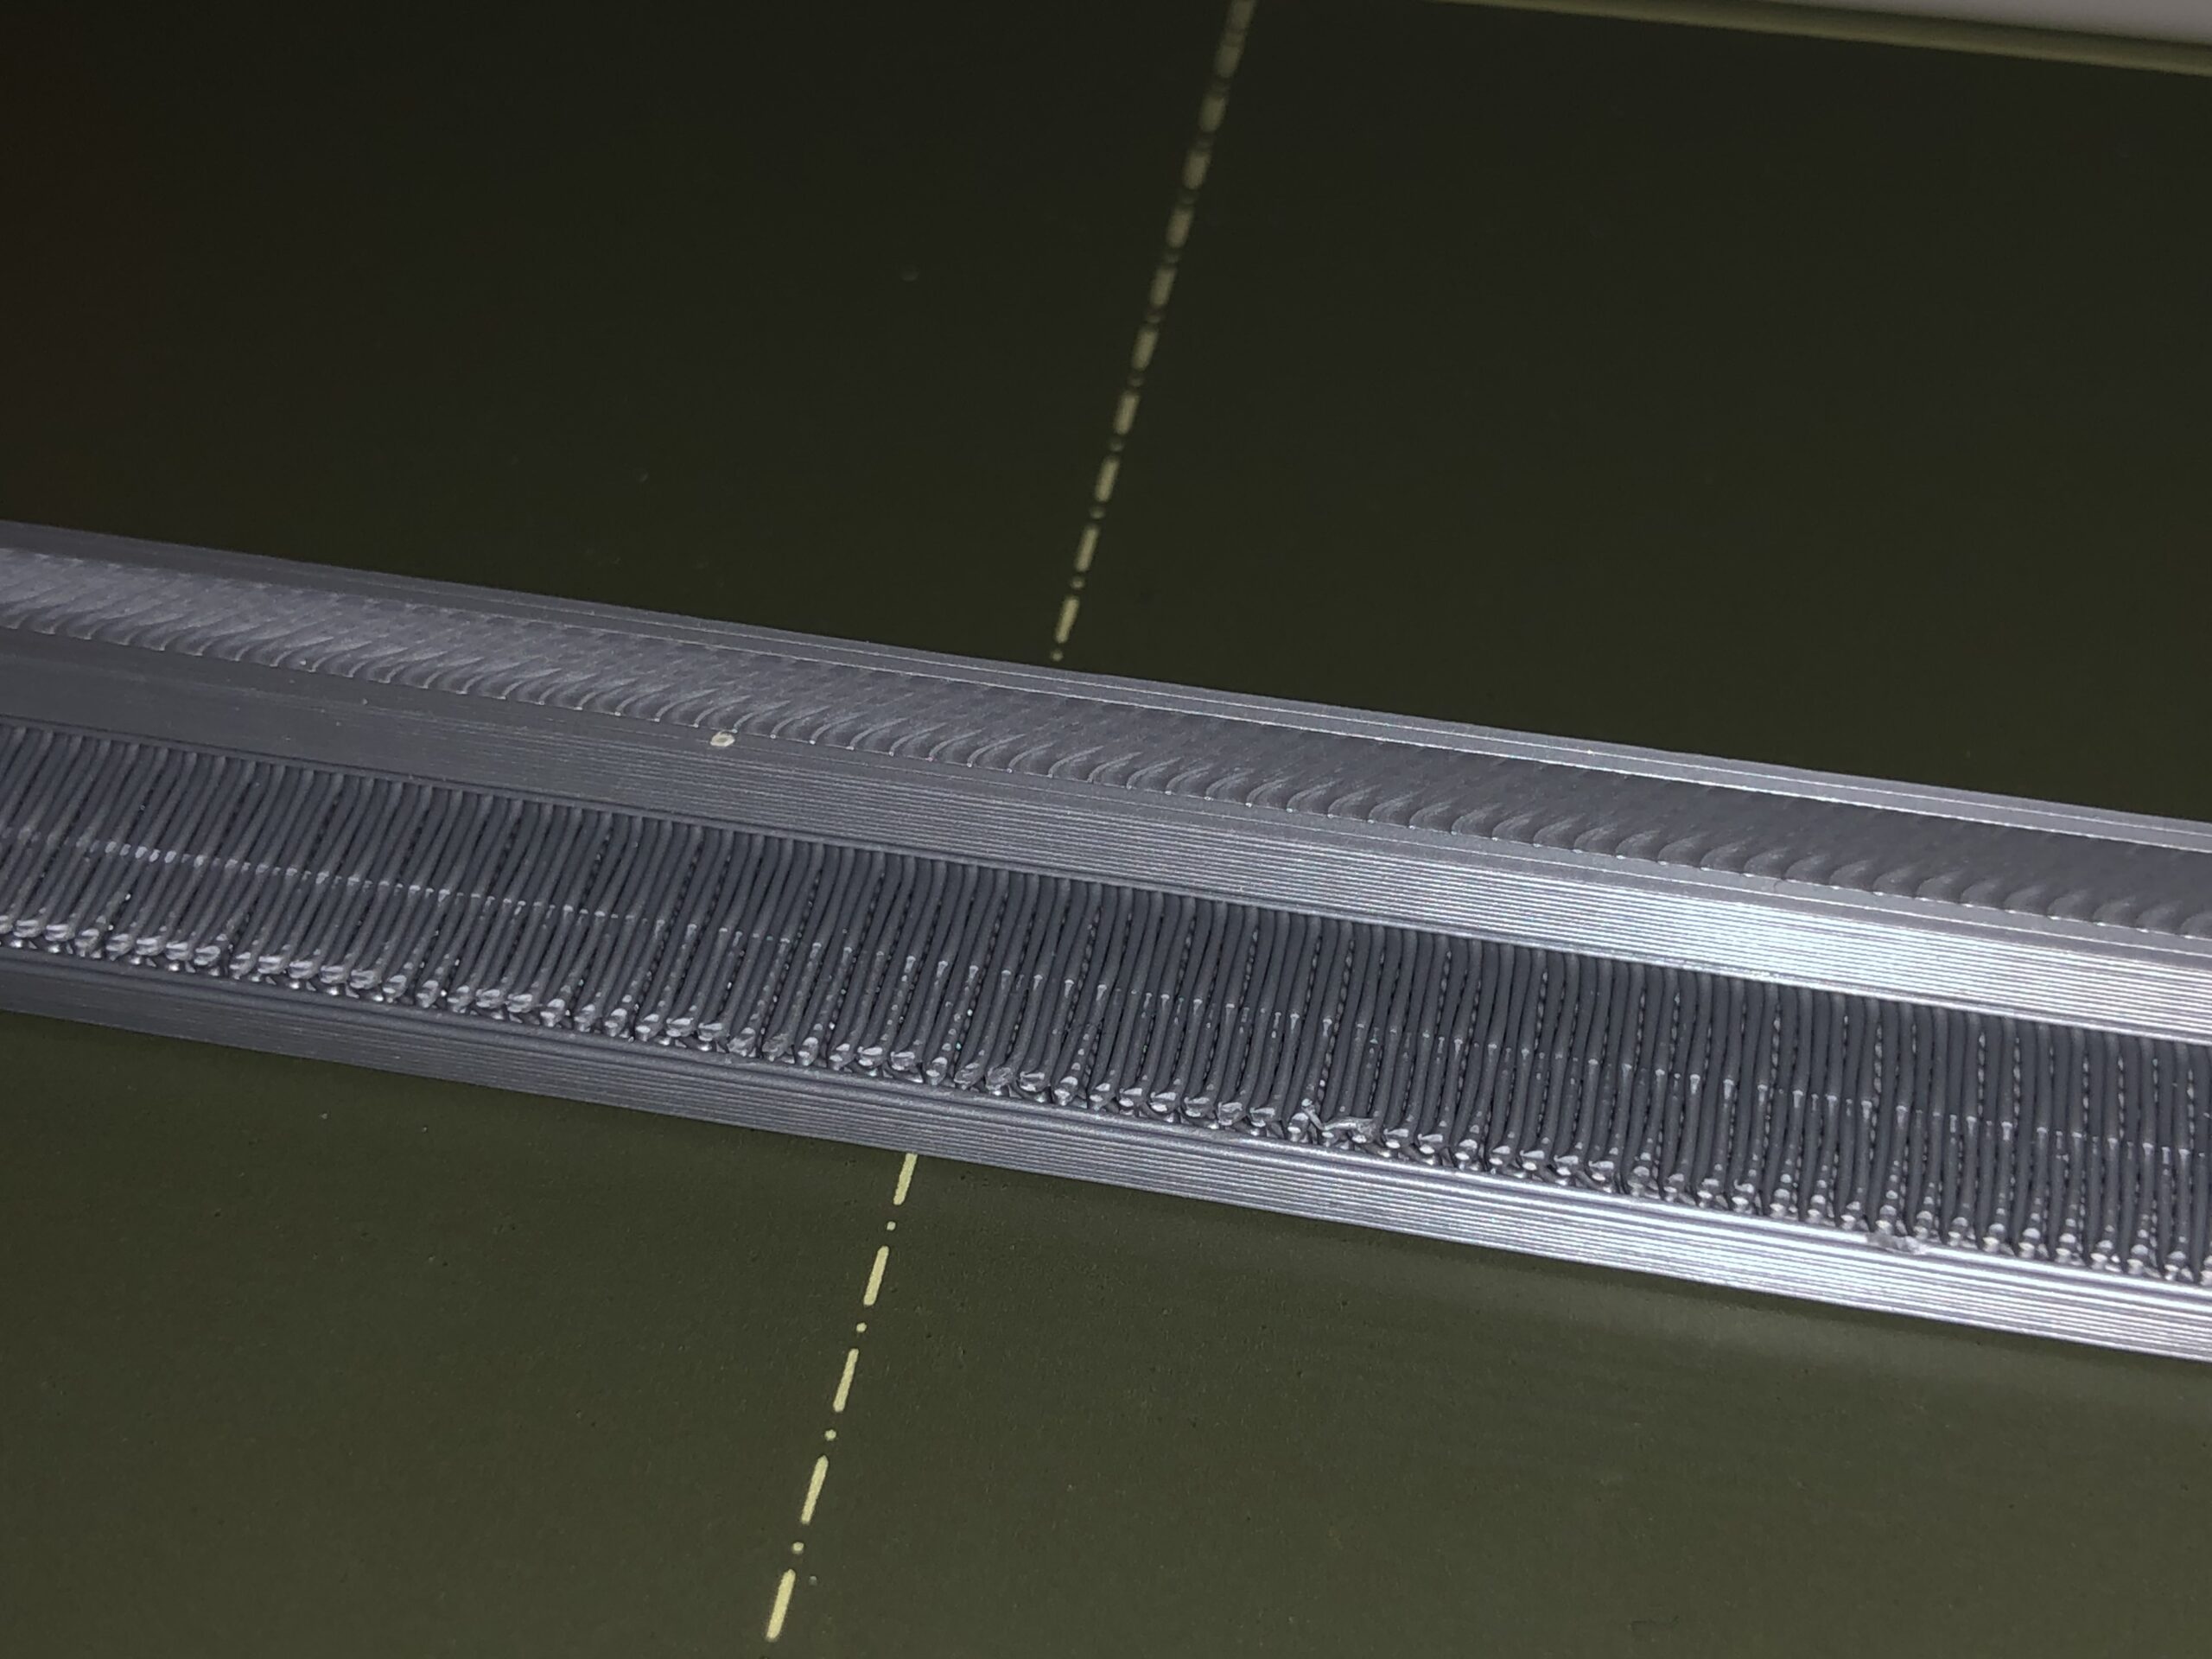
But this one, which is printed in along the length, is awful. Wires are floppy and don't adhere well to the layer above.
It could be improved by using a different pattern, but it seems the first layer above support doesn't use the top/bottom filler patterns that you can adjust in the settings.
Is there any way to improve this?
Thanks!
RE: Improving first layer above support
What happens to the direction of those lines if you rotate Z by 45 degrees ?
Mk3S+,SL1S
RE:
The first thing that comes to mind is to try a different infill angle.
My experience is, when using break-away supports, that the bottom more often than not comes out, for lack of a better term, 'butt ugly' and (other than using soluble supports) I try to draft and position the model to have the support surfaces 'greasy side down', such as the trackside surface of a model railroad car body.
You can also play around with supports, using support blockers and paint-on supports to only support what actually needs to be supported. You can bridge successfully over a couple of cm with the Prusa quite easily.
RE: Improving first layer above support
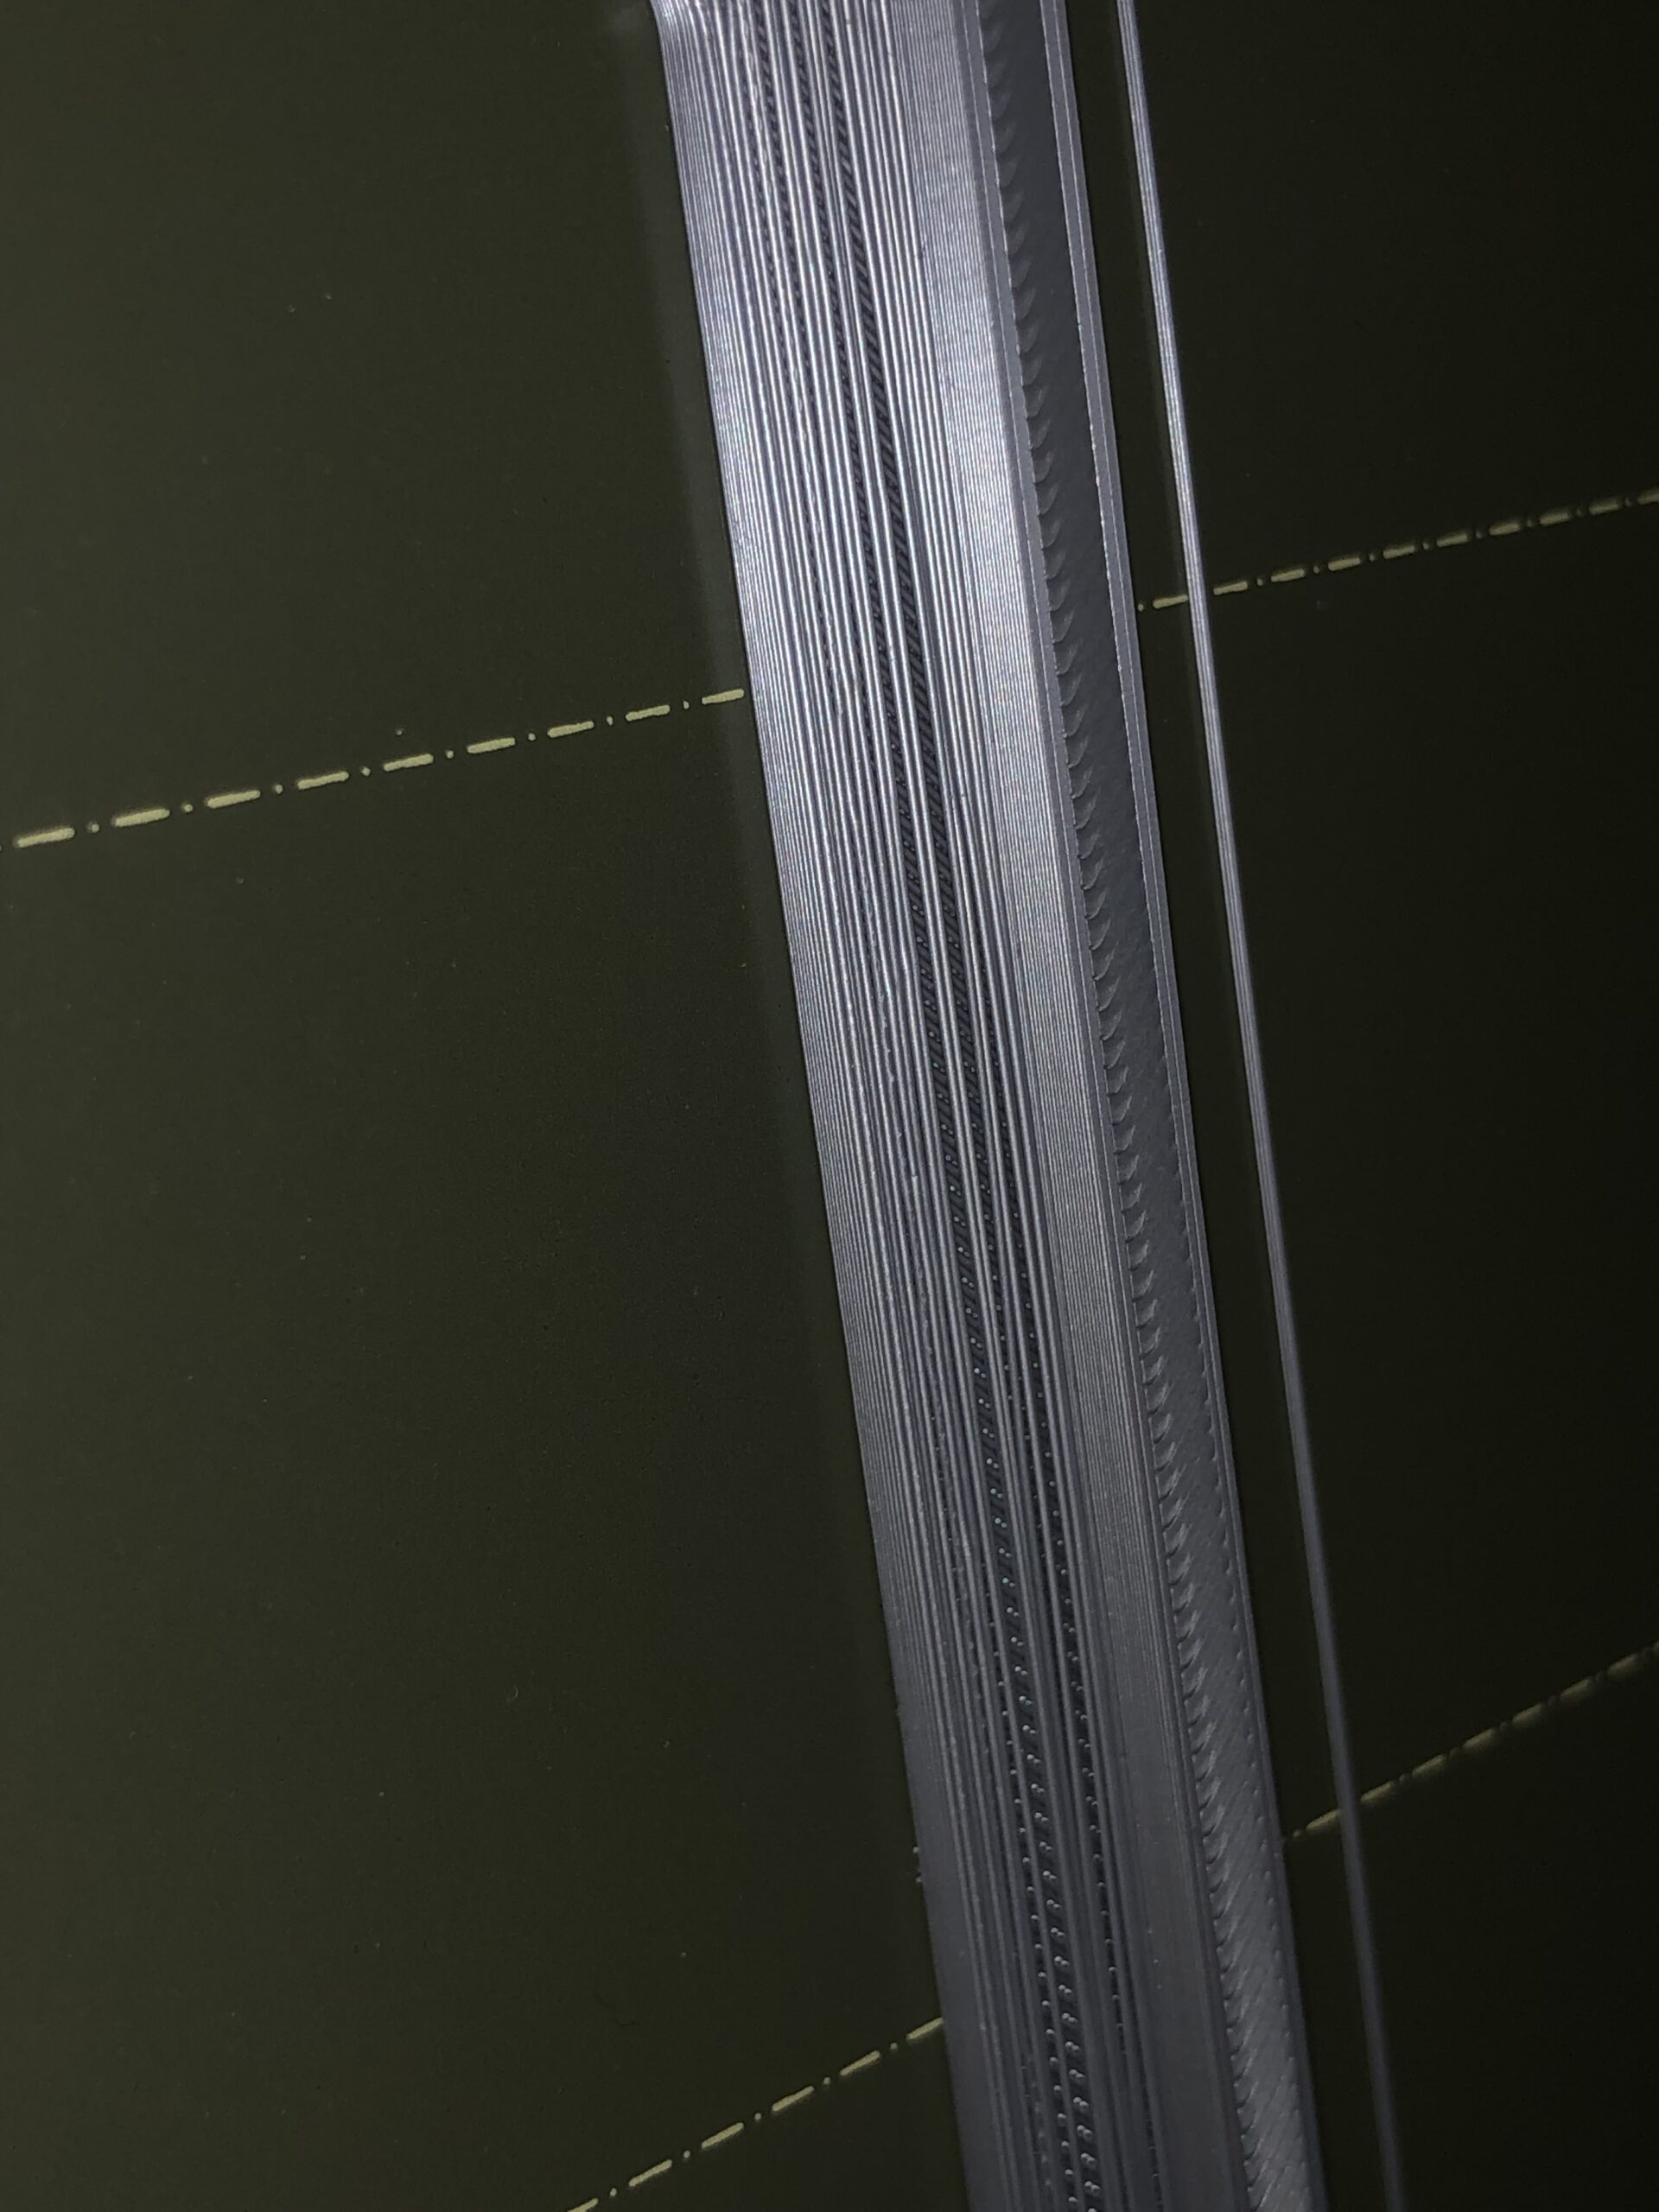
Rotating the printed part worked, but I finally found the setting : it's bridging angle which you can set to 45°
Not sure how it would impact real bridges (without support), though