First layer - orange peel structure expected.
Hi All,
the question is simple - does any of you know, how to setup the print to obtain "orange peel" structure on first layer - as it is for example on original Prusa orange parts.
I've tried multiple settings, but for now I failed (first layer height and width, a bit higher temperature, extrusion multiplier, live Z adjustment).
I'm now using DD PETG and of course Textured PEI Powder-coated Spring Steel Sheet. And I would like to have this steel sheet structure reflected on the first layer of my print.
Any ideas?
Thanks
Bartek
RE: First layer - orange peel structure expected.
I dont understand, if you are printing on the textured sheet the first layer (the one that's printed against the sheet itself) will always have the texture in the surface. Assuming its the right height and the prints are sticking anyway.
You dont mean the top layer do you ?
RE: First layer - orange peel structure expected.
@neophyl
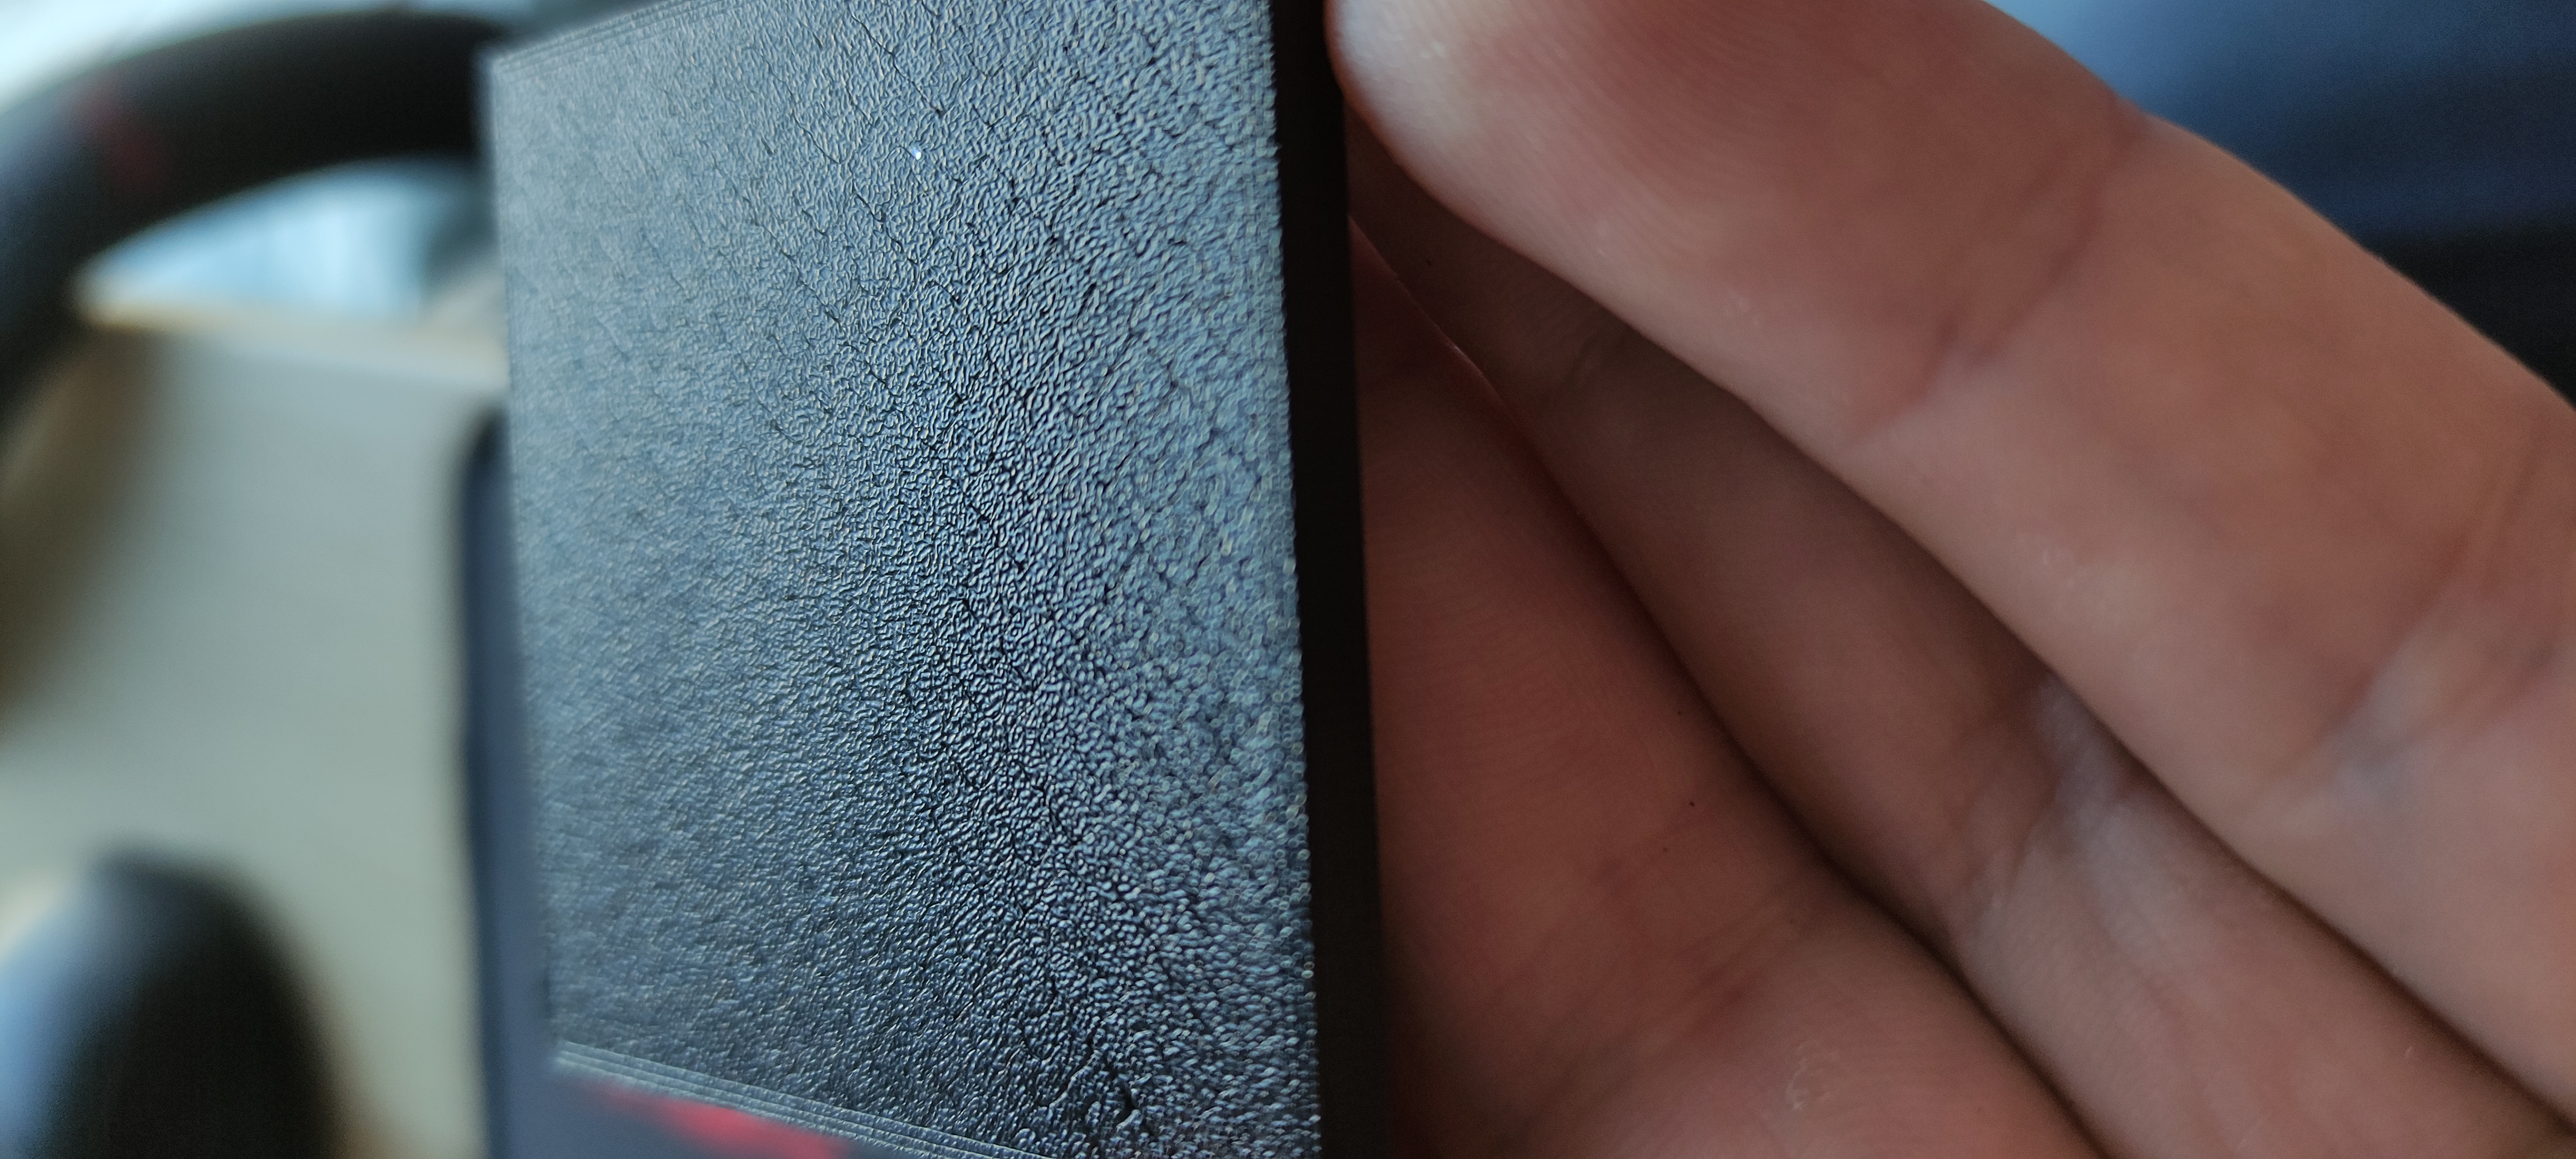
No I don't mean top layer. I mean bottom layer so the first layer. It has some structure but it's not as nice as on orginal Prusa parts. Please take a look at photos.
Can it be problem with live Z-axis adjustment?


RE: First layer - orange peel structure expected.
This I made with a different top layer/top infill, settings I do not remember.
Left is normal settings, right side????

RE: First layer - orange peel structure expected.
@peter-m-3
Left is normal means Rectilinear and right is Hilbert Curve I suppose. But still this is quite away from what can be seen on original Prusa parts made with orange prusament. And we are talking here about bottom layer (first layer) not the top one. I've tried few of fill patterns for this but without success.
RE: First layer - orange peel structure expected.
Are you sure you are low enough?
--------------------
Chuck H
3D Printer Review Blog
RE: First layer - orange peel structure expected.
It does look like you have small gaps between the lines on the bottom/first layer. This would indicate that your live z could go a little lower.
Also one thing to be aware of is that there have historically been different batches of the textured steel plates. The original ones were out sourced but I think all the current ones are made in house by Prusa themselves. Mainly down to the quality control issues they were having with the original ones. These different generations do have differing levels of texture so that can vary between even Prusa parts depending on what machine and sheet they were printed on.
In the recent announcement they are also producing a 'Satin' textured sheet to be available soon. Its supposed to be a less textured version, sort of a cross between the textured and the smooth, hence the 'satin' designation.
RE: First layer - orange peel structure expected.
@bewu90
essentially you are not getting enough squish, to push the extruded filament into the texture of the build plate
Please be aware, that your build plate may not have exactly the same parameters as the prusa build plate, (each batch has a slightly different texture...) and your plate probably isn't from the same batch.
things which can affect the first layer include, nozzle temperature, bed temperature, live Z accuracy, extrusion width, print speed and filament constitution...
I suggest that you try printing the Mk3 extruder parts from the Prusa G code on this page https://www.prusa3d.com/prusa-i3-printable-parts/ 
the item I have highlighted has a small number of parts so prints quickly. and you don't need to let it complete to see what the first layer looks like...
I suggest that you let two or three layers print, and then stop the print to examine the underside... (this should make the parts easier to remove, than a single layer...) If this gives you the surface that you want, then copy the configuration that is shown in the GCode (Open the Gcode in Notepad++ (Free Download))
if the results are the same as Your samples above with the Prusa Gcode then
your Live Z looks to be a little out of calibration, try increasing the size of your Live Z negative number to move the nozzle closer to the build plate.
regards Joan
I try to make safe suggestions,You should understand the context and ensure you are happy that they are safe before attempting to apply my suggestions, what you do, is YOUR responsibility. Location Halifax UK