Struggling with getting the PLA to stick (image)
I have run all 3 calibrations, for the life of me I cannot get the PLA to stick in the rear part of the print. I have had the nozzle off (@285C), inspecting it, and also gently used the included nozzle-needle from beneath (15mm up), so the nozzle should be OK? Calibration was without any errors. Maybe the first layer calibration is not OK, but why only in the rear part of the bed? Maybe something wrong with the STL? I'm using the PrusaSlicer and Prusa PLA.
Any tips?

Best Answer by bobstro:
Your last pic looks like your Live-Z is too high. The extrusions are thin but -- at least from what I can see in the pic -- even. A partial clog will usually result in uneven extrusions. Try this: Raise Z to max and extrude some filament. If filament flows out evenly and coils neatly under the nozzle, you probably don't have a clog. If it comes out unevenly, or skews to one side, a partial clog is likely. Do some cold pulls.
Since you're having uneven adhesion, I'm going to give you a big info dump that you can go through. These are the most common problems encountered getting started, and Prusas are just a bit different than other printers. Wall of text follows...
-
A dirty PEI print surface. Even if you don't think this is the cause, it's always a good idea to make sure your PEI surface is clean before trying any other fixes. If it's a smooth PEI sheet, take it to the kitchen sink and give it a good dunk with Dawn (original formula, no vinegar or hand softener variants) dishwashing soap or your local equivalent (e.g. Fairy in UK). Use a clean paper towel to clean it off, and another to dry it. Avoid using any sponge or cloth that has been in contact with grease. Above all else, avoid touching the PEI print surface. Once it's good and clean, you should be able to use 91%+ isopropyl alcohol between prints, 100% acetone when that fails , and another dunk when acetone fails. Worst-case, use a 3M 7445 ScotchBrite (1200-1500 grit) pad or equivalent on smooth PEI to give it a very light buff, but only infrequently. If you've got a textured powder-coated PEI print surface, the official instructions are to use 91%+ isopropyl alcohol on it only. Rumors persist that some have had good luck getting started with these sheets by giving them a wipe with 100% acetone and a dunk with Dawn. Either way, there's no real warranty on these sheets. YMMV.
-
If you have not already done so, try using Jeff Jordan's "Life Adjust" procedure for calibrating your Live-Z setting. It is much easier to use and understand than the onboard routine and much easier to make mid-print adjustments accurately with. In general, start high (less negative) and work lower (more negative) in large increments (e.g. 0.1mm) until the filament starts to stick on its own. When you've got your Live-Z setting adjusted properly, you should be able to gently rub the extruded lines on the PEI surface without dislodging them. Then start lowering (more negative) the level until there are no gaps between layers. You should not be able to peel the lines apart after printing, but the top should be regular.
RE: Struggling with getting the PLA to stick (image)
Have you enabled 7x7 bed mesh leveling in settings? This will help. Also, the newest firmware makes a big improvement in bed leveling (but makes some iffy changes in Linear Advance).
The 7x7 leveling helps the printer account for slight variations in the level across the whole bed. The 3x3 mesh leveling that is default does a much less accurate levelness assessment
RE: Struggling with getting the PLA to stick (image)
Thanks!
Heck, tried the 3D Benchy, and it was a mess.. I'll try the 7x7 setting. However, as I tried for the n'th time to calibrate the first layer, I noticed that the PLA string it produces is very thin. Can't remember how it was previously, though (see image). Can this be related to a clogged nozzle? And can a clogged nozzle give problems such as mine?

Most of the thin PLA a barely holding on the the sheet, btw. I can more or less blow it off..
RE: Struggling with getting the PLA to stick (image)
Yes, a clogged nozzle can cause under extrusion which can look like first layer adhesion issues. A dodgy roll of filament that has the wrong melting point can do the same thing.
I have one roll of red translucent PETG that I need to bump the starting temp to 260, and lower my Z 40 points to get it to stick. I had no end of failed prints - but just that one roll. Now I just know it's temp is too high, so I adjust when I want to use it. Sometimes bargains are bargains for a reason 🙂
RE: Struggling with getting the PLA to stick (image)
Your last pic looks like your Live-Z is too high. The extrusions are thin but -- at least from what I can see in the pic -- even. A partial clog will usually result in uneven extrusions. Try this: Raise Z to max and extrude some filament. If filament flows out evenly and coils neatly under the nozzle, you probably don't have a clog. If it comes out unevenly, or skews to one side, a partial clog is likely. Do some cold pulls.
Since you're having uneven adhesion, I'm going to give you a big info dump that you can go through. These are the most common problems encountered getting started, and Prusas are just a bit different than other printers. Wall of text follows...
-
A dirty PEI print surface. Even if you don't think this is the cause, it's always a good idea to make sure your PEI surface is clean before trying any other fixes. If it's a smooth PEI sheet, take it to the kitchen sink and give it a good dunk with Dawn (original formula, no vinegar or hand softener variants) dishwashing soap or your local equivalent (e.g. Fairy in UK). Use a clean paper towel to clean it off, and another to dry it. Avoid using any sponge or cloth that has been in contact with grease. Above all else, avoid touching the PEI print surface. Once it's good and clean, you should be able to use 91%+ isopropyl alcohol between prints, 100% acetone when that fails , and another dunk when acetone fails. Worst-case, use a 3M 7445 ScotchBrite (1200-1500 grit) pad or equivalent on smooth PEI to give it a very light buff, but only infrequently. If you've got a textured powder-coated PEI print surface, the official instructions are to use 91%+ isopropyl alcohol on it only. Rumors persist that some have had good luck getting started with these sheets by giving them a wipe with 100% acetone and a dunk with Dawn. Either way, there's no real warranty on these sheets. YMMV.
-
If you have not already done so, try using Jeff Jordan's "Life Adjust" procedure for calibrating your Live-Z setting. It is much easier to use and understand than the onboard routine and much easier to make mid-print adjustments accurately with. In general, start high (less negative) and work lower (more negative) in large increments (e.g. 0.1mm) until the filament starts to stick on its own. When you've got your Live-Z setting adjusted properly, you should be able to gently rub the extruded lines on the PEI surface without dislodging them. Then start lowering (more negative) the level until there are no gaps between layers. You should not be able to peel the lines apart after printing, but the top should be regular.
RE: Struggling with getting the PLA to stick (image)
Wow, this is great. Thank you so much for this thorough answer!
I did everything, including downloading the special print and doing a live-Z calibration. Ended up with -0.950. Just like you said, my -0.650 was too high. 3DBenchy is about 80% done now and still clinging on to the bed 🙂
The nozzle looks good, btw, so the two new ones I ordered yesterday will act as spare.
RE: Struggling with getting the PLA to stick (image)
Sometimes bargains are bargains for a reason 🙂
Indeed 🙂
Can't prove it to be the exact cause, ofc, but the last roll of PLA I used before the troubles started was a (very cheap) one from China.
RE: Struggling with getting the PLA to stick (image)
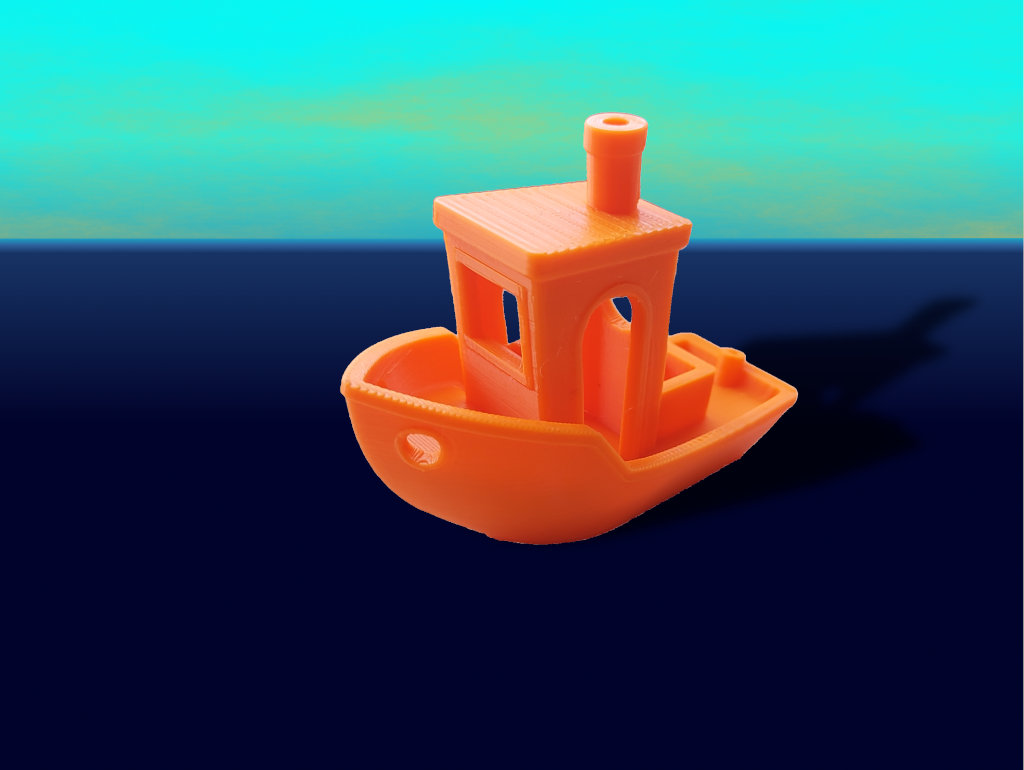
That went well. A few more adjustments needed I think, but hey, it's stuck.