Print head kicks print off the bed
Hello,
I wanted to print the following item. The part should be solid so I tried with 100% infill (which faild very fast) and setting the perimeters to 6 (which worked until the middle of the print). The first layers are printed perfect and everything looks finde but after 20 min (layer 71+) the print head starts to jump around and kicks the print from the bed.
As you can see the first layers are perfect.
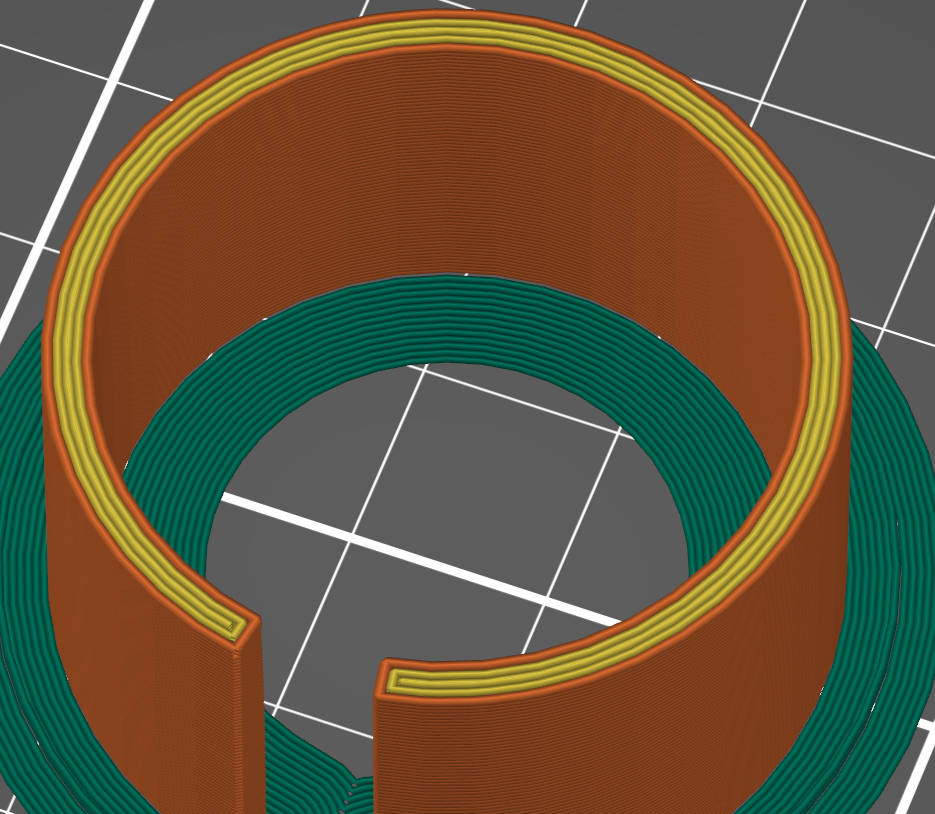
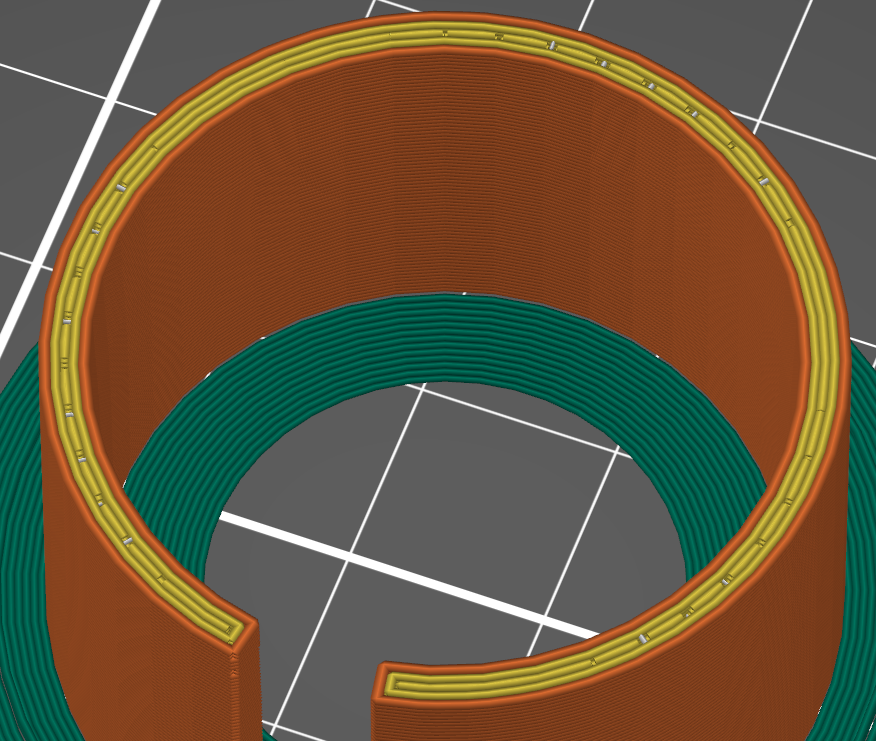
When I inspect the GCOD i can see exactly the layers wich are the problem. Startin with layer 71 up to 84 I have small gaps in the infill. This gapes lead to the jumps of the print head.
You can see the problem in the video below. Do you have any ideas how to print that part?
Best regards 😀
PL
Best Answer by bobstro:
[...] I wanted to print the following item. The part should be solid so I tried with 100% infill (which faild very fast) and setting the perimeters to 6 (which worked until the middle of the print). The first layers are printed perfect and everything looks finde but after 20 min (layer 71+) the print head starts to jump around and kicks the print from the bed.
Save your part and settings off in a 3MF project file, zip it up, and attach it to a reply here so we can examine your settings.
[...] When I inspect the GCOD i can see exactly the layers wich are the problem. Startin with layer 71 up to 84 I have small gaps in the infill. This gapes lead to the jumps of the print head.
We need to see your project file to help with the inconsistent infill. However, going by your video, that is NOT your major problem. Your print is flopping around on the bed. You need to work on your bed adhesion. When you've got your adhesion right, minor bumping or warping should not cause the part to come loose. Until you've got this figured out, don't waste your time trying to fix problems in your slicer. Adhesion provides a solid foundation for the rest of the print. Here's an info dump on adhesion and how to improve it.
-
A dirty PEI print surface. Even if you don't think this is the cause, it's always a good idea to make sure your PEI surface is clean before trying any other fixes. If it's a smooth PEI sheet, take it to the kitchen sink and give it a good dunk with Dawn (original formula, no vinegar or hand softener variants) dishwashing soap or your local equivalent (e.g. Fairy in UK). Use a clean paper towel to clean it off, and another to dry it. Avoid using any sponge or cloth that has been in contact with grease. Above all else, avoid touching the PEI print surface. Once it's good and clean, you should be able to use 91%+ isopropyl alcohol between prints, 100% acetone when that fails , and another dunk when acetone fails. Worst-case, use a 3M 7445 ScotchBrite (1200-1500 grit) pad or equivalent on smooth PEI to give it a very light buff, but only infrequently. If you've got a textured powder-coated PEI print surface, the official instructions are to use 91%+ isopropyl alcohol on it only. Rumors persist that some have had good luck getting started with these sheets by giving them a wipe with 100% acetone and a dunk with Dawn. Either way, there's no real warranty on these sheets. YMMV.
-
If you have not already done so, try using Jeff Jordan's "Life Adjust" procedure for calibrating your Live-Z setting. It is much easier to use and understand than the onboard routine and much easier to make mid-print adjustments accurately with. In general, start high (less negative) and work lower (more negative) in large increments (e.g. 0.1mm) until the filament starts to stick on its own. When you've got your Live-Z setting adjusted properly, you should be able to gently rub the extruded lines on the PEI surface without dislodging them. Then start lowering (more negative) the level until there are no gaps between layers. You should not be able to peel the lines apart after printing, but the top should be regular.
RE: Print head kicks print off the bed
Not buying it. First, all of your pictures are from the slicer preview - not helpful to diagnose the print. Show a picture of the first layer lines please.
You may be warping. You may be just not getting enough first layer adhesion. Little gaps in the infill are not the issue IMO.
RE: Print head kicks print off the bed
And the video is blank.
RE: Print head kicks print off the bed
@dan-rogers sorry I don't know why the video had a problem. Added it in the reply. As you can see in the video the first layers a very good and the problem starts with the small gaps. Thank you for your help!
RE: Print head kicks print off the bed
We can disagree on that. At the start of the video (thanks for the second one) it is already warped off of the bed, and progressively peels back until the print head hits.
That tells me you need more adhesion, or some control over the warping - an enclosure sure or something. I would expect the head starts to build up a glob as soon as the edge starts to warp off the bed, and the top edge of the part is not flat but sort of curves downwards where it gets all melty. Eventually the nozzle cannot plow any deeper in the plastic, and the part, already loosened from the warping, pops free and you get a spagetti ball
RE: Print head kicks print off the bed
[...] I wanted to print the following item. The part should be solid so I tried with 100% infill (which faild very fast) and setting the perimeters to 6 (which worked until the middle of the print). The first layers are printed perfect and everything looks finde but after 20 min (layer 71+) the print head starts to jump around and kicks the print from the bed.
Save your part and settings off in a 3MF project file, zip it up, and attach it to a reply here so we can examine your settings.
[...] When I inspect the GCOD i can see exactly the layers wich are the problem. Startin with layer 71 up to 84 I have small gaps in the infill. This gapes lead to the jumps of the print head.
We need to see your project file to help with the inconsistent infill. However, going by your video, that is NOT your major problem. Your print is flopping around on the bed. You need to work on your bed adhesion. When you've got your adhesion right, minor bumping or warping should not cause the part to come loose. Until you've got this figured out, don't waste your time trying to fix problems in your slicer. Adhesion provides a solid foundation for the rest of the print. Here's an info dump on adhesion and how to improve it.
-
A dirty PEI print surface. Even if you don't think this is the cause, it's always a good idea to make sure your PEI surface is clean before trying any other fixes. If it's a smooth PEI sheet, take it to the kitchen sink and give it a good dunk with Dawn (original formula, no vinegar or hand softener variants) dishwashing soap or your local equivalent (e.g. Fairy in UK). Use a clean paper towel to clean it off, and another to dry it. Avoid using any sponge or cloth that has been in contact with grease. Above all else, avoid touching the PEI print surface. Once it's good and clean, you should be able to use 91%+ isopropyl alcohol between prints, 100% acetone when that fails , and another dunk when acetone fails. Worst-case, use a 3M 7445 ScotchBrite (1200-1500 grit) pad or equivalent on smooth PEI to give it a very light buff, but only infrequently. If you've got a textured powder-coated PEI print surface, the official instructions are to use 91%+ isopropyl alcohol on it only. Rumors persist that some have had good luck getting started with these sheets by giving them a wipe with 100% acetone and a dunk with Dawn. Either way, there's no real warranty on these sheets. YMMV.
-
If you have not already done so, try using Jeff Jordan's "Life Adjust" procedure for calibrating your Live-Z setting. It is much easier to use and understand than the onboard routine and much easier to make mid-print adjustments accurately with. In general, start high (less negative) and work lower (more negative) in large increments (e.g. 0.1mm) until the filament starts to stick on its own. When you've got your Live-Z setting adjusted properly, you should be able to gently rub the extruded lines on the PEI surface without dislodging them. Then start lowering (more negative) the level until there are no gaps between layers. You should not be able to peel the lines apart after printing, but the top should be regular.