RE: how to remove bridge infill layer
I printed another one this afternoon with tim-m30 suggestions:
Contact Z distance: 0.05 mm
Pattern spacing: 4 mm
Interface layers: 0
Interface pattern spacing: 0.2mm
No interface loops
XY separation: 75%
Don't support bridges
Support Alignment (pattern angle) 45 deg
and I increased bed temp to 65C
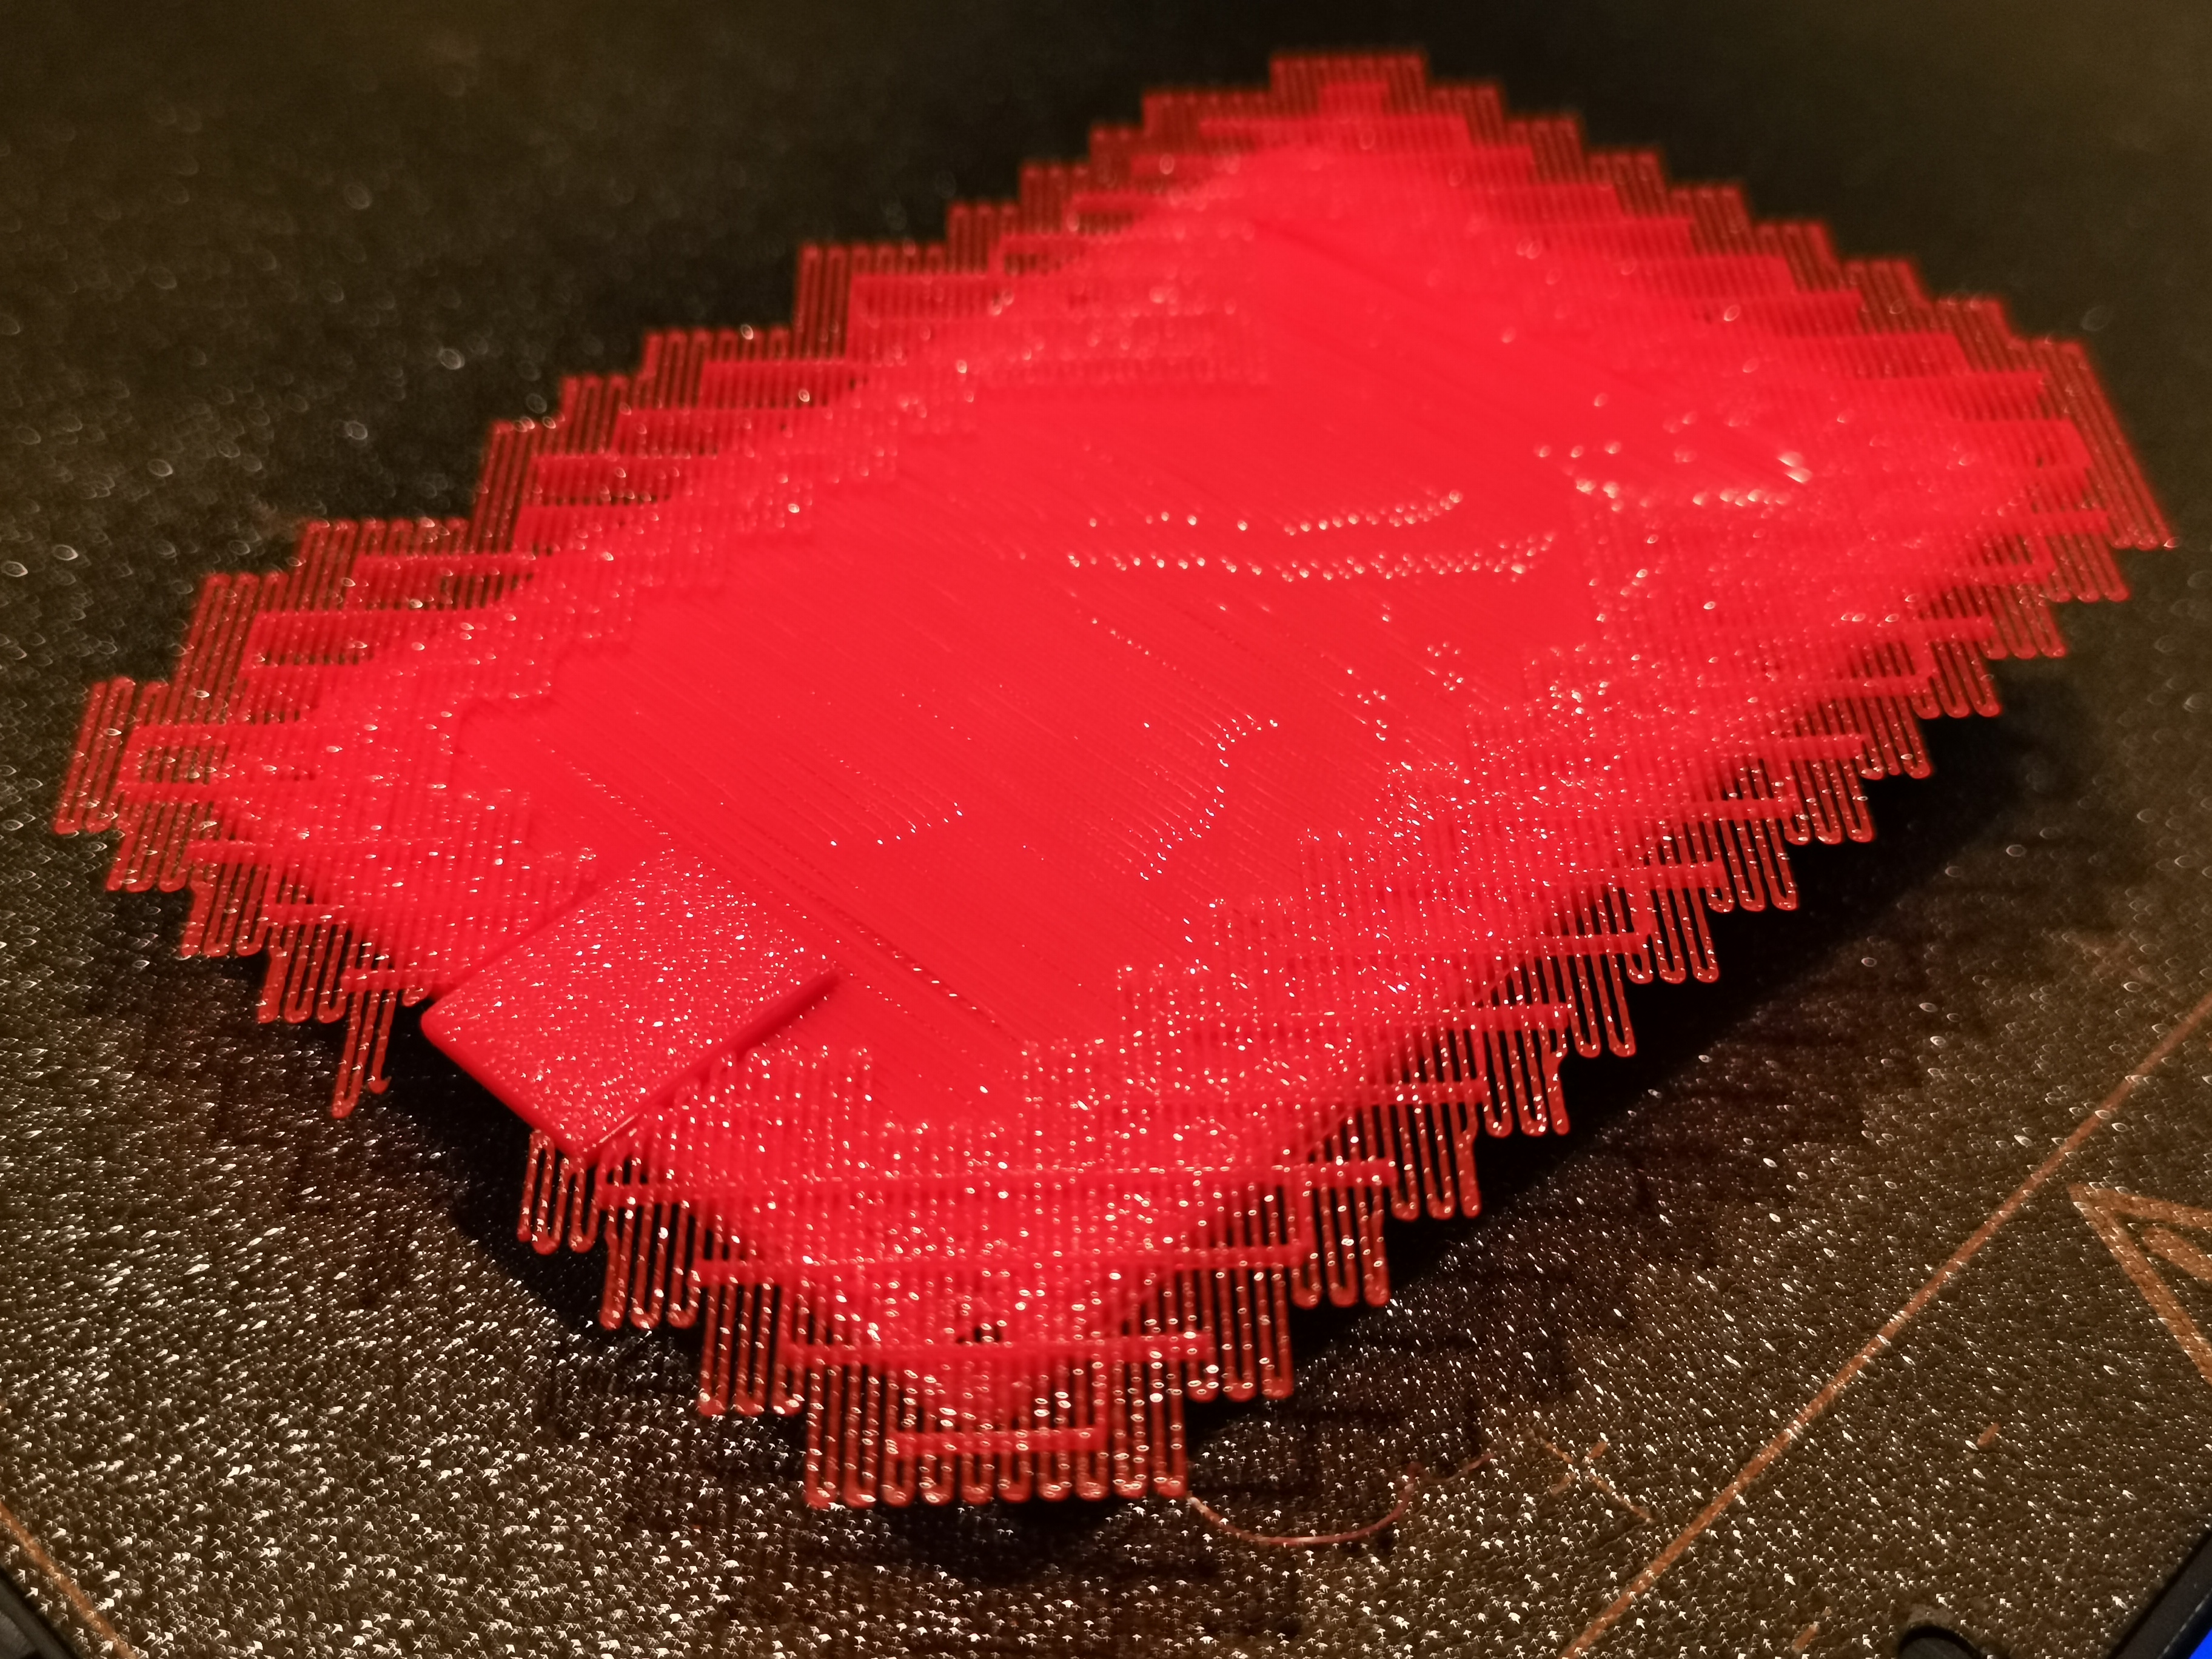
Again the support material was easy to remove around the perimeter. The bridge infill layer was more uniform, which would be better if I wanted to keep it. Removal still required a knife. This print did not warp.
If I decide to live with the bridge infill layer, I will disable the don't support bridges option. The result is a little rougher but it is more even. My goal with this model is dimensional accuracy, and I am willing to modify the design to offset any printing anomalies.
Here are some pictures from today:


Best Regards,
Sam from Texas
RE: how to remove bridge infill layer
Change model. Make model flat.
Attache sticking out parts after printing.
RE: how to remove bridge infill layer
If your willing to share the model I'd give it a go
The Filament Whisperer
RE: how to remove bridge infill layer
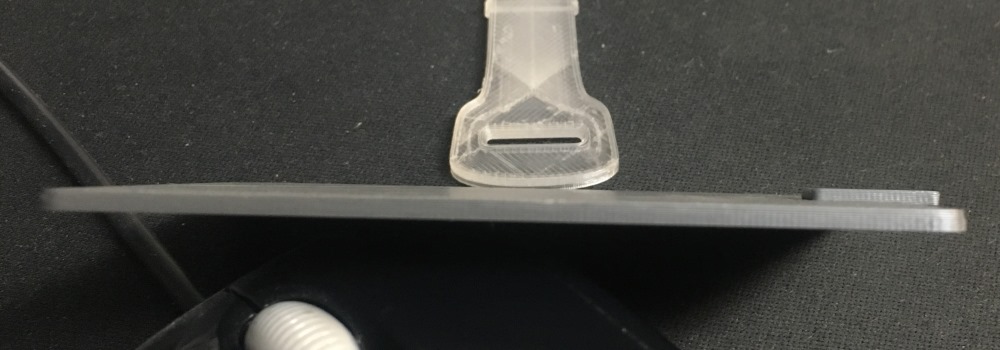
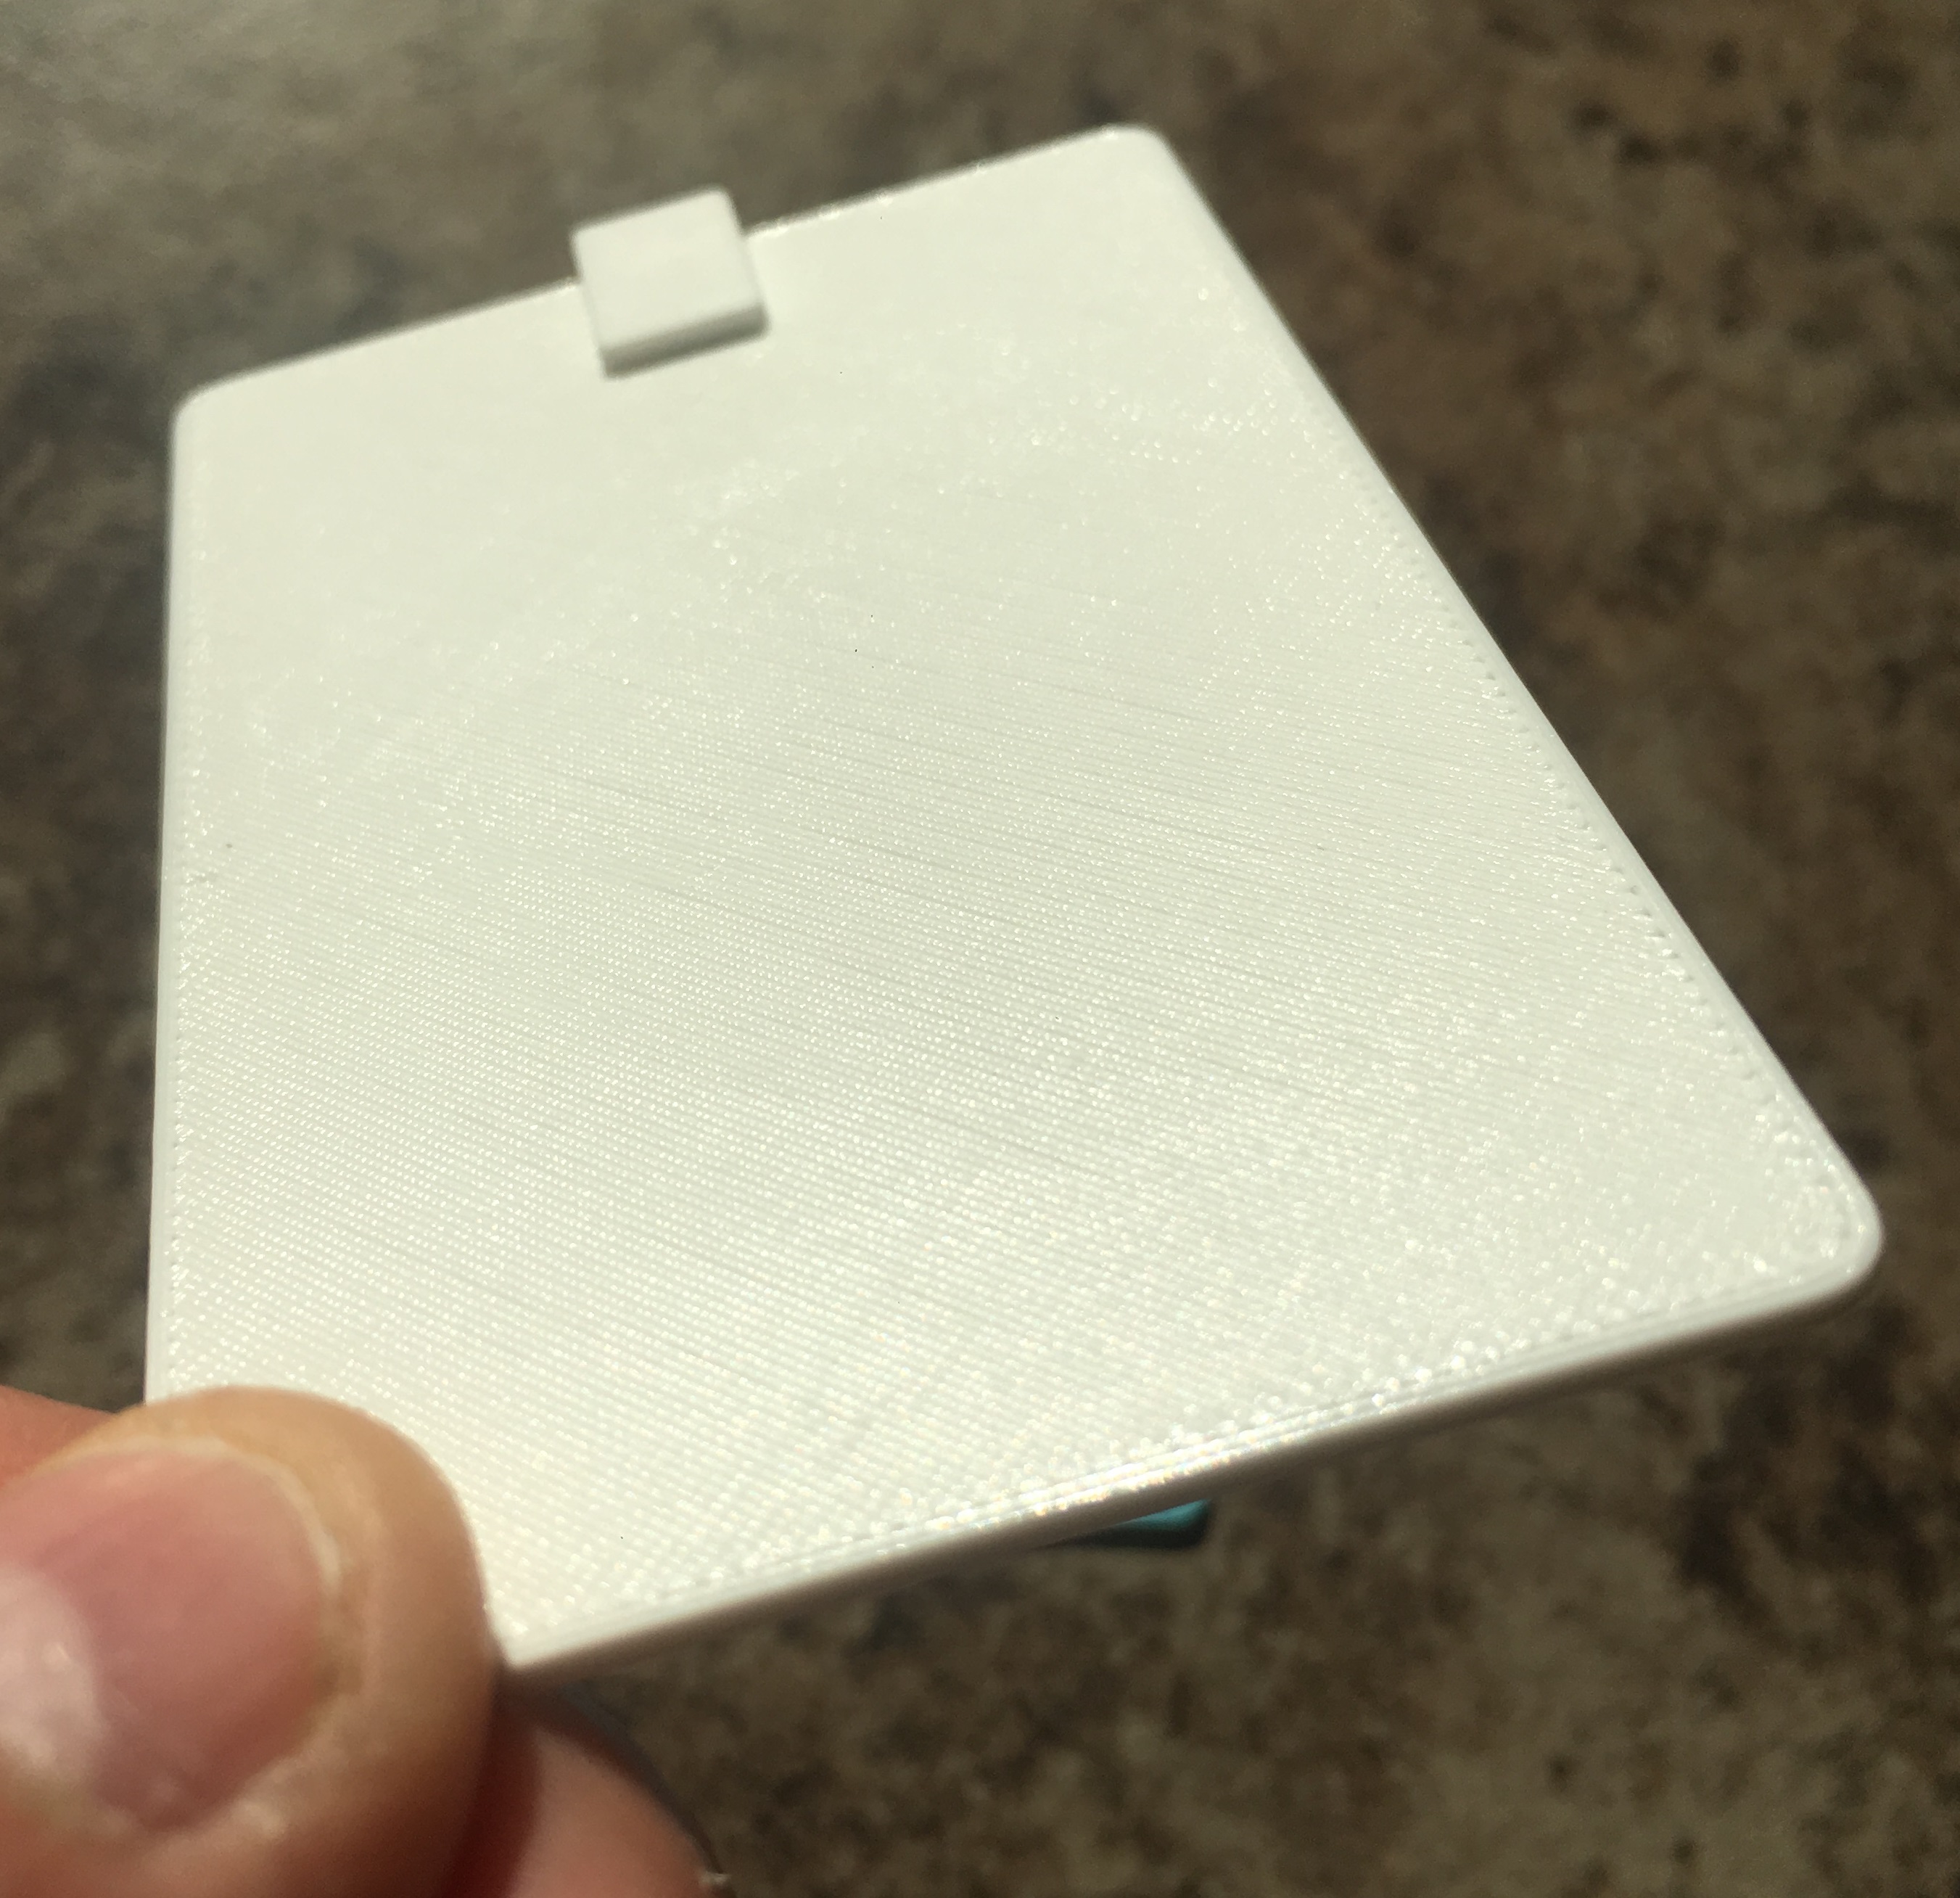
I don't know if your still following this thread, but I figured I'd throw my hat in the ring, in case it might help someone. I didn't have your Pi4 model so I did a quick scale mock up of it from the spec's on the site (just the PCB) and then just added a tab that I felt was similar in size to the one causing you the grief.
All I did was model the support in my modeling program of choice, since I planed on printing at 0.2 layer height I left a 0.2 gap between the support and model in the modeling program and exported it all together, imported into prusa slicer, sliced it, looked at the layers to see what layer I needed to do a filament change on wrote it on a napkin and took the card to the printer and started printing. In my case at layer 1.2 just before the printer was about to start the next layer I manually selected filament change from the menu and swapped out from Prusa PLA to Overture TPU 95a then resumed the print, and manually slowed the print speed down to 63% (nominally) that layer took about 6 min to print then I stopped it manually, just before the TPU would have started printing the little tab part, did another filament change back to Prusa PLA and set the speed back to 100% once done I separated the support as one piece with my pocket knife.
The pocket knife worked, but left marks, and while I didn't want to be to fussy about it, I didn't like that, so I did one more and this time before I restarted the print after the TPU was done I used my finger and added a bit of Elmer's Disappearing Purple School Glue Stick to the surface being care not to get it near the tab Part. that support I was able to remove with my fingernail, I left the glue on and took pictures so you could kinda see the amount. I made no attempt to make this perfect it was just an experiment to show you a way, it took 53min total for each of the two prints (1 with glue and 1 without) and approx. 7 min each of manual manipulation of the printer to get this result. Most of the time I was just watching The Mandalorian, but it's not that great in my opinion.
If you needed repeatability you could just manually alter the G-code for the necessary moments and filament changes, for a one off I didn't see the point.


Good Luck
The Filament Whisperer
RE: how to remove bridge infill layer
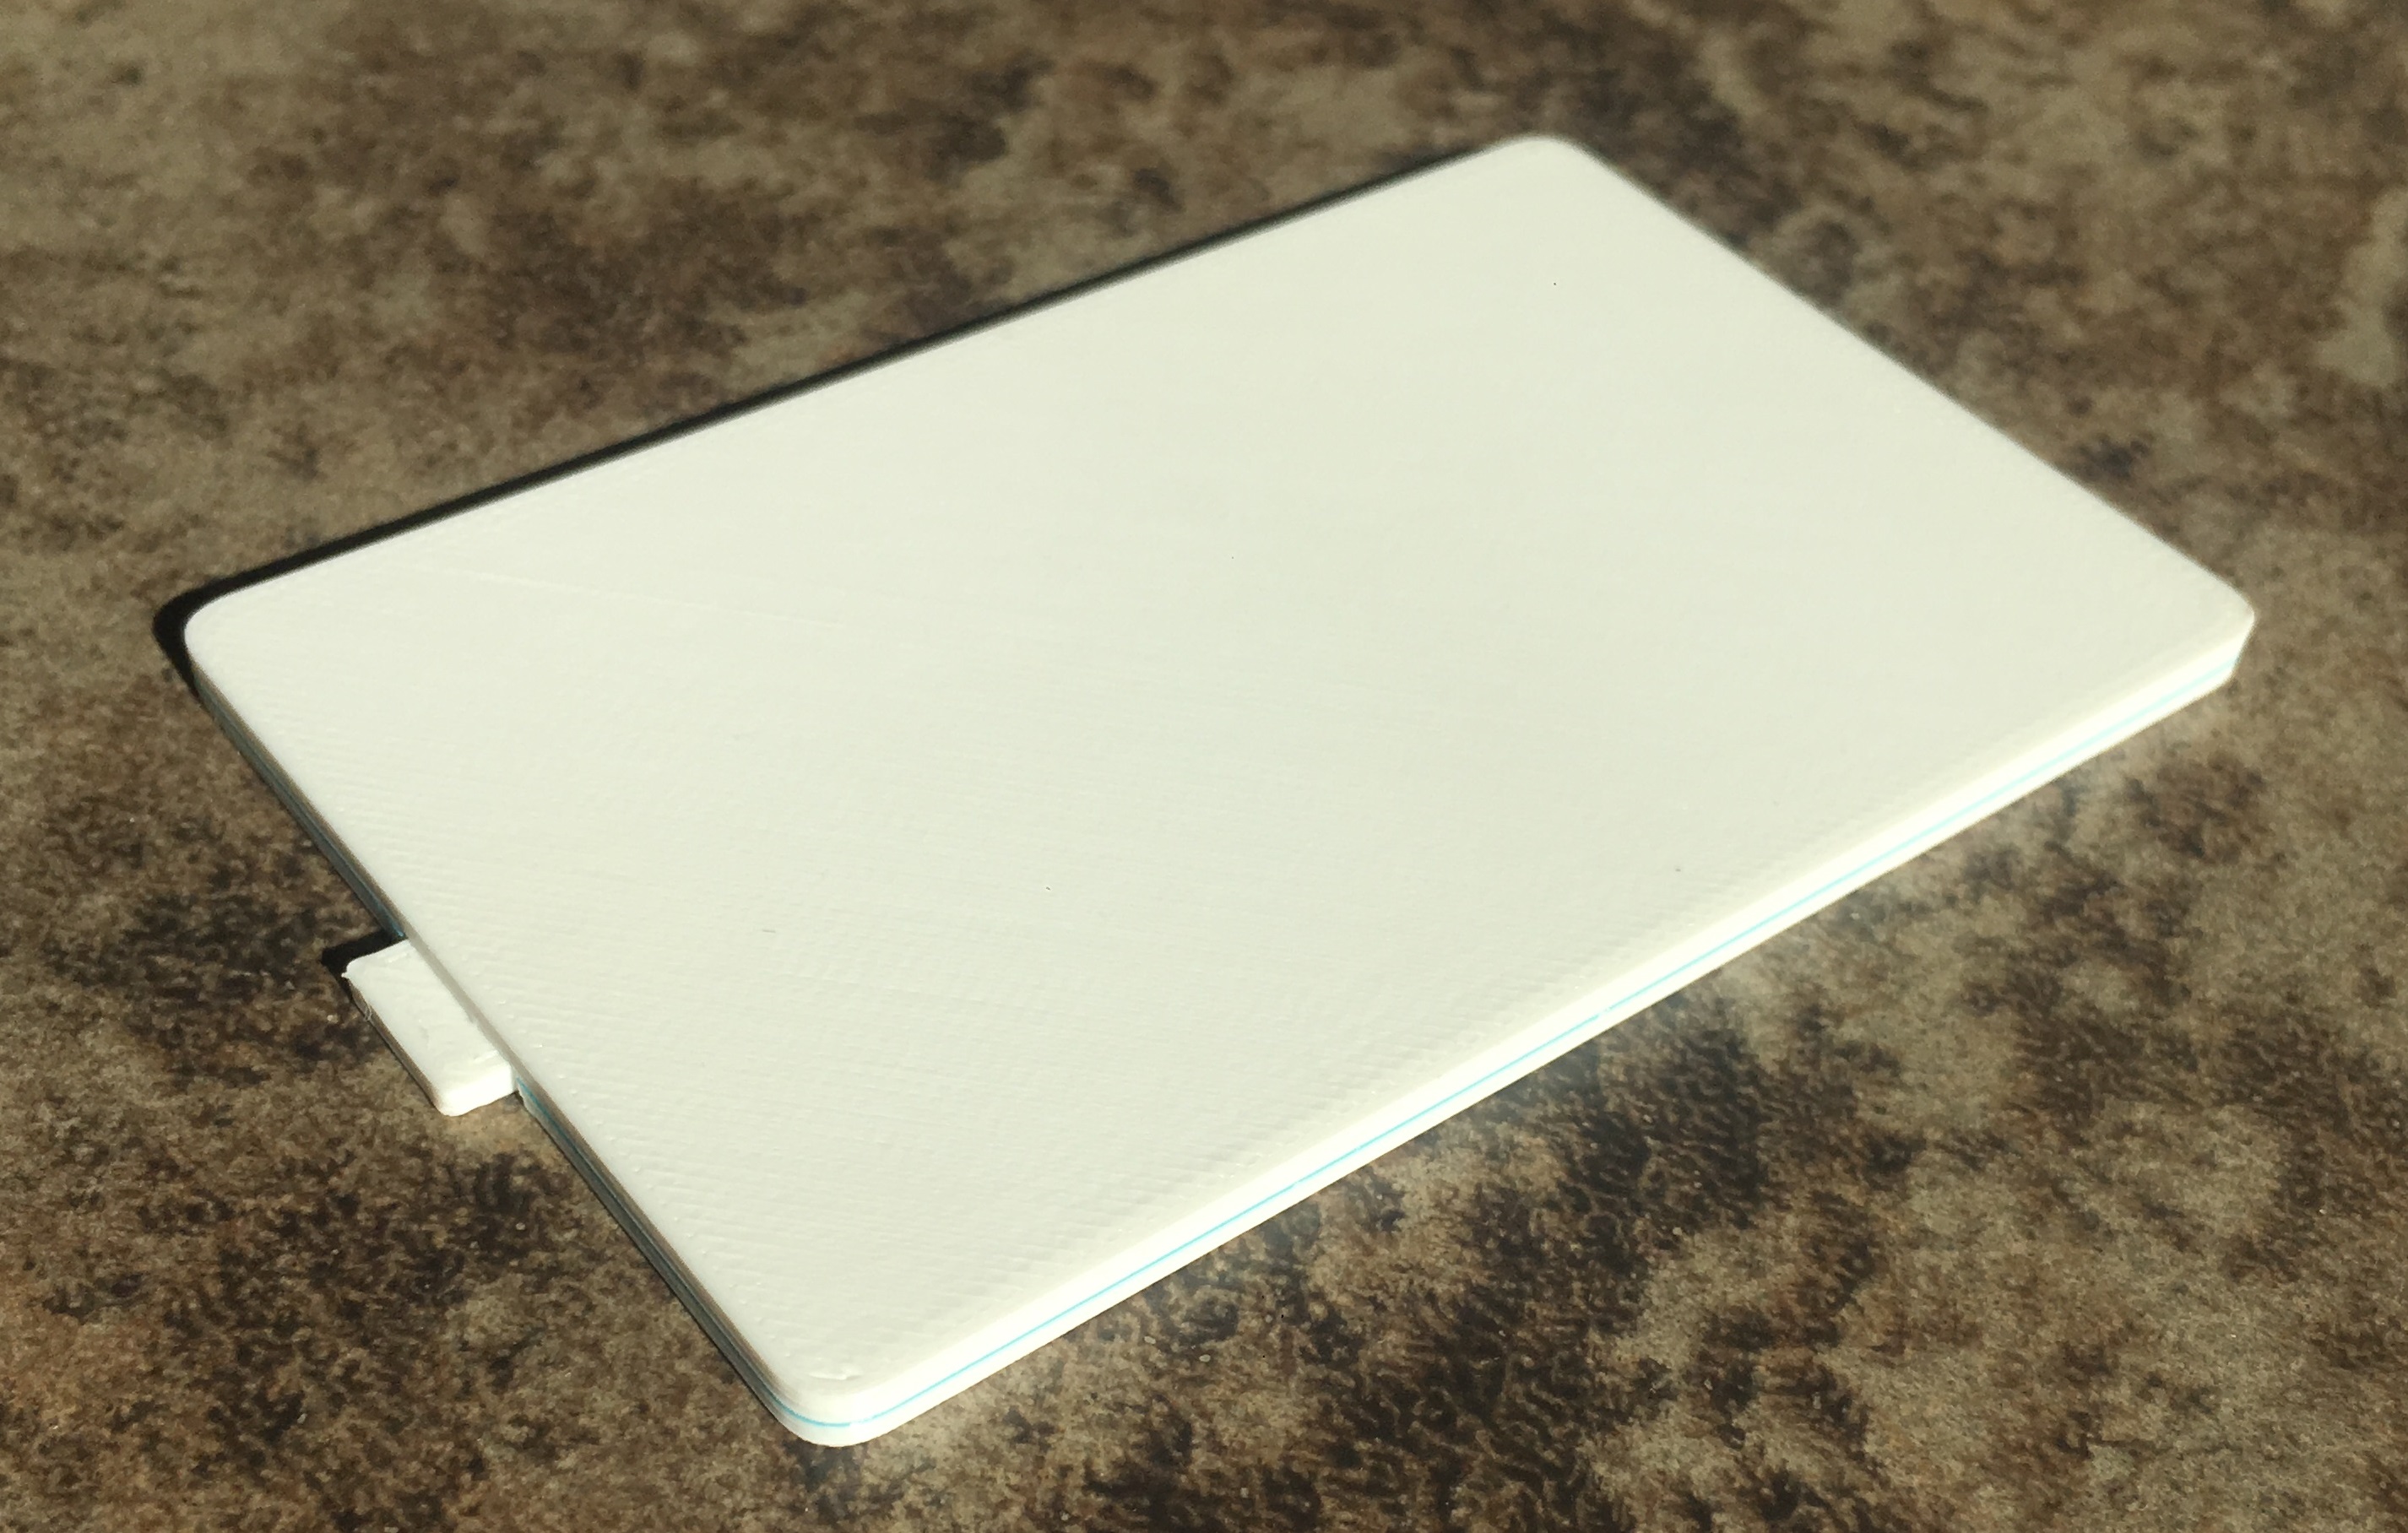
I forgot a couple of pictures
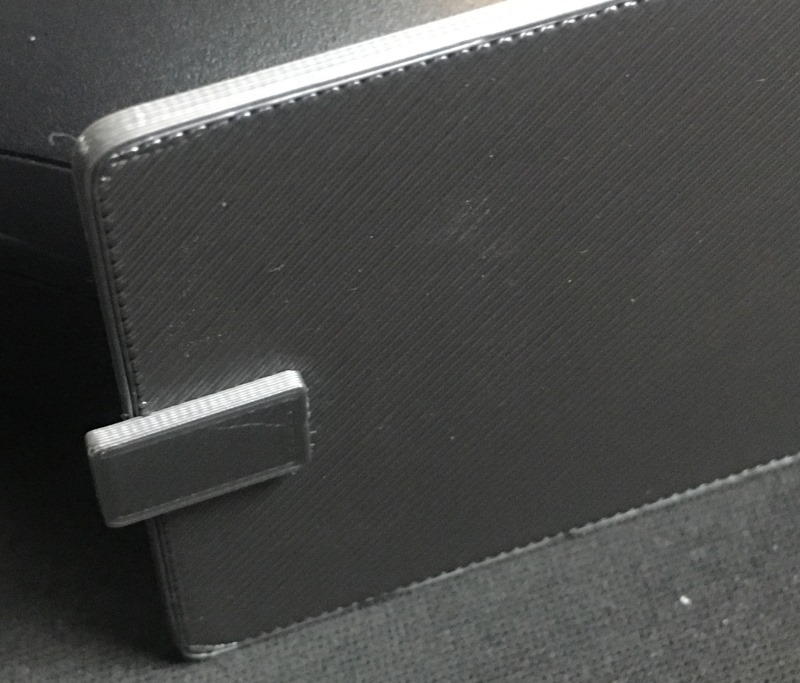
Aside from the tab the bottom is all bridge fill.
The Filament Whisperer
RE: how to remove bridge infill layer
Agreed, the Mandelorian is way overrated. I don't get the hype.
RE: how to remove bridge infill layer
With the exception of Rouge One, it's my opinion that Disney has ruined the star wars franchise. I still love the original movies though.
The Filament Whisperer
RE: how to remove bridge infill layer
I'd down vote the pair of you if that was a thing here 🙂
RE: how to remove bridge infill layer
😜
The Filament Whisperer
RE: how to remove bridge infill layer
Ok, my son of all people, pointed something out to me when he saw this post, He's under the impression that the original poster was printing with PETG and that would change everything from a standard support point of view. long story short, I printed same part using Overture (white) PETG & A scrap of YOYI TPU I had sitting on my desk, BTW, YOYI Claims 85A (clearly a lie) however I want to note that I tested with my (A durometer ) and it was almost 99. I mention that because it pissed me off.
But that's not important to the outcome of this process.
So,.. same model, same process, different materials.
Bottom all bridge fill except for the tab
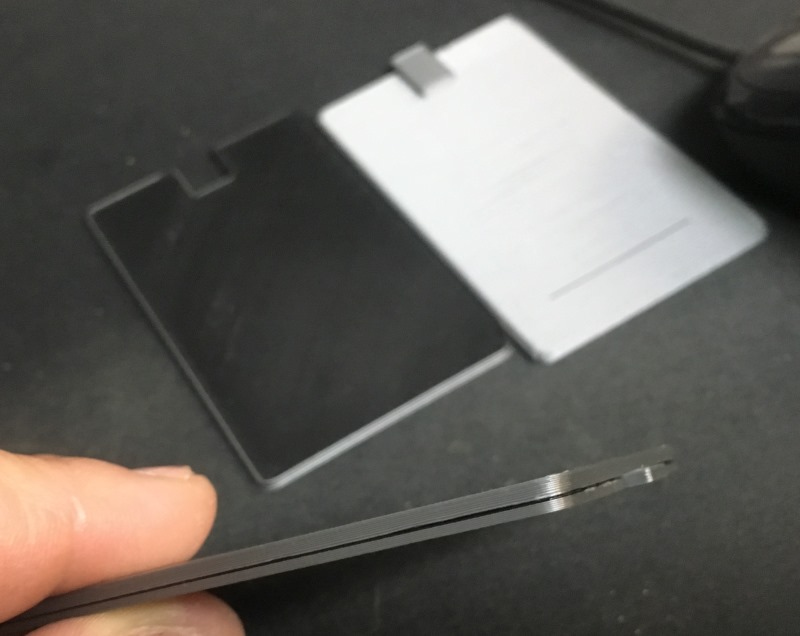
Support and model still attached
Support & Model separated

The Filament Whisperer
RE: how to remove bridge infill layer
You could use a sacrificial layer on the 1st layer the holes start. That way, the base prints as one flat layer, then you just poke the holes out. Since the sacrificial layer is only as thick as your layer height, it's easy to poke out.