how to remove bridge infill layer
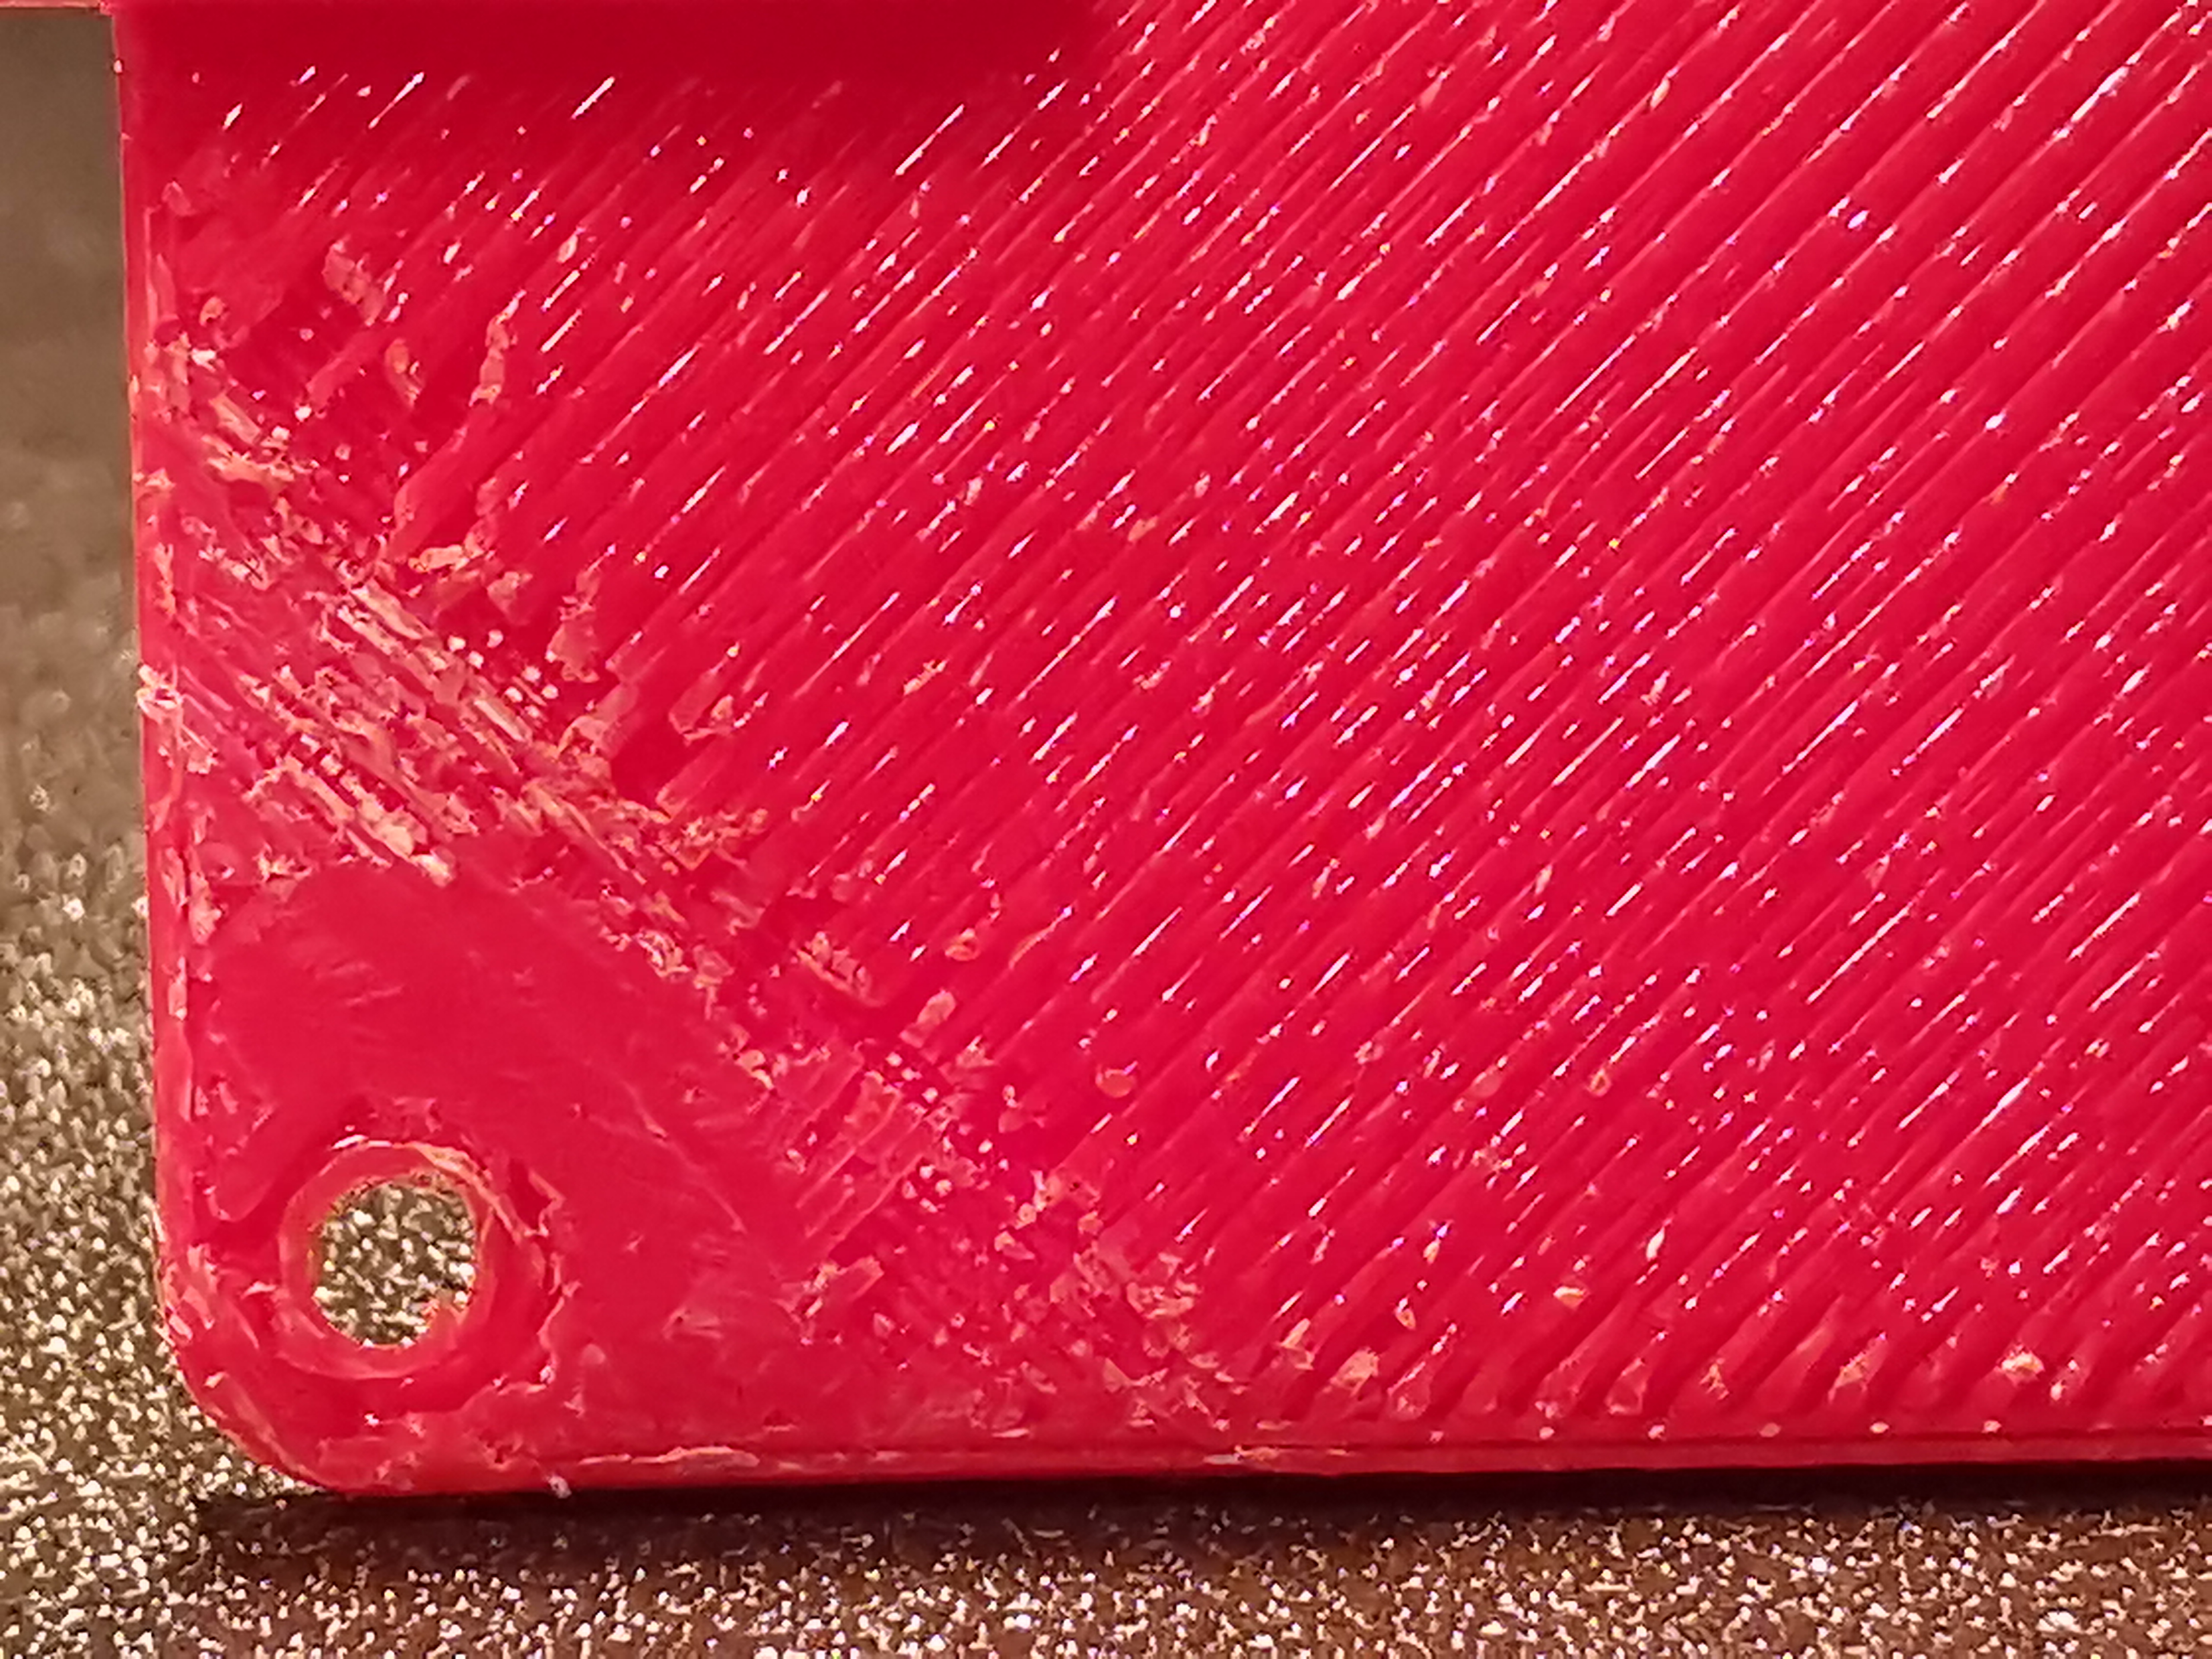
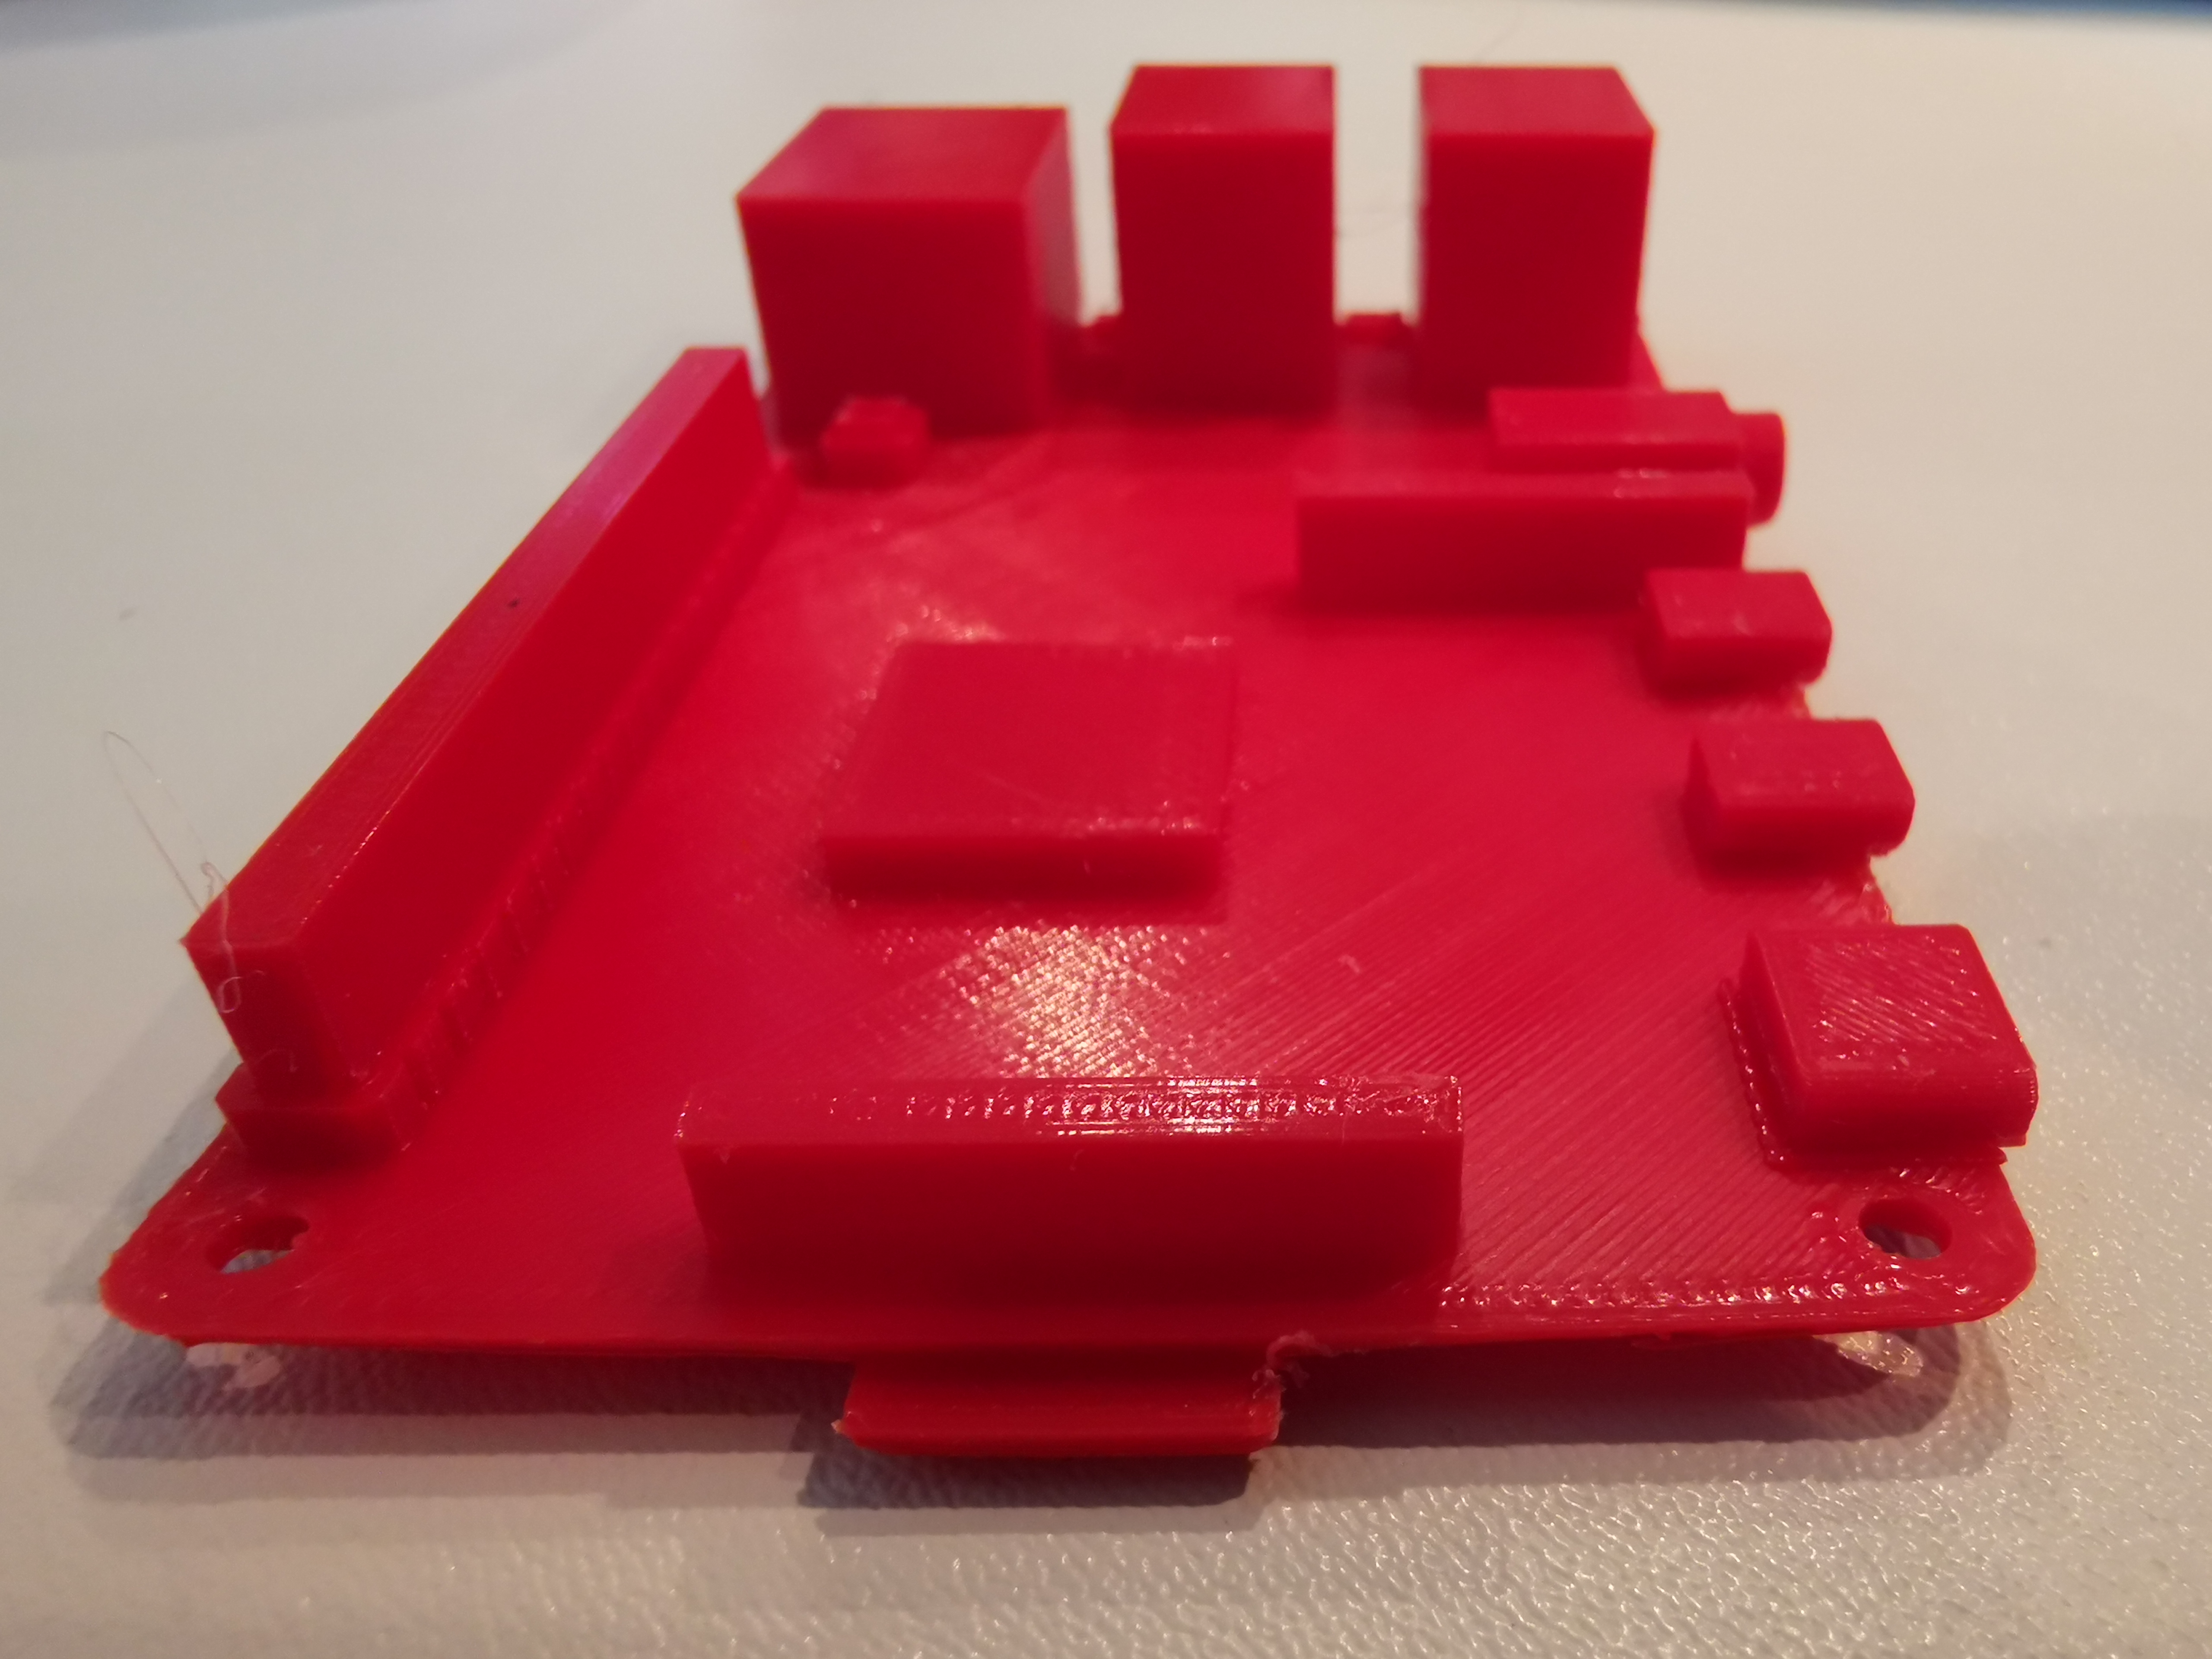
I am working on a print with a feature on the bottom which requires support material under most of the part. When I attempt to remove the support material after it's printed, the bridge infill layer is almost impossible to remove. I have attached 2 pictures of the bottom of the part after I scraped the bridge infill layer from one corner.
I would like to change my slicer settings to make this layer easier to remove OR make this layer into a smooth and solid bottom layer of the object and reduce the thickness of the design to offset this layer and yield the intended dimension.
Here are my latest prusa slicer settings (2.2.0)
layer thickness is 0.10mm detail
disabled don't support bridges
bridging angle 135 deg
interface layers = 1
interface pattern spacing = 0.5
enable support on build plate only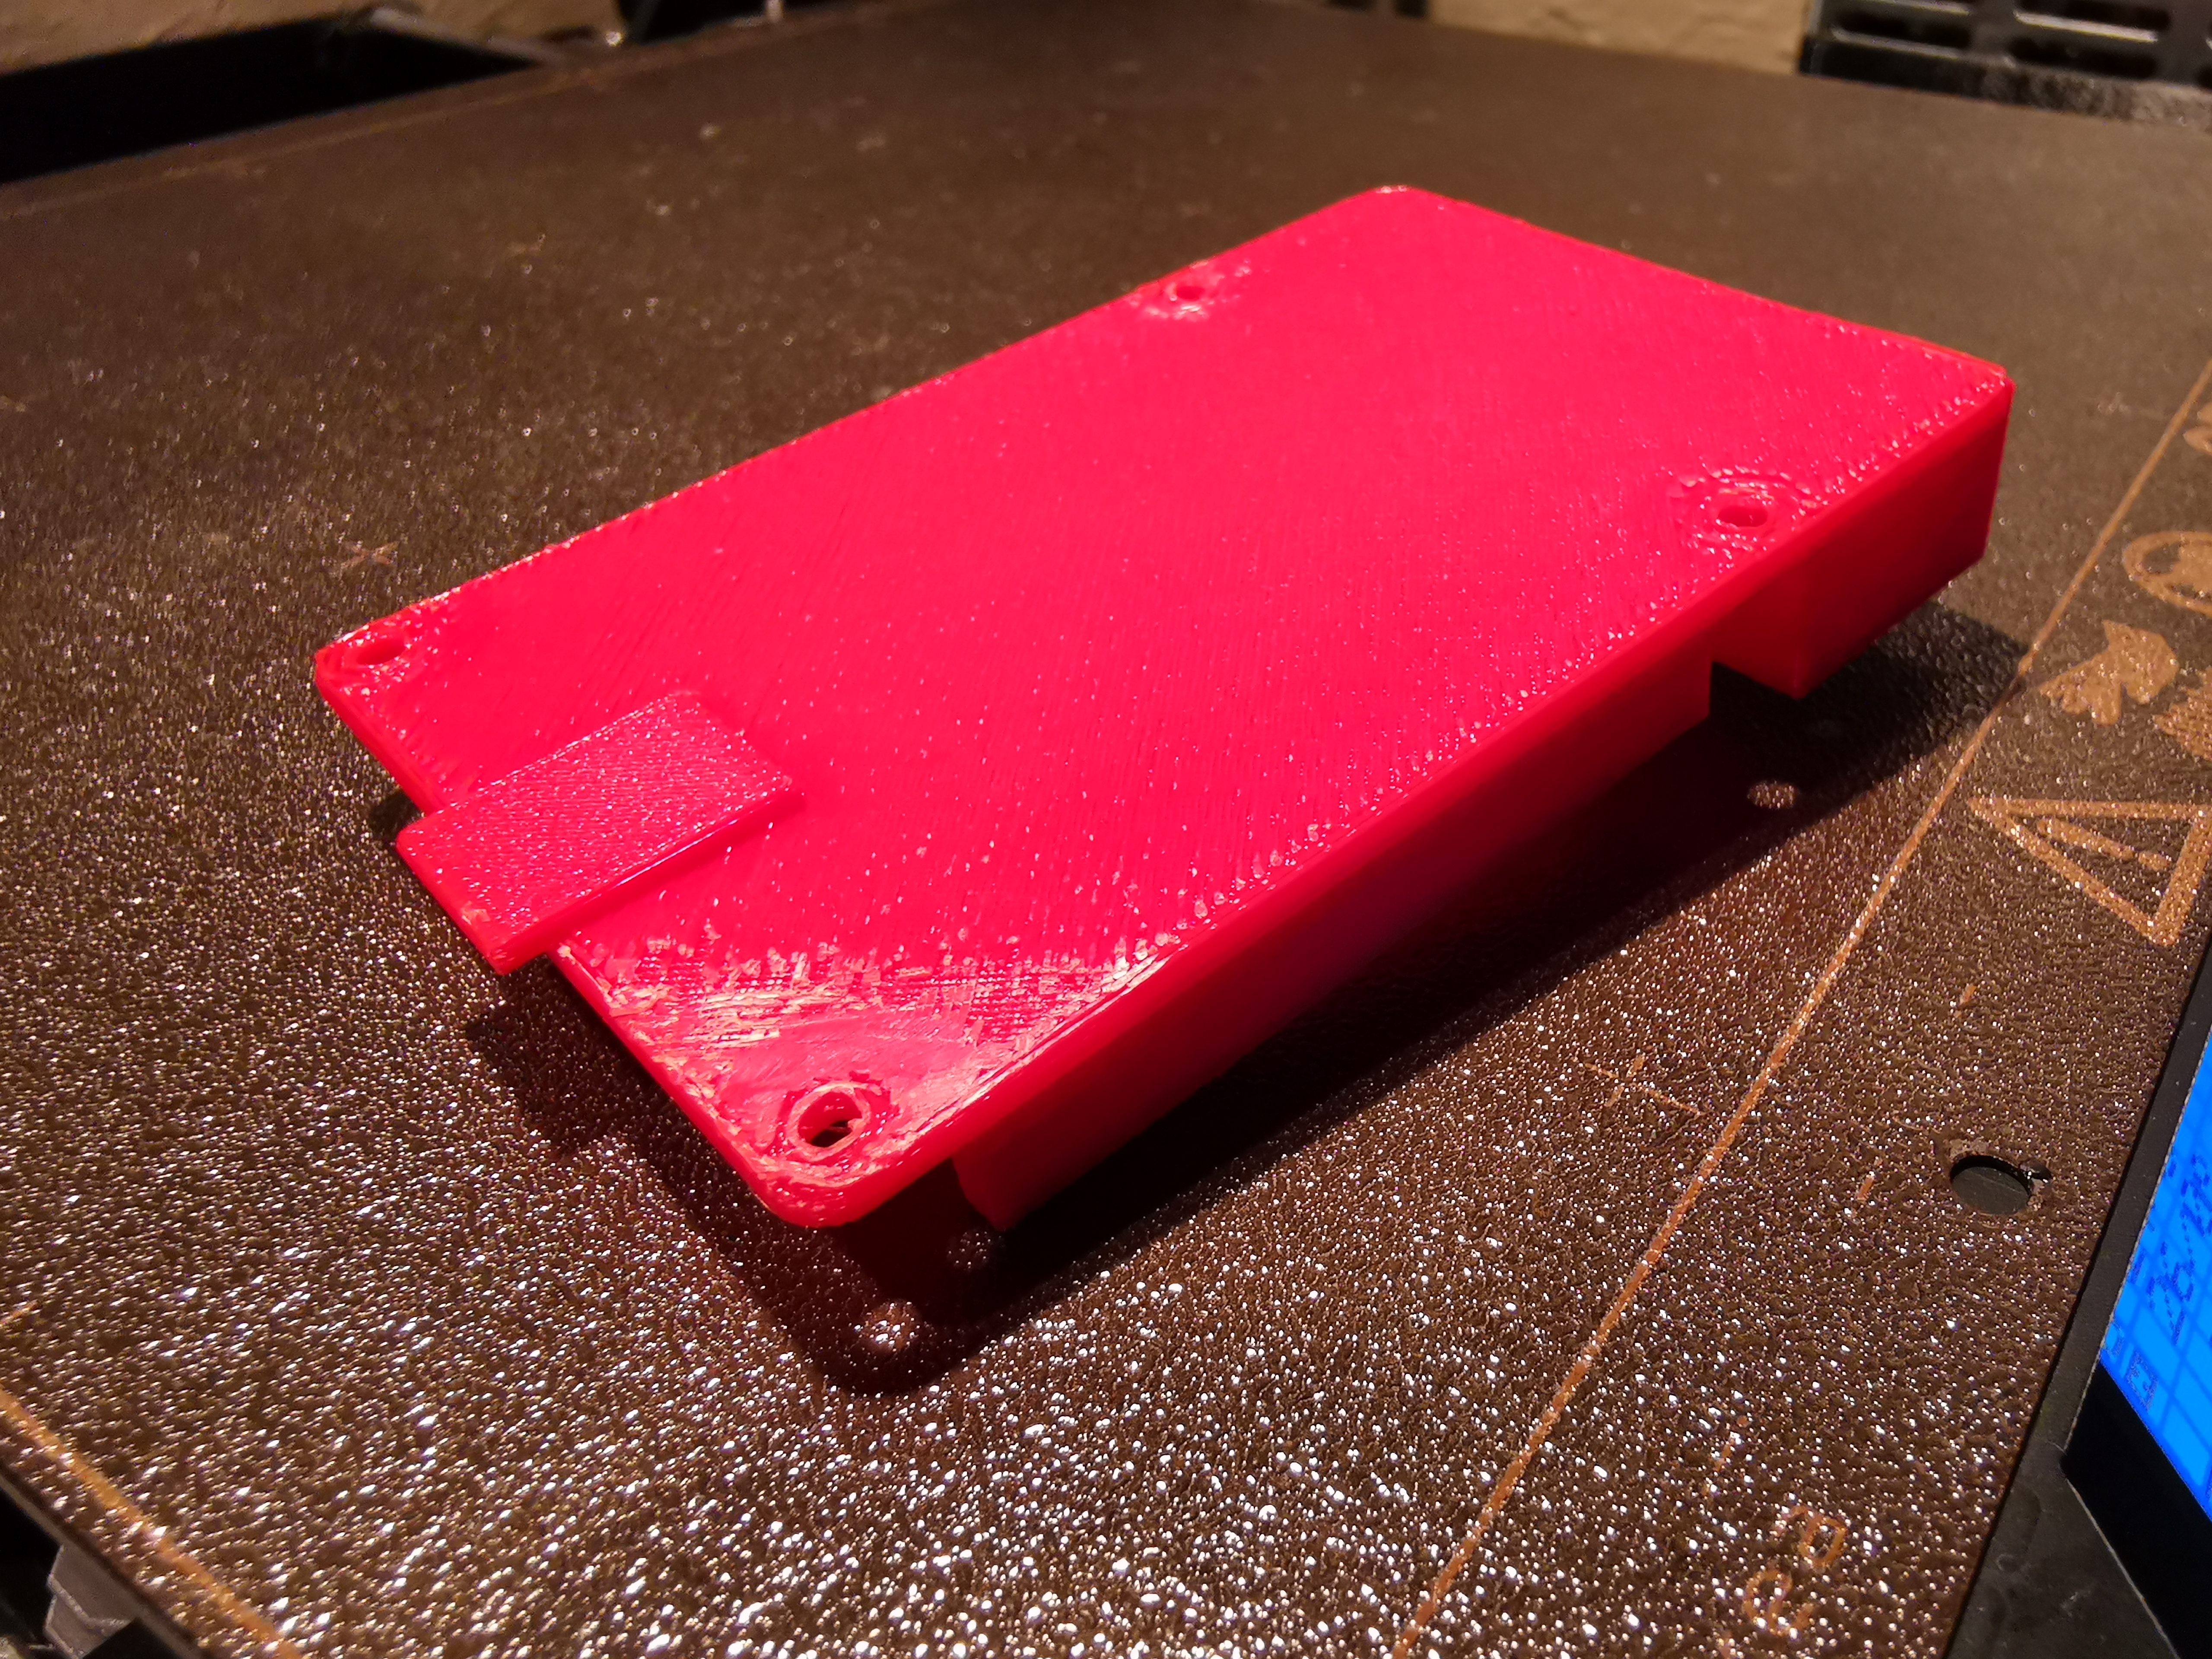

Thanks for your help!!
aspiring_maker
Best Regards,
Sam from Texas
RE: how to remove bridge infill layer
One might ask why you are printing it on a raft?
Supports are designed for SOLUABLE MATERIAL. Using normal plastic for supports is full of surprising problems. One of which is removing supports can be a pain. It comes done to making trade-offs. I consider each part a design school that teaches a lot about what not to do. And it seems no two parts are ever the same, either. Larges flat surfaces are pretty much a worst case.
The logic goes like this: Why are supports needed? To hold up an extrusion that will otherwise print mid-air. So, you are printing a new layer of hot plastic on top a previous layer of warm plastic: yep. So the expectation they will be easy to separate is, well, bogus.
If the raft is so that tab can be included, I'd find a way to make that tab a slip fit and glue it on, and print the case on the print sheet.
RE: how to remove bridge infill layer
I get the best results with removable supports using PrusaSlicer with the following settings:
- Contact Z distance: 0.25mm
- Pattern spacing: 3mm
- Interface layers: 3-4
- Interface pattern spacing: 0.2mm
- No interface loops
- XY separation: 75%
- Don't support bridges
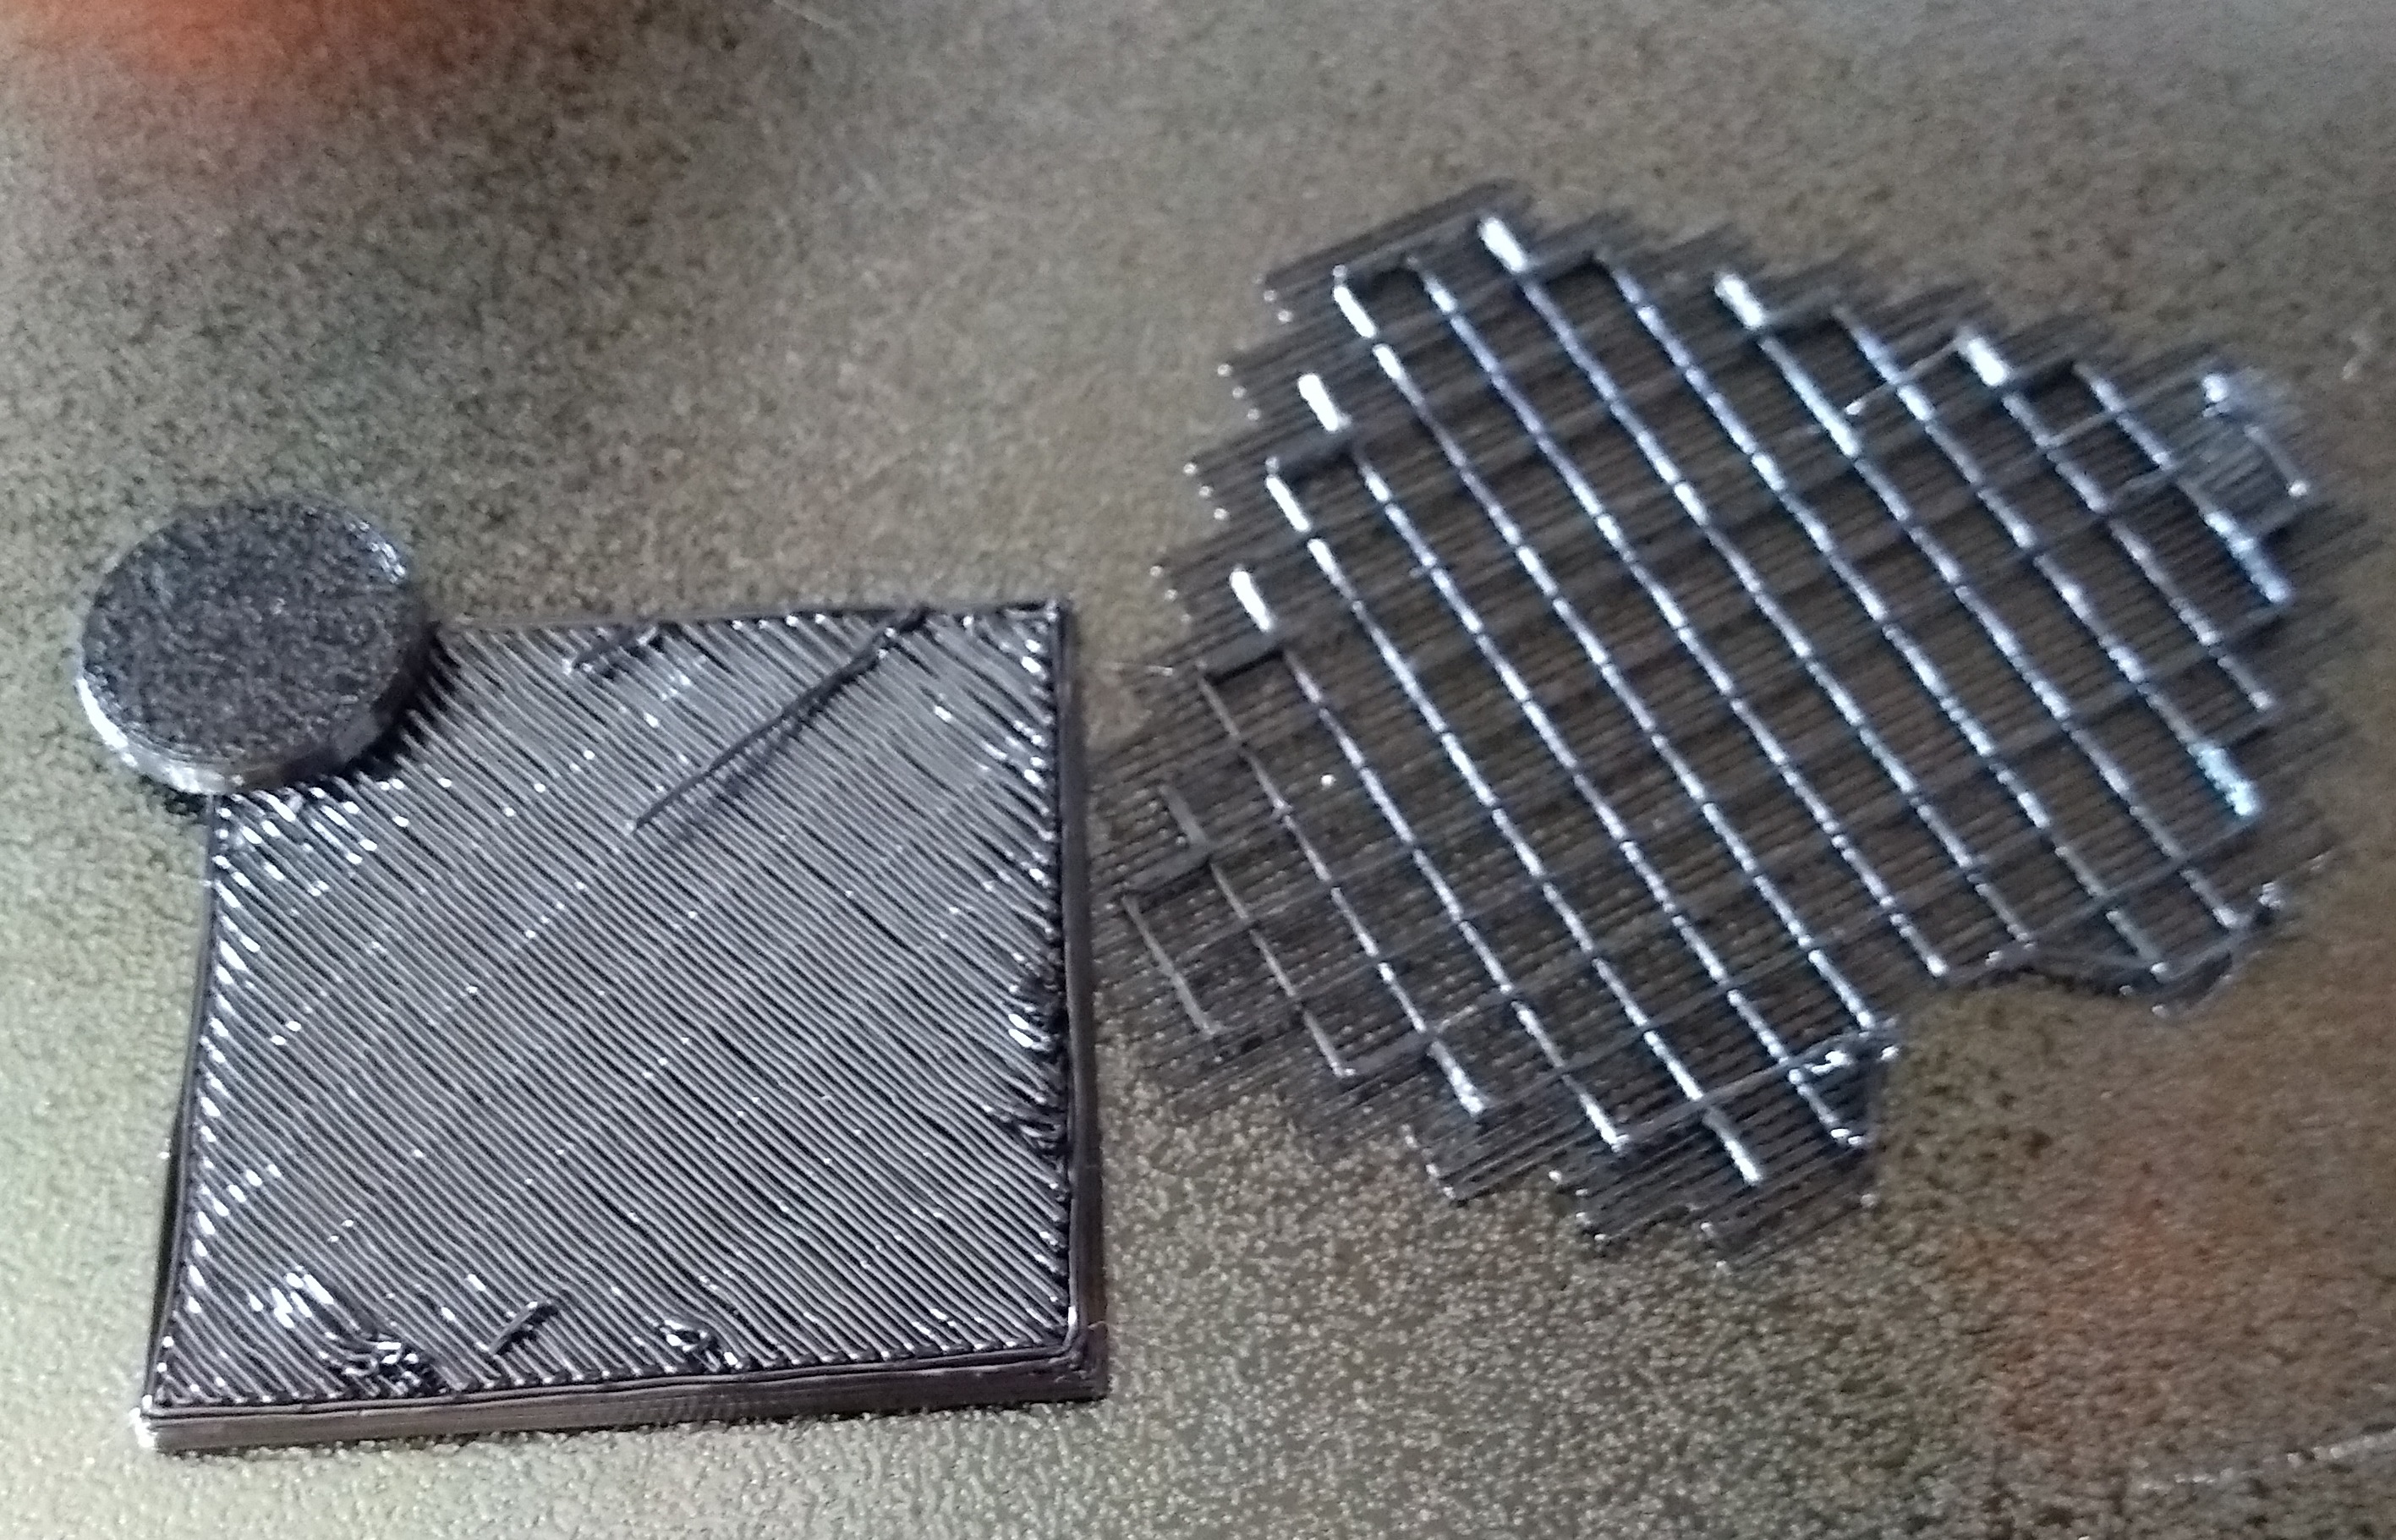
These settings are all under Print Settings->Support material. They work well with prints with irregular undersides like miniatures. Unfortunately, PrusaSlicer does not give the most pleasing undersides to supported surfaces due to the way a layer of bridging has been implemented directly beneath the supported layer. I find that -- at least for now -- I prefer using another slicer for prints with large, flat supported areas. Here's a quick comparison of a 50mm elevated 2mm thick square printed using removable supports with (left-to-right, top-to-bottom) ideaMaker, Simplify 3D, PrusaSlicer 2.2 and Cura:

I'm currently getting decent undersides with ideaMaker. They'll never look as good as surfaces printed directly on the bed since there does have to be a gap between the supports and supported surface in order for the supports to be removable.
I agree with Tim that a raft is rarely going to be needed on a Prusa printer. They're used to correct for poor print surface consistency which should not be much of an issue on a current Prusa. You might try printing in different orientations to reduce the need for support if strength is not an issue.
Look like you're printing a Raspberry Pi 4B!
RE: how to remove bridge infill layer
The default Contact Z distance seems to be zero which makes support removal a nightmare. bobstro is braver than I as I usually set it 0.1 which makes a big difference in removal. I think I tried 0.2 some time back and didn't like the results but don't remember why. I would tweak it on test piece until I was happy with the results.
RE: how to remove bridge infill layer
@Bobstro's settings have always worked great for me even though the bottom support interface is somewhat trickier to remove than the top. And yes, the undersides of supported surfaces look pretty crappy. I always experiment with different orientations of the model and/or try to keep those surfaces somewhere where looks don't matter.
RE: how to remove bridge infill layer
On large flat areas you can try this technique - when tweaked properly it can work - but is never anything near what I'd call great: borrowing Bob's format:
- Contact Z distance: 0.05mm
- Pattern spacing: 4mm
- Interface layers: 0
- Interface pattern spacing: 0.2mm
- No interface loops
- XY separation: 75%
- Support Alignment (set for 90 degrees to infill)
This is basically setting full contact to minimize droop, but makes the support area small enough it is removable. But it leaves a distinct pattern, and is not what I'd call pretty.
Here's a small example:

- Don't support bridges
This technique does not work well for bridged perimeters, which is the OP's case. It's just too difficult to get proper support under corners when spreading the support vectors out to realize easier removal.
RE: how to remove bridge infill layer
Thanks for the tip Tim, I am going to have to try it the next time I have something that fits the the criteria.
RE: how to remove bridge infill layer
Thanks for all the suggestions!! I will attempt another print and let you know how it works out.
@tim - I did not enable rafts. Only the tab on the bottom of this part is touching the print bed, everything else is raised up. Some features also overhang the edges and require support.
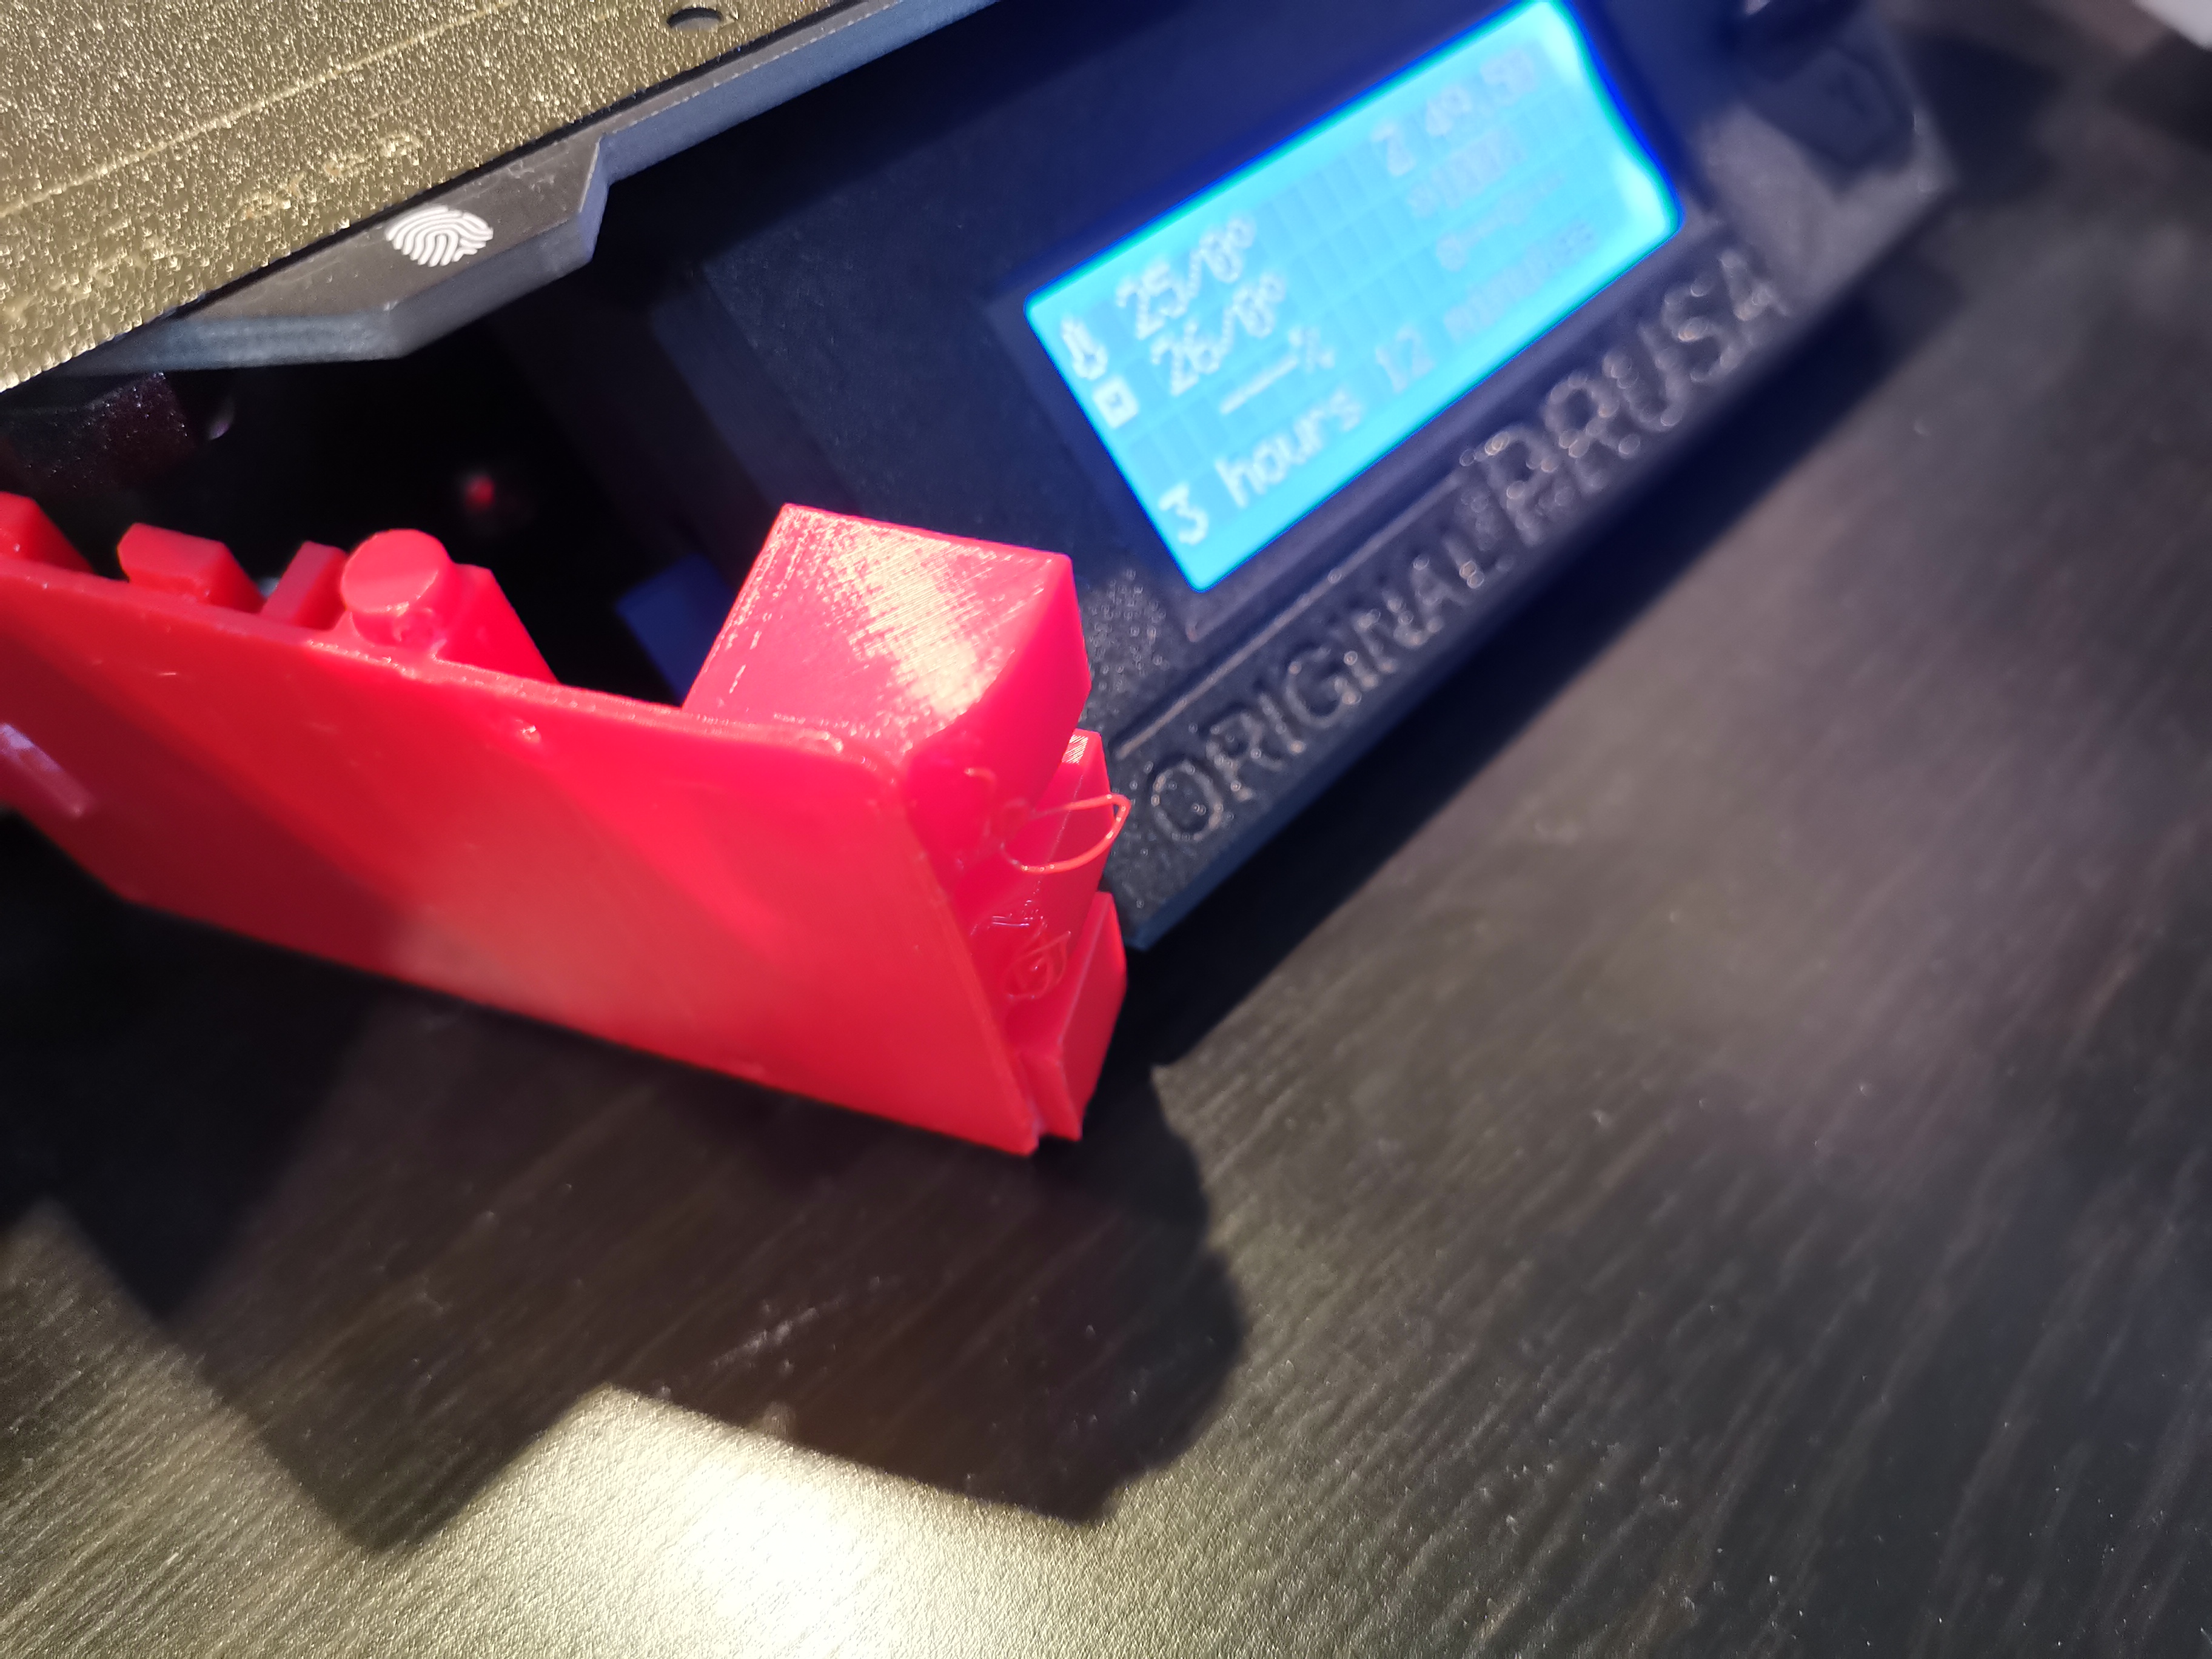
@bobstro - you guessed it - I'm working on a mechanical model of the Raspberry Pi 4 to assist with building a custom case. I plan to share it once I can print a dimensionally accurate part. I thought about printing the SD card (tab) seperately, but I want to figure this issue out.
I have tried printing this part at a 45 deg angle. The bottom of the part was much smoother, but it distorted the part nearest the bed. It also takes much longer to print!!

Best Regards,
Sam from Texas
RE: how to remove bridge infill layer
I agree with the assessment of PrusaSlicer's ability to print bottom-facing surfaces above layer 1 - It's awful! The parts are utterly unusable. I'm just printing a bunch of throw-away scrap. Maybe they can get away with slicing and gluing cosmetic game pieces as a lousy work-around, but you can't do that in the real world of deliverable parts.
I wish it was embarrassing enough for customers to have to go to competitors' slicers that Jo would have had the developers produce a 2.2.1 patch to fix the problem. But not having done so, and notwithstanding all the new bells and whistles, fixing what's actually broken is all I'm looking forward to in 2.3. Their fatal warning about test-printing from the alpha version scares me from even testing the output on the printer to see what difference it makes.
Ironing all top layers is all well and good, but they should give the same attention to all the bottom layers too!
A machine is more than the assembly of its parts; and a person is more than his or her public reputation. Integrity trumps image every time.
RE: how to remove bridge infill layer
2.3.0-alpha 3 works very well. It's an alpha, so you may encounter problems, but I'm using it daily without issue. There are no "fatal warnings".
PrusaSlicer is based on Slic3r and Prusa has done a lot to improve on it over the last 2 years. The state of slicers was pretty meager back then, and while it's great to see the recent advances being made, every slicer still has weaknesses. I've spent time on the Cura and ideaMaker forums and can assure you there are plenty of complaints about each of them. While I'm not fond of PrusaSlicer's bridging, it's got other features that make it -- by far -- my slicer of choice for most prints.
At least we're not being charged $150 for the leading commercial competitor that has barely been updated in a year.
RE: how to remove bridge infill layer
[...] @bobstro - you guessed it - I'm working on a mechanical model of the Raspberry Pi 4 to assist with building a custom case. I plan to share it once I can print a dimensionally accurate part. I thought about printing the SD card (tab) seperately, but I want to figure this issue out.
I have tried printing this part at a 45 deg angle. The bottom of the part was much smoother, but it distorted the part nearest the bed. It also takes much longer to print!!
I'd try printing that with the Ethernet and USB ports down. You'll still need some support and it'll be slower, but I'd expect it to be pretty clean. I'd try it myself, but I'm doing a job now.
RE: how to remove bridge infill layer
Might even be a candidate for a edge vertical print. But, the easy way is to remove the SD slot and make it a slide in piece. The KISS method. Saves time and plastic in the process.
RE: how to remove bridge infill layer
I printed another one last night with bobstro suggestions:
Contact Z distance: 0.25mm
Pattern spacing: 3mm
Interface layers: 3
Interface pattern spacing: 0.2mm
No interface loops
XY separation: 75%
Don't support bridges
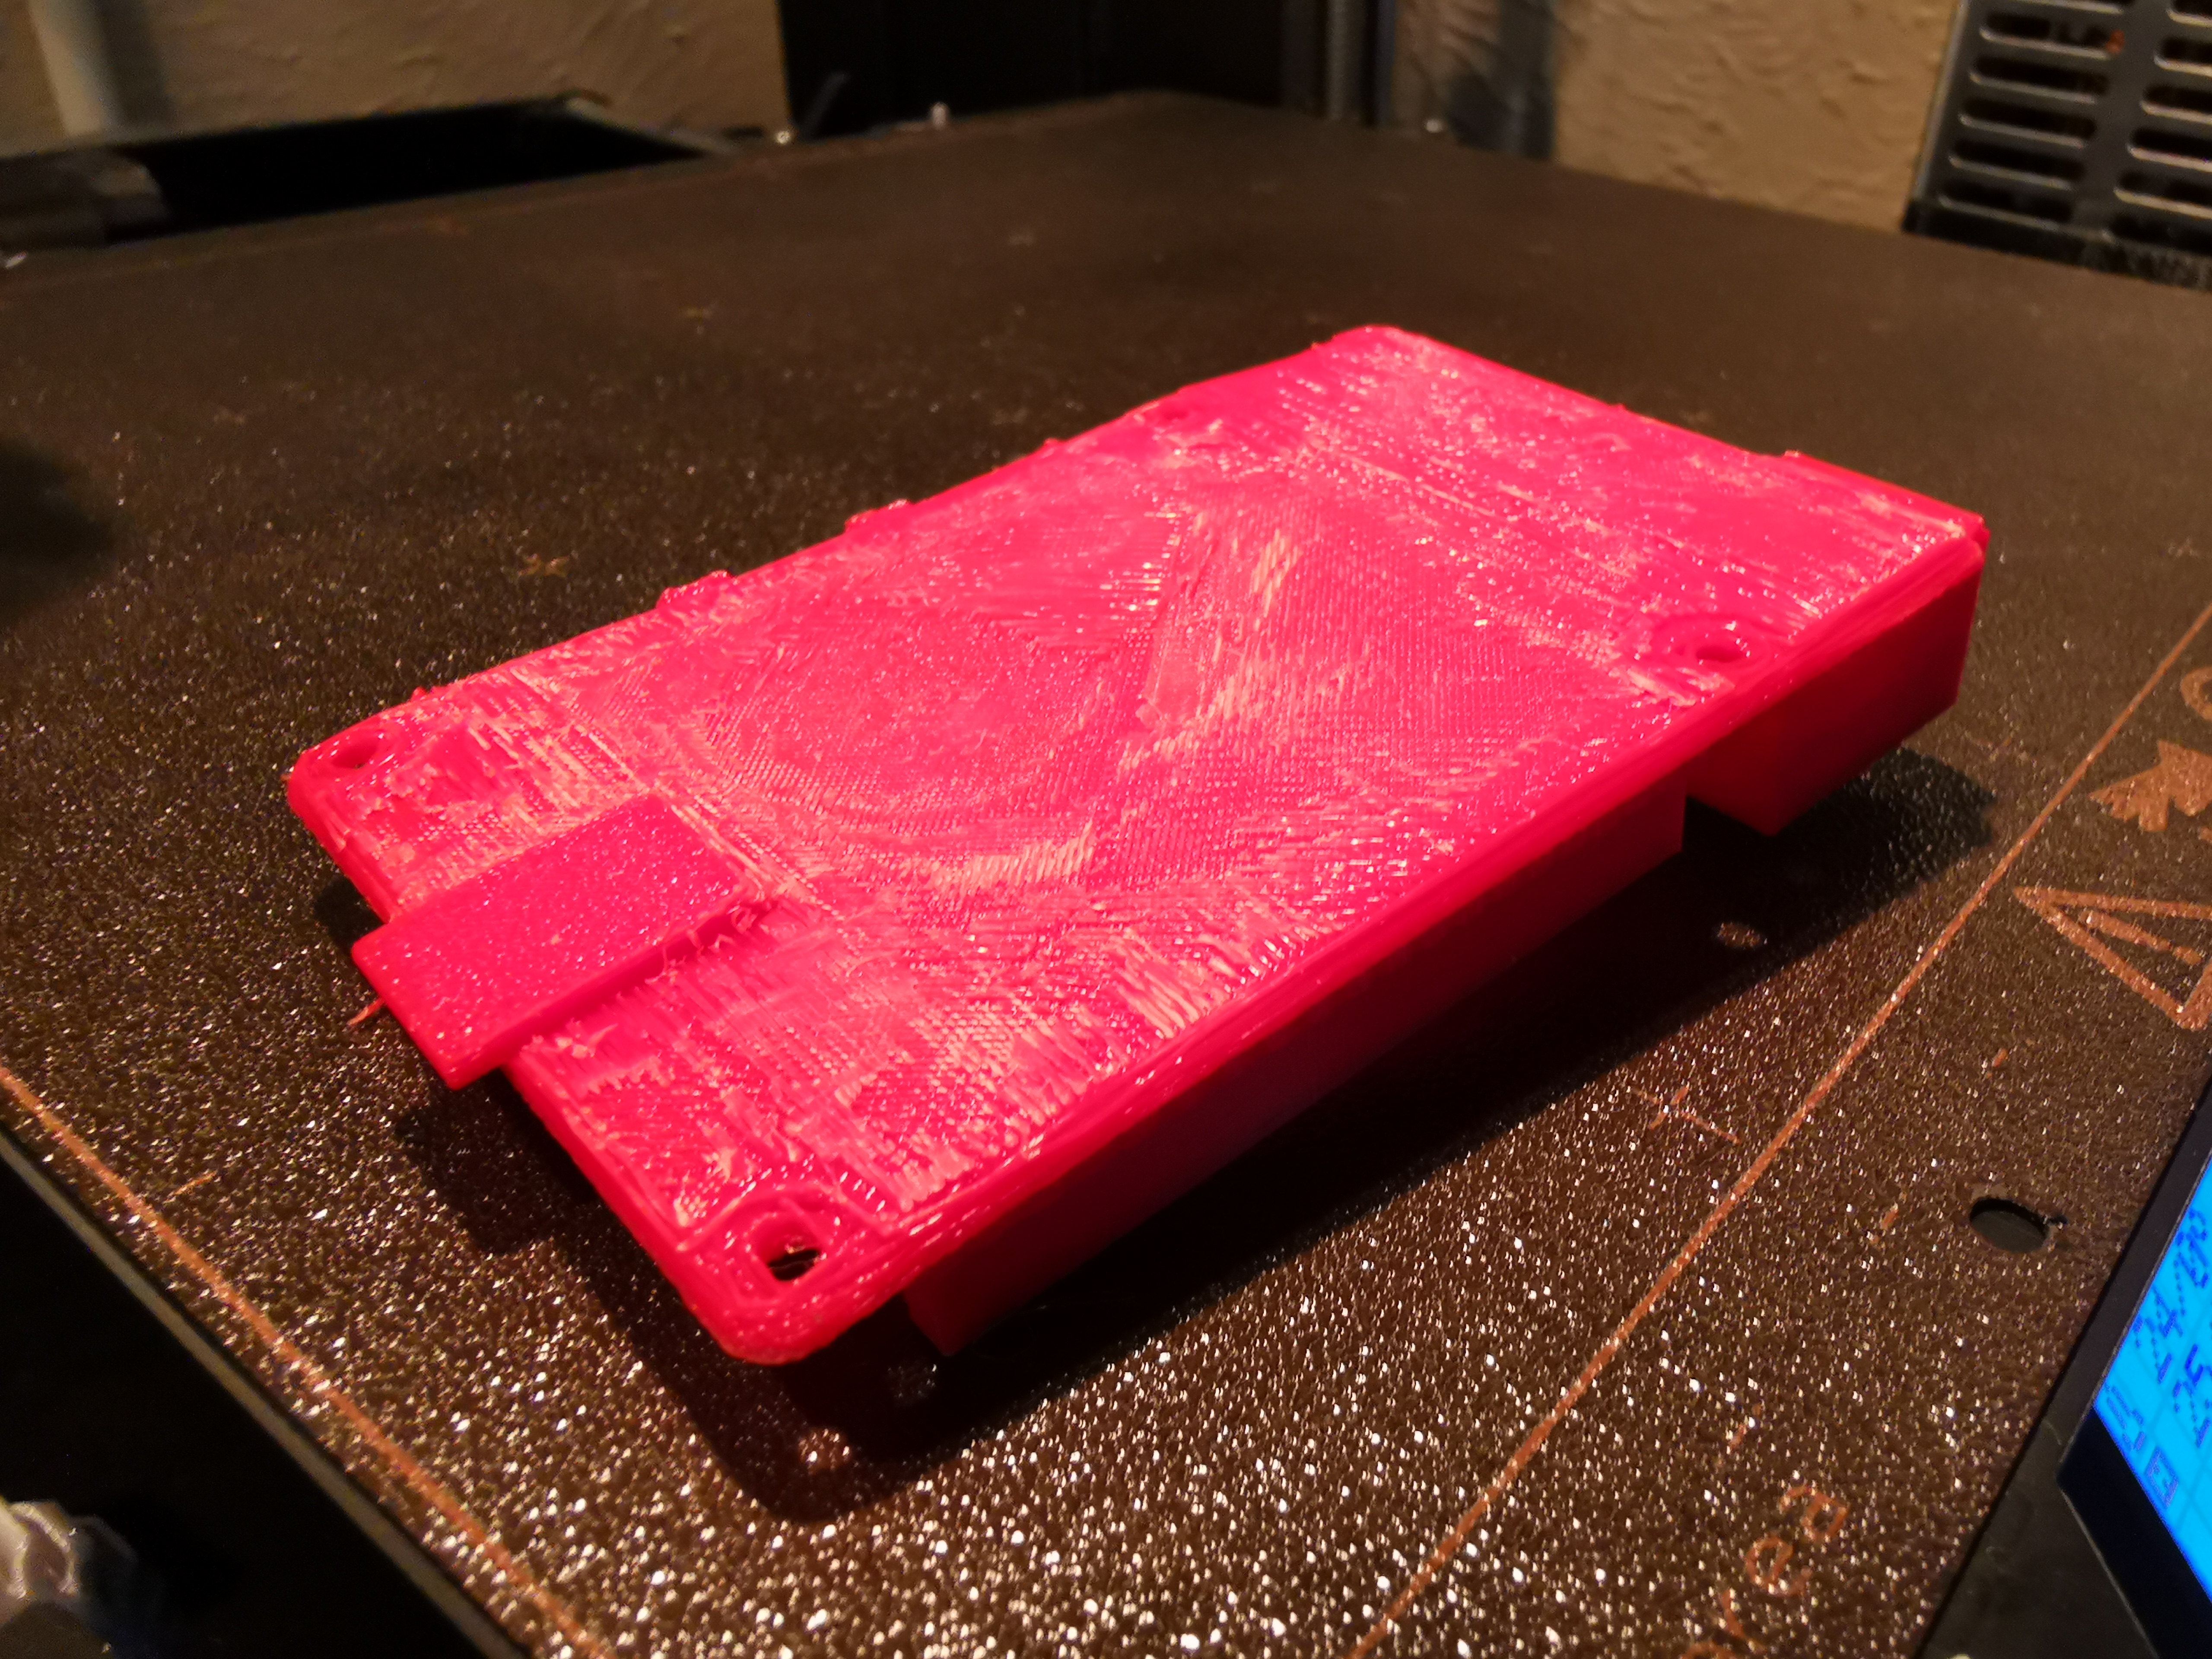
The support material was easy to remove around the perimeter. The bridge infill layer required a knife to remove but was difficult to keep level. Some areas I didn't remove enough but other areas I removed too much.
I also had a problem with warping on the SD card end of the board. I used the default bed temp of 60C (I usually increase bed temp to 65C to avoid warping). I am not sure if 'don't support bridges' could also increase warping.
I will try tim-m30 settings next.

Best Regards,
Sam from Texas
RE: how to remove bridge infill layer
I printed another one last night with bobstro suggestions:
[...] The support material was easy to remove around the perimeter. The bridge infill layer required a knife to remove but was difficult to keep level. Some areas I didn't remove enough but other areas I removed too much.
Ah, the bridge layer is going to be difficult to impossible to remove. I can get a lot of it off by cutting along the sides, but it's a stringy mess and not worth it in my experience. My settings make the support underneath easier to remove. That bridge layer is the big weakness in PrusaSlicer's approach. I'd just use ideaMaker on this one.
RE: how to remove bridge infill layer
Try my idea -
Support bridges, ZERO interface layers, 0.05 to 0.00 interface spacing, and wider support spacing - 3 to 5 mm, and make sure support is 90 degrees to the bridge infill layer. It will make support removal less work, maximize surface quality, and use less plastic.
RE: how to remove bridge infill layer
Has this bridge/support interface fopaux been reported in GitHub.com/prusa3d/PrusaSlicer/issues?
A machine is more than the assembly of its parts; and a person is more than his or her public reputation. Integrity trumps image every time.
RE: how to remove bridge infill layer
I'm sorry "-2"; The first three parameters I find, but what exactly are the parameter names for "support spacing" and "support to the bridge infill layer"?
A machine is more than the assembly of its parts; and a person is more than his or her public reputation. Integrity trumps image every time.
RE: how to remove bridge infill layer
@mb
What foopah? Supports are supposed to be made out of a soluble material, and the ones Plicer is making work rather well for that purpose.
RE: how to remove bridge infill layer
The supports more or less removed themselves ...
RE: how to remove bridge infill layer
[...] What foopah? Supports are supposed to be made out of a soluble material, and the ones Plicer is making work rather well for that purpose.
Hmm... Not sure I'm understanding. The Contact Z distance setting is specifically for REMOVABLE supports. You are certainly not limited to dissolvable supports and a multi-extruder/material setup to use supports.
The supports more or less removed themselves ...
Yep, there's that butt-ugly bridging layer in action. It's not as bad with small areas, but there's that odd basketweave pattern on larger areas. If you hack that layer away, the layer beneath looks pretty good, but it's a destructive process.
The dense support layers are helpful with irregularly-shaped supported surfaces like details on miniatures. They don't do as much with large flat supported areas.
ideaMaker uses a dense support layer instead of that bridging layer. The resulting supports peel away like an orange peel. I occasionally poke a knife between the supports and supported surface to get it started, but that's about it.