First calibration layer
Hi,
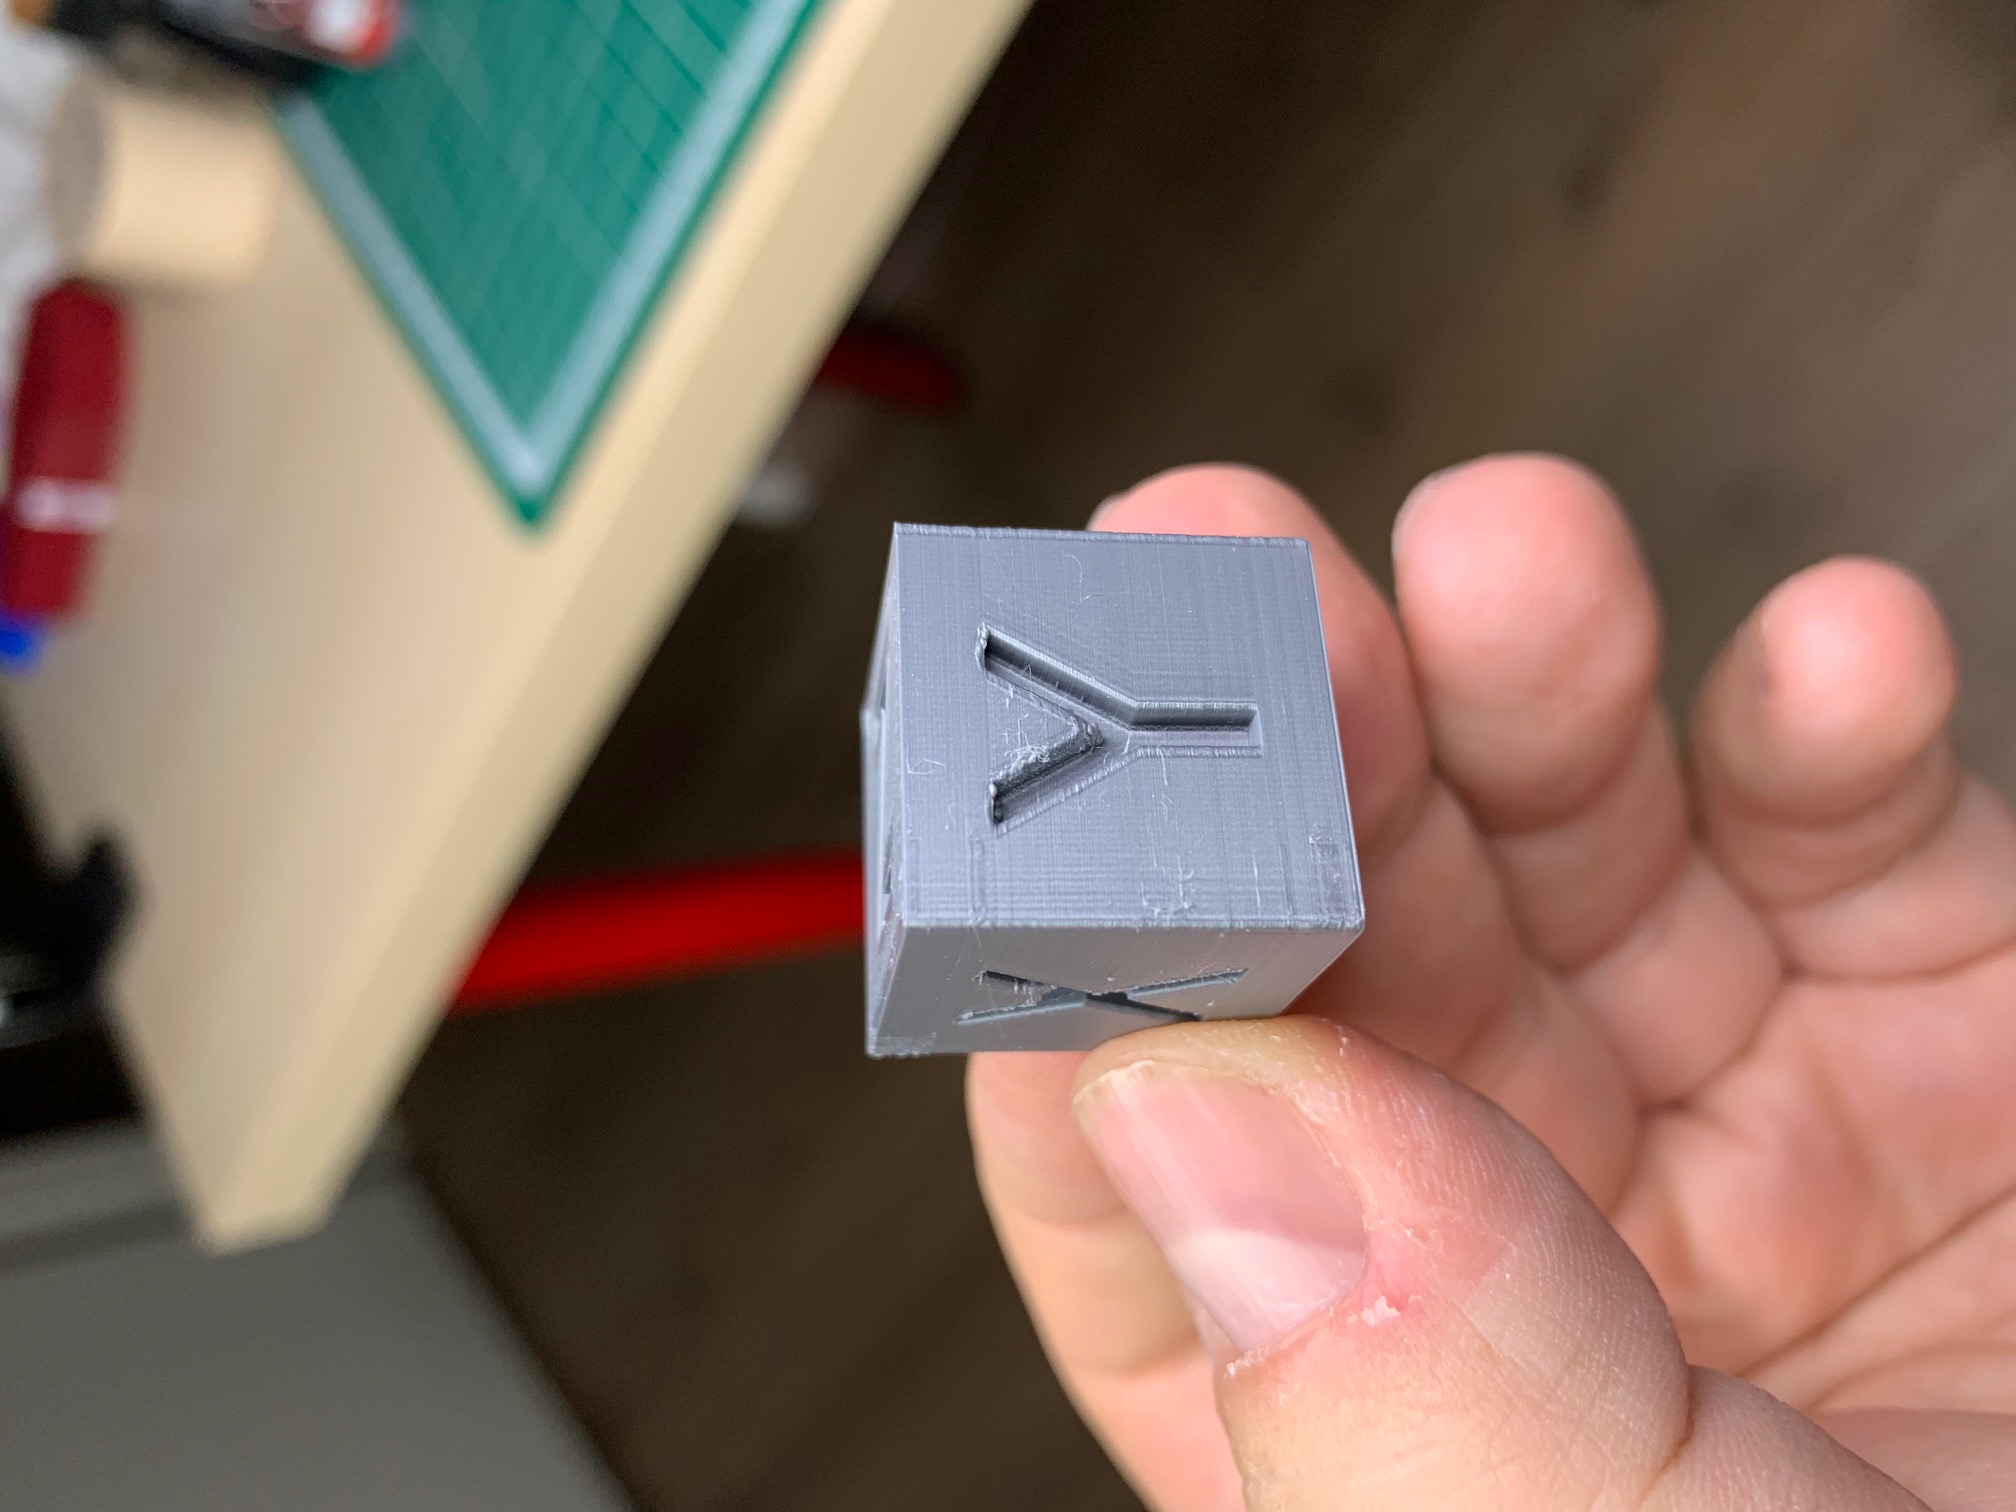
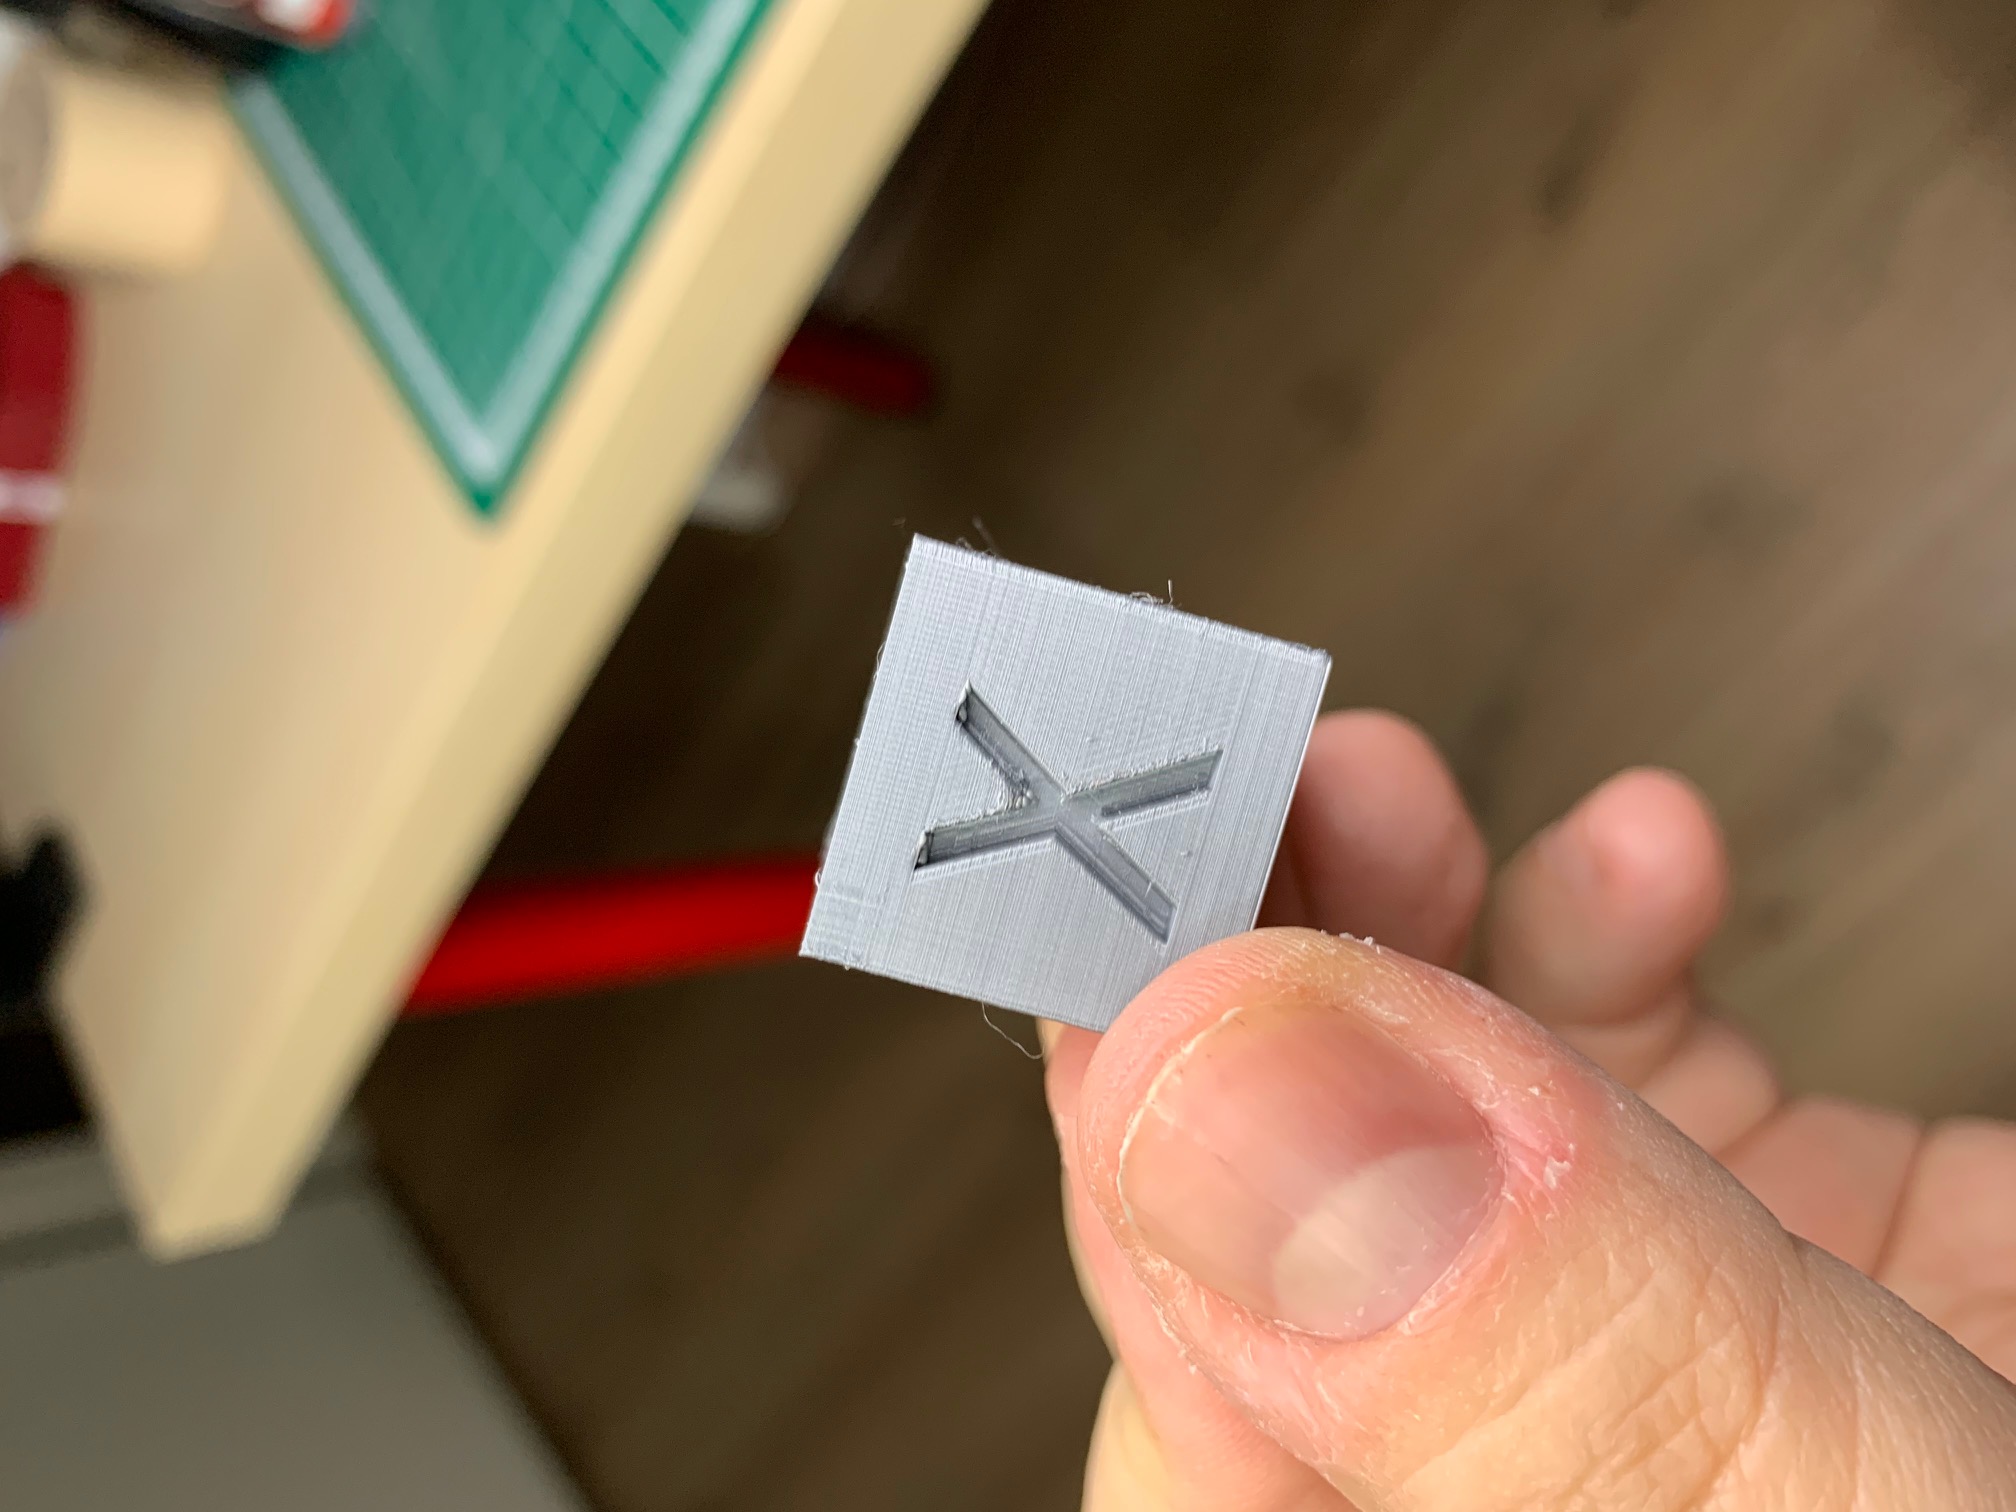
I am trying to configure and calibrate my Prusa and this is what I got with the PLA that comes with the package and the calibration cube. Do u think it is good? Specially the Z layer has this stripes that I am not convinced with.
I've setup thousands of values but no one seems to work.

RE: First calibration layer
every view but the important one 😉 How does the BOTTOM layer look. The rest look great
RE: First calibration layer
Sorry. This is how it looks the bottom:
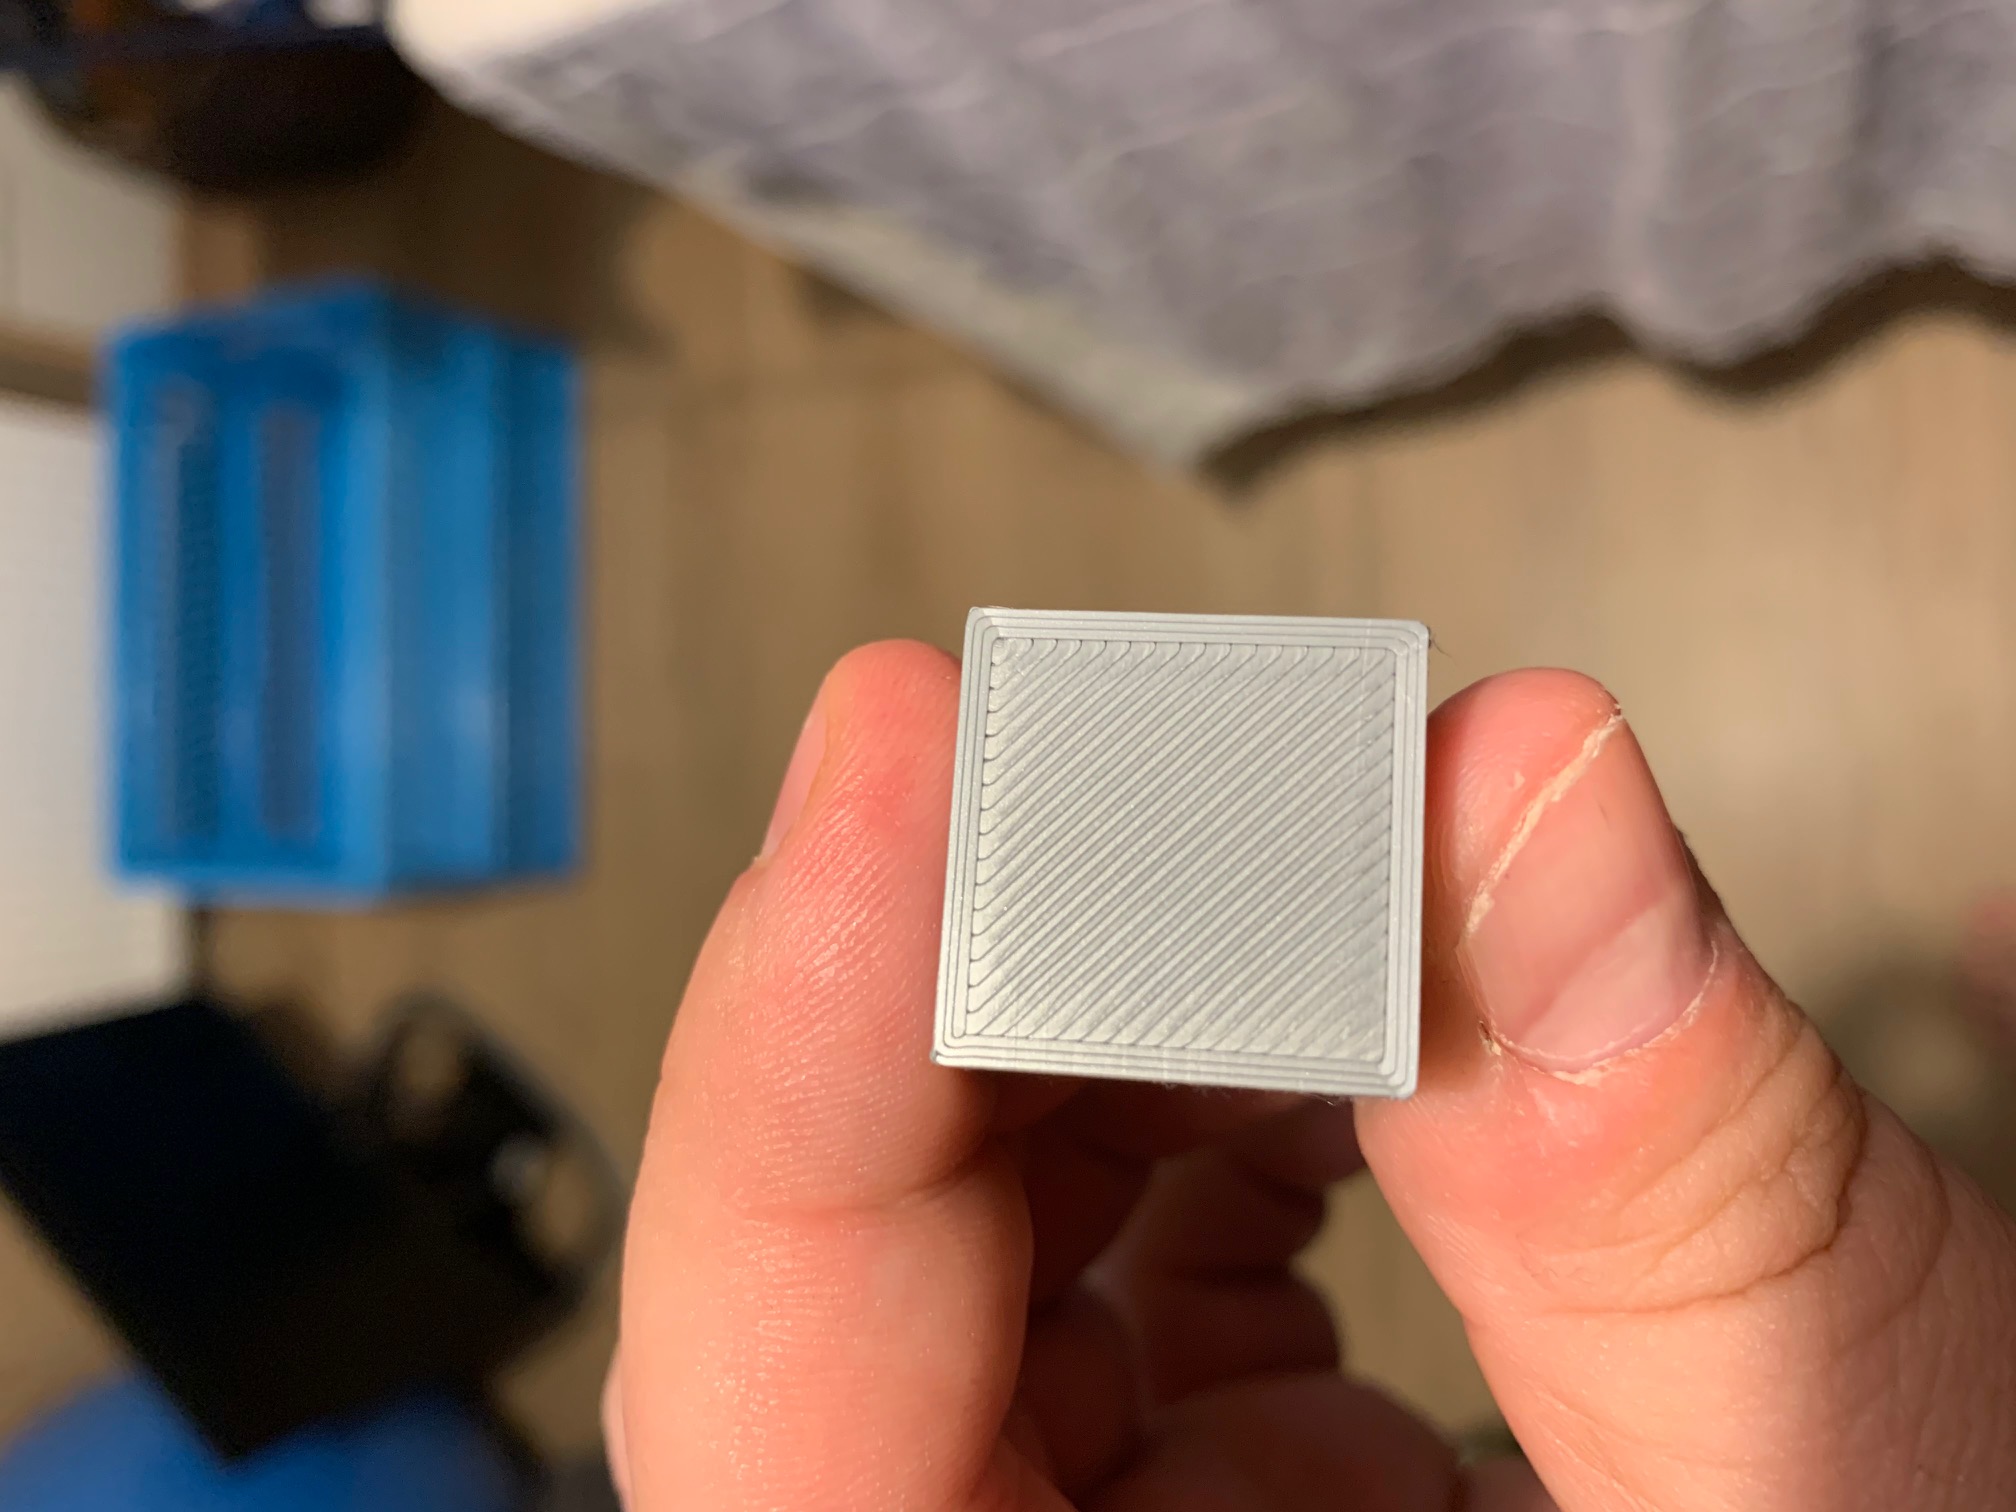
The error that this leads is the following: I've switched materials to see if the issue was the PLA or not. Both PLA are from PRUSA (the grey one is the one that comes with the printer) and the orange one recently bought. I've calibrated 3 times the printer:


You can feel like 3 different feeling textures on the bottom. Thta's why I am trying to see what happens with the first layer calibration. I thought maybe was the extruder because it make a weird noise and I couldn't extract the filament but now I can do it OK.
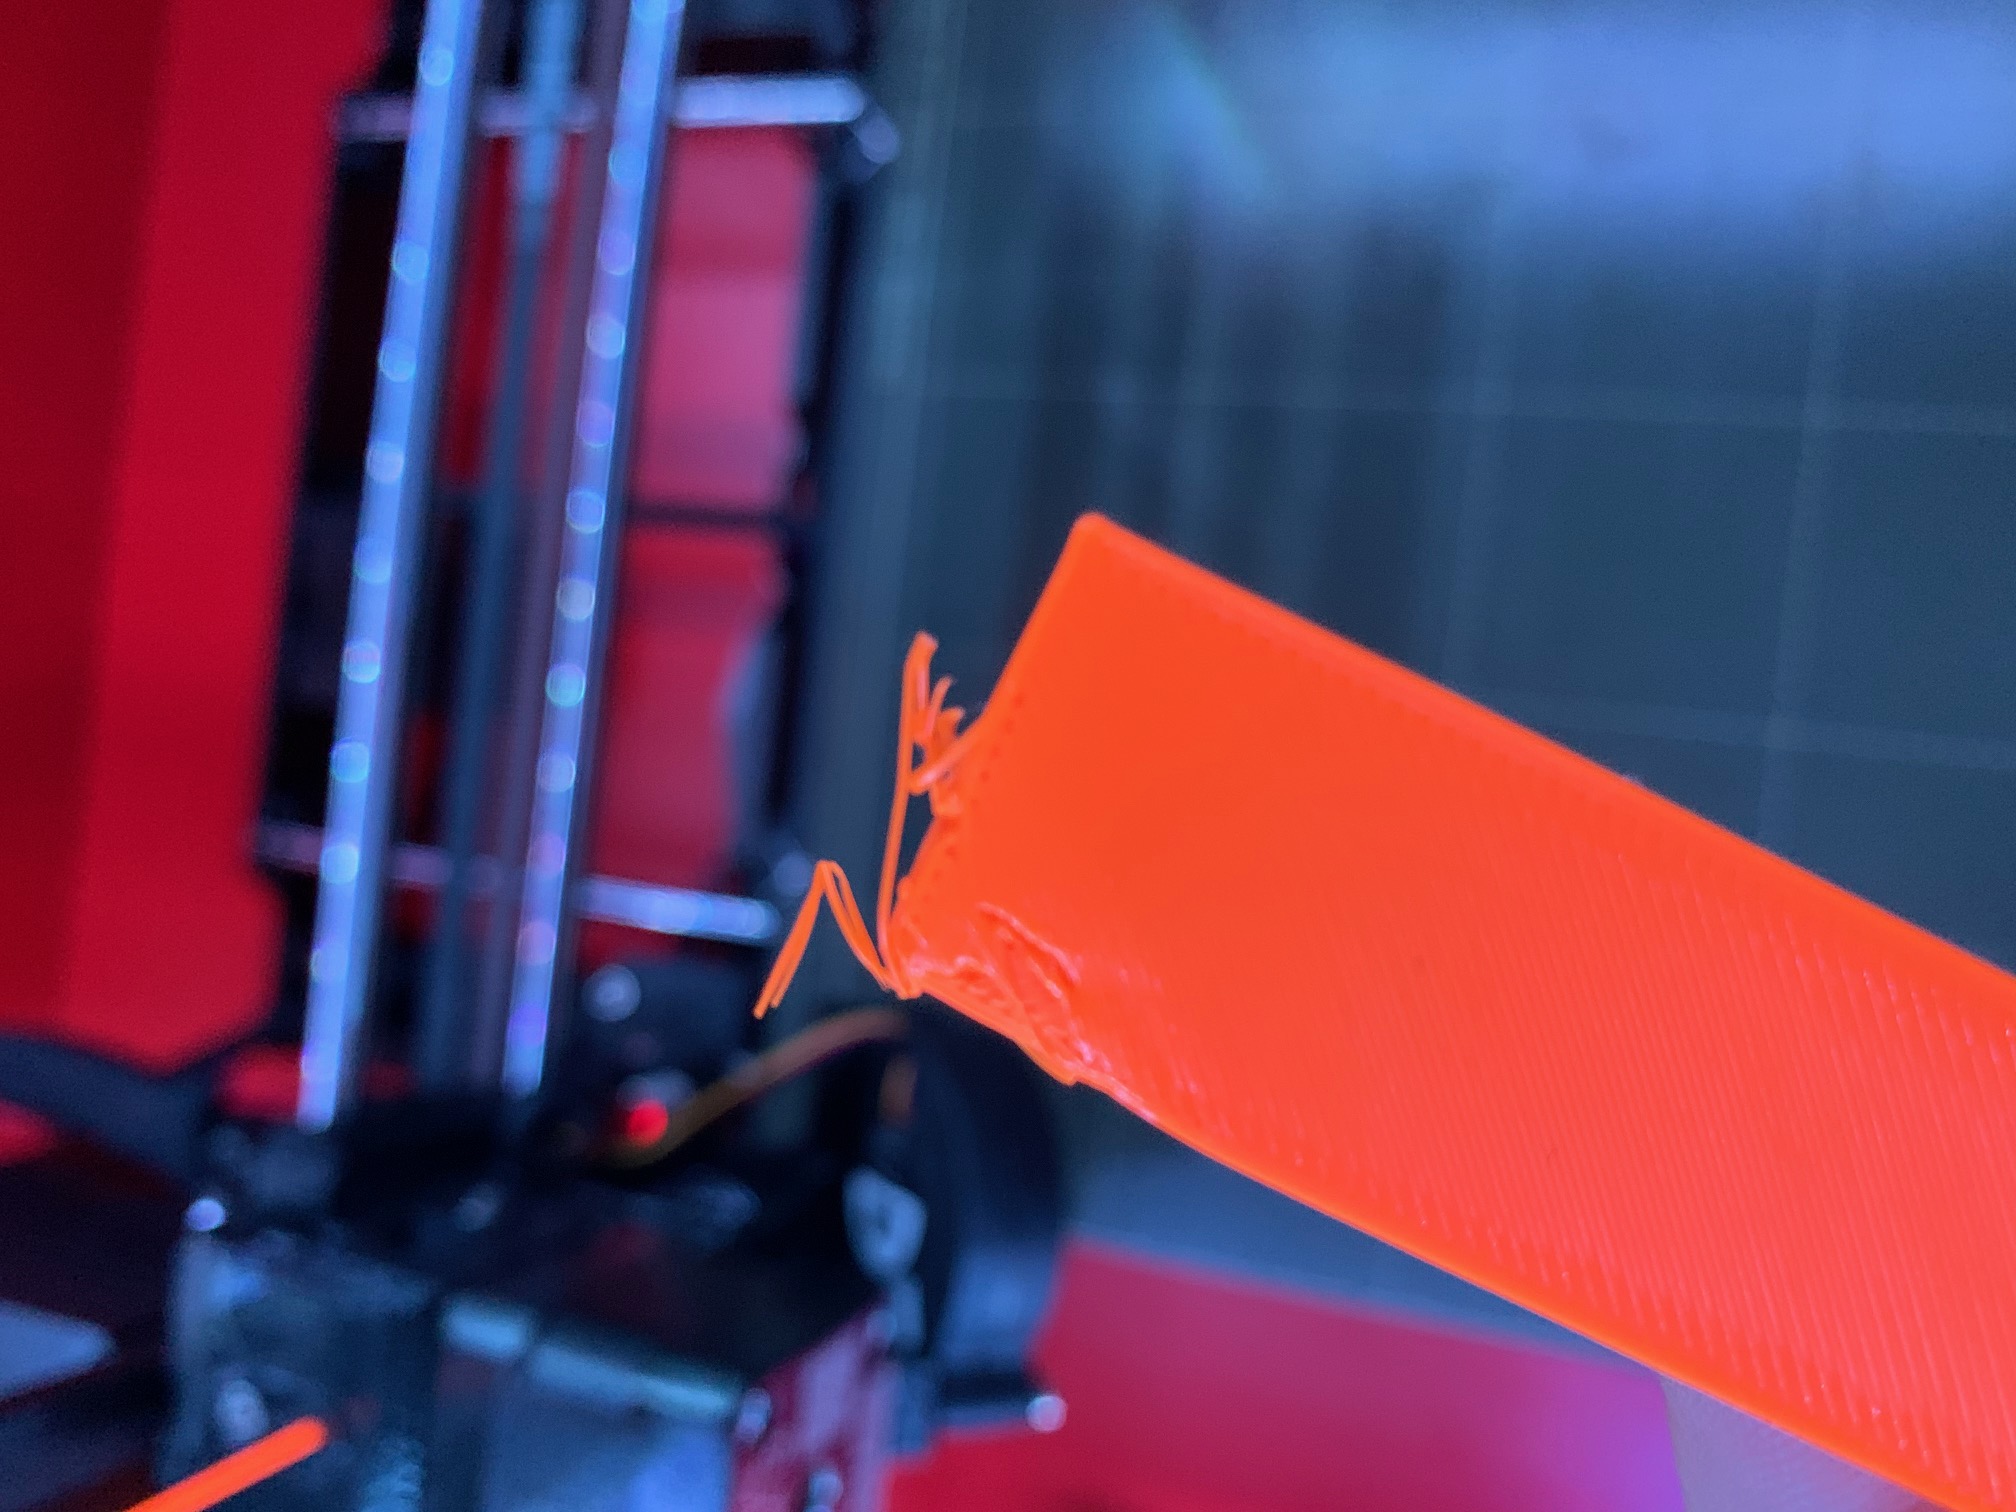
This is what I had with the previous filament when I got the printer for the first time:

Which is what I am trying to replicate.
Can anyone help me?
Regards.
RE: First calibration layer
There you to. Yup, your bottom layer is not where it needs to be. Calibration is only the first part in getting your Z height correct for the first layer. Once you start an actual print, right after the wipe is laid down, you can start doing a in-print adjustment of Z by clicking (depressing) the thumb wheel on your control panel. Don't click the X, click the knob. Then you'll see a menu that includes "adjust live-z"
While that first layer is going down, dial counter clockwise to move the head closer to the bed in real time (you don't need to be gentle, spin it by .10's at a time). When you see the edges stop curling up ,you're probably getting very close.
If the first layer starts to look wavy like ripples you went a little too far - rotate clockwise the knob to raise the nozzle slightly until the ripples stop.
You'll find that different filaments, even different spools from the same brand (color change) will need occasional live-z adjustment. Switch to a different material, and you'll need to do a live-z adjustment.
Do read-up on sheet profiles so you can register multiple sheets, each with their own live-z baseline. That way if you change from smooth sheet to textured or satin sheet, you can have different starting live-z values for each sheet.
RE: First calibration layer
Oh, and see how your bottoms on the prusa slab are good in some places and off in others? Go into settings (yup, click the knob) and enable 7x7 bed mesh leveling - that will adjust for slight variability in your bed.
RE: First calibration layer
Do u think this might be related with nozzle/extruder not working fine? the other day I couldn't extract filament since it was making weird noise but now apparently it works good.
And also, any good pictures of how should look the first calibration layer? I will also do the live Z-tunning. I didn't need to do this before that's why it's weird to me.
Thanks!
RE: First calibration layer
I had an ender before my mk3, and it used a sheet of paper to set the z offset, my tronxy core xy is the same (but far worse as no live adjust)
The MK3 is far more precise, but this comes with a learning curve.
Spend a lot of time on your first layer, takes practice to get it 100%
I can highly recommend Jeffs life adjust Z my way.
You looking for a solid sheet, if you follow jeffs instructions, then skip to the end and Joan has a very good image of how it should look and whats to high and low.
Tank you very much!
RE: First calibration layer
Thanks for your response and for the tutorial. I think I've got results:
I've played with the live-z tunning to get results. 0,530 was the z adjusted to me. 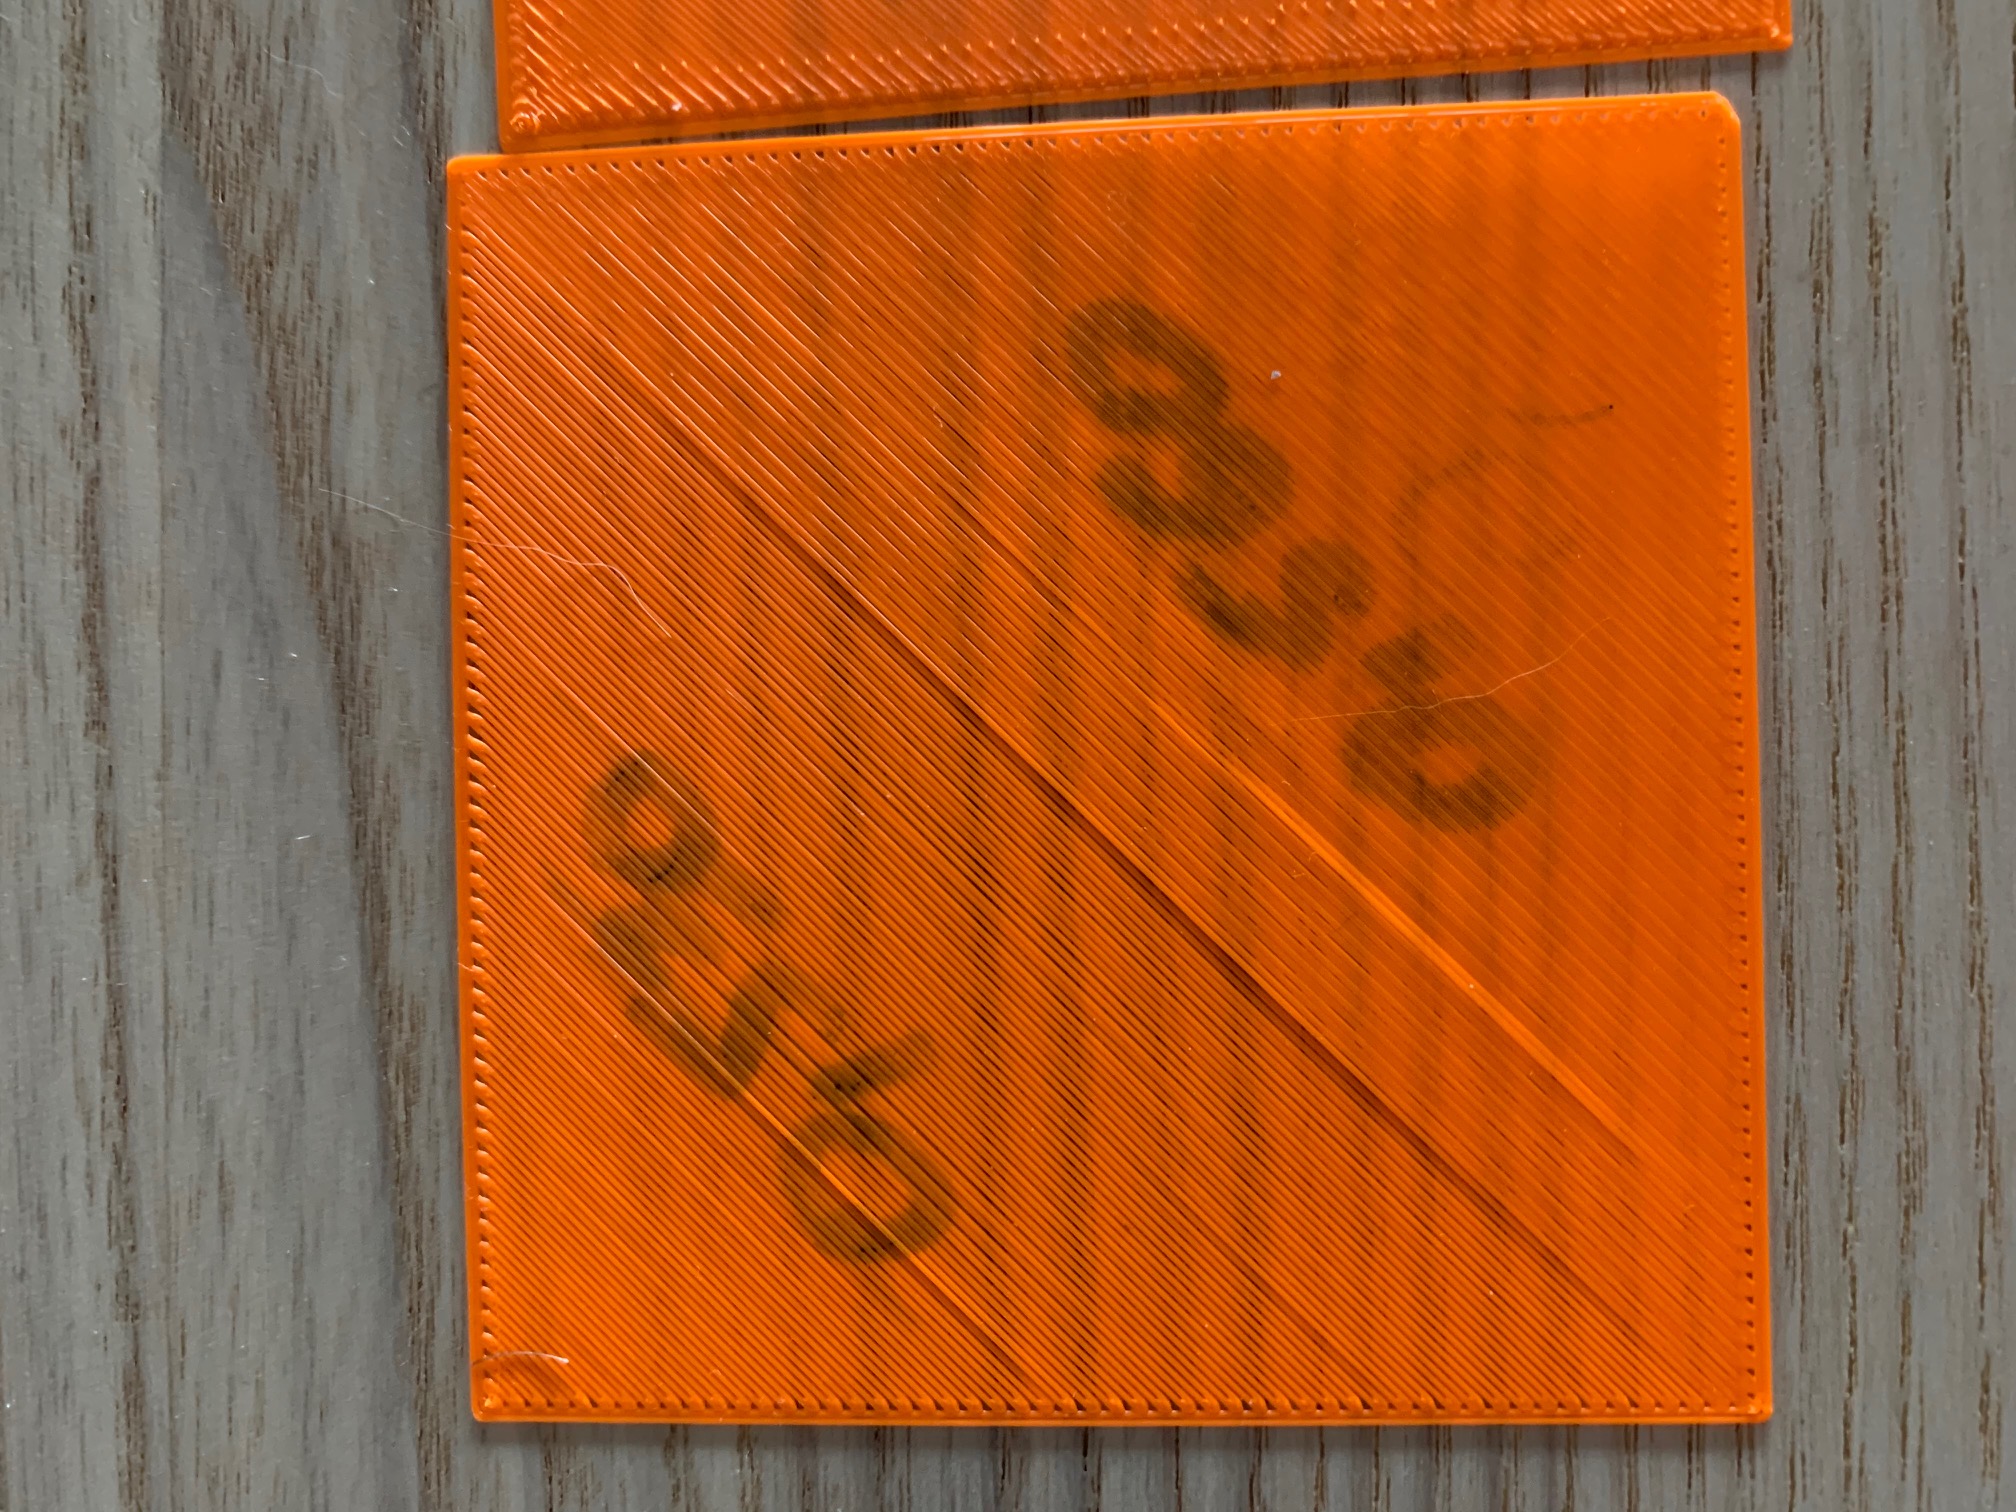
So it was a bit off. I've augmented more untill I see is too much pressing the bed:
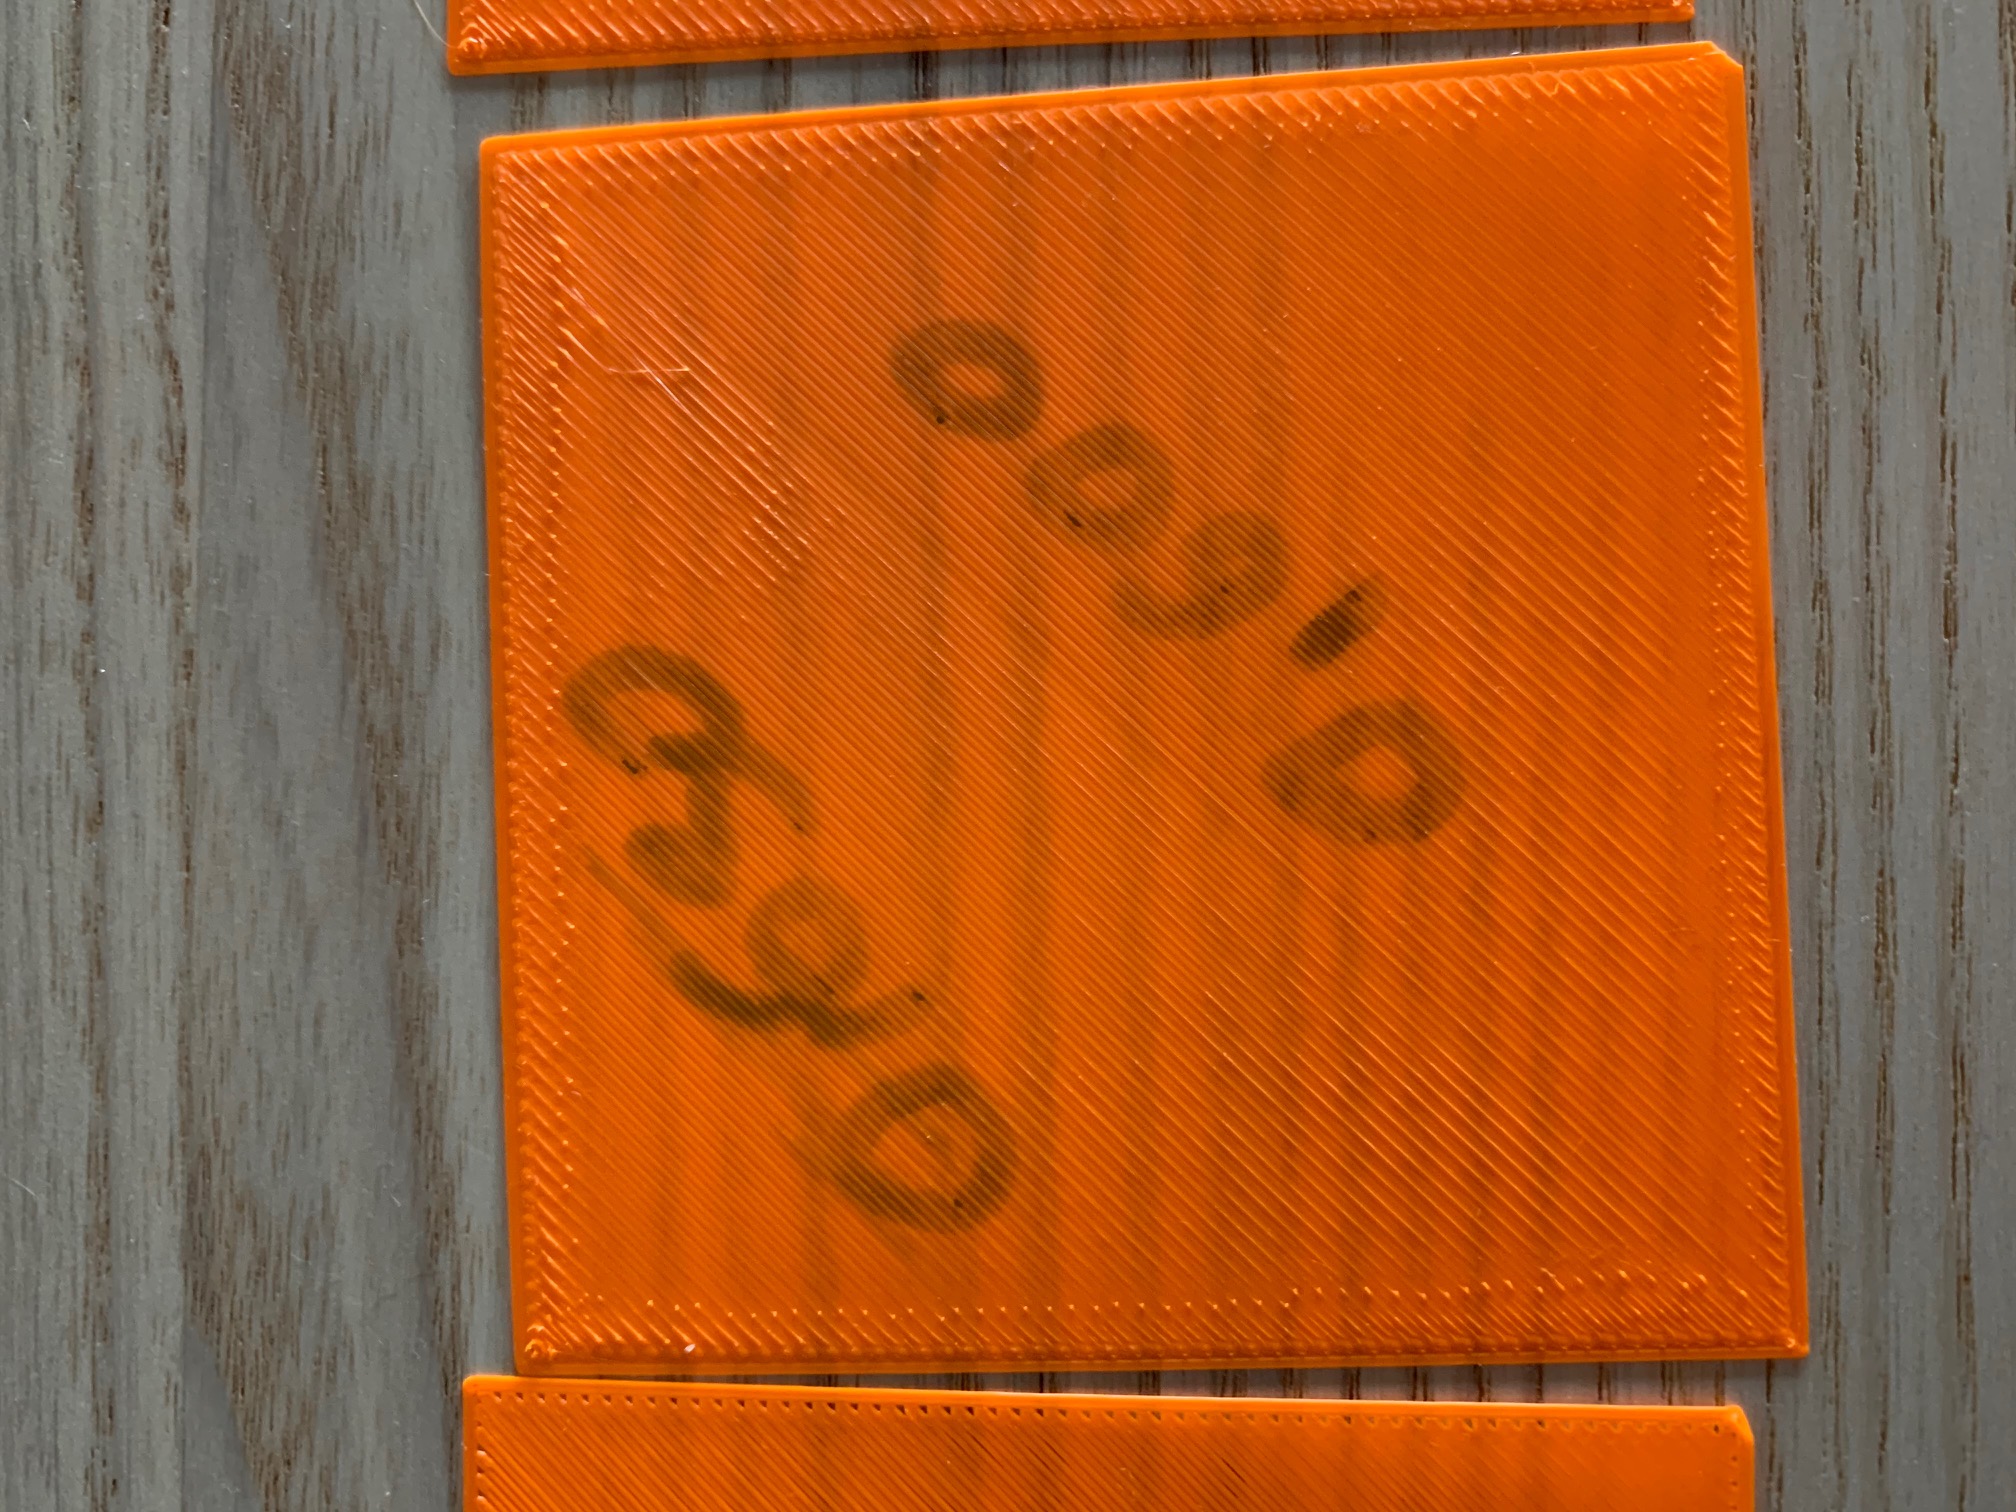
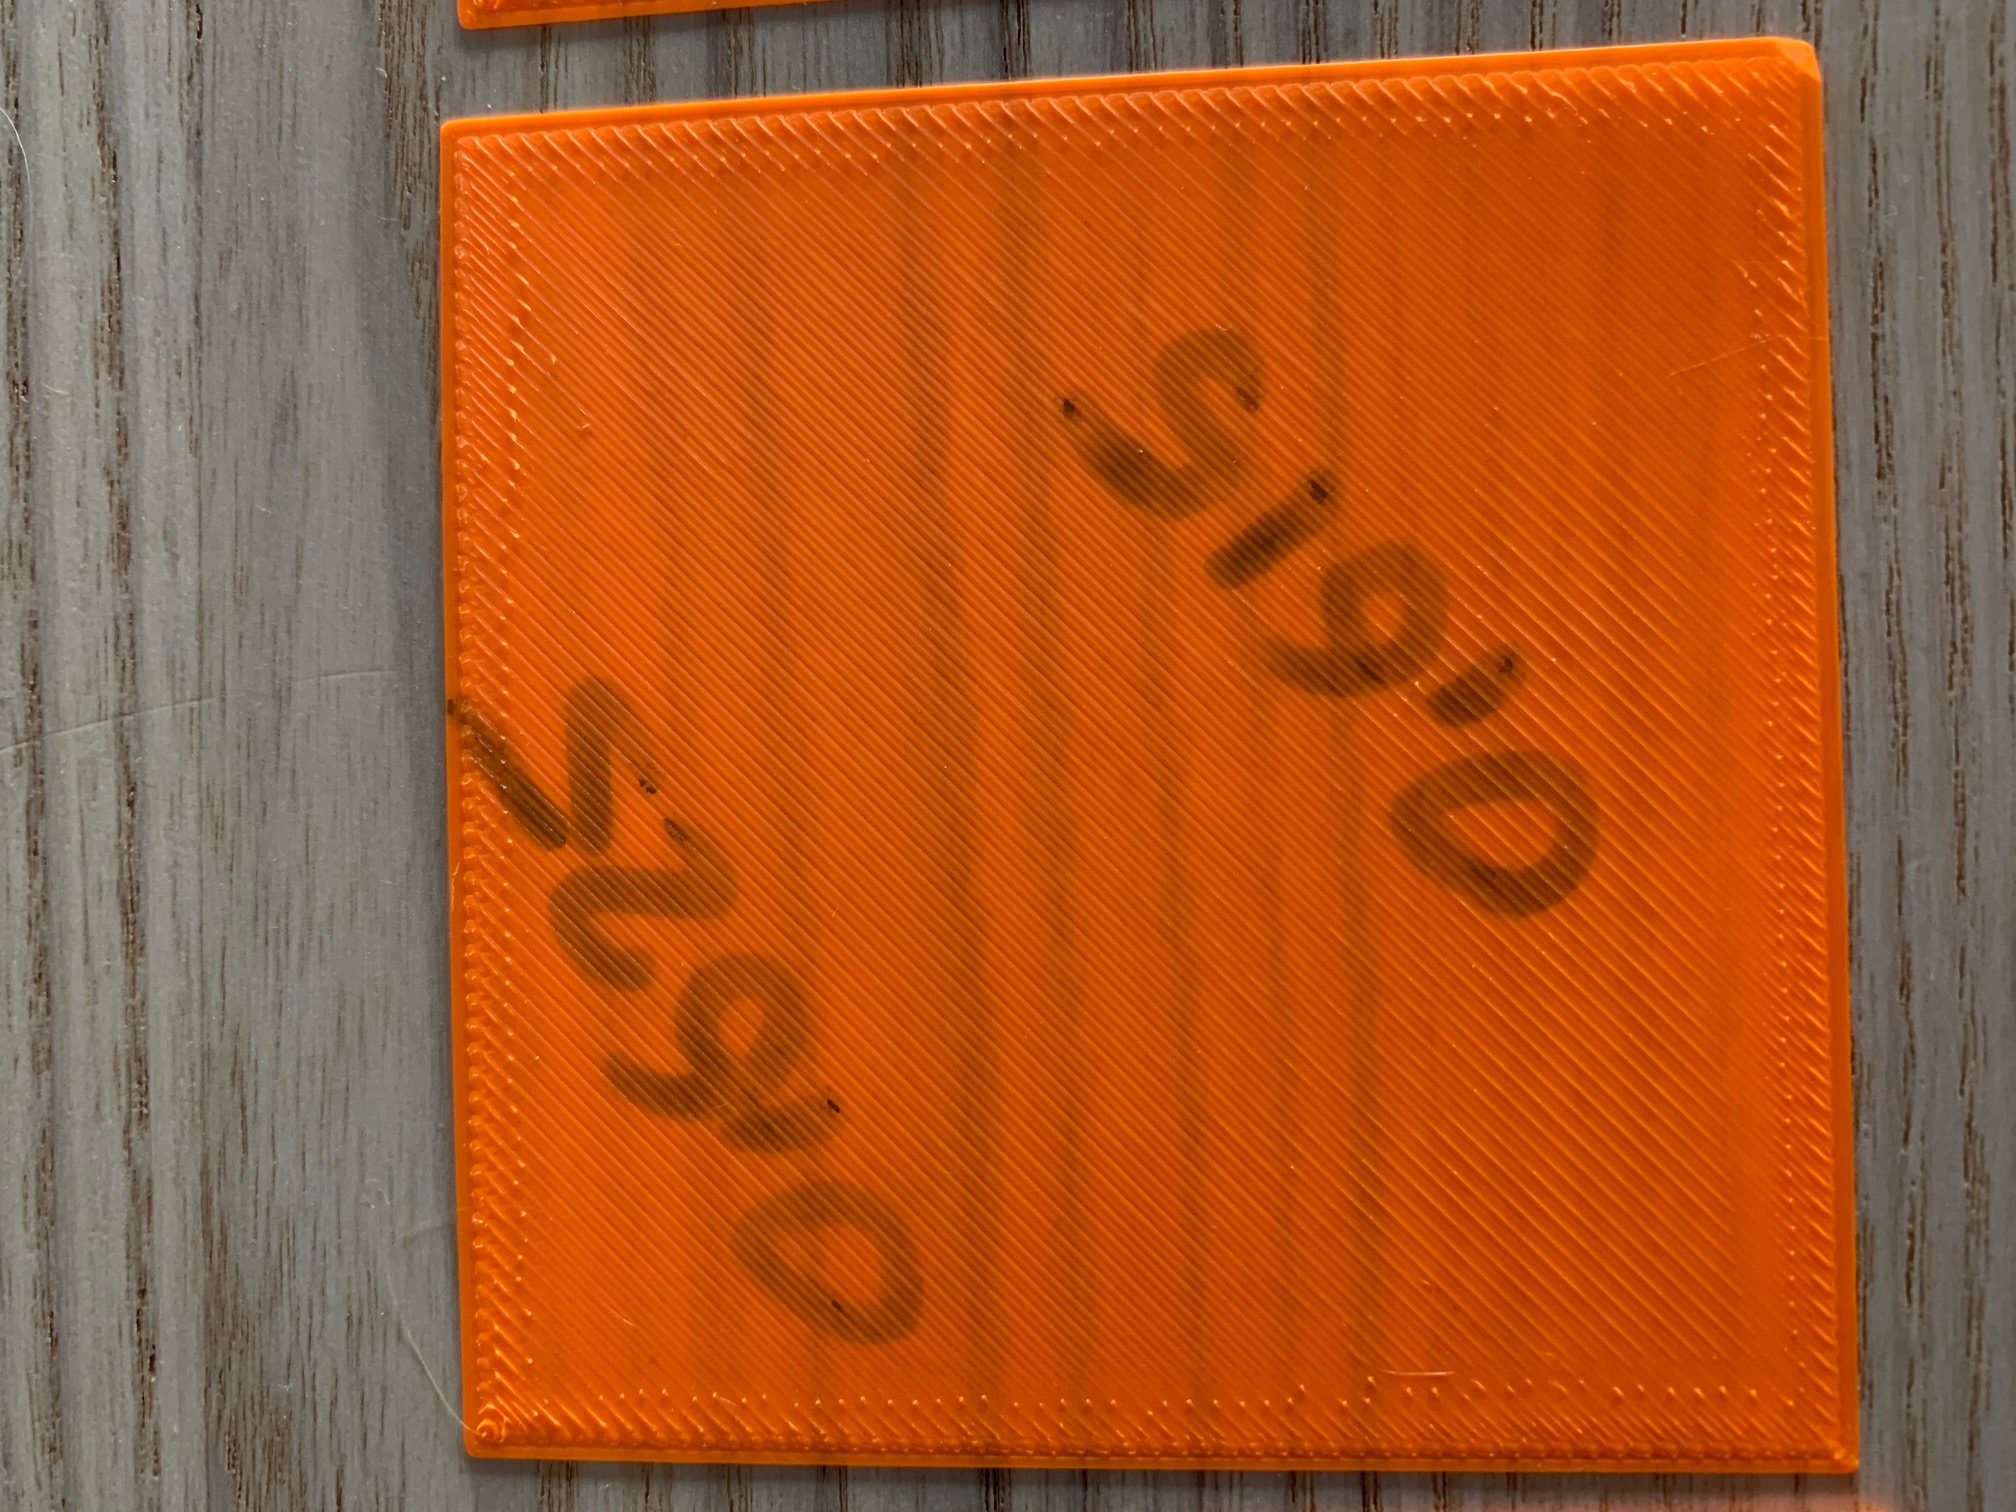


So I think after all the best one is 0.623 but I am not quite sure. Calibration was done with 225 celsious on the nozzle and 50 on the bed but default PLA prints set the bed to 60 and nozzle to 215...so I am wondering if I need to change that. Does it exist like a template for this PLA?
Thanks! Regards.
RE: First calibration layer
@el-burriagas
this may help. the actual live z values are unique to my printer, but the difference between the numbers indicate the effect of small changes to live Z on the final surface finish
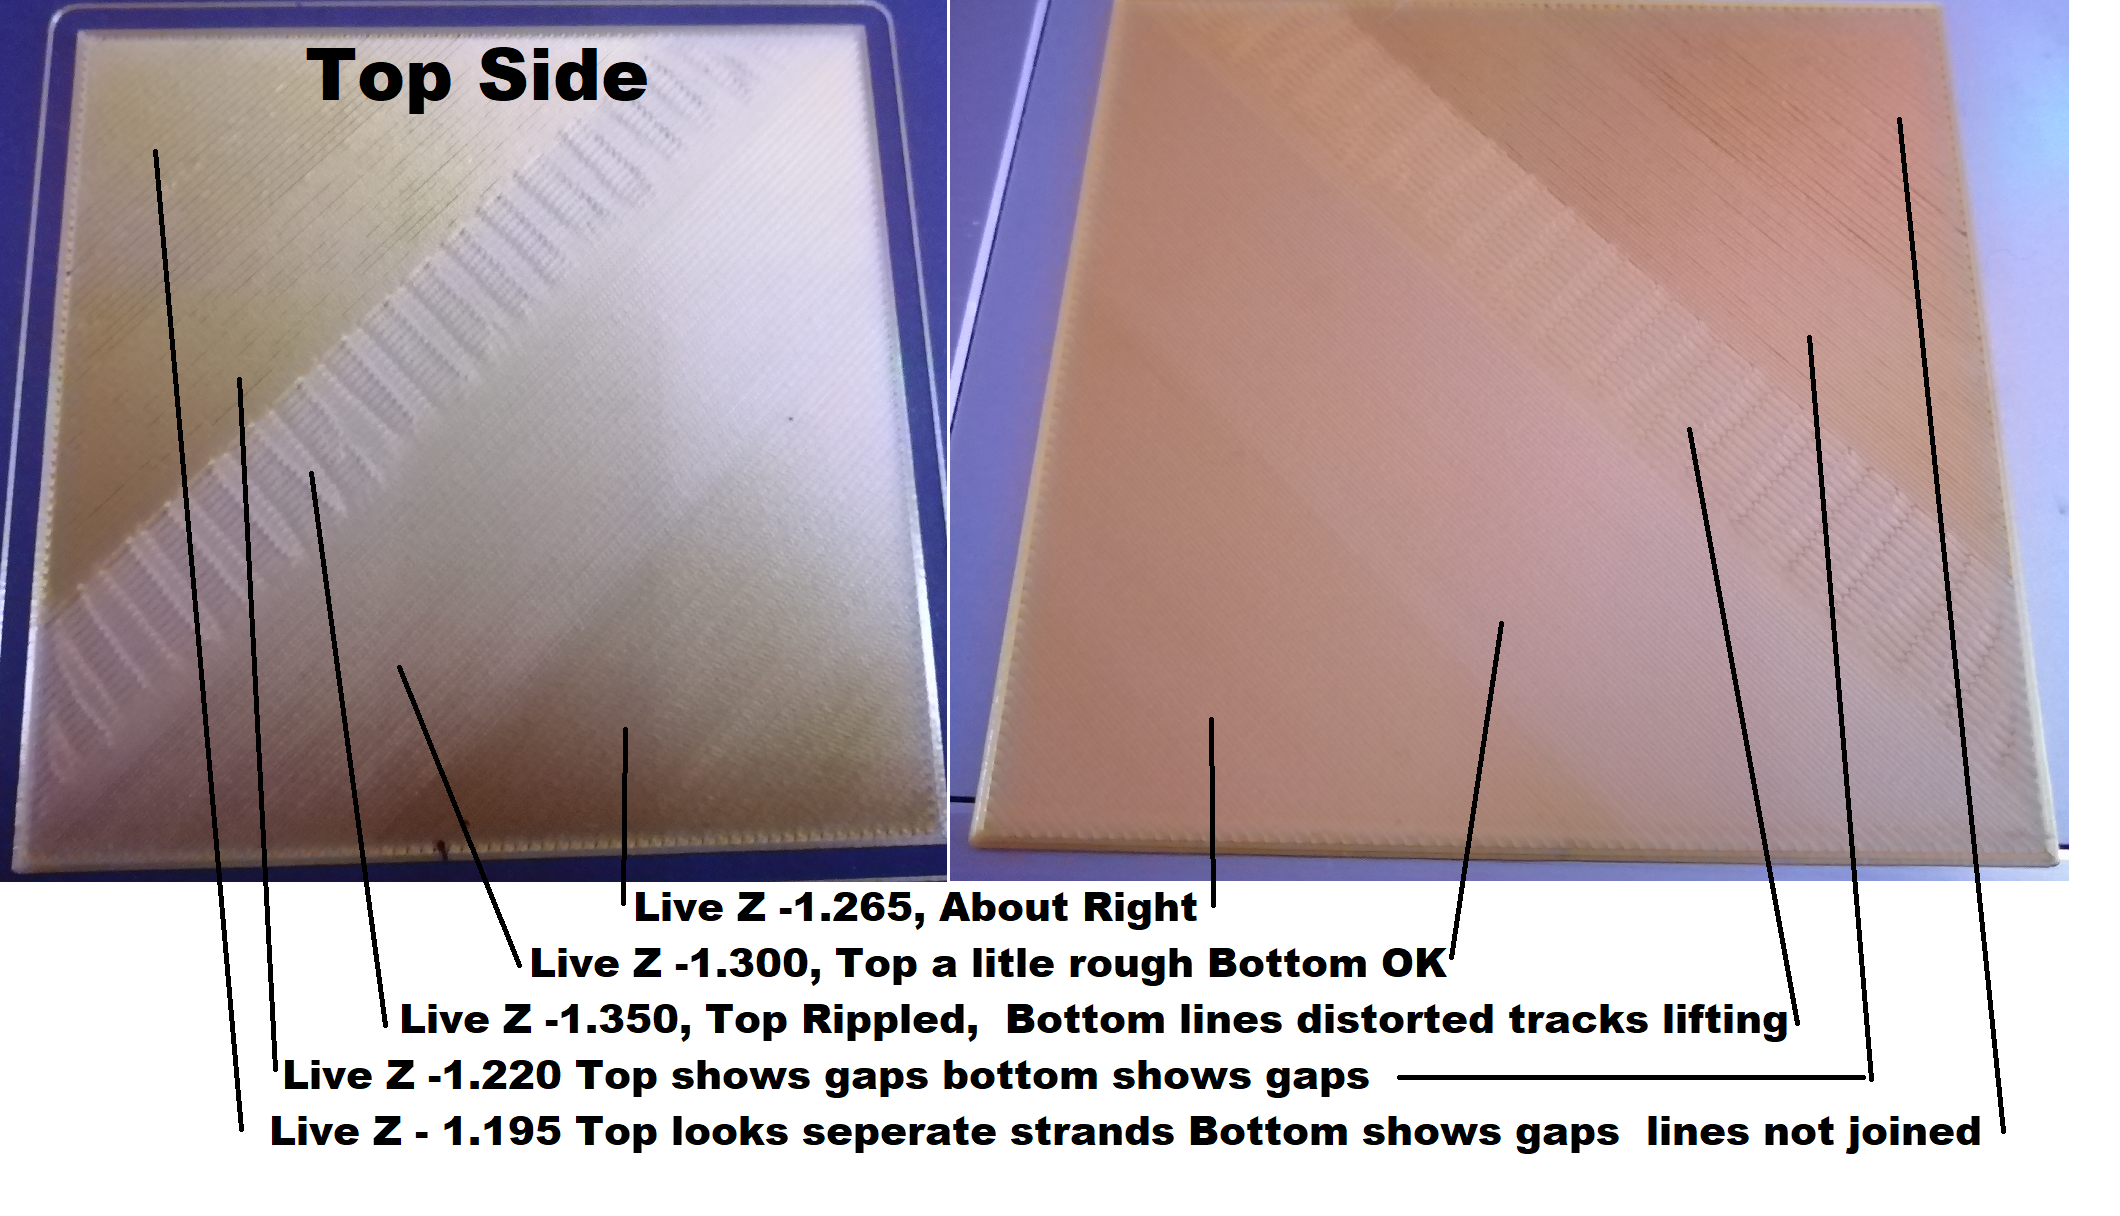
regards Joan
I try to make safe suggestions,You should understand the context and ensure you are happy that they are safe before attempting to apply my suggestions, what you do, is YOUR responsibility. Location Halifax UK
RE: First calibration layer
@joantabb
Yeah Ive seen this image but from the picture cant tell much. I think Ive got the best I could....