Rough Print Quality Defect Post Maintenance Session
After performing some minor maintenance, swapping in a new nozzle for printing rougher filament, and recalibrating the XYZ & first-layer settings, my i3 MKS3 began printing very poorly. Despite the hardened steel nozzle being brand new, it was curling filament and, seeing this as the source of the problem, I moved back to the original nozzle. The original extrudes as cleanly as before, yet it still shows the same symptoms.
Visual References:
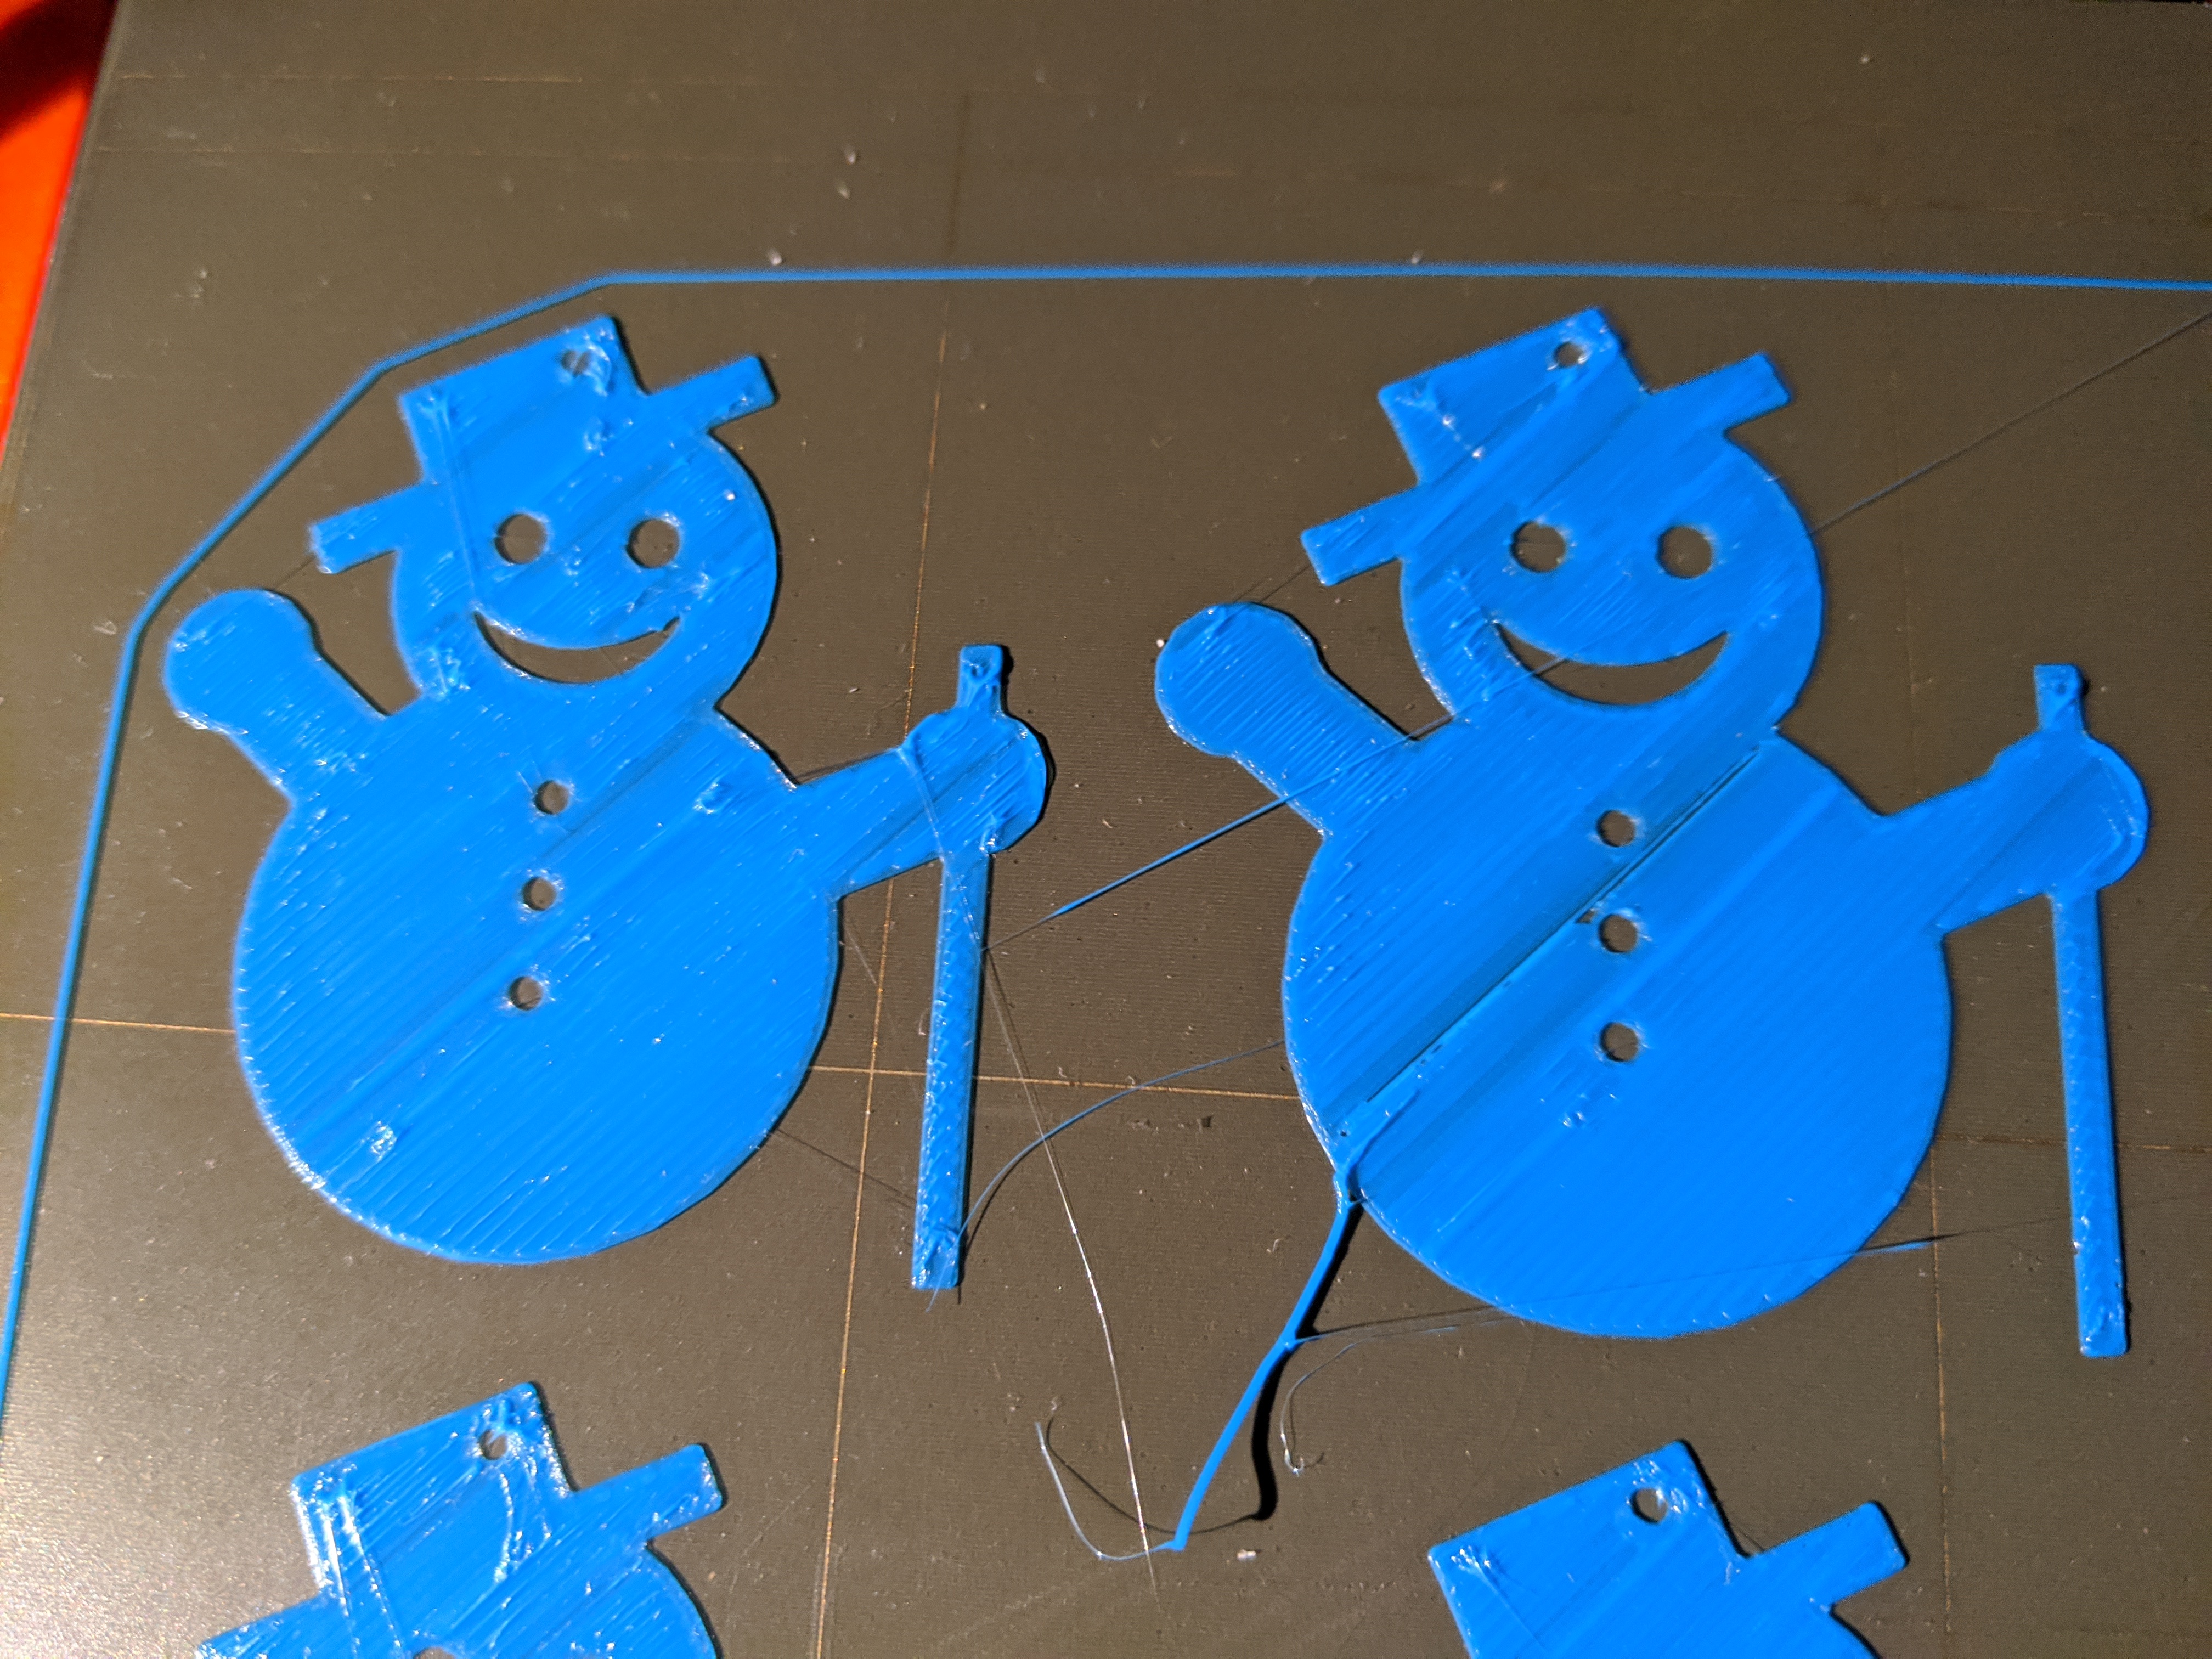
The first few layers of a flat, complex object. An outline appears alright but the solid layers are full of bumps and scraps that carry over into the next layers.

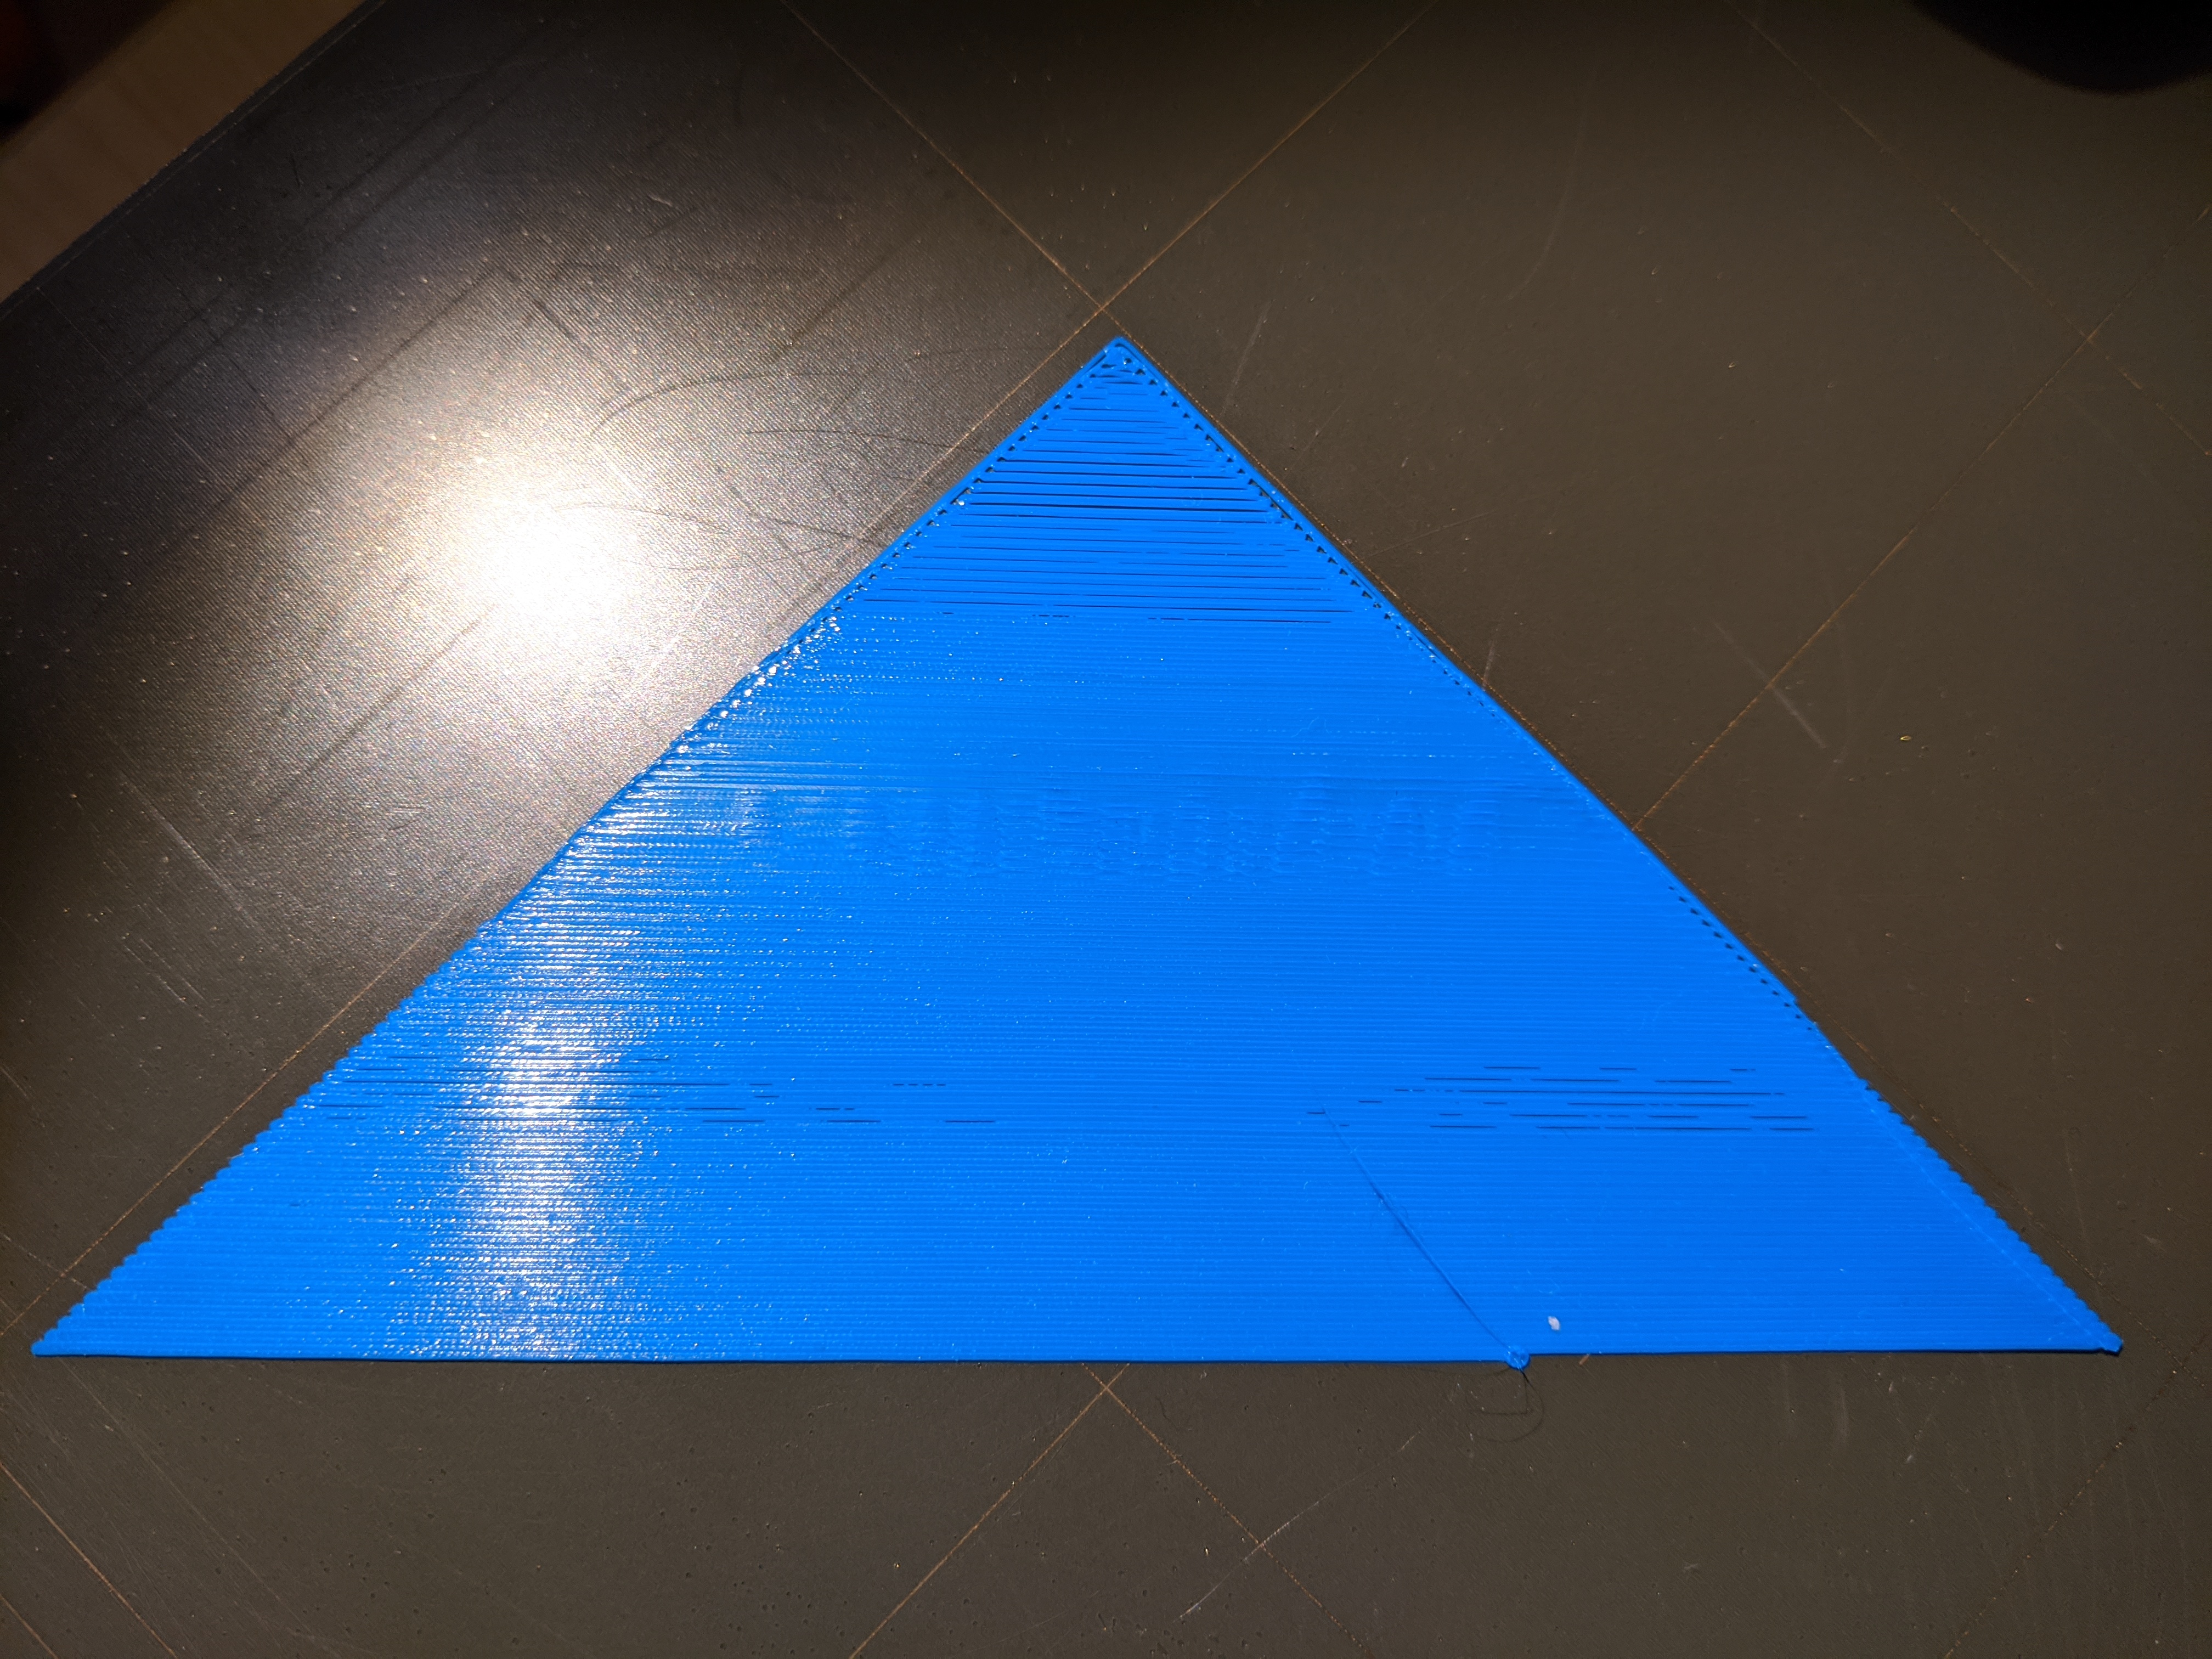
The printer performs better when it doesn't have to make tight turns or get nearby itself, although that seems to be a general rule for 3D printing. Plenty of scuffs, blobs, and rough waves. Very inconsistent.
Live Z-Adjust starting low and increase. Definite changes in quality. The best compromise is around 0.450. Not a fan eyeballing this down so precisely when the Prusa has so many other great automatic features.
Using older filament shows the same issues. Top is still coarse and uneven like other solid layers.

Pre-Defect Maintenance:
-Cleared dust & smooth rod debris
-Cleaned Z-axis screws
-Regularly apply isopropyl alcohol to the printer bed before each print
-A touch of lithium grease on idler gear & Z-screws
-New nozzle (upgrade to hardened steel)
Cleared/Tested Variables:
-New filament (blue shown in testing images but older white/black filament suffered the same)
-Revert to the original, pristine brass nozzle (even gave it an acetone bath/external polish)
-Filament extrudes through the original nozzle very cleanly while loading
-Spotless Nylon coldpulls
-Brass brush for both nozzles' tips to clear filament
-Several first-layer adjustments [current setting is 0.450 using E3D nozzle]
-Latest firmware [3.8.1 - deals with many Z-axis first-layer issues]
-Latest PrusaSlicer update
-Used pre-made gcode from PrusaPrinters
Potential Sources:
-PTFE tube blockage
-Idler gears, despite greasing [since I got the fully-tested Prusa, it's been making a squeaking/creaking noise on retractions/E-Axis movements]
-Heat break damage during steel nozzle change
-Z-axis [Unnecessarily recalibrated after first nozzle switch despite both nozzles being E3D]
-Bad luck
...
Any thoughts?
RE: Rough Print Quality Defect Post Maintenance Session
been there, I think you have a leak in the heat break. This related to your instillation of the new nozzle.
RE: Rough Print Quality Defect Post Maintenance Session
Try giving the extruder gears a tiny drop of thin oil, that could remove the noise from the gears.
It looks like there could be some backlash. Make sure that all motor pulleys and belts are tight.
Have a look at my models on Printables.com 😉
RE: Rough Print Quality Defect Post Maintenance Session
Trapezoidal nuts are Delrin and the screws need no lubrication. It is like Teflon. Be sure your lithium grease is not dissolving them.
Power off and make sure both X and Y move easily both directions. If you feel any binding - you have found your problem.
Make sure the stepper gears are properly secured and positioned.
Scrub your build sheet with Dawn and lots of water. Dry with a clean paper towel. Never touch the print surface.
Do your Z calibration after the scrub with no IPA.
RE: Rough Print Quality Defect Post Maintenance Session
Thanks for the new leads. Once I've settled into classes I'll get to work testing/researching them and I'll make sure to leave an update of how things went.
RE: Rough Print Quality Defect Post Maintenance Session
The problème is -New nozzle (upgrade to hardened steel). The hardened steel have less heat transmition. Use less speed in your print or change your nozzle to standard brasse or copper nickel plated.
A+
RE: Rough Print Quality Defect Post Maintenance Session
Or reduce the volumetric speed: Filament settings -> Advanced -> Max volumetric speed
This sets how fast the extruder can melt and extrude plastic. If the limit is reached the printing speed is reduced to match the maximum.
You need Advanced setting in PrusaSlicer to see this setting.
I use the nozzles from MicroSwiss - it is brass coated with nickel and non-stick component. Good for PETG and Flex printing.
Have a look at my models on Printables.com 😉
RE: Rough Print Quality Defect Post Maintenance Session
@area51
Interesting! I wasn't aware of that feature or the benefits of MicroSwiss. I'll have to try that out.
RE: Rough Print Quality Defect Post Maintenance Session
@gael-d2
Good point. When I was still using the hardened steel that was a noteworthy concern, but then I've swapped back to the original brass nozzle and the same symptoms where there. Still, printing at different heat levels is a subject I haven't fully explored.
RE: Rough Print Quality Defect Post Maintenance Session
Heyo. I just wanted to post a quick update.
It seems like things are doing okay/better now. Slower speeds and lower temperatures [i](<200*C)[/i] reduce the disturbance/stringing. [i](Although, I should probably be doing new tests with a larger variety of filaments [blue SoluTech and Silver prusament)[/i]. I also tightened some screws on the Y-axis [i](not sure how to tighten the X-axis without a big disassembly, but right now belt status values [255x, <260y] are acceptable)[/i] and I swabbed on some Dry-Film Teflon lubricant to the idler screws.


Still, precision during small, local movements that move warm filament around creates some messy situations. Cleaner slicing is here too. It's worth noting that the two prints above here pre-made G-code from PrusaPrints. This compact tester from Thingiverse was personally sliced...

Thanks again for all the feedback. This has been a big learning experience for me 🙂