Troubleshooting first layer & bed leveling
Hello everybody. I've bought a mk3s kit and assembled 2 months ago, but only last few days I've found time to play with it and debug. Since then, I've been having some issues on my first layer. It never reaches a similarity as it suggests in the manual.
If you guys check the picture below, you can see 2 samples of the rectangle pattern that comes in the sd card, already in gcode. The top picture was the first to be printed, using prusament which comes in the package of the printer. After playing around with the screw (mostly tightening) on the extruder in combination with Z leveling adjustment, I could manage to improve a bit the quality, as you can see in the bottom picture. However, if you check the corners, more specificaly the top left from the bottom picture still, you can see a weird pattern. I don't know what else to do to improve it. What are the other things you guys suggest me doing that could improve this?

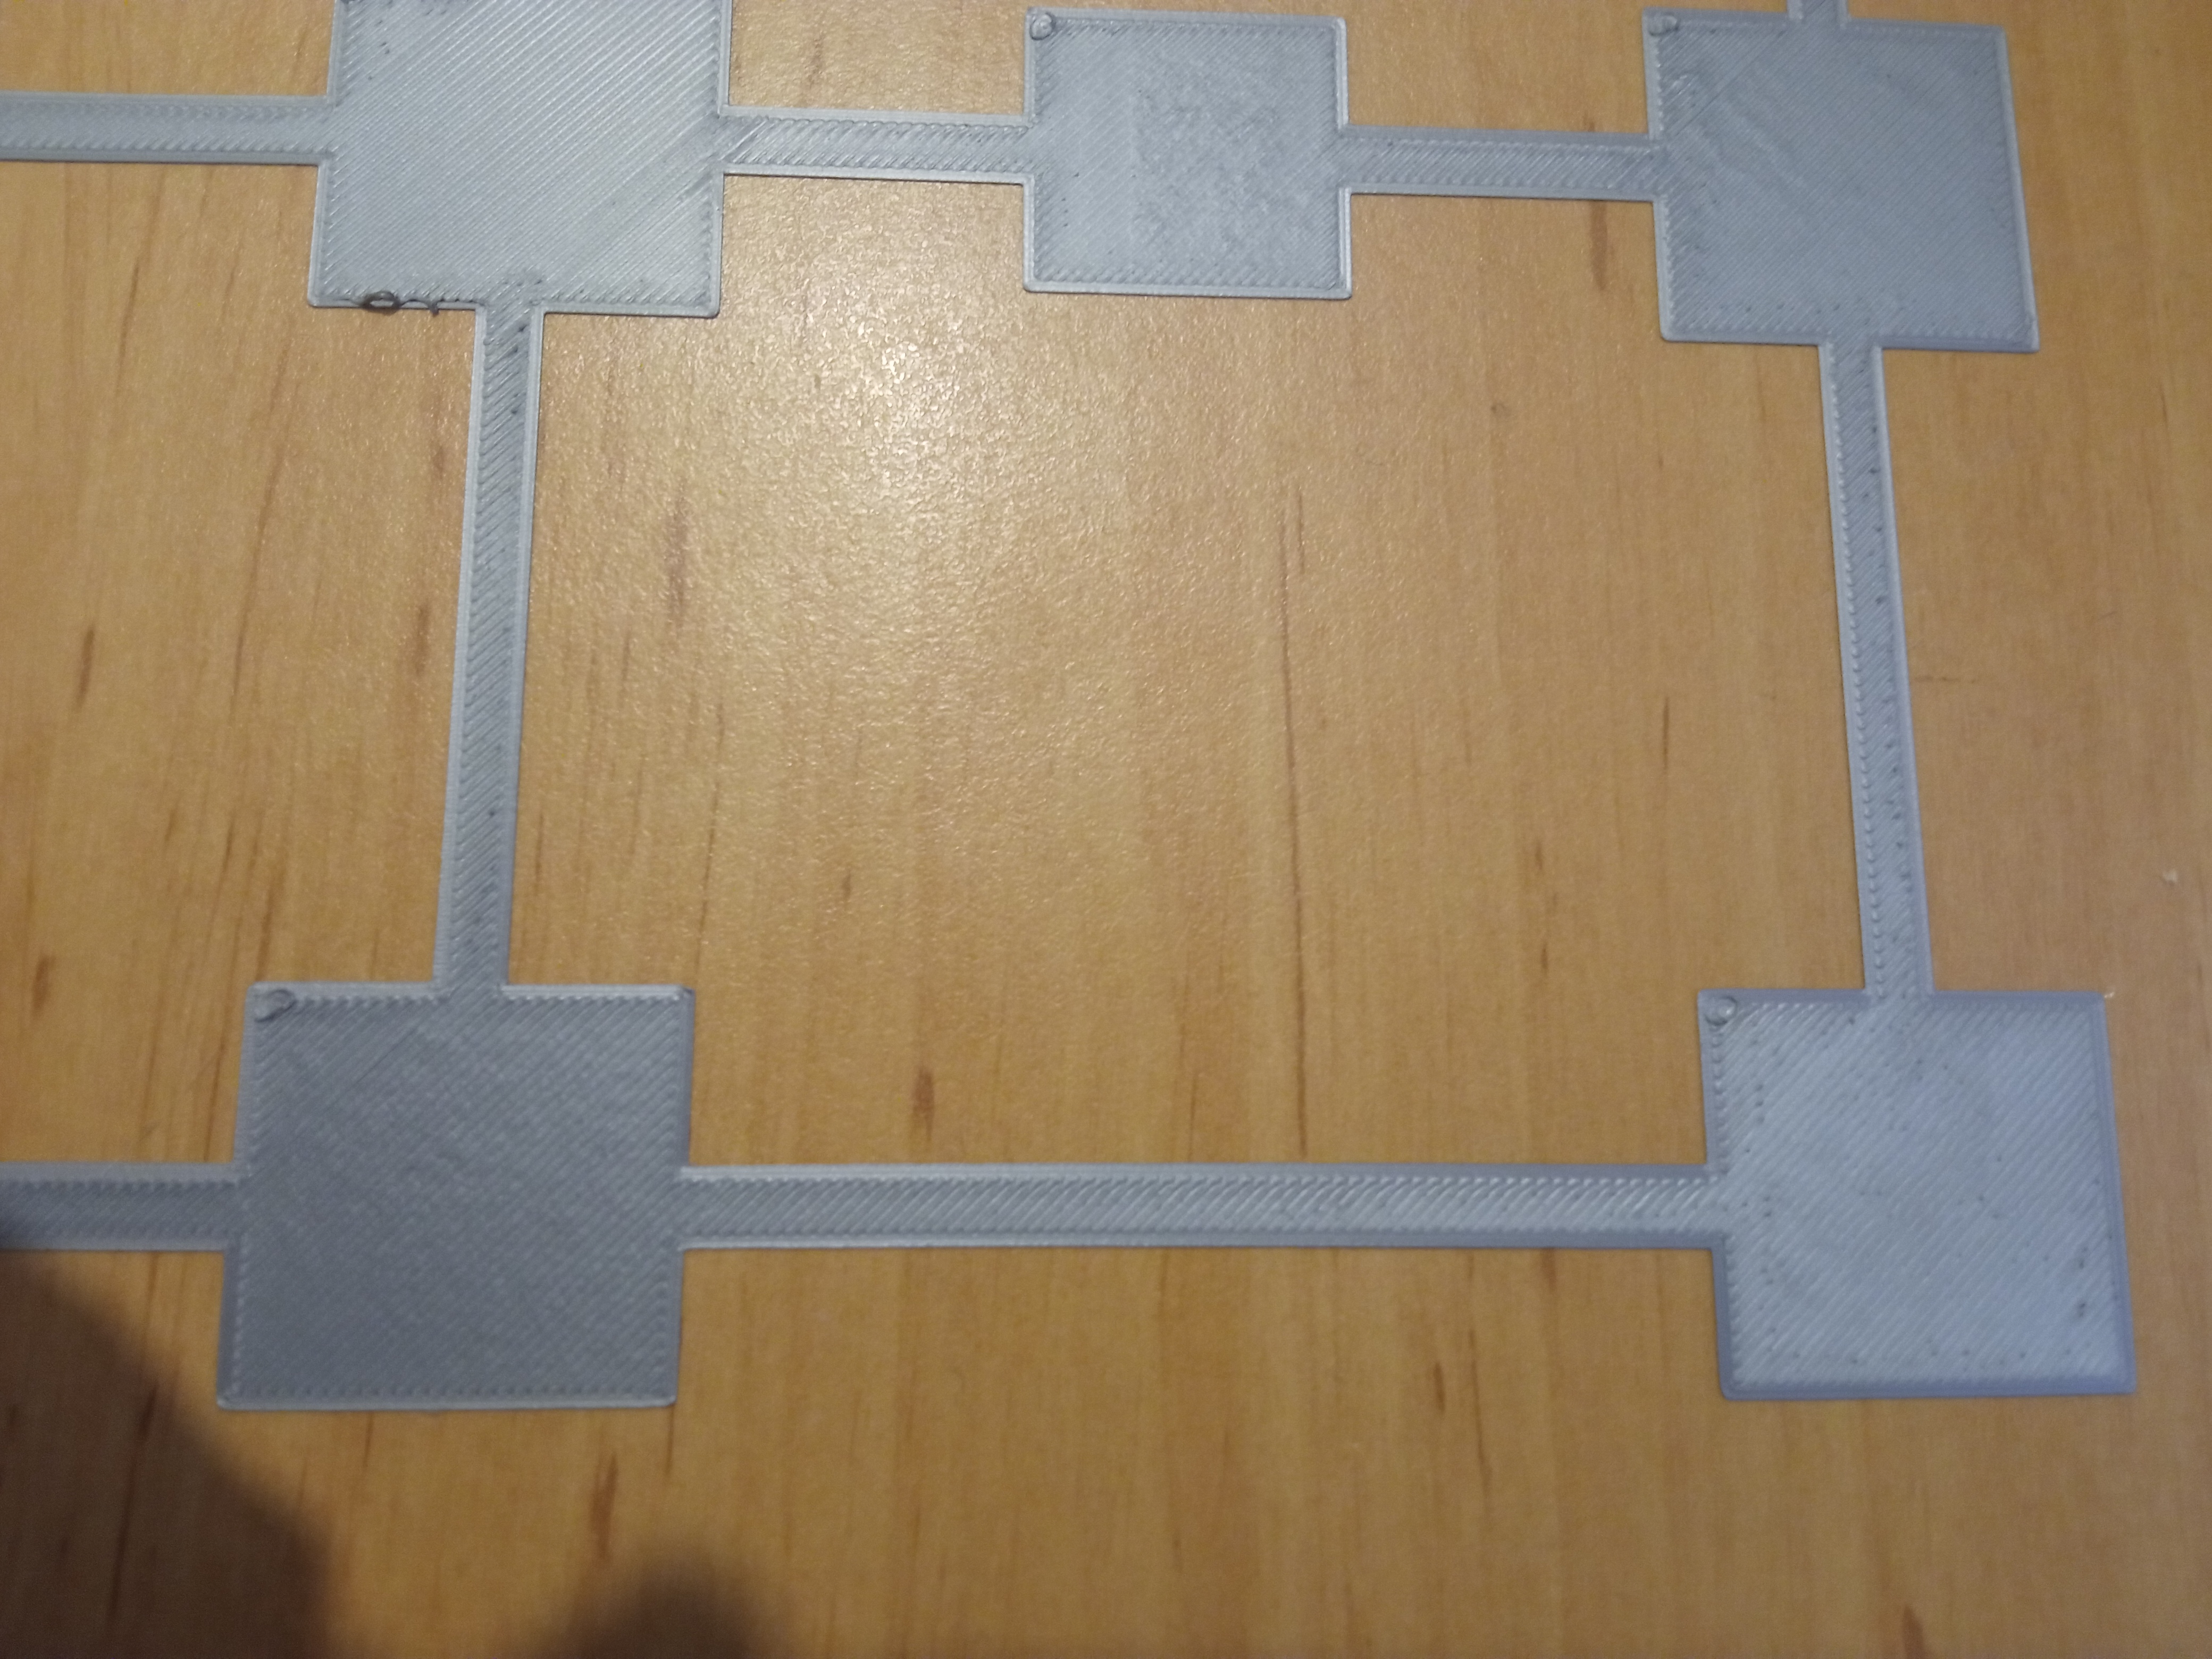
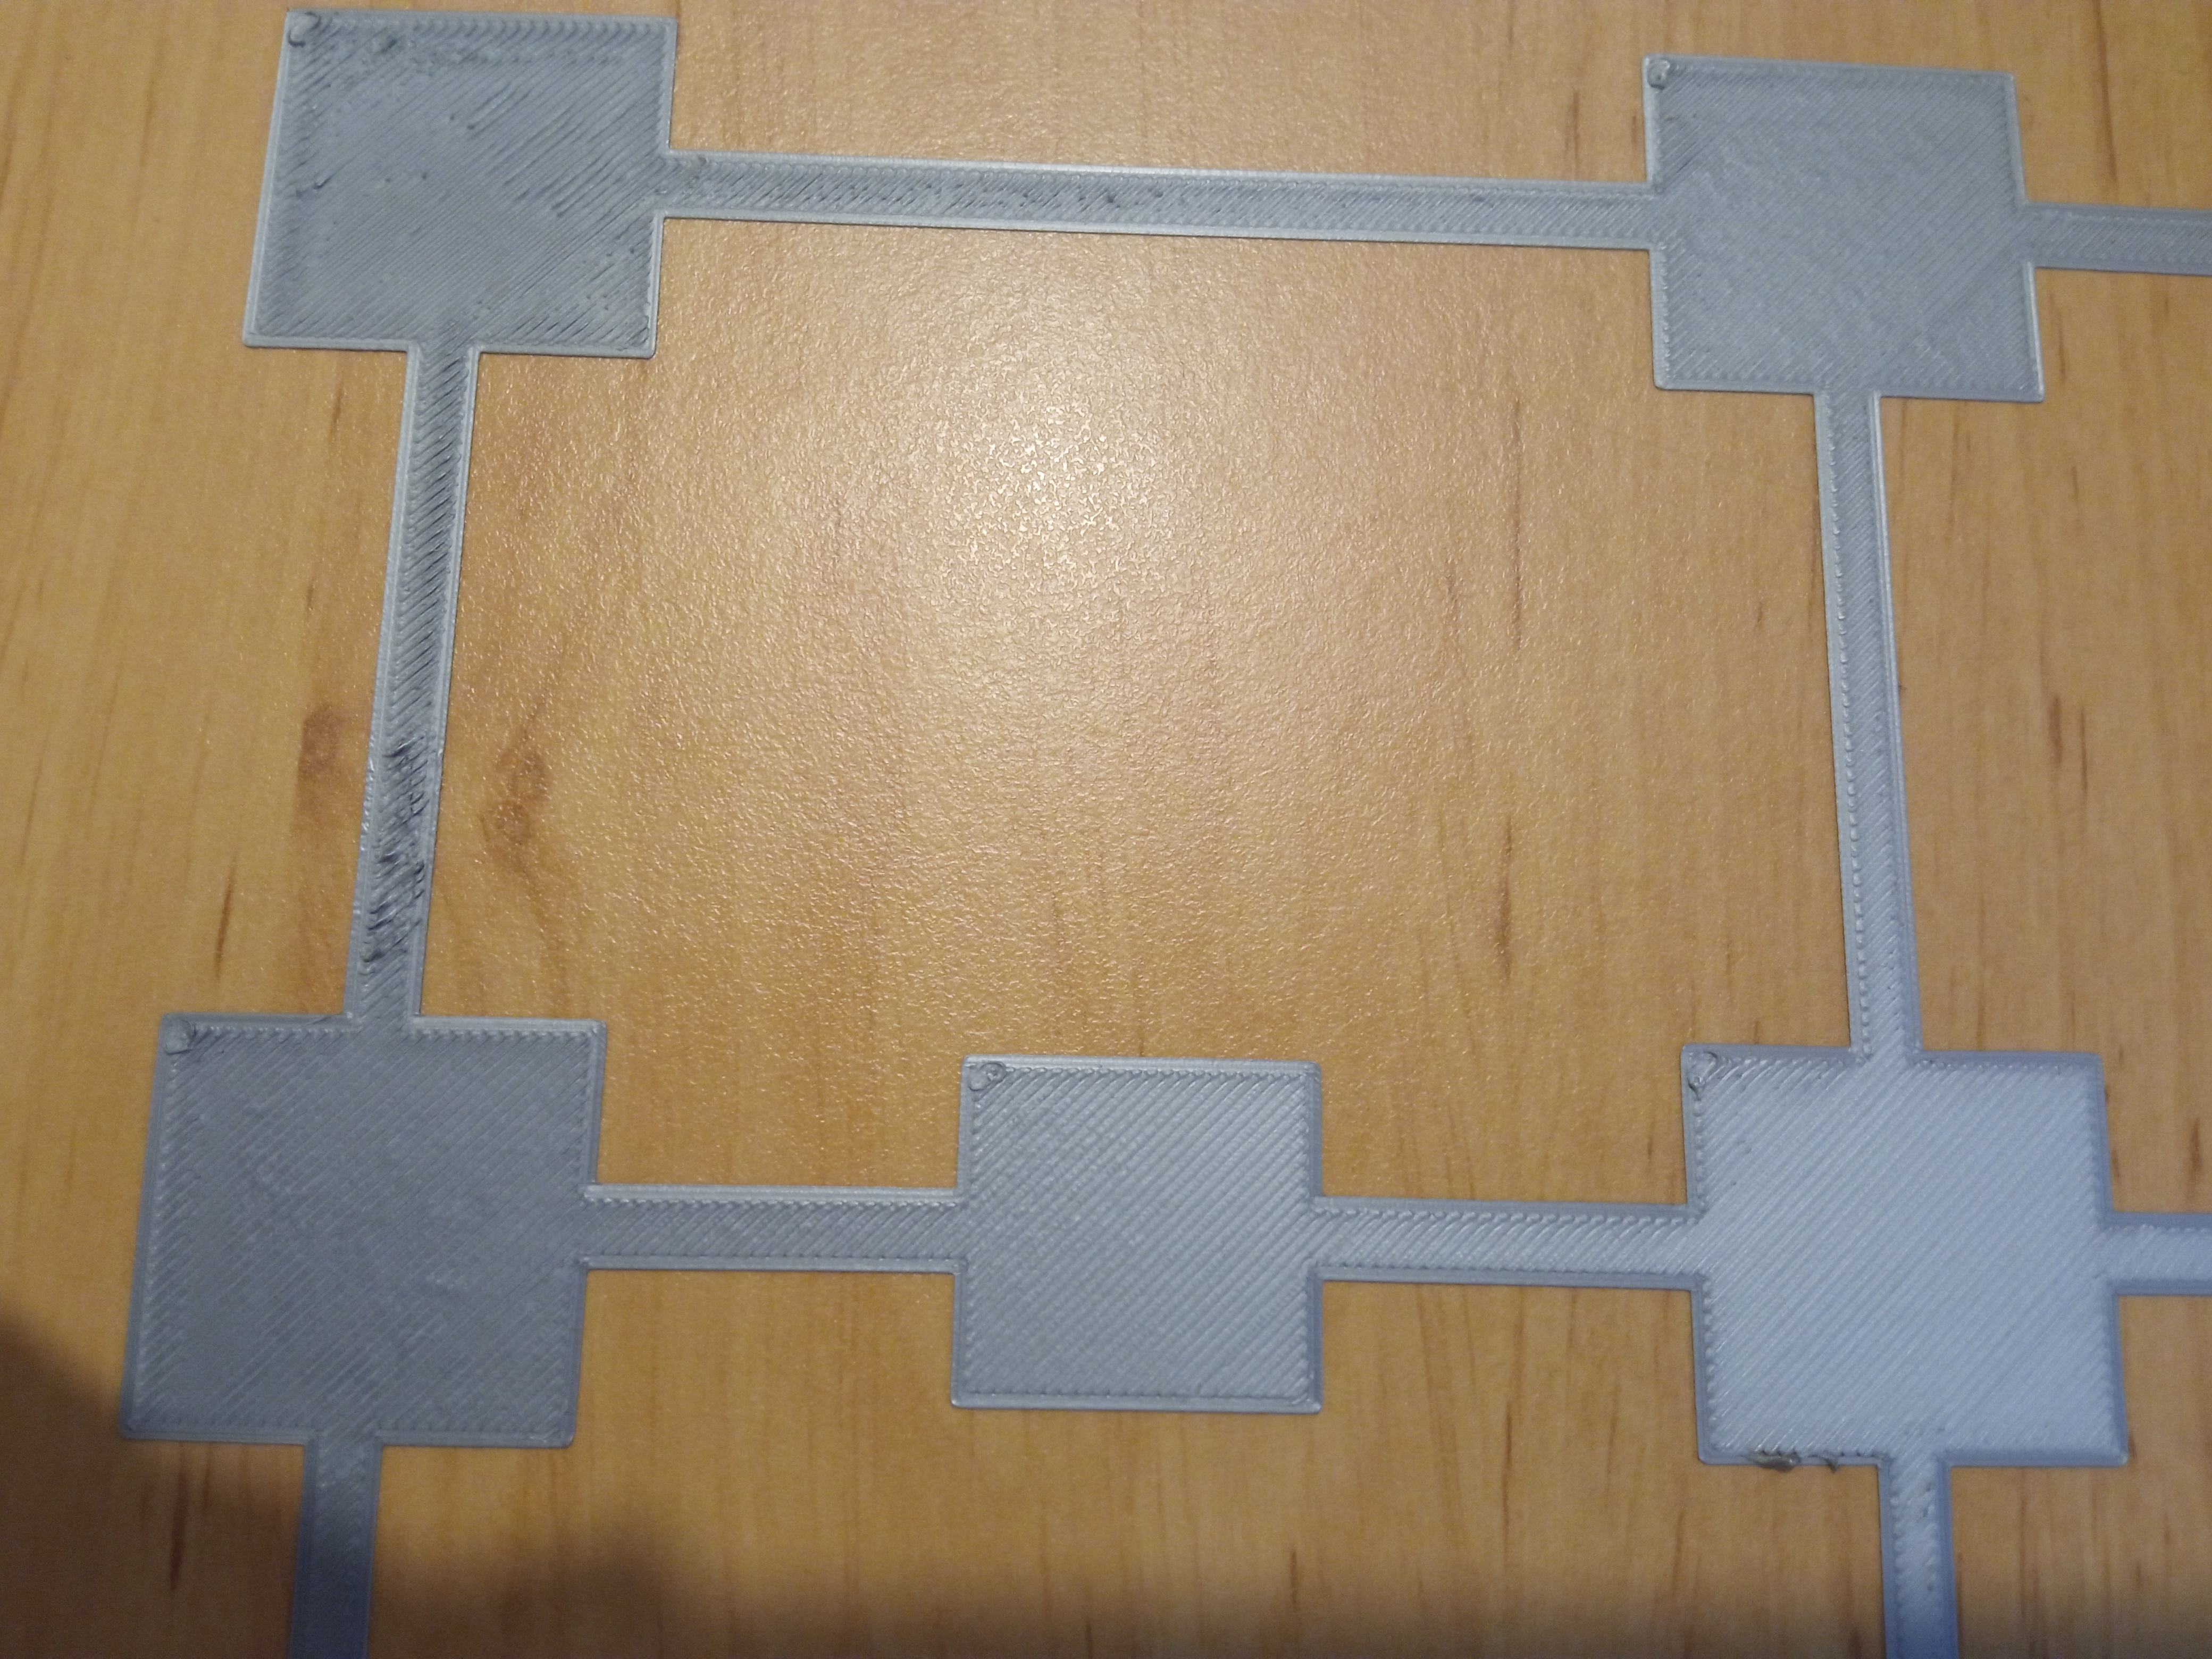
Further playing with the printer, I tried the bed leveling pattern provided here on prusa site, as you can see in the pictures below. The square in the middle is the best, and it's way better than the others. Do they seem to be equal in your opinion, in terms of leveling? The only thing that annoys me is not to know what I should do to fix this or that, like "if this happens, it's probably this screw, or over extruding", "if that happens, it's x axis to tightened" or anything like that. I'm now trying out every possibility in the hardware to see if I get some improvement. Any help would be totally welcome. Thank you very much in advance!


RE: Troubleshooting first layer & bed leveling
It does seem like you have some first layer problems (first set of pics) - I would say your live Z is too high from those shots.
For the leveling patern, it looks pretty good - a few inconsistencies. have you gone into settings and enabled 7x7 bed mesh leveling?
For first layer - simple to experiment. Here is my take away after I'm this far into the learning curve:::
Wavy like Water - Z is too close to the bed.
Curlies on the edges or separate strands? Z is not close enough.
RE: Troubleshooting first layer & bed leveling
RE: Troubleshooting first layer & bed leveling
Oh guys, thank you so much for the help. I will try all of them after work and post the results. Thank you @dan-rogers for the tips. For the Z leveling, I've done 3 prints with a range of 0.05 mm btw them, this was the best I could get. I did like -1.915, -1.920 and -1.910. If I move it closer to the board than this, I get exactly what you described, wavy like water. If I move farther from the bed, I start to see some very very tiny gaps btw the lines.
@bobstro Thank you for the tips. I'll definitely try this Life Adjust you said. I was looking for something like this indeed. The ones that comes in the sd card from prusa, we have to wait till it prints all the boards and only then go to the rectangle.
I'll post the results later today when I finish working and start playing with the printer. Once again, thank you guys!
RE: Troubleshooting first layer & bed leveling
[...] @bobstro Thank you for the tips. I'll definitely try this Life Adjust you said. I was looking for something like this indeed. The ones that comes in the sd card from prusa, we have to wait till it prints all the boards and only then go to the rectangle.
Remember, in a pinch, you can always stop a larger print. The Prusa logo sample print can be used as a substitute for the Life Adjust square. Just stop it after the 1st layer has printed.
If you are using a different nozzle or filament type, I've put together some other test prints that can be used the same way to test the full bed.