Prusa logo, first print.
Hello.
New user here. I finished my assembly with the i3 and as for a first print i decided to try the logo of prusa from the SD card.
As you can see in the picture there are some marks at the letters and the surface is very rough(different heights).
Do you have any idea what might be the problem? 
Backside
@angelsvenom
Hi,
And welcome 😊
I think that looks really good for a first print 👍
How does the underside look like, that is most important for a start
Prusa i3 MK3S+ FW 3.11.0 (kit dec -20), PrusaSlicer 2.5.0+win64, Fusion 360, Windows 10
Backside.
Thank you for your response.
So you mean that that is the way it is supposed to look like?
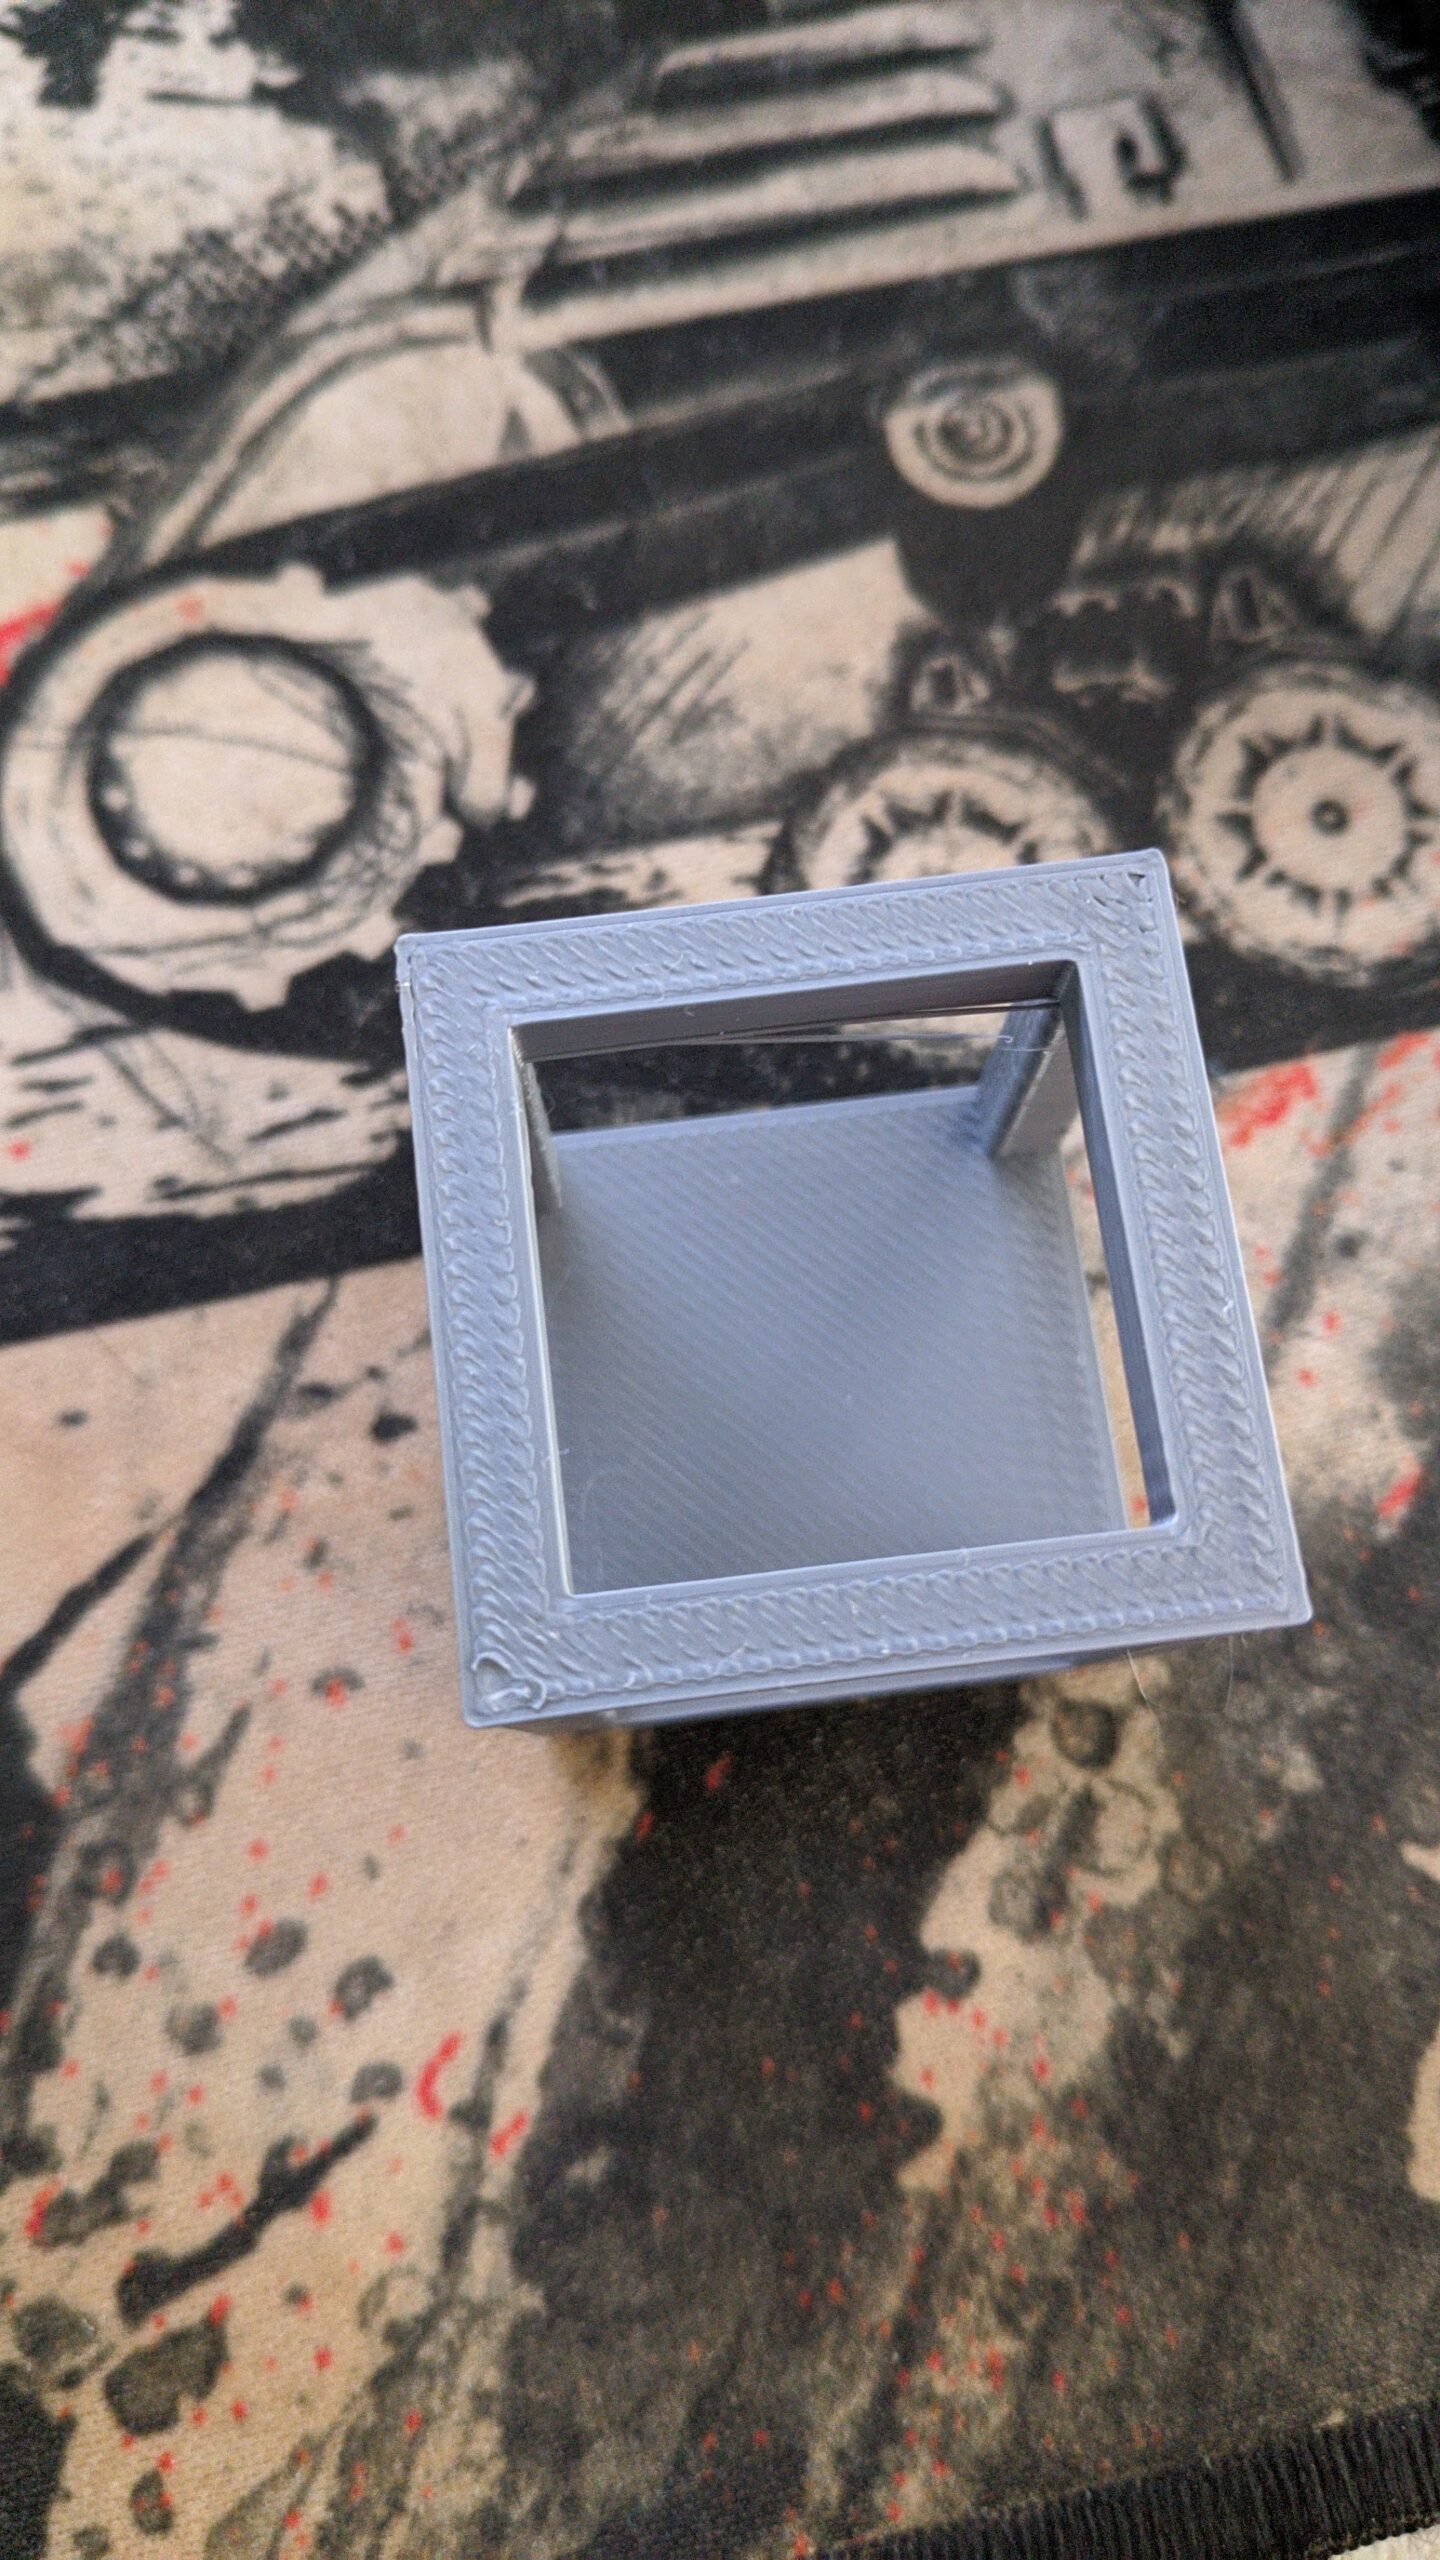
About the bottom is almost perfect except that one side has some weird problems. As you can see in the pictures the one side has some strange lines and the corners of that side has gaps.
The other side though is perfect.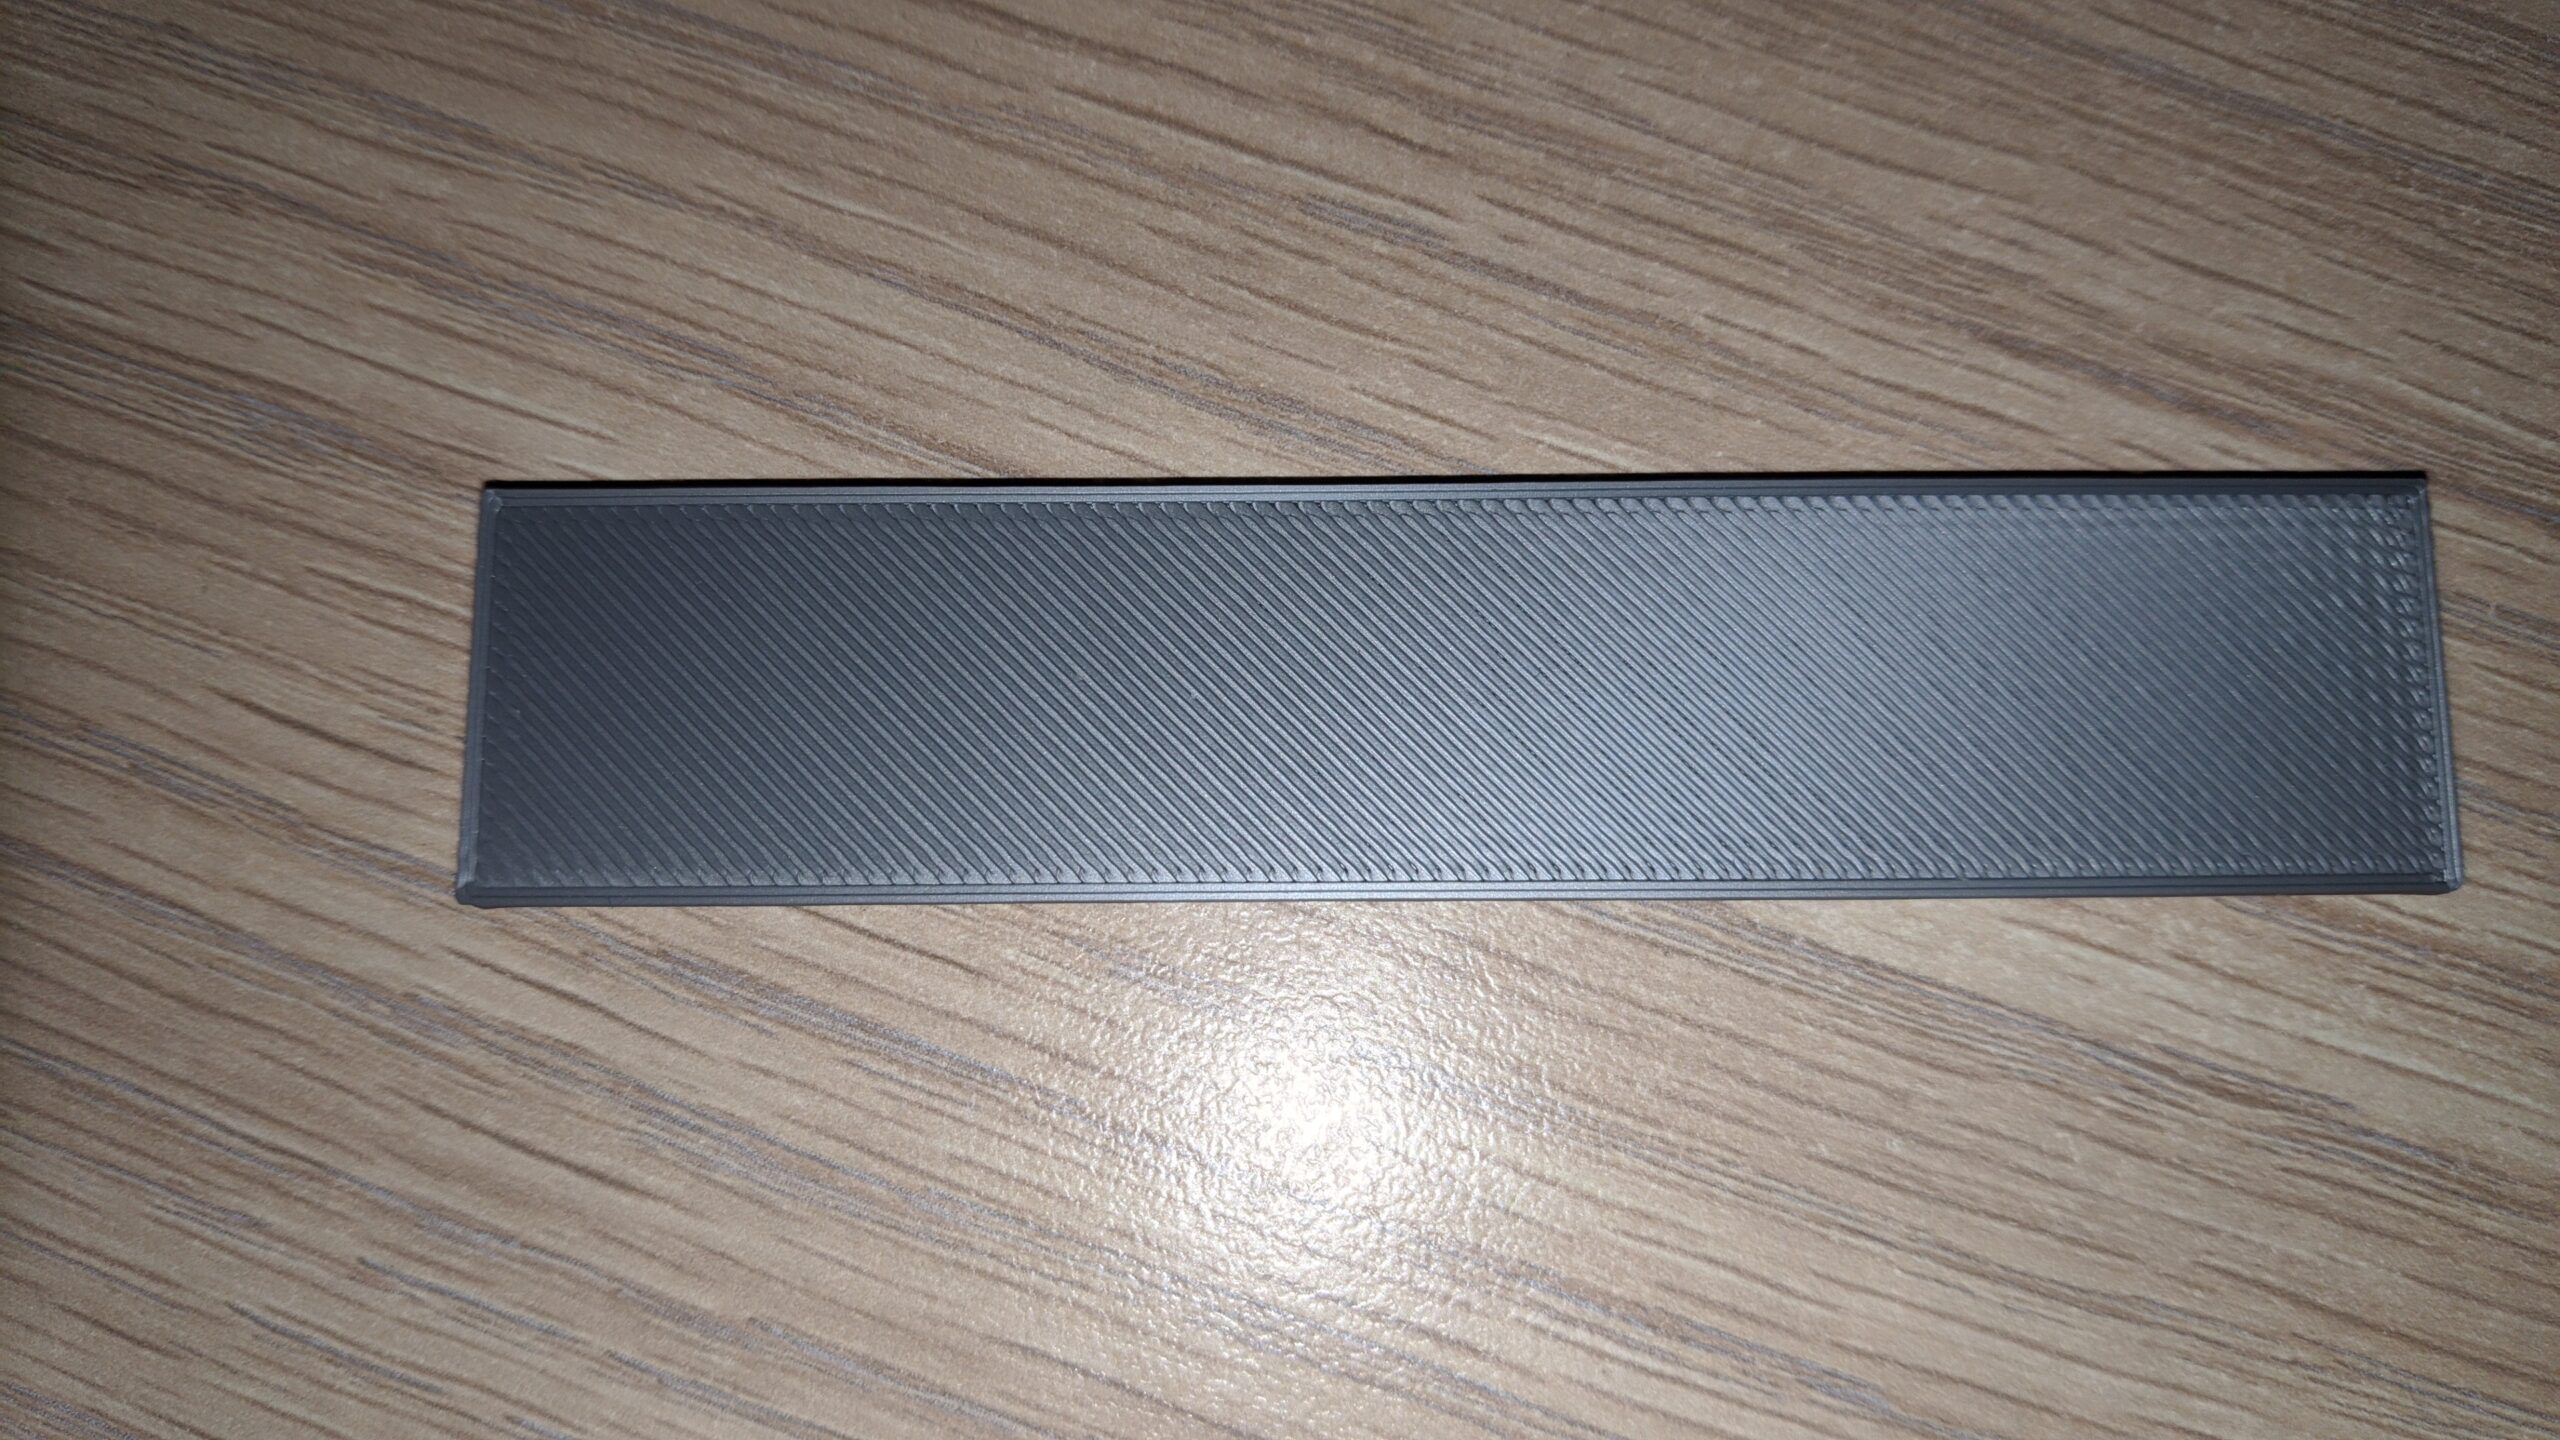


RE: r
looks a bit like overextrusion.
my order of calibration:
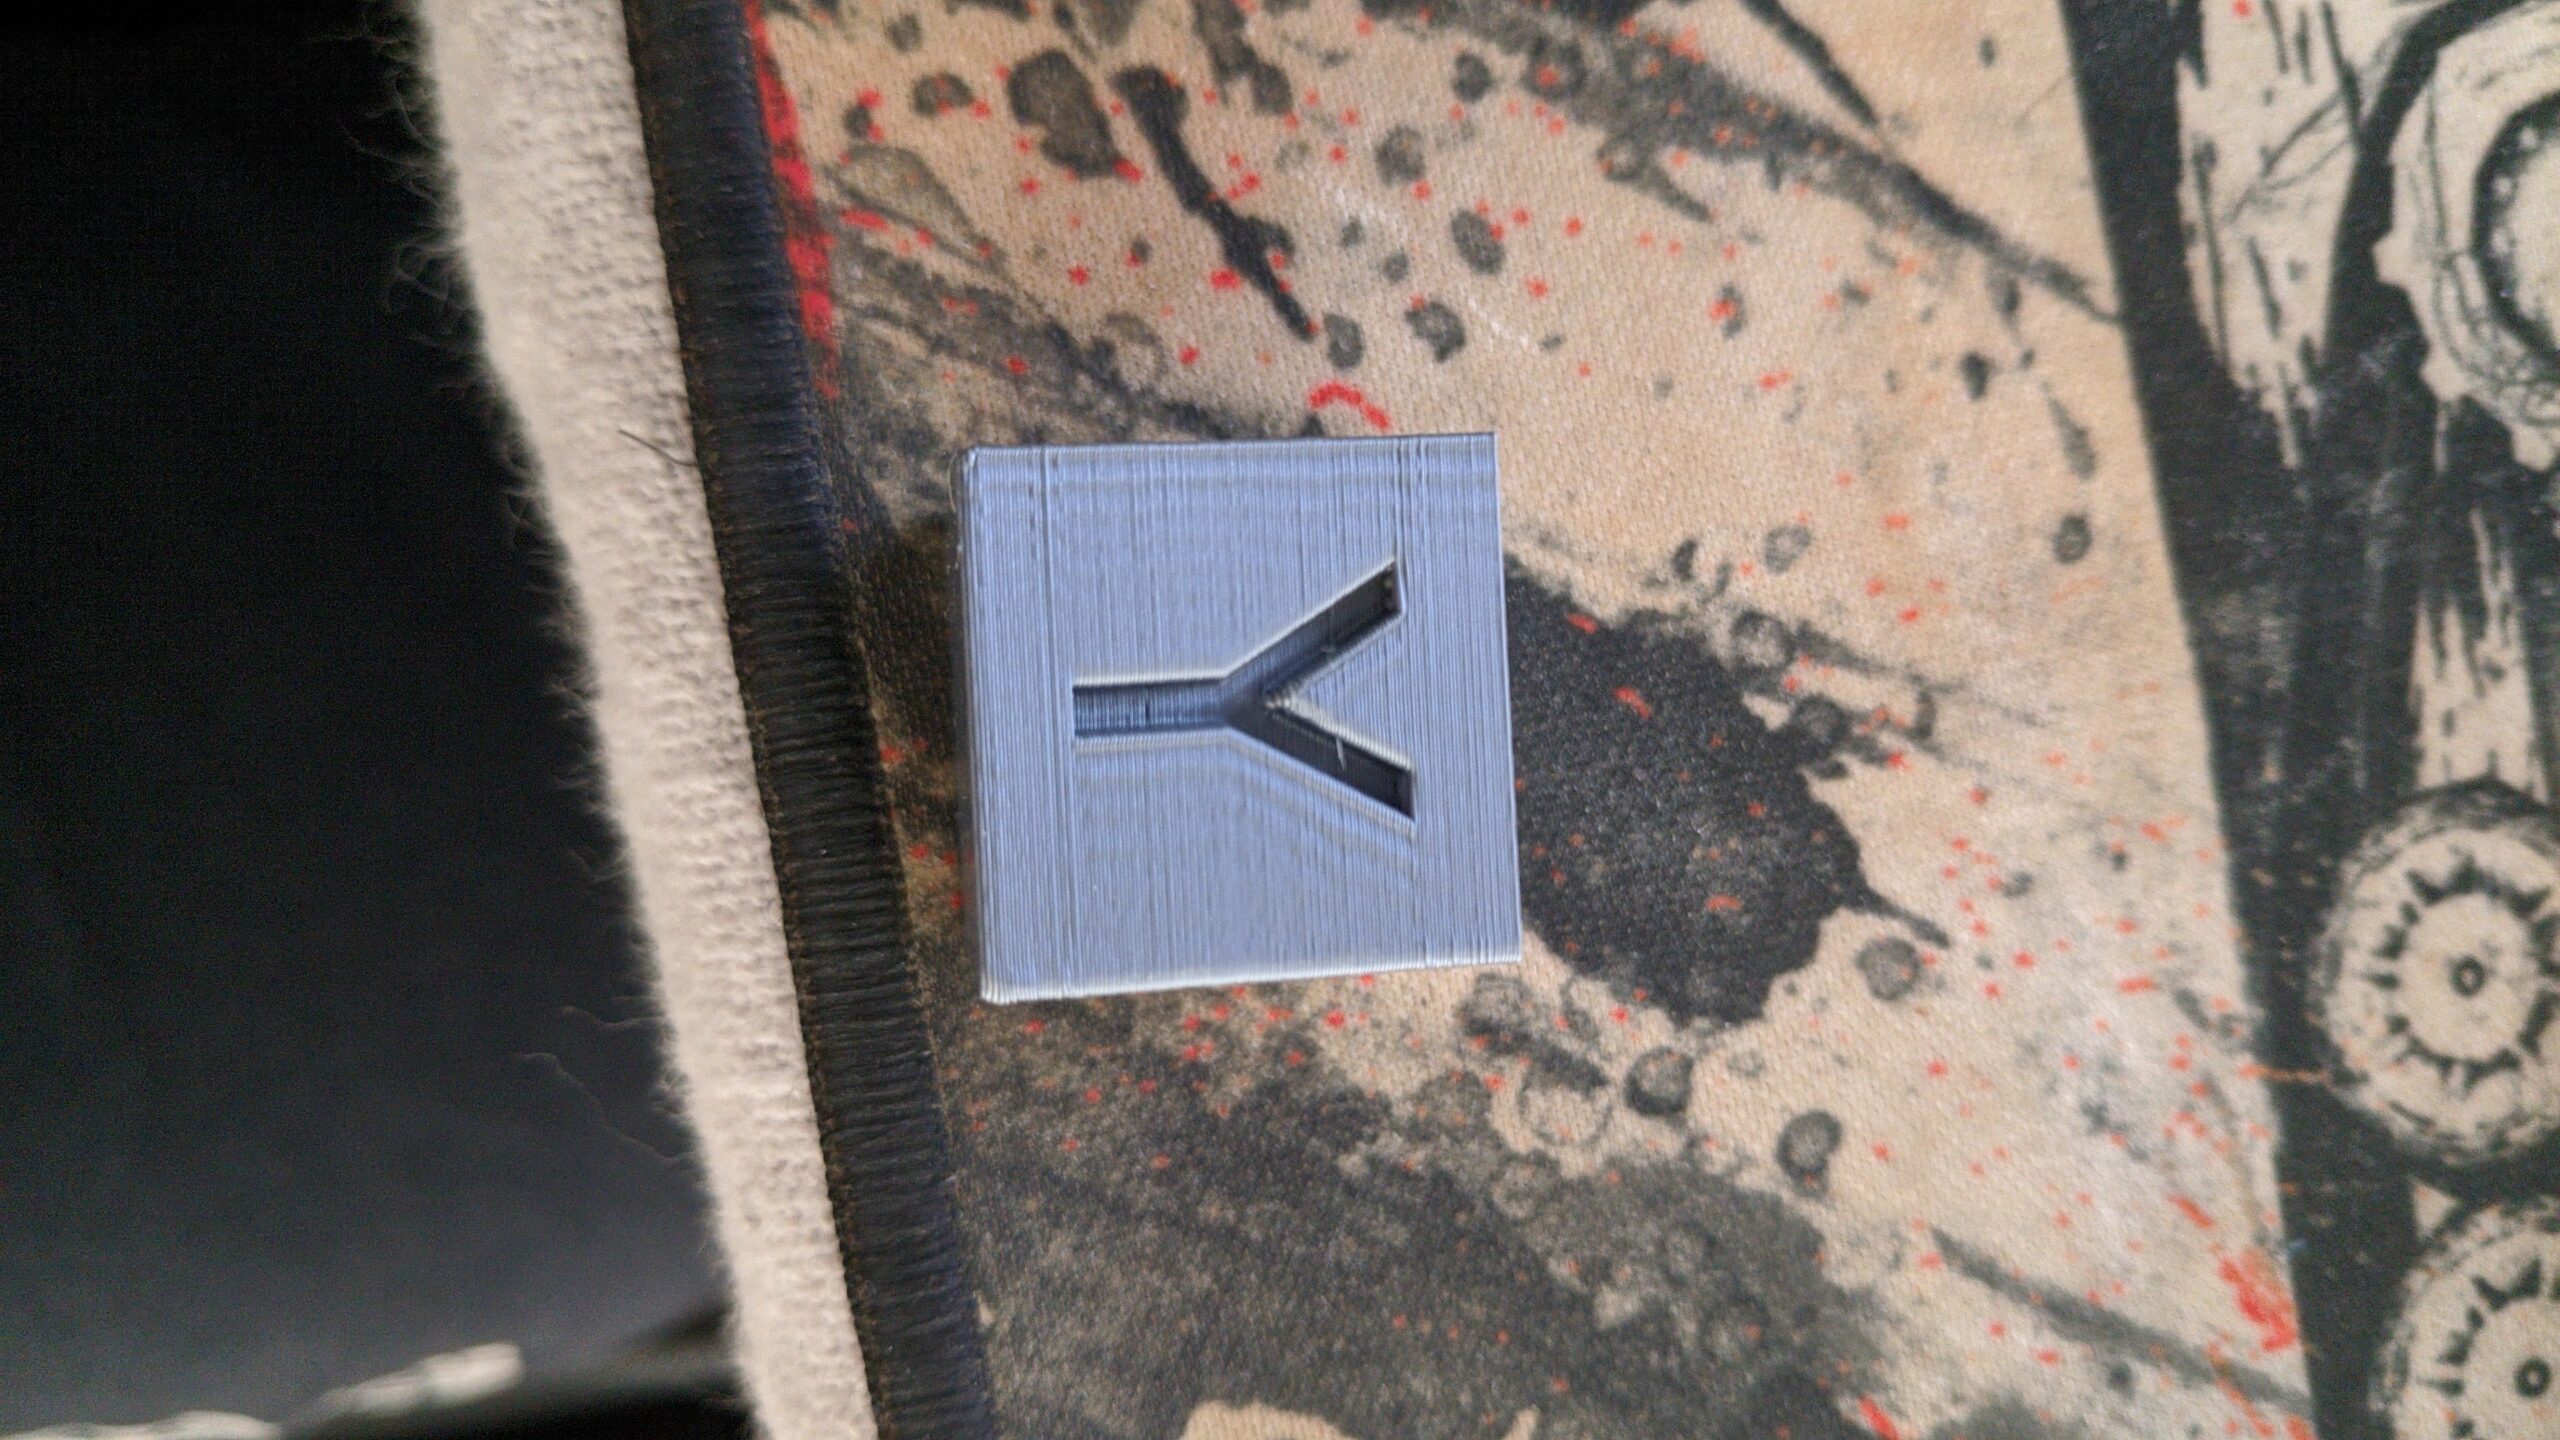
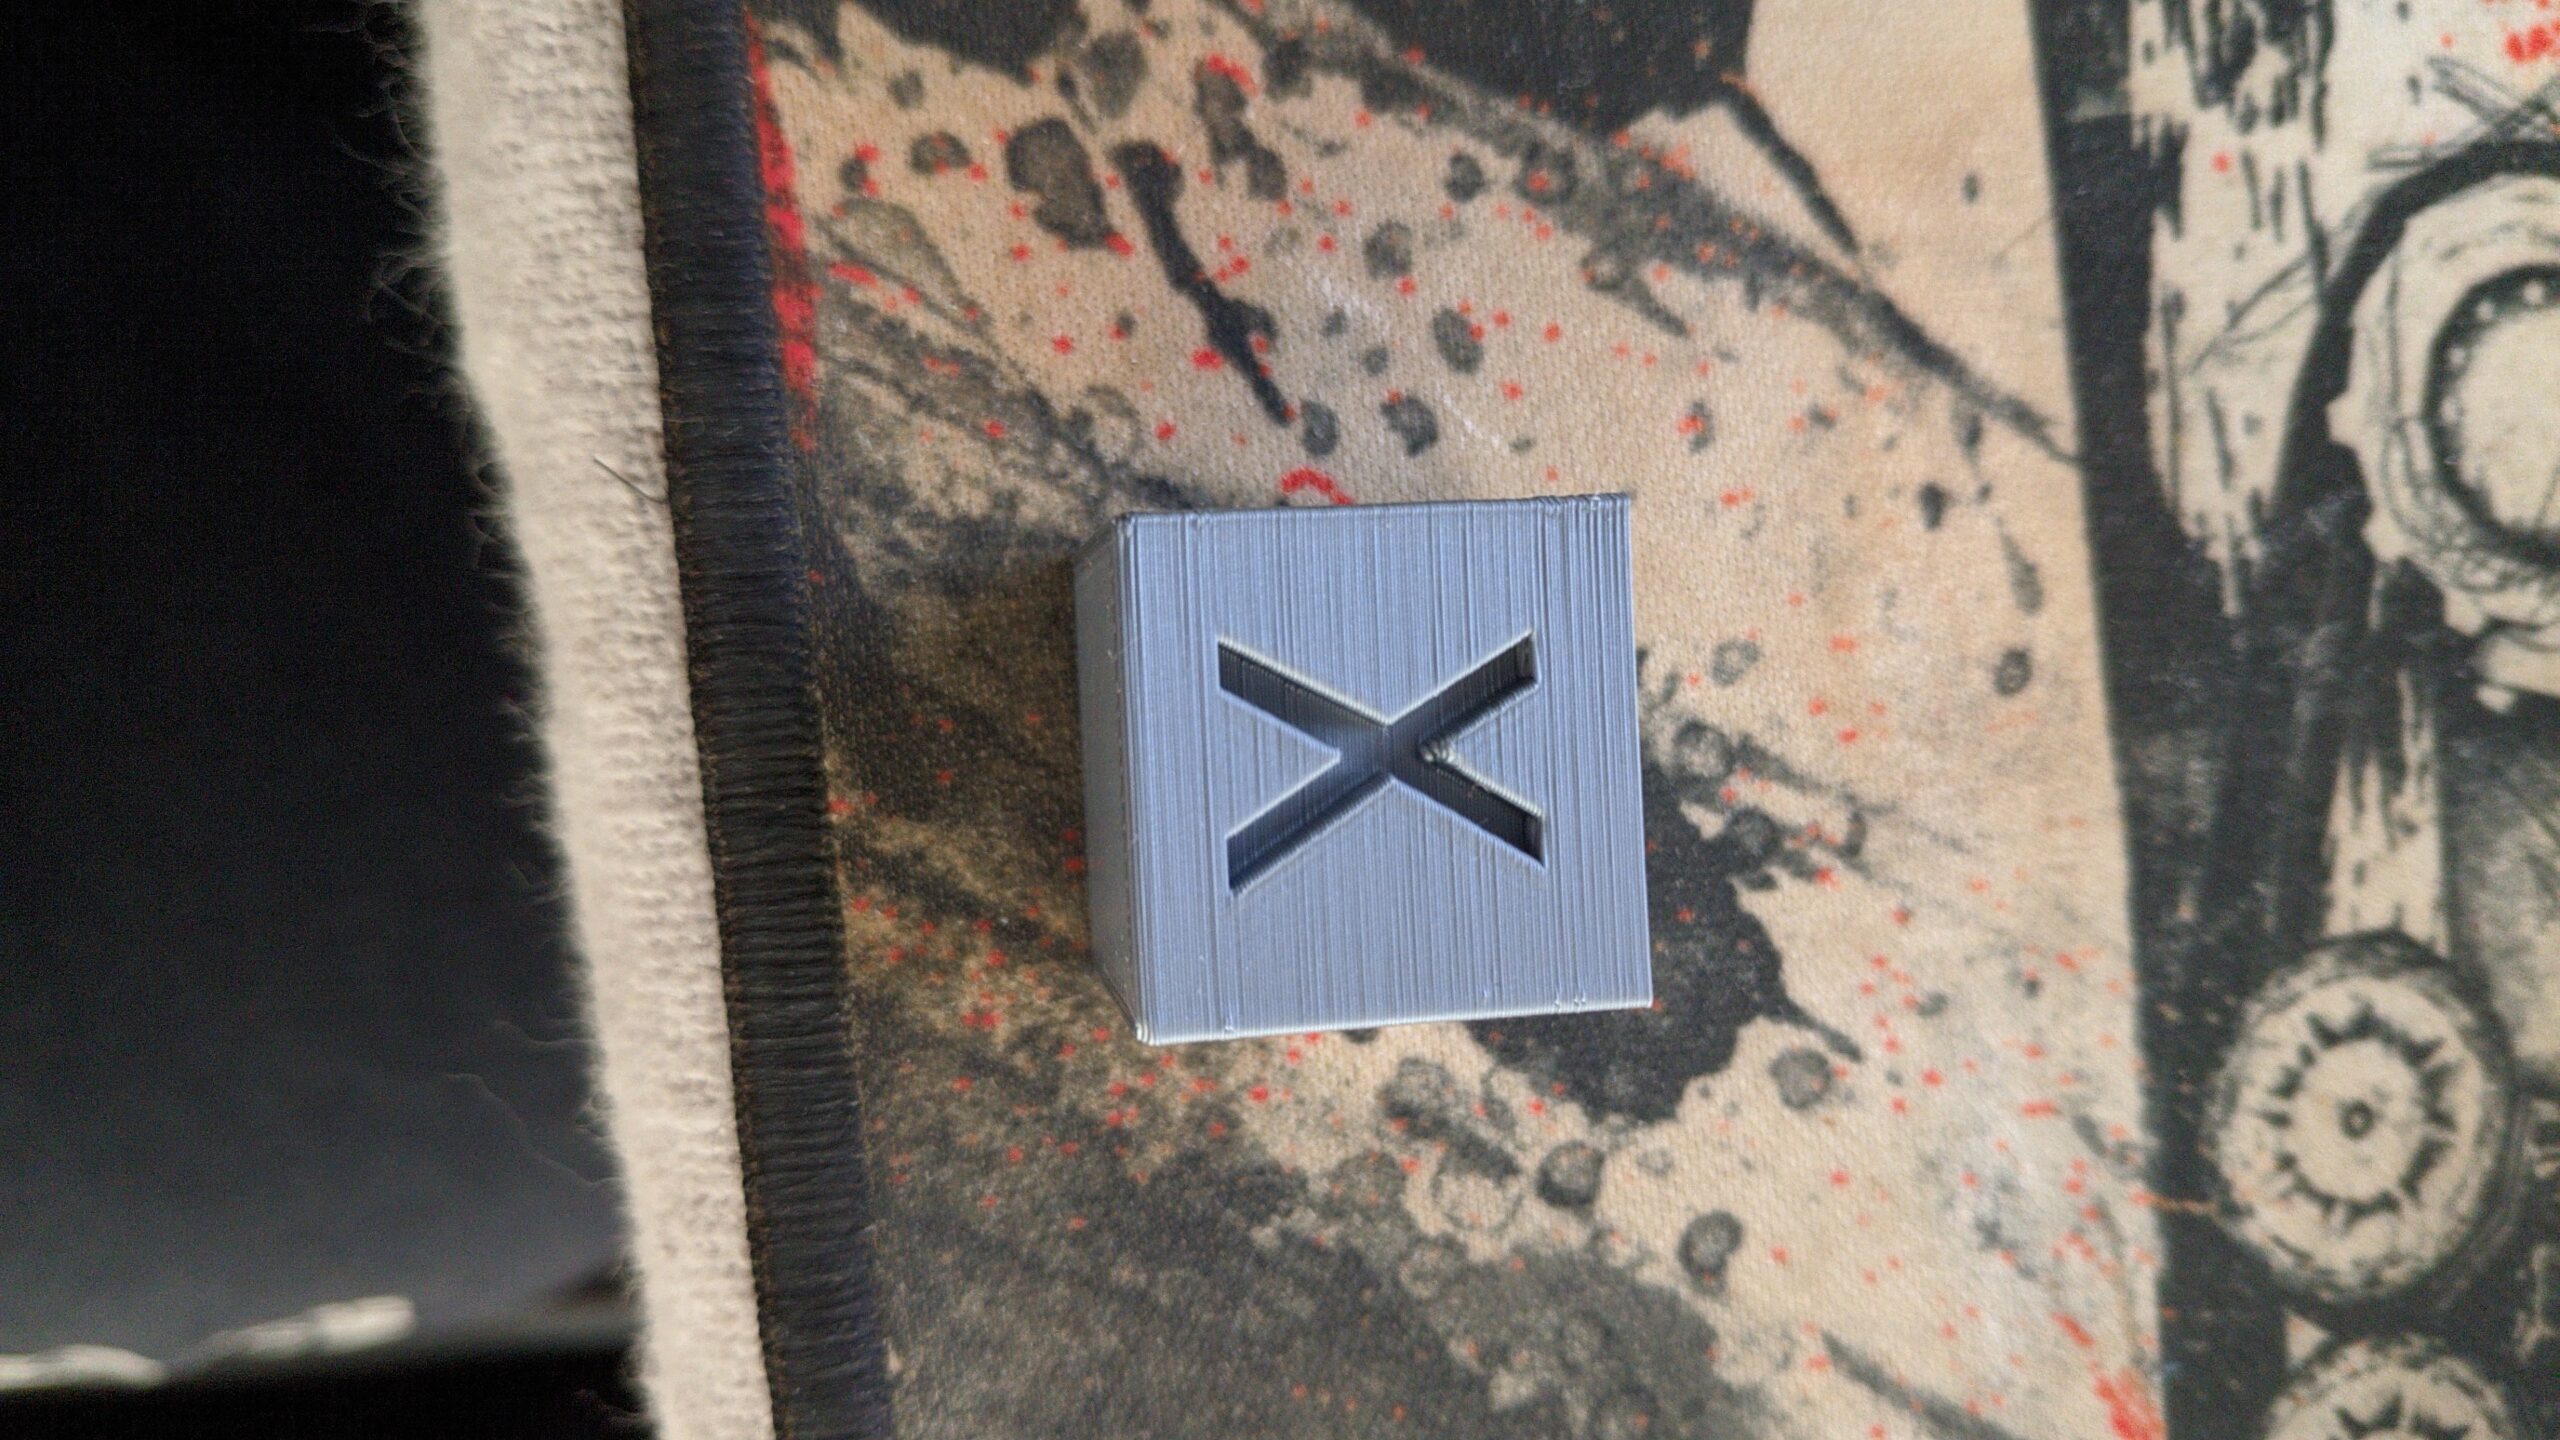
1 - first layer z offset for a steel sheet (or after mechanically fiddling with the machine that might have changed this offset): create a cube in the slicer, make it .2mm tall, no perimeters, print it, maybe start adjusting z offset as it prints if you see it being way off. measure the thickness of the printed part and adjust z as needed. repeat until you're happy with the result.
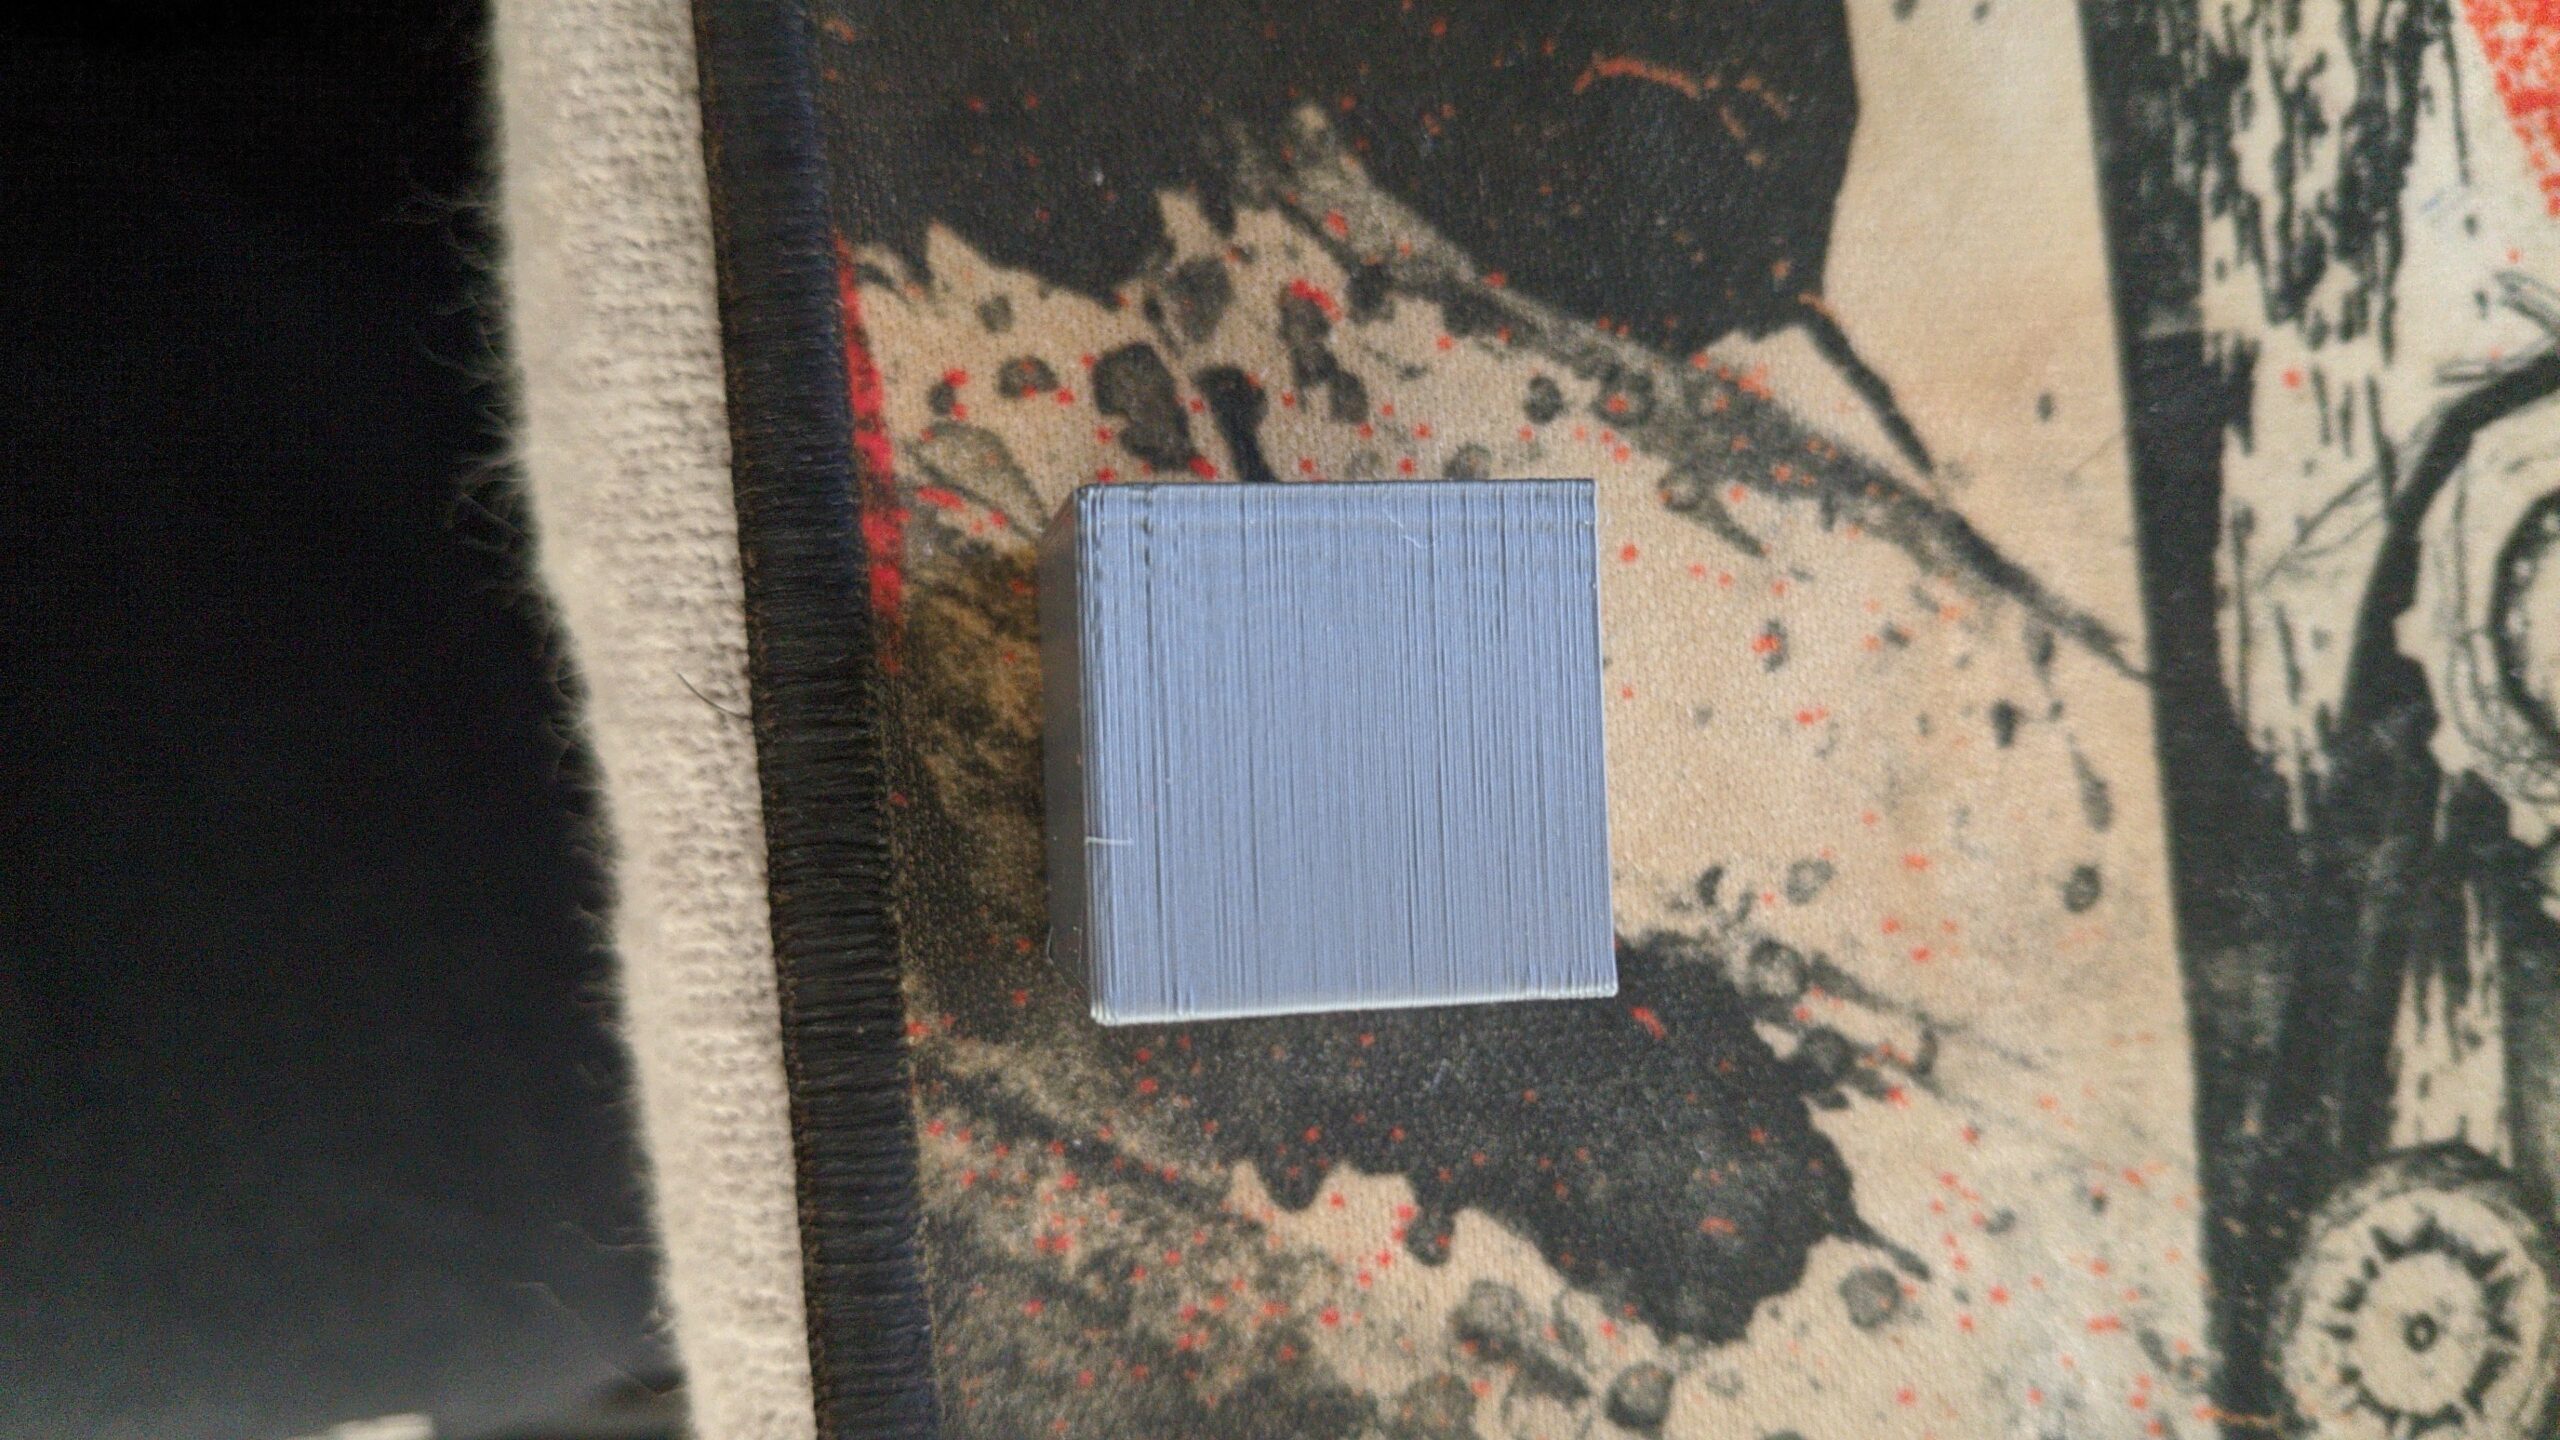
2 - extrusion multiplier for a filament (spool): create a cube ~40x40x40 in the slicer, no infill, no top & bottom layers, a bit of brim so it still sticks, print it, and measure wall thicknesses. compare to thickness set in the slicer, and adjust extrusion multiplier as needed. re-slice and print to verify.
to get smoother top surfaces, you most likely will want some underextrusion so less material is pushed away and up. depends on your use case (nicer looking models vs slightly more accurate and solid parts that maybe need a bit more finishing work).
I would rate that logo as good enough for the first month.
During the first few weeks of use the printer will run-in and settle its parts together; then you will have to go over the basic maintenance checks, lubricate and recalibrate. Even if you got everything dialled in perfectly today, it would all need re-doing.
Better to settle, temporarily, for a basic working printer and get some useful printing done, make your early mistakes, establish a routine and generally get used to the process. Then when you do your one month service you can take extra care knowing the new settings on your now stable printer are likely to last for several months.
The only caveat is that we have not seen the first layer, the underside. A good first layer is the foundation of a good print and almost anything else you print is going to require a better first layer than the logo will accept.
Cheerio,
r
During the first few weeks of use the printer will run-in and settle its parts together; then you will have to go over the basic maintenance checks, lubricate and recalibrate. Even if you got everything dialled in perfectly today, it would all need re-doing.
one should lubricate their printer parts before assembly, not after running it for some hours and possibly ruining the new parts.
the printer is not and engine, there isn't anything that needs to "run in". maybe check belt tension and that all screws are tight enough, but not more
Squiggly bits in corners are due to wiping
The little squishy bits in the corners are caused by wiping. It can aggravate other issues such as the slight over extrusion @xenon mentioned. It's a setting to help with stringing. You can try turning it off (Printer Settings->Extruder 1->Retraction->Wipe while retracting). I find I can leave that off if I calibrate my extrusion multiplier for each filament.
one should lubricate their printer parts before assembly, not after running it for some hours and possibly ruining the new parts.
... and again, regularly, as a part of general maintenance.
the printer is not and engine, there isn't anything that needs to "run in". maybe check belt tension and that all screws are tight enough, but not more
Every user builds their printer slightly differently. Every build has to shake down in its own way. After the first month or so printers are much more alike, much more stable and better able to sustain careful settings.
Cheerio,
RE: Prusa logo, first print.
infill/perimeter overlap is also a major factor for this buildup.
standard value is 25%! i've done test pieces with gradually less overlap...for now i stopped testing at -6% (petg, extrusion multiplier adjusted to get correct single line width). still no gaps, and the accumulated material was reduced, making narrow infill areas smoother.
overextrusion will be better visible in larger areas while this overlap shows more in narrow areas
The file he printed is a presliced g-code from the SD-card that comes with the printer, there is nothing to change on THIS particular print!
It's the 1st print on a newly assembled printer, I'm with @diem, it is really good for a start 👍
Now @angelsvenom let's see the underside 😎
Prusa i3 MK3S+ FW 3.11.0 (kit dec -20), PrusaSlicer 2.5.0+win64, Fusion 360, Windows 10
sure, it loks good for the first part.
but if the gcode was sliced with the standard settings as they are in the slicer...there's always room for fiddling and improvement (later)
@angelsvenom
Sorry, your second post, with pictures from the backside, was delayed due to moderators take a look at it.
That is why there are so many posts asking for pictures 😀
You can, later on, definitely get a better surface finish but for now we focus on the backside, your first layer .
1. You can go a bit lower on Live Z, the lines should almost disappear.
2. A quick way is this, and I assume you already done it https://help.prusa3d.com/en/article/first-layer-calibration_112364
2. Check this thread https://forum.prusa3d.com/forum/original-prusa-i3-mk3s-mk3-assembly-and-first-prints-troubleshooting/life-adjust-z-my-way/
3. Enable 7x7 mesh bed leveling. You do that on LCD-screen https://help.prusa3d.com/en/article/mesh-bed-leveling_112163
4. Keep your print plate CLEAN, wash it with dish soap and HOT water, dry with clean paper towel, put it on heated bed to dry out the last moisture. And do not touch build plate with your fingers, you will be amazed (read "frustrated") of how little it takes to ruin your first layer
Are you familiar with "Steel Sheet Profiles"? If not, here is instructions how to use it https://help.prusa3d.com/en/article/steel-sheet-profiles_1955
Prusa i3 MK3S+ FW 3.11.0 (kit dec -20), PrusaSlicer 2.5.0+win64, Fusion 360, Windows 10
title here
To me, that Prusa logo appears to be very decent. Far better than 90% of them I've seen.
I actually used mine (which was the first thing the machine printed, other than a few iterations of the firmware Z adjust) as a paste-on addition to the enclosure.
R
First of all i would like to thank you all for your replies.
I have posted another comment but i see that it says " Awaiting moderation". So if a moderator sees this it would be nice to fix it. I'm gonna post another comment with some more testing i did so you can understand more about my problems. By the way i changed position of the printer which is now on the floor and i calibrated again the z according to the guide because of the above change.
Photos
I found some test prints and i printed them. Whatever you see here is before the change of the location. Btw the marvin's top i broke it myself but you can see the problems 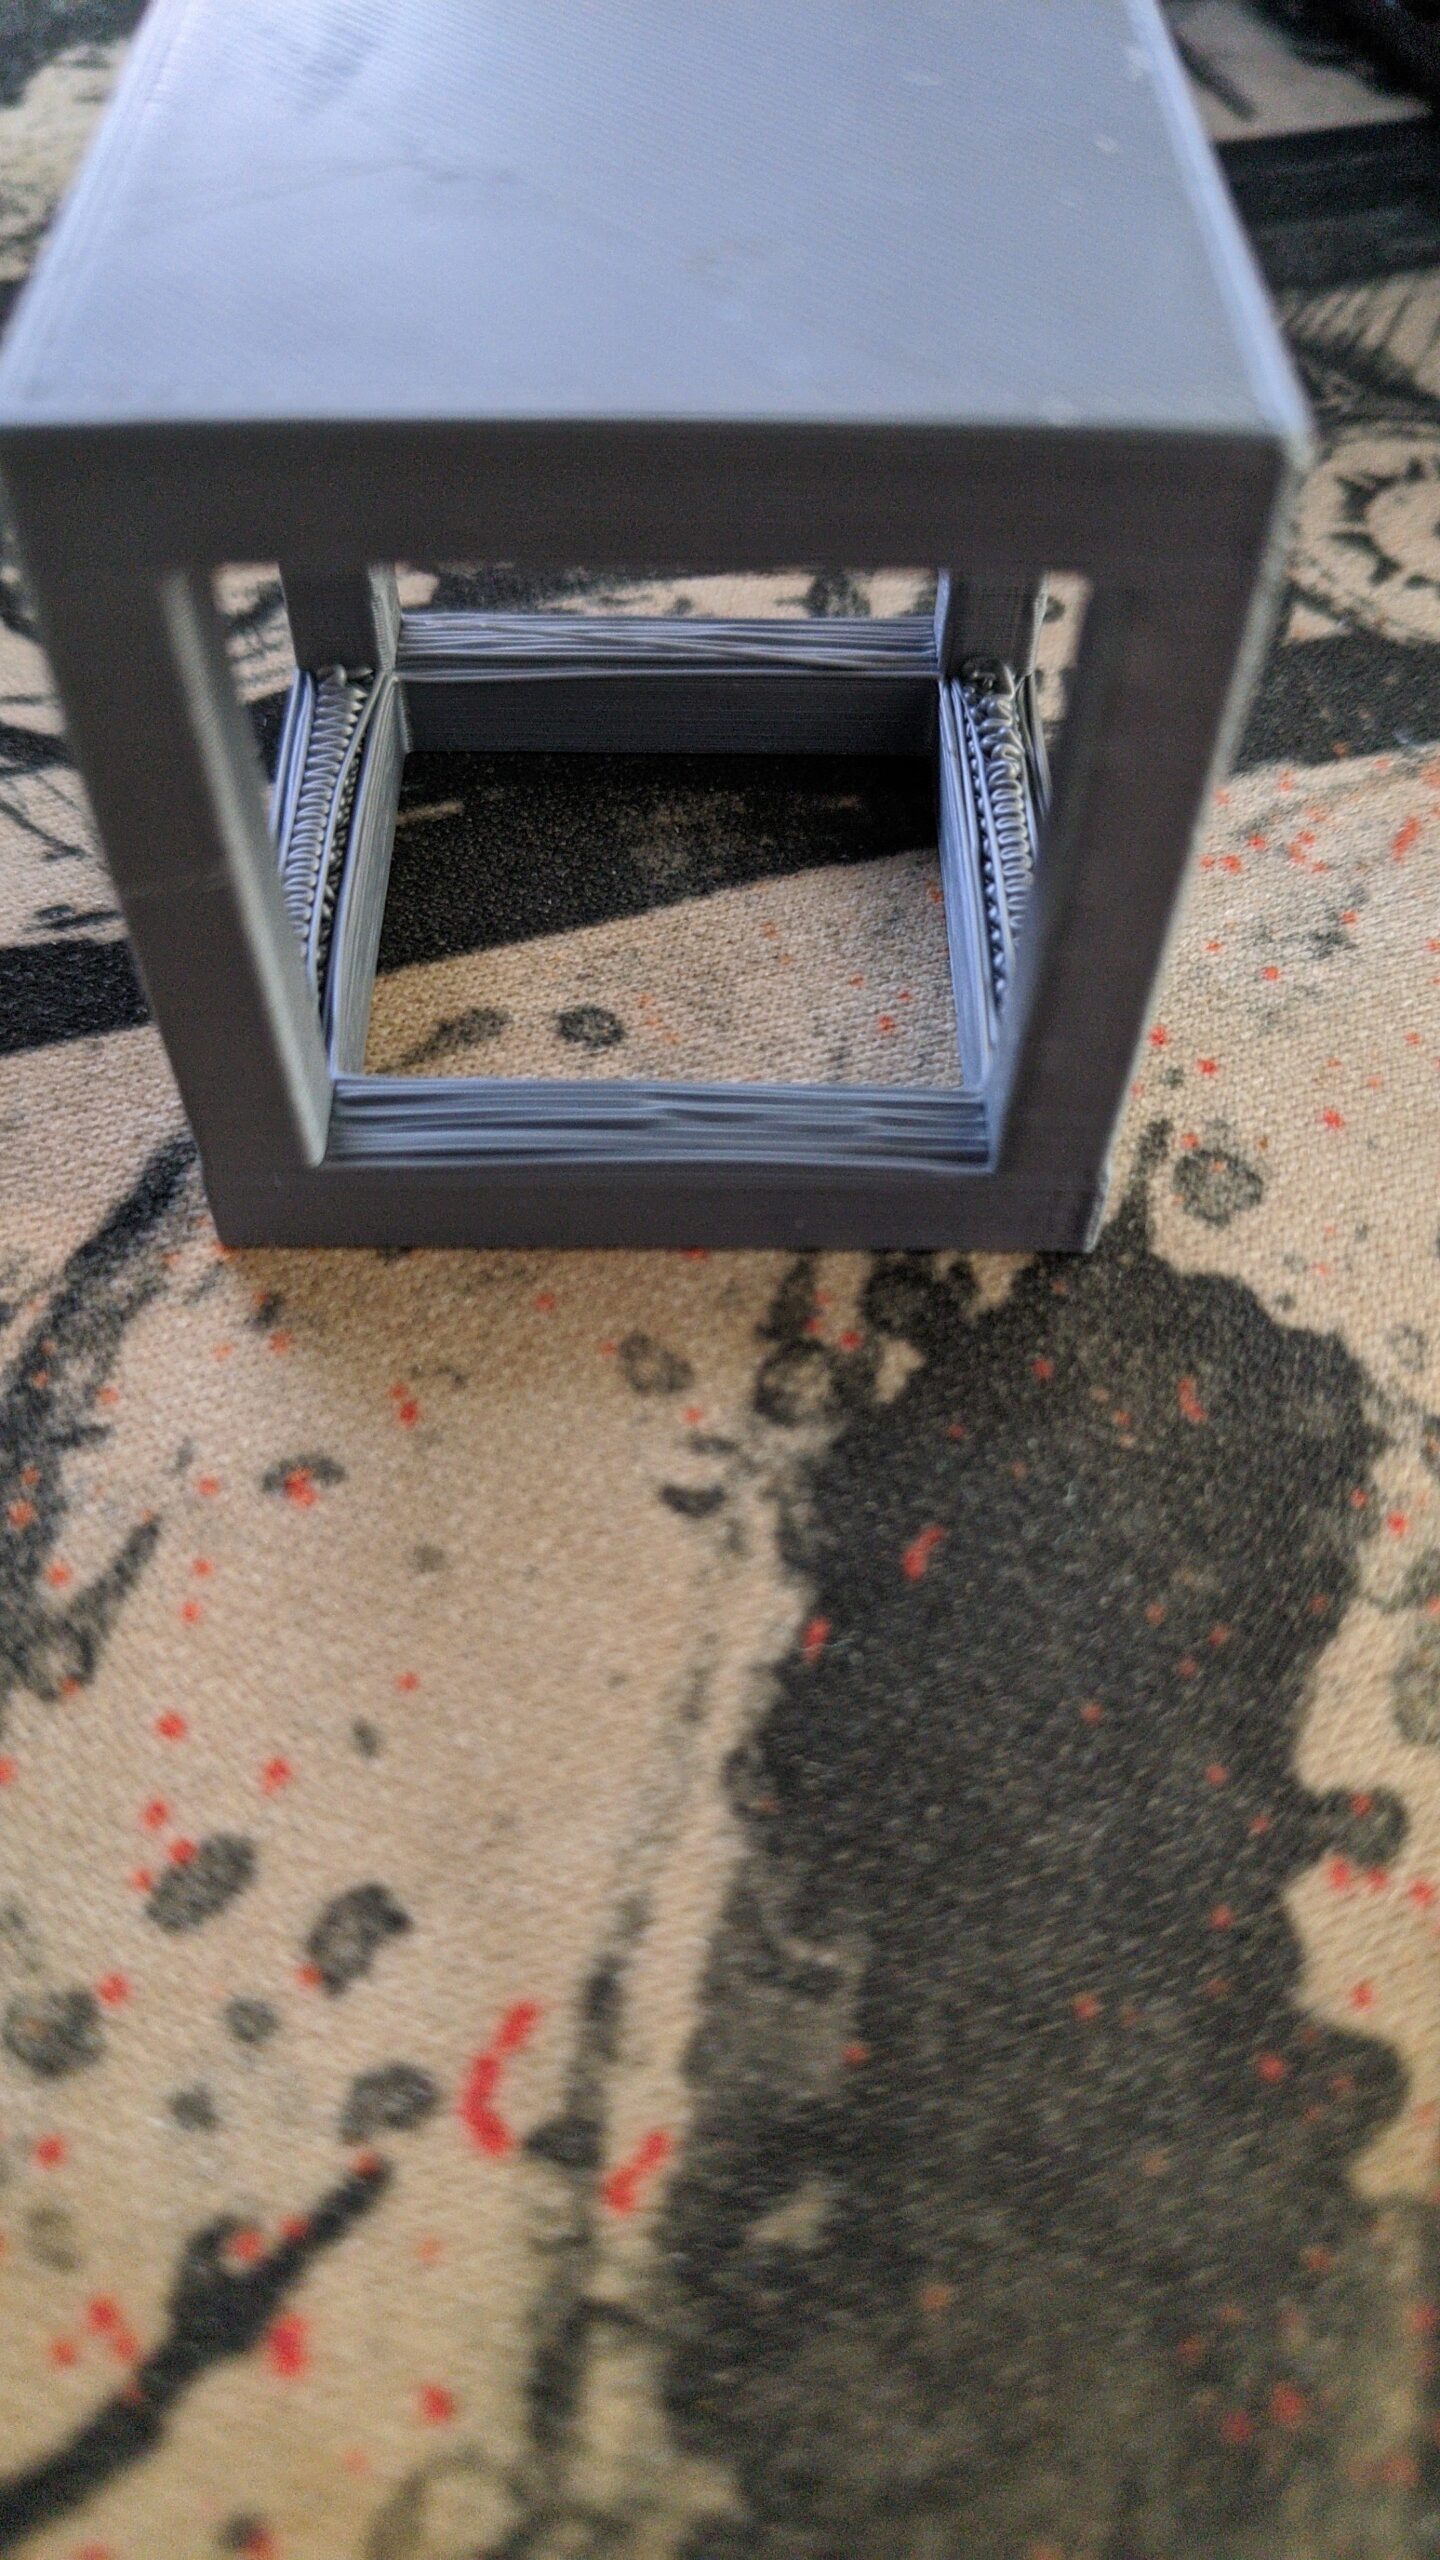


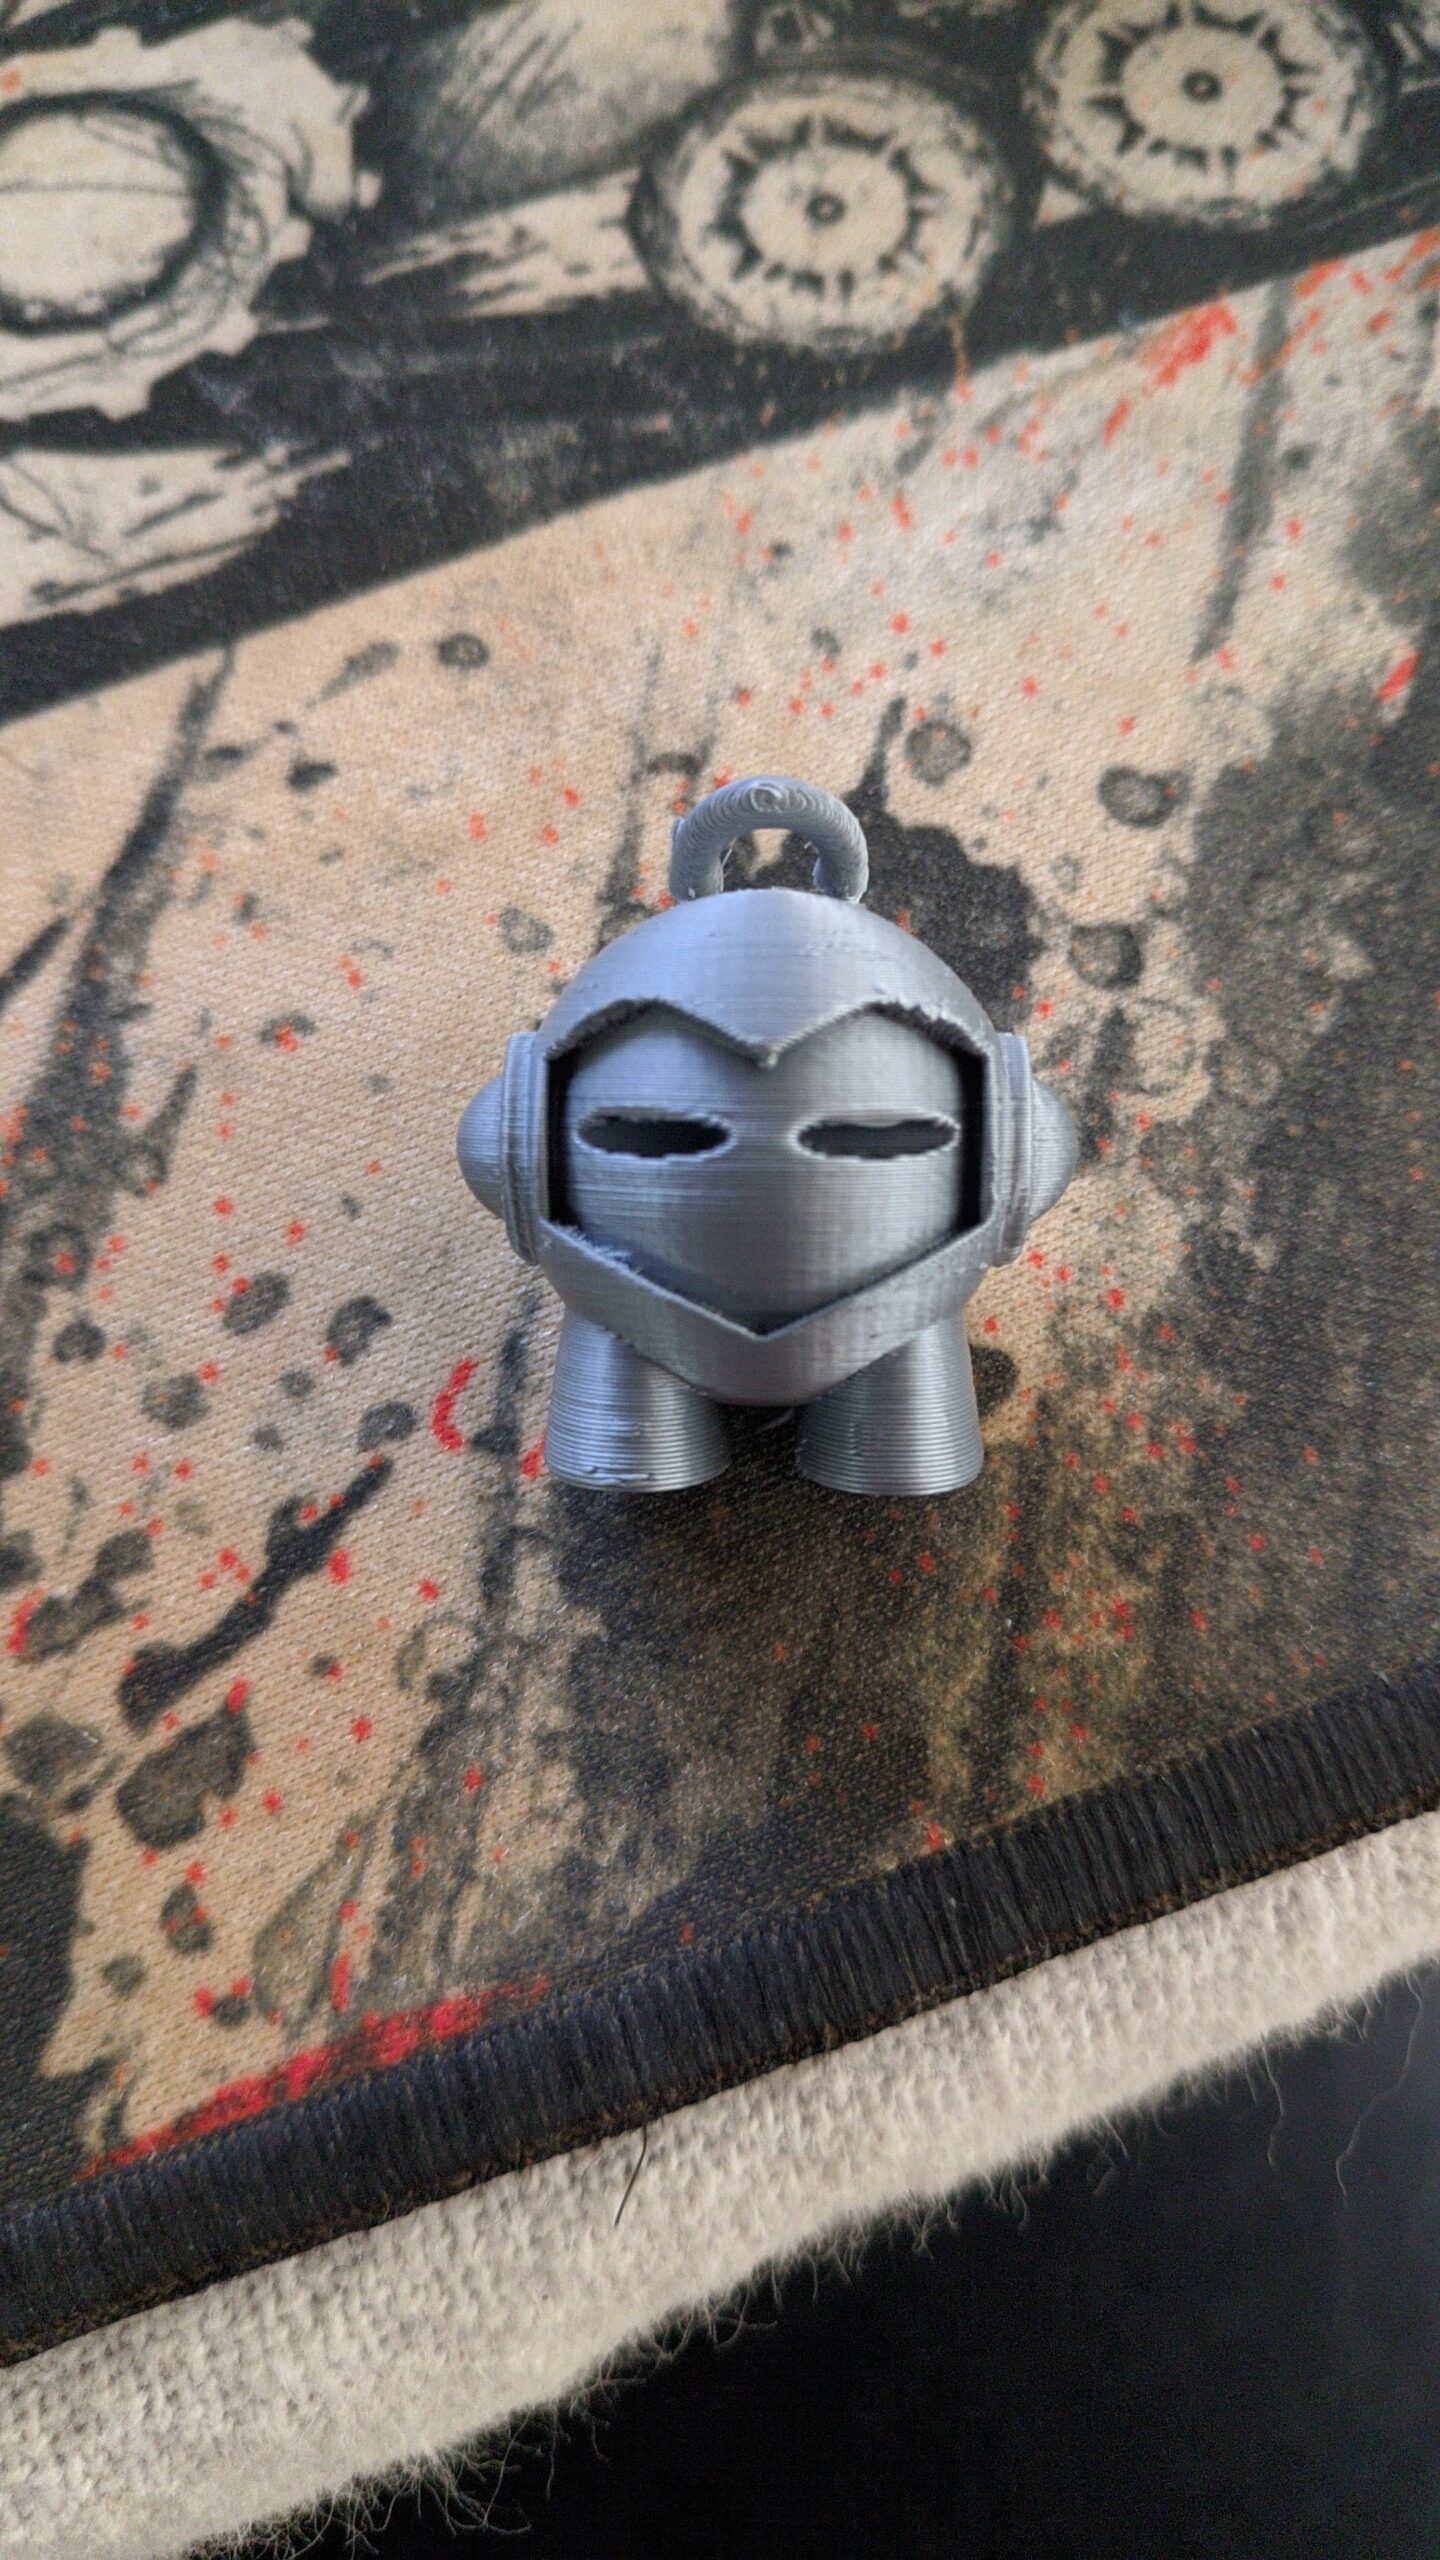


Photos after change of location
And this is my one print after i changed my location. I see a minor problem at the top and problems at the fingers. I'm gonna make more after adjusting the first layer again and going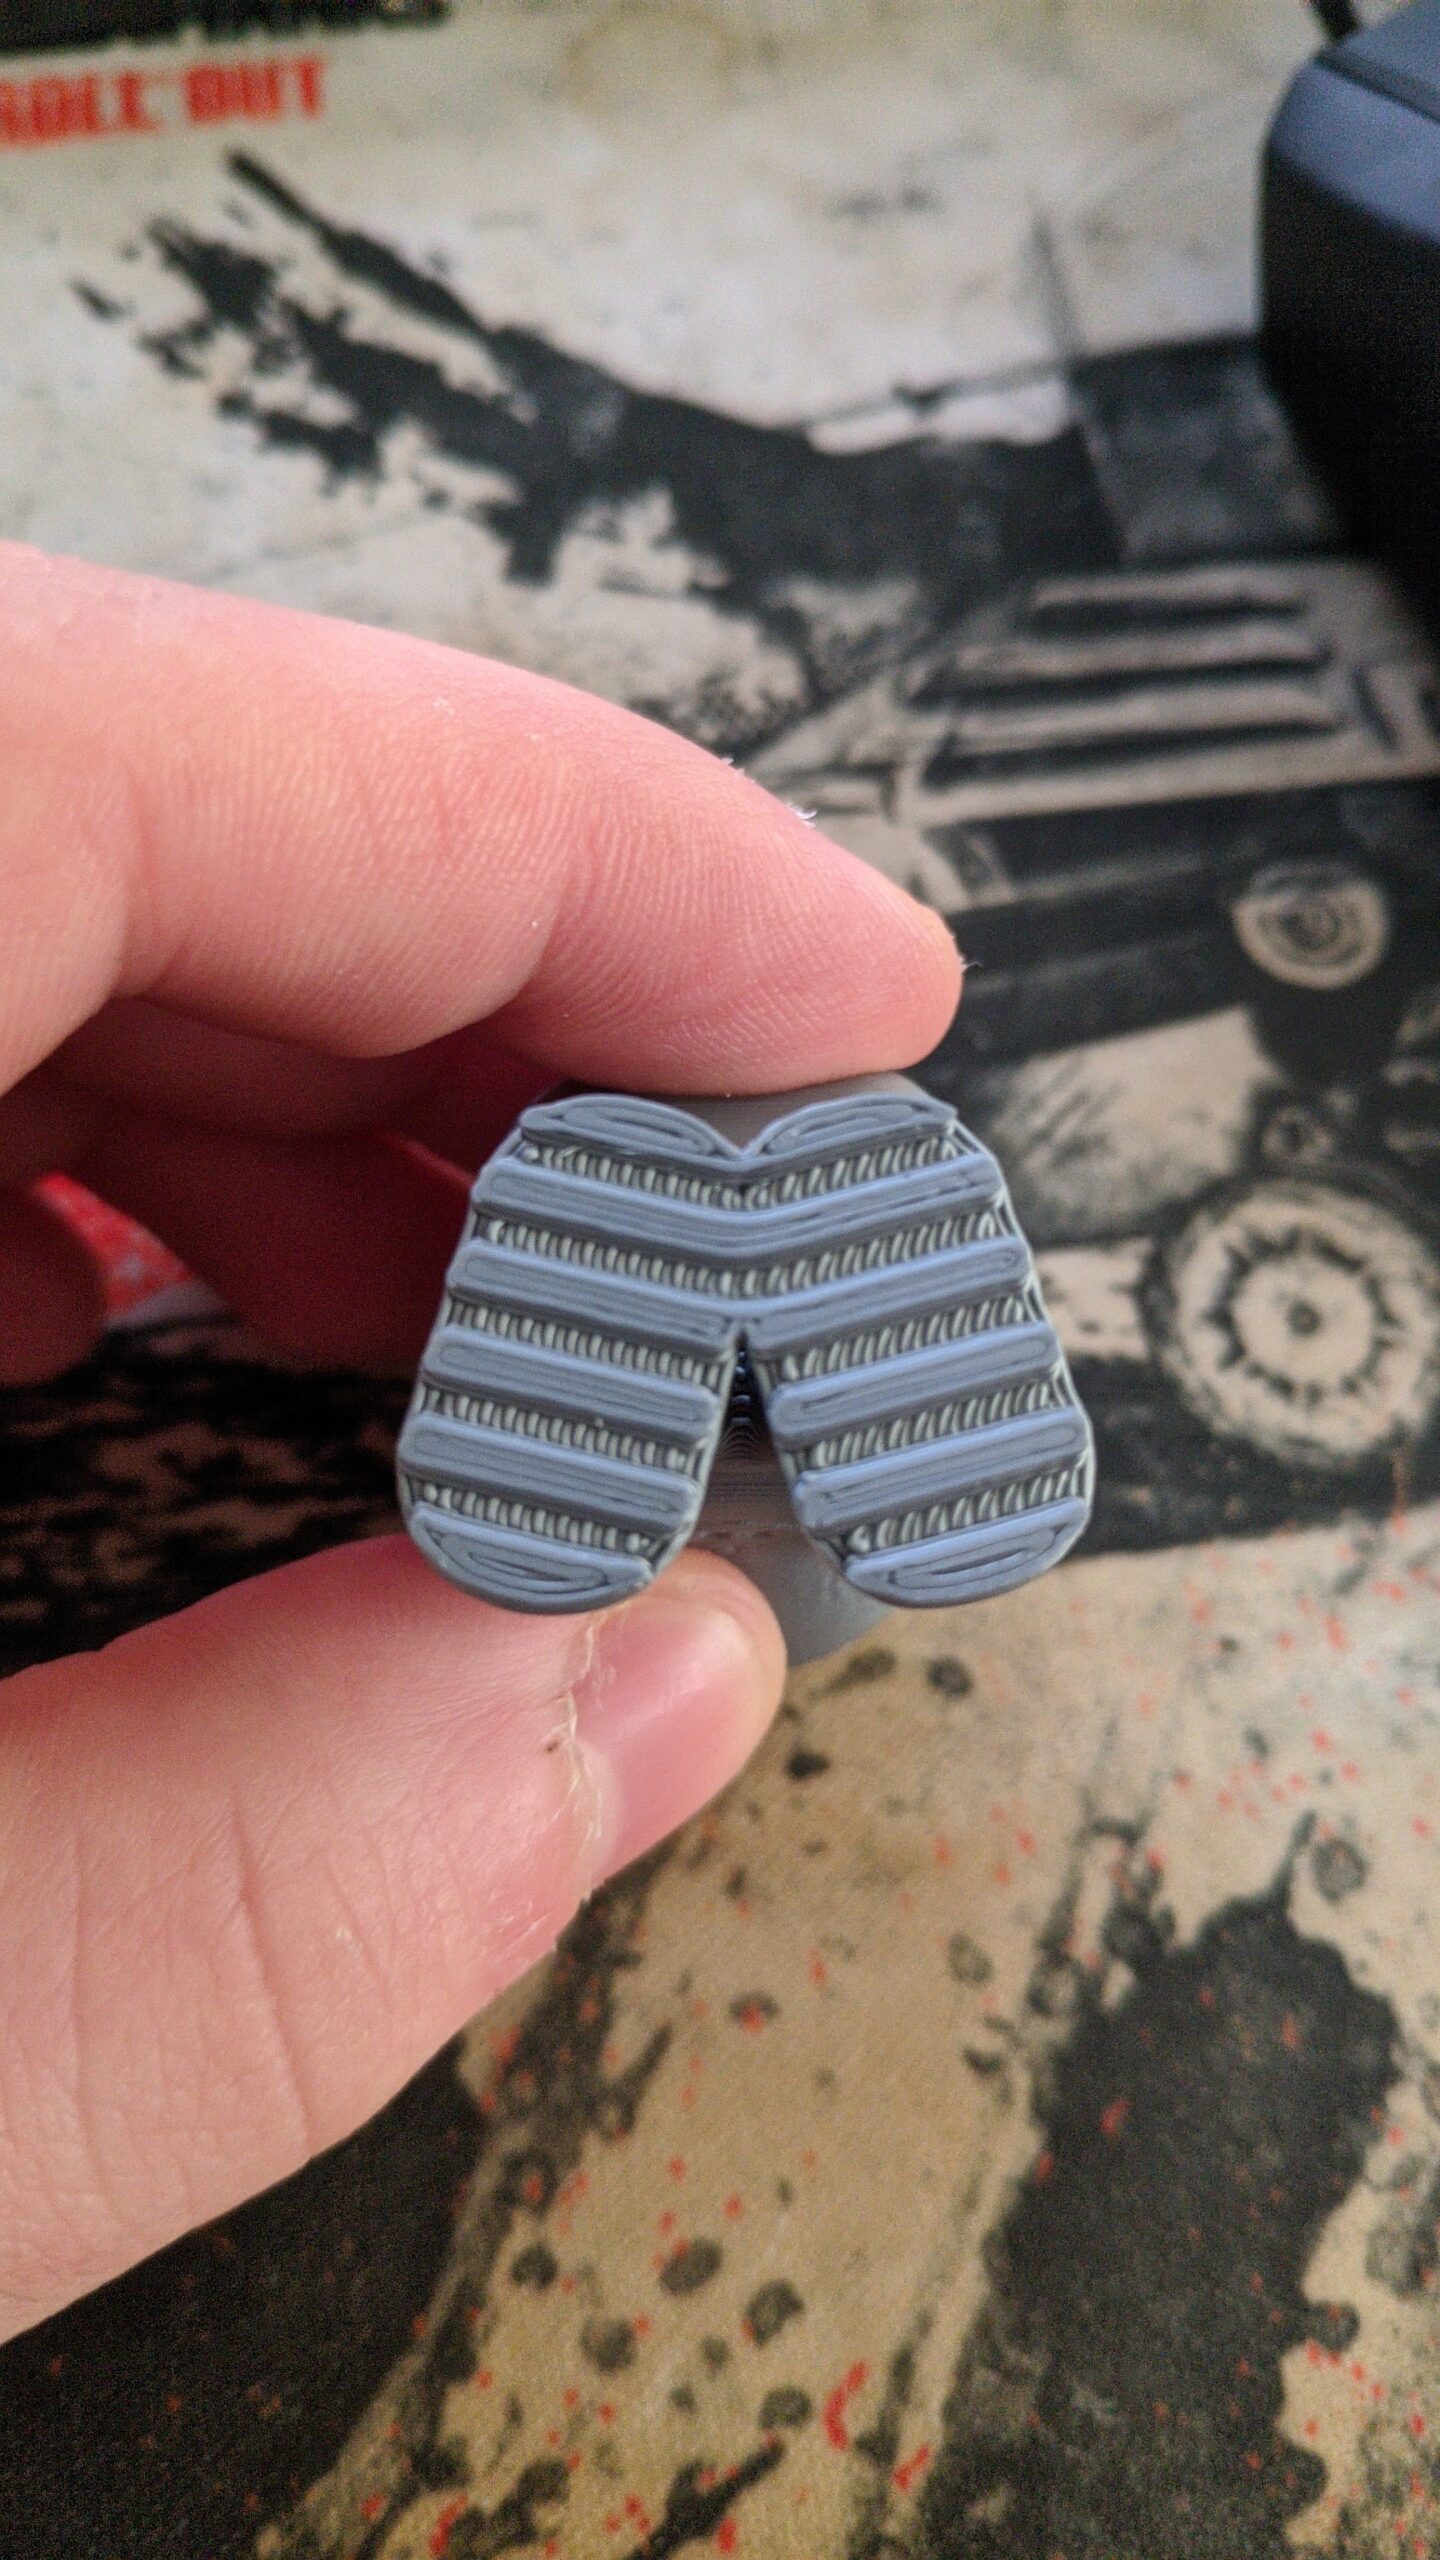
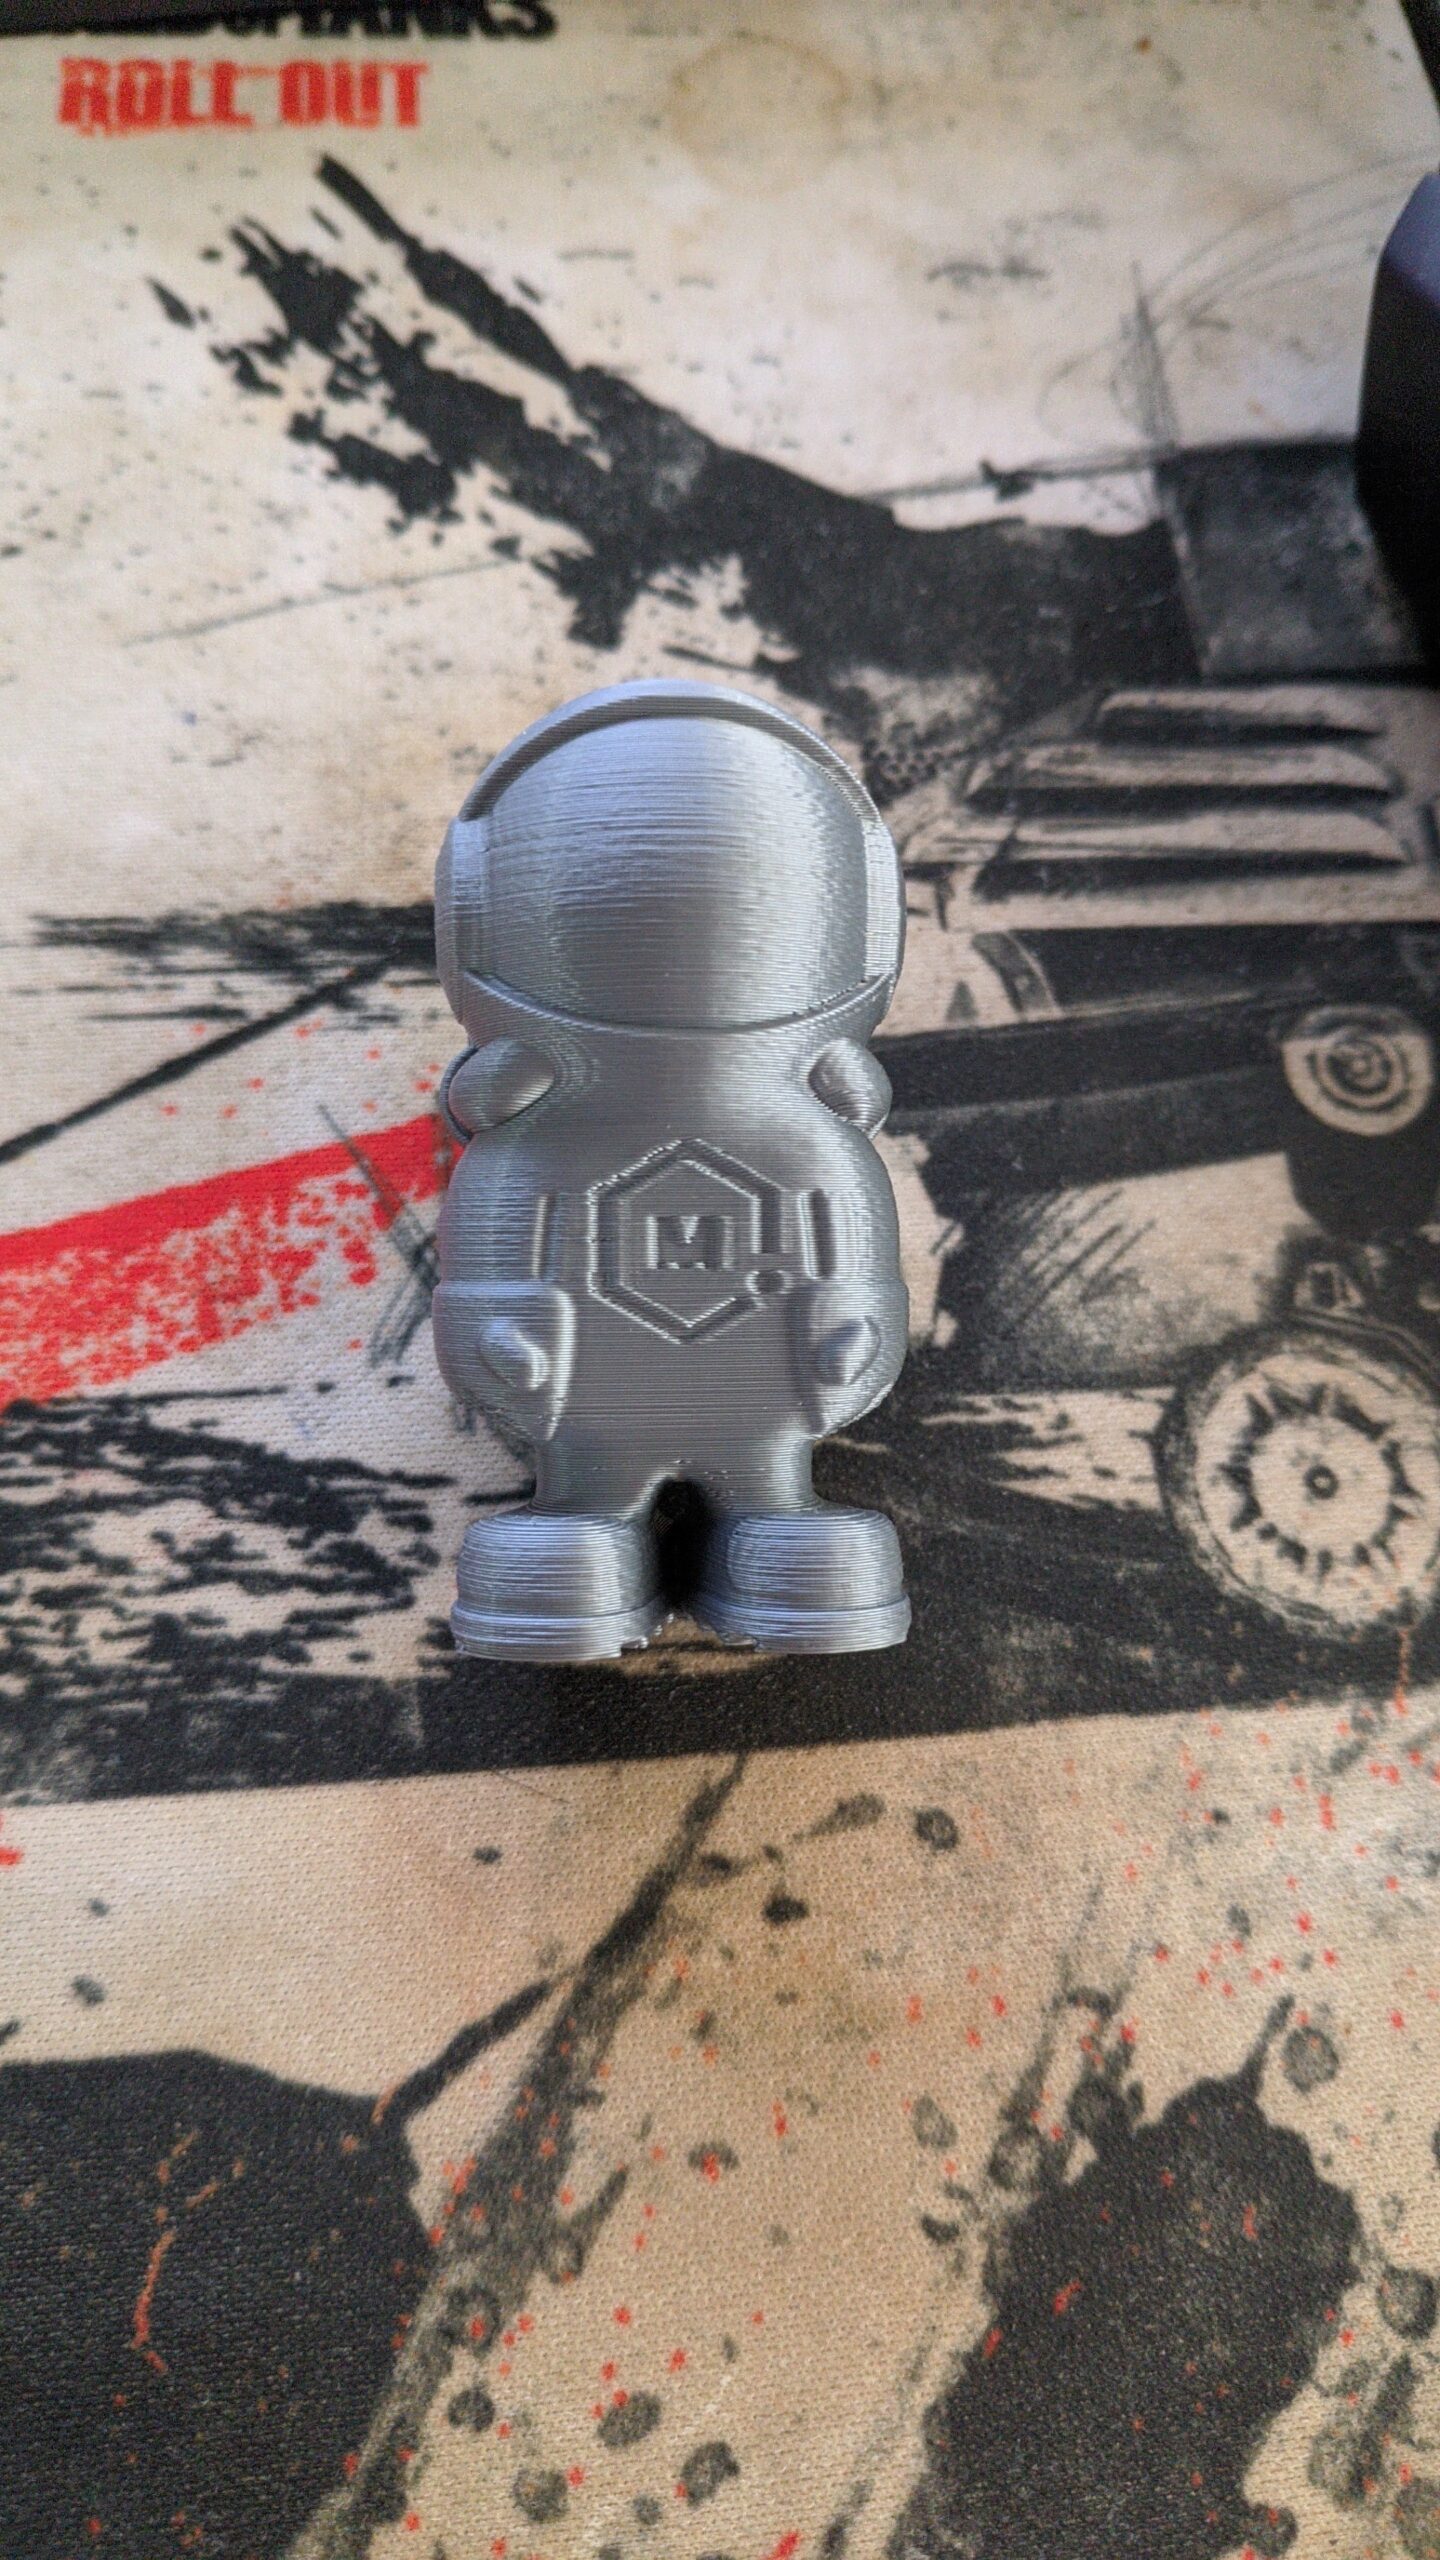

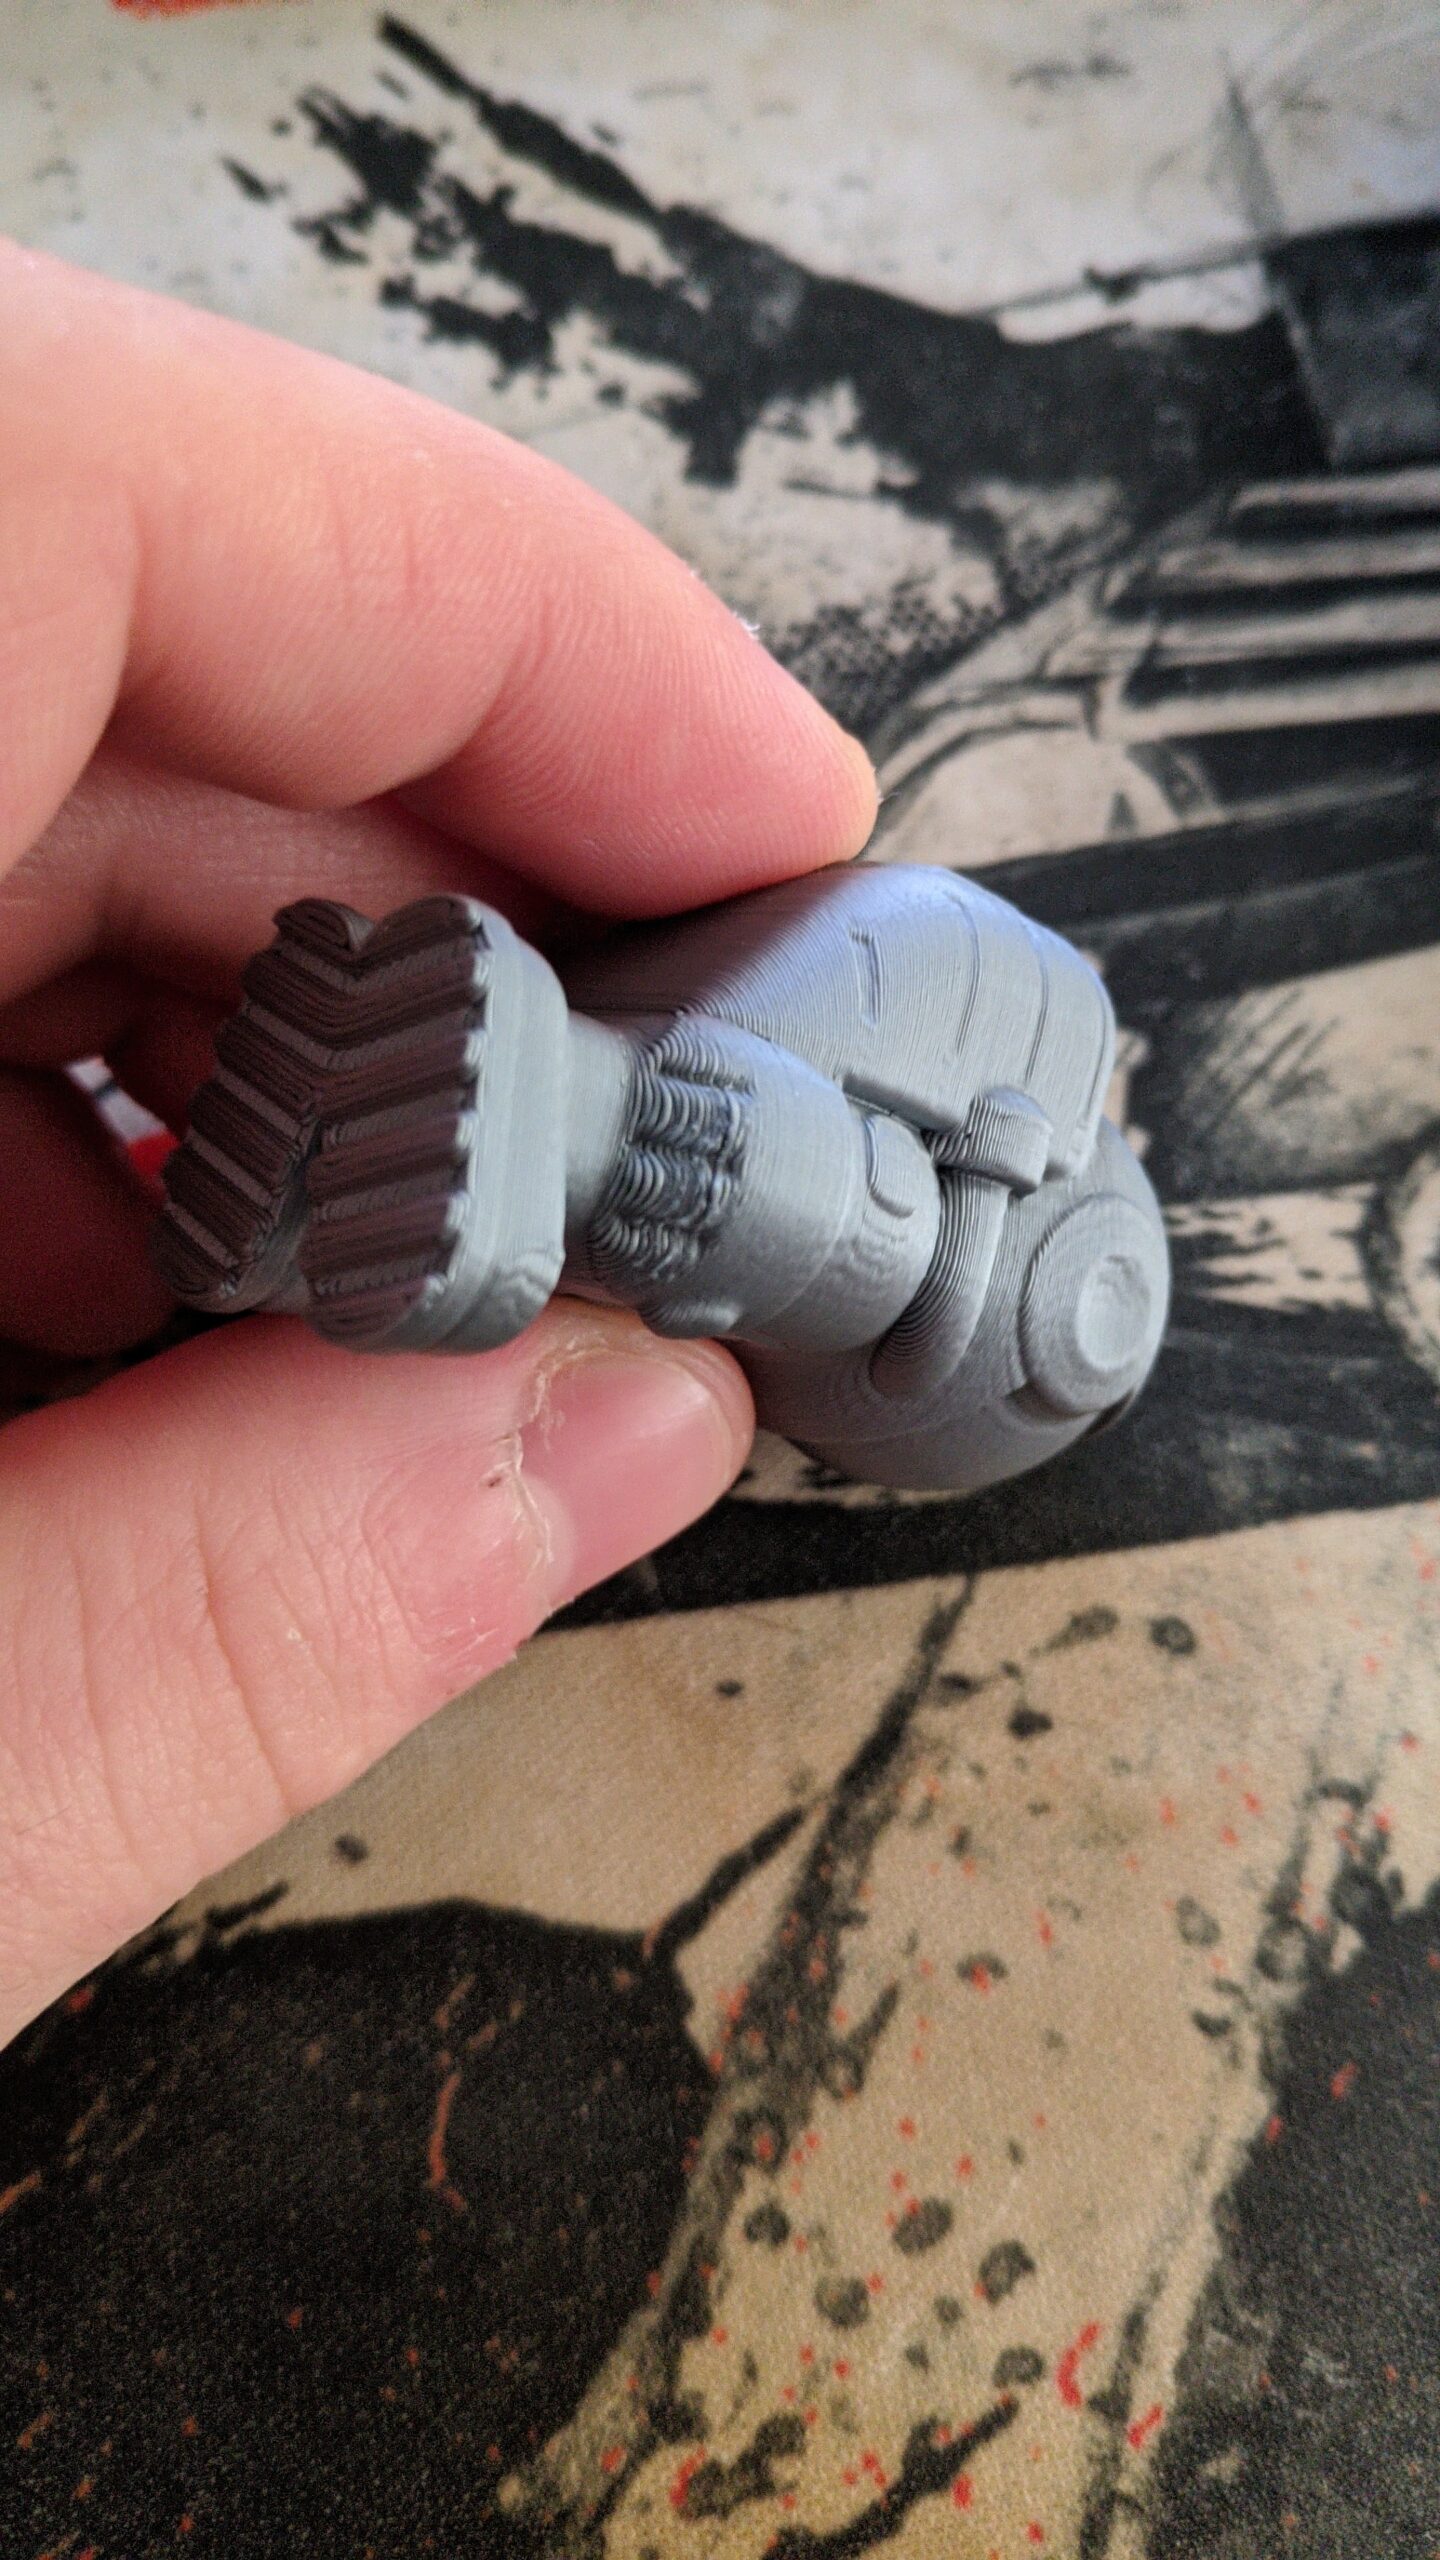
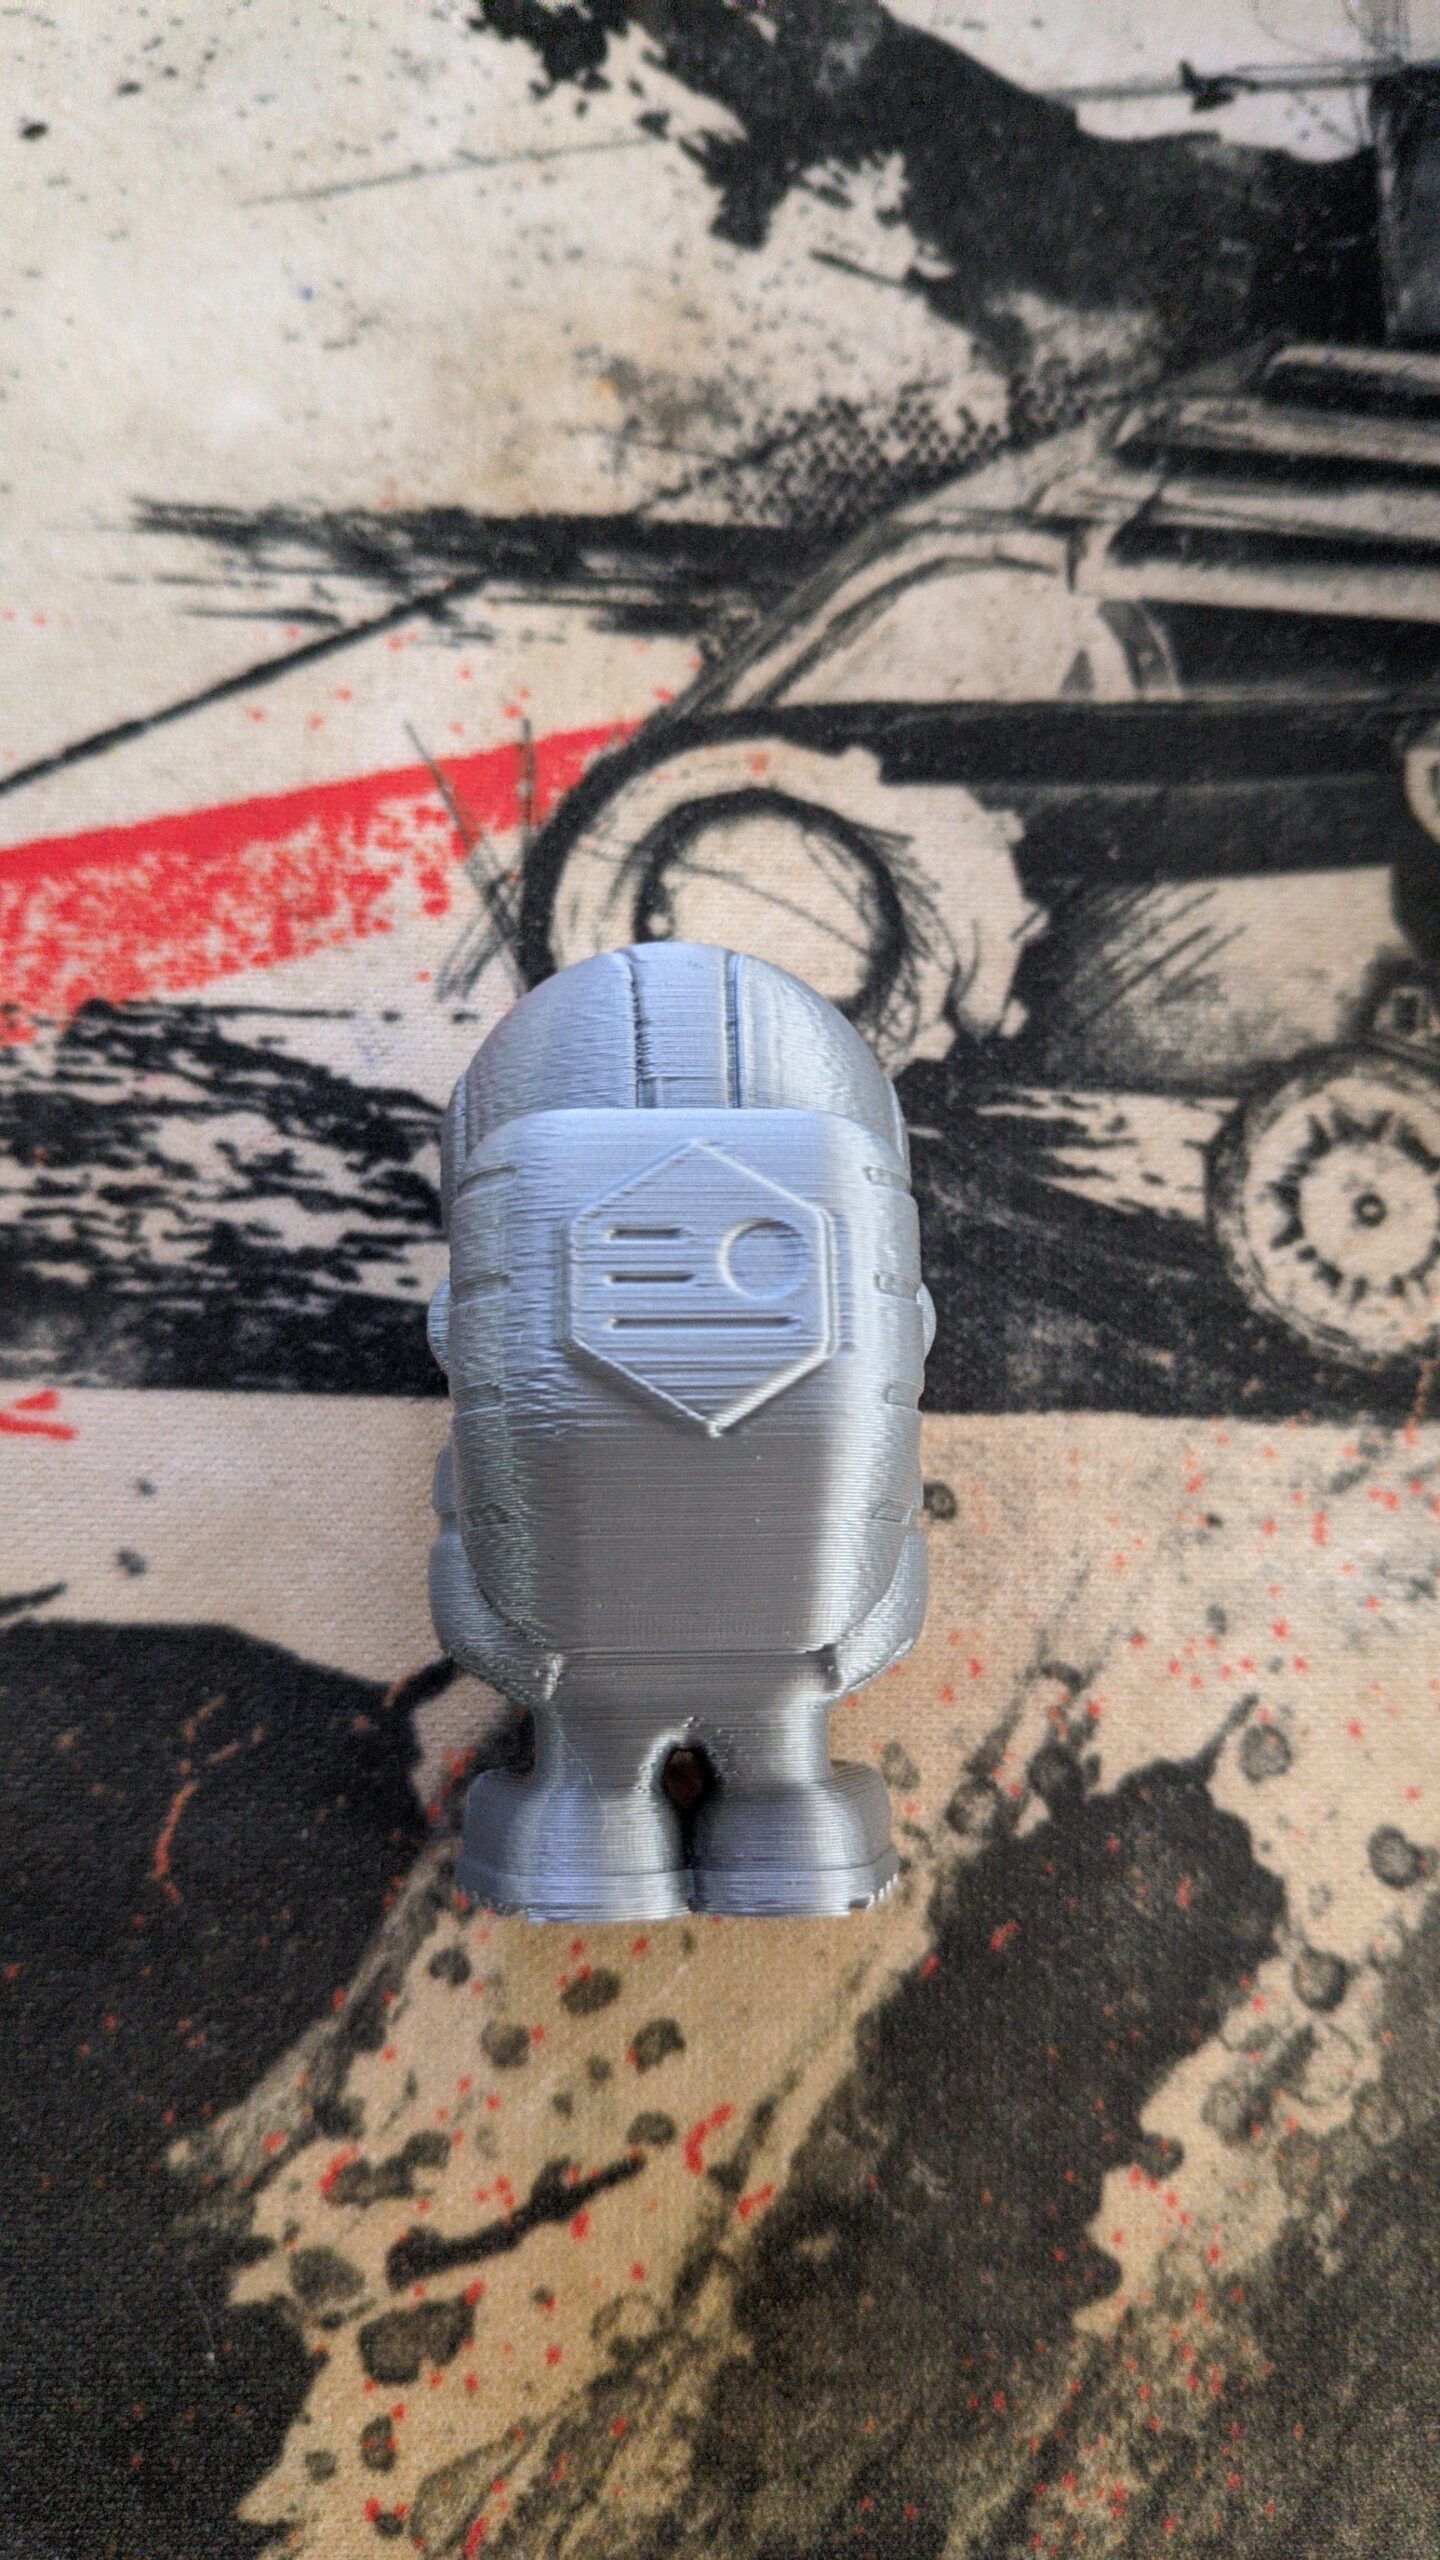
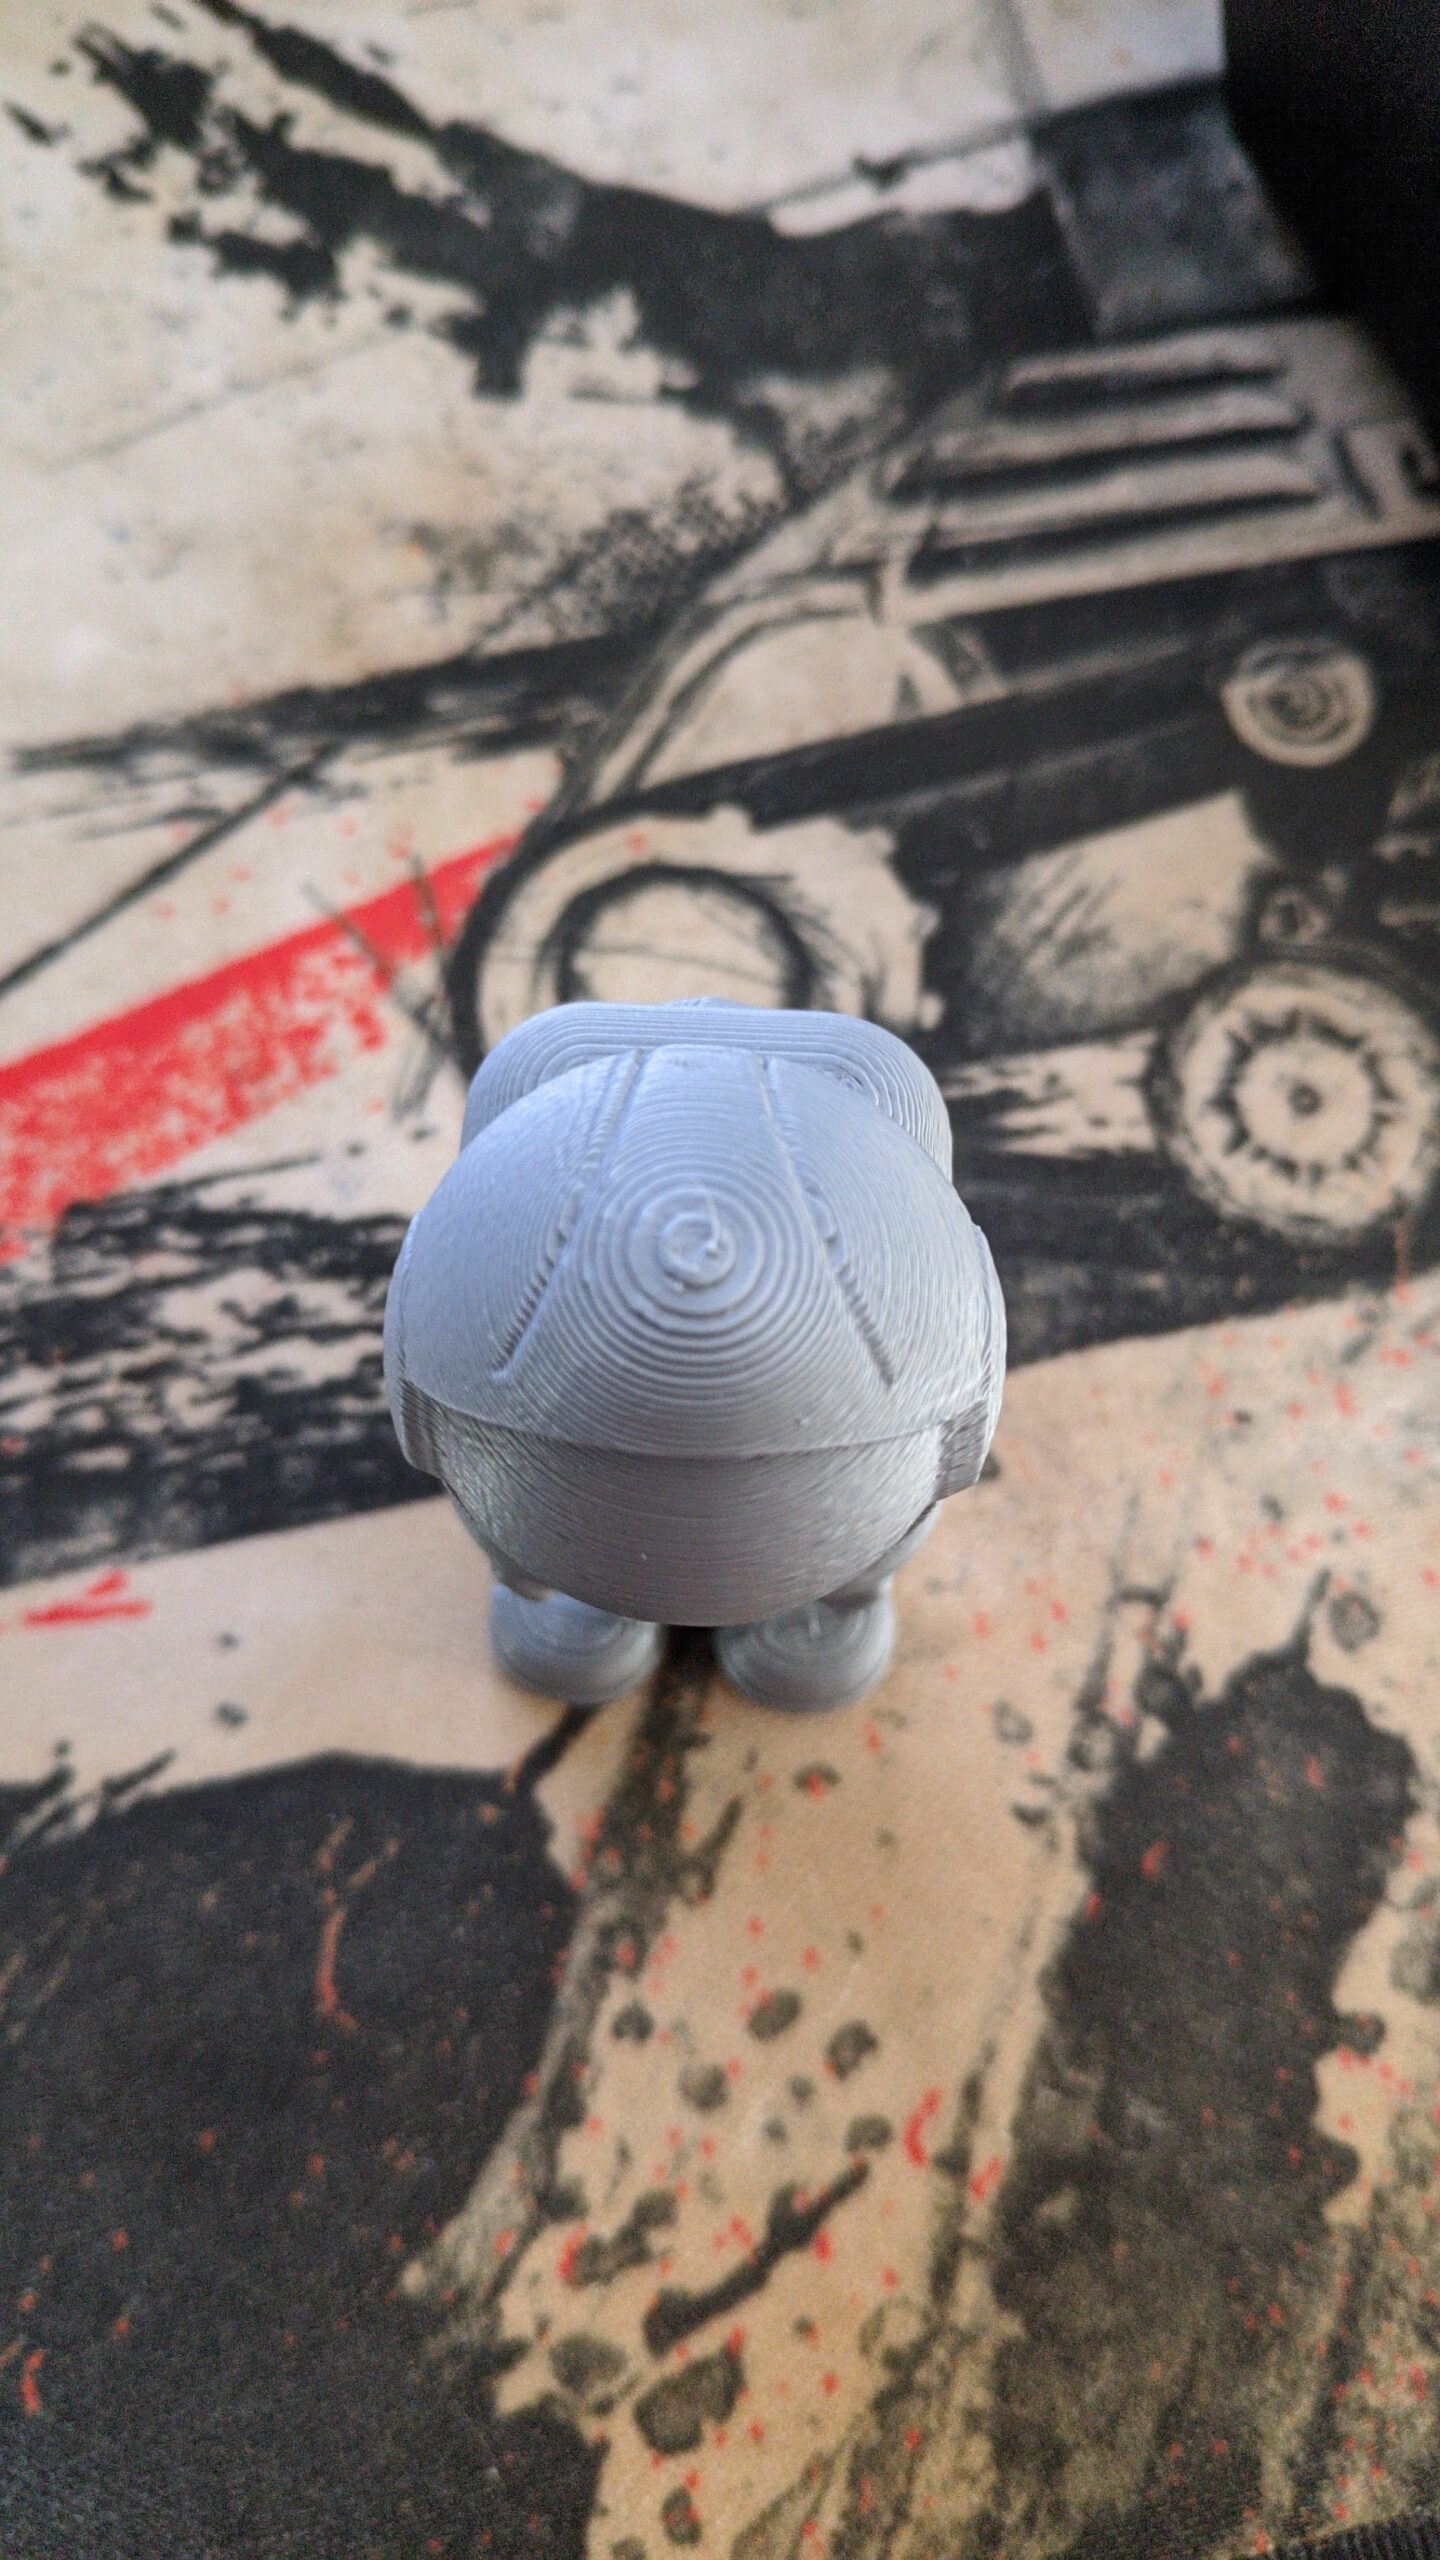 lower.
After first layer calibration
So i adjusted again the first layer and i went just a bit lower(-1.200-->-1.212) and i printed again the prusa logo. This time, even though i don't know if you can see it in the pictures, the first layer is much better. I see less gaps and i dragged my fingernail across the surfaces of both of the prints(old, new) and it was clear that the newer print were smoother than the old one. So let's say that the first layer is good. How do i solve the top layer? As i understood it has to do with the extrusion multiplier. Btw i activated the mesh bed leveling 7x7. I'll try to adjust it and i will post again.

RE: Update
So after some prints and some tweaking with the extrusion multiplier i realized that the "1" option is the best. The problem wasn't that, but the g-code itself(inside the sd card). So after opening the .3mf file provided by prusa i realized that they were using the generic pla profile. On all my prints i have used the prusament pla profile as i suppose the spool i received with the printer is prusament(it says filament made for prusa research and has a pm logo). So i modified the file and chose prusament pla instead and i created the g-code again and i printed it. Below you can see the result. The top is with the generic profile chosen and the bottom with the prusament pla. As you can see it is better, not by a lot but especially in the corners. The wiping feature is turned off as a user above said. I have posted more above but I'm waiting for moderation's approval.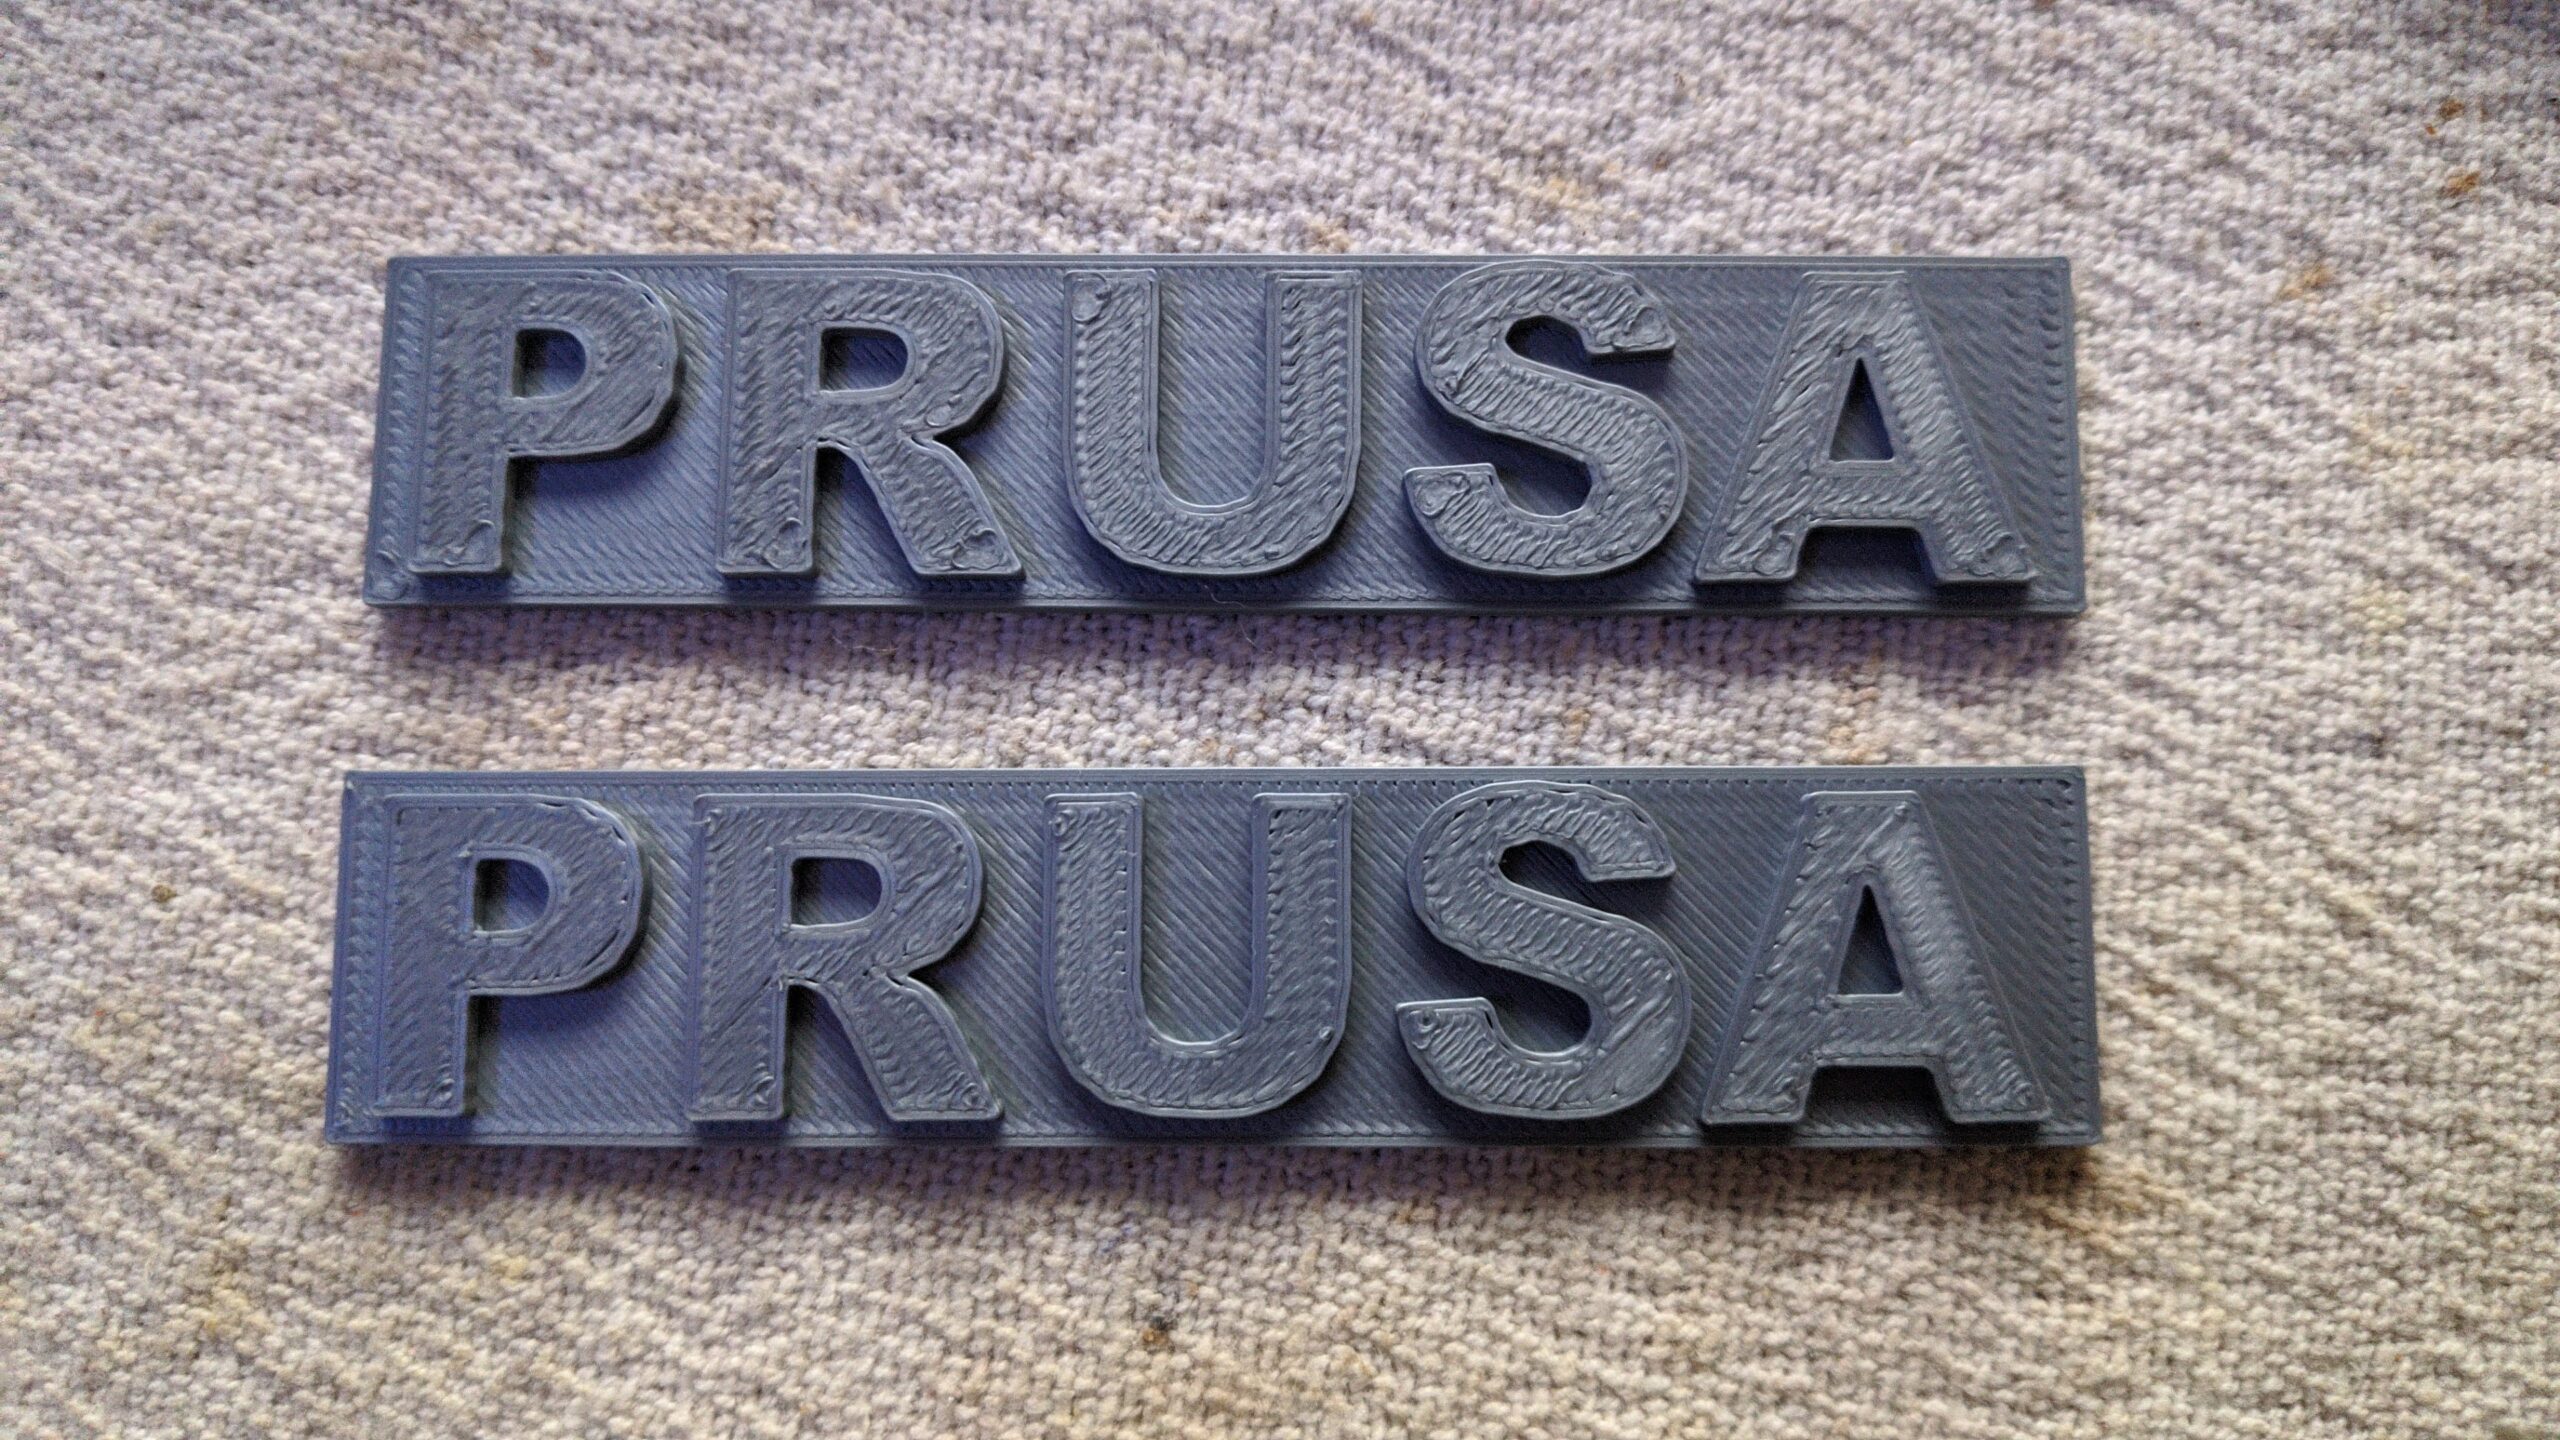
The included spool is Prusa PLA, not Prusament. It is made for Prusa by Filament PM.
Cheerio,
R
Oh ok, i see. The thing is that the print came up better.