RE: Problems with PETG first layer
@gkmakeit
Thanks a lot for your quick response!
I am running the first layer at 15mm/s. Also I had reduced the extruder temp to 210º for the first layer but I believe that was too low. Back to 230.
I have also raised the nozzle by 50µm, which seems to make a world of difference. Finally I am using a 2 layer raft, which makes the first layer a bit more forgiving, but it is a total pain to detach it from the piece afterwards.
Photo of underneath another piece printed with the same parameters than above:

RE: Problems with PETG first layer
I mostly print with PETG (Atomic Filament) and have had great results. I will share some of the things / settings that I use that have worked for me for the past couple years.
I have smooth PEI plates on my 3 Prusa printers and have never had to replace the PEI layer on any of them, first printer has around 2000 hours of printing time. I also have never used a "releasing" agent to get my PETG parts off the plate. This next part seems to get some people a bit wild up, but I will share the information anyway. I have sanded all the PEI surfaces with some higher grit sand paper, I contribute my PETG success in part to this. When I do switch between PLA and PETG I keep the first layer the exact same, 0.200mm with no offsets. I've never used the textured power coat plates so I can give any advice on those.
Some things I do to give myself the best shot at a good print.
Make sure the plate is clean oil and grease free, I try to only handle the plate on the edges. Plenty of info on this forum on how to wash the plate. I've only washed my plates with hot water and soap once after I got done sanding them. Now I only use isopropyl alcohol (95% or higher) to clean the plate every other print unless I know it's got finger prints on it.
First layer is more important for printing PETG, PLA isn't as picky. Make sure you have gotten this down well and it's right or you will just go in circles pulling your hair out! Just because it sticks to the plate doesn't mean it's right, there shouldn't be any gaps between the lines and no humps or bumps either.
Speed is pretty important, I use 15 mm/s for the first layer and then you can play with the speeds for all the other layers. I have some photos of my speeds I use for normal PETG prints.
If you are printing parts with a big footprint it really helps to have a nice flat build plate. This give your part a better chance of not warping in the corners. Flat isn't the same as level.
Use good quality filament. Nothing more frustrating then trying to get a good print with bad filament. By the time you figure out it's bad filament you might end up spending more money because of all the waisted filament plus all your used time.
When removing your PETG part make sure you let the part and plate to cool down to room temperature. When the plate is still hot the adhesive that holds the PEI layer on is also softer and easier to peel or tear. Bend the plate in both directions to get the part to release, if it's too small you will have to pry it off.
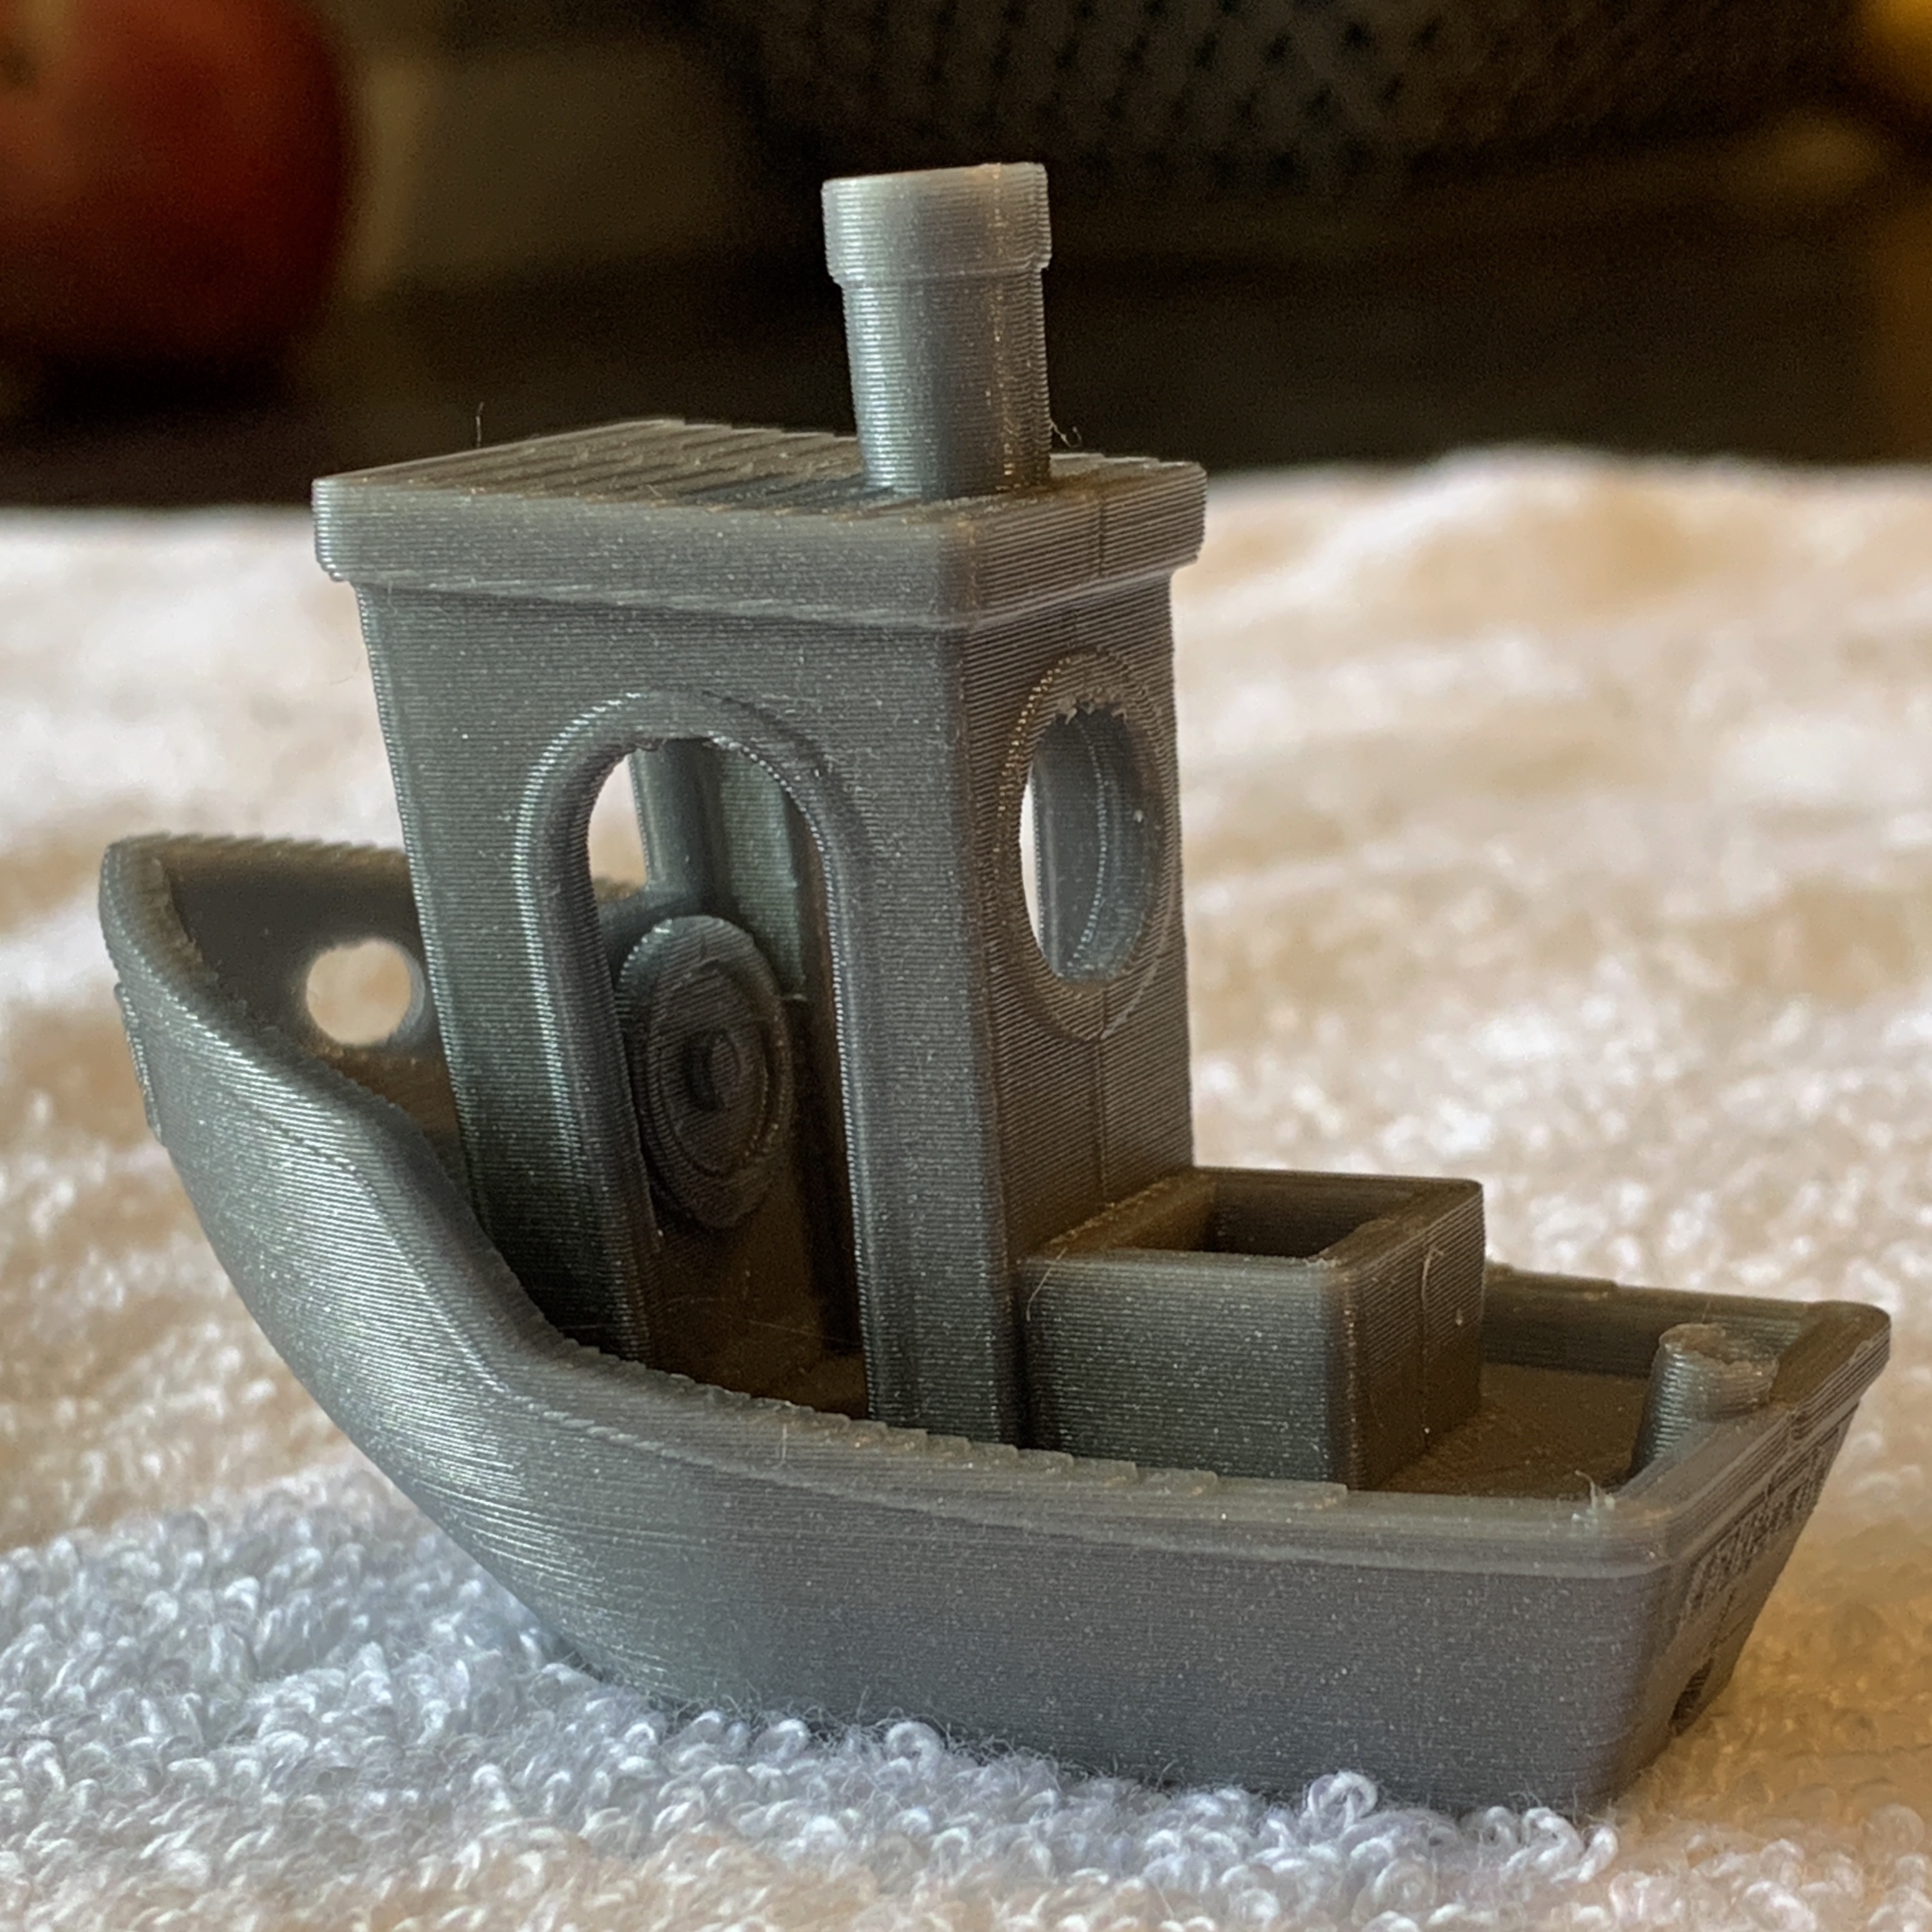
I hope this is helpful for some. Please feel free to send question my way here or through direct message. I've attached some photos below, some are setting and the benchy is made with Atomic Filament PETG with no post processing. I have nothing to do with Atomic Filament, just like their products.


RE: Problems with PETG first layer
I'm so glad I found this thread!
My end goal is to be able to use rPETG filament for everything but that means that I need to work out how to fix my petg printing issues - to tune my mk3s with the spring steel sheet as well as I can for petg.
These are the settings I currently use
Print settings
I base it from the default 0.20mm quality settings then modify the following settings.
Layers and perimeters
First Layer Height - 0.25
Extra perimeters if needed.
Avoid crossing perimeters
Detect thin walls
Detect bridging parameters
Seam position random
Speed
First Layer speed 10mm/s
For filament settings, I do this
Filament
Extruder First Layer 235
Extruder Other Layers 245
Cooling
Keep fan always on deselected
Min print speed 10mm/s
Filament overrides
retraction on layer change on
wipe while retracting on
They are the best I have found yet (I have only been trying for about 2 weeks now) but its not a whole lot better than prusa's defaults. I have a really long way to go to get it tunes right imo....
RE: Problems with PETG first layer
@gkmakeit
Thanks for those speed settings. I have just added them to my other settings to see if they make things better. 16 hours to go but so-far, your speed settings seem to have increased the quality significantly 🙂
RE: Problems with PETG first layer
@gkmakeit
This is how things are going so far with your speed settings 🙂

RE: Problems with PETG first layer
@ssmith
Glad you hear you're making progress.
Looking at the front left of the picture the skirt looks like it's not smushed down as much as say the right front, it that the case? Also you know what those few inconsistencies are on the first layer?
RE: Problems with PETG first layer
I just assembled my printer a few days ago, so I'm brand new to all this. Yesterday, I tried printing the Prusament PETG on the smooth sheet and had zero problems. I used the "Prusament PETG" stock settings from the PrusaSlicer program; no adjustments.
This morning, I tried printing again with PETG, but on the powder coated sheet (performing a new first-layer calibration in the software for this new sheet). The first-layer calibration never looked as good as the PLA on the smooth sheet, but it seemed okay. When I tried to print the part, however, I couldn't ever get the first layer to stick. It would rapidly devolve into a giant disaster blob. After too much fiddling around, I swapped back to the smooth sheet and the first layer is absolutely perfect.
I also notice some afterimage of the PETG print on the smooth sheet, that IPA doesn't seem to remove.
I have so many questions, but I'll try to start here:
- Should I not be using the smooth sheet for PETG? I hope I can use it, because it just works so well!
- How do I remove that afterimage of the PETG print from the smooth sheet? Acetone?
- Why doesn't the PETG stick to the powder coated sheet? (I haven't tried @martin-w15 's adjustments, yet)
- There's a warning in the manual about 110C temps on the sheets. Is that not an issue with @martin-w15 's settings?
Cheers!
After struggling quite a bit to get good first-layer adhesion on a powder-coated sheet, I found two keys for success printing PETG on PEI:
- Calibrate the first layer for more "squish" so the filament makes maximum contact with the textured surface.
- When in doubt, use a thin layer of glue stick.
Once I got my first layer height dialed in and got better at using brims/supports I stopped using glue stick for larger prints, but it saved my sanity and repeated failures when getting started.
I'll also reiterate the importance of a clean bed. I use dish soap and a soft plastic brush to remove residual glue and oils then run water over it until I'm certain no soap residue will be left behind.
RE: Problems with PETG first layer
Thanks all for the suggestions and solutions to this sticky wicket.
After changing many settings, adjusting speeds, and Windexing the print bed, I was still having about 50% success on the first layer. I wanted to find a solution that didn't involve a silicon sock and stumbled on the idea of applying Windex to both the bed and the extruder/hot end. Since then, I've had total success on completing prints with the stock PrusaSlicer PETG settings.
My process before prints is to preheat the Prusa to PETG settings then apply Windex to the extruder with a soaked spot of shop rag when it's at temp. I use a soft wire brush to scrub off any small spots of PETG that might have accumulated over the last print and then reapply Windex to the extruder. Finally, I spray Windex on the print bed and wipe it down, allowing everything to dry for a minute while I set up the next print.
A silicon sock might be an improvement over this method but since I switch from PETG to PLA frequently, this helps me keep the variables down.
RE: Problems with PETG first layer
@dragonface
For the record, I've deviated / evolved from my original post. I now exclusively use the powder-coated sheet for PETG, and the smooth sheet for PLA, and never vice-versa, and the offset settings are set accordingly. It's a small sacrifice of potential flexibility for the opportunity to not have to fuss with it.
RE: Problems with PETG first layer
Just reiterate something posted above:
I would never print with the smooth sheet and PETG without Windex or some other release agent. You might get away with it for a print or 100, but eventually you will get a fused print to the bed. Follow the the advice above and settings and you will find success.
--------------------
Chuck H
3D Printer Review Blog
RE: Problems with PETG first layer
Ok, so petg is not really too bad to get printing.
What most folks will recommend on here is
to get your z dialed in. PLA and PEG will need different z offsets given the same sheet. If you're switching between smooth and textured that's 4 profiles.
The printer allows you to have steel sheet profiles. https://help.prusa3d.com/en/article/steel-sheet-profiles_1955/
what you need to do is for each material type + sheet is create a steel sheet profile.
Once you've established profiles you can switch between them from the main menu. When you do a a live z adjustment it will save to the selected sheet profile and will remember it next time you turn the printer on or switch to that profile.
The names can only be very short so I use:
Spla for smooth sheet + pla
Spetg for smooth sheet + petg
Stpu for smooth sheet + tpu
Tpetg for textured sheet + petg
and so on.
This will allow you to get the z dialed in for each filament + sheet combination and have it remember it.
in general it's a bad idea to take someone's zOffset that works for their printer and plug it in to yours. I have two prusa built MK3S+ machines. the zOffset for the same sheet and same material vary greatly! it's best to do the first layer calibration and the life z adjust to get it dialed in for your printer.
RE: Problems with PETG first layer
[...] A silicon sock might be an improvement over this method but since I switch from PETG to PLA frequently, this helps me keep the variables down.
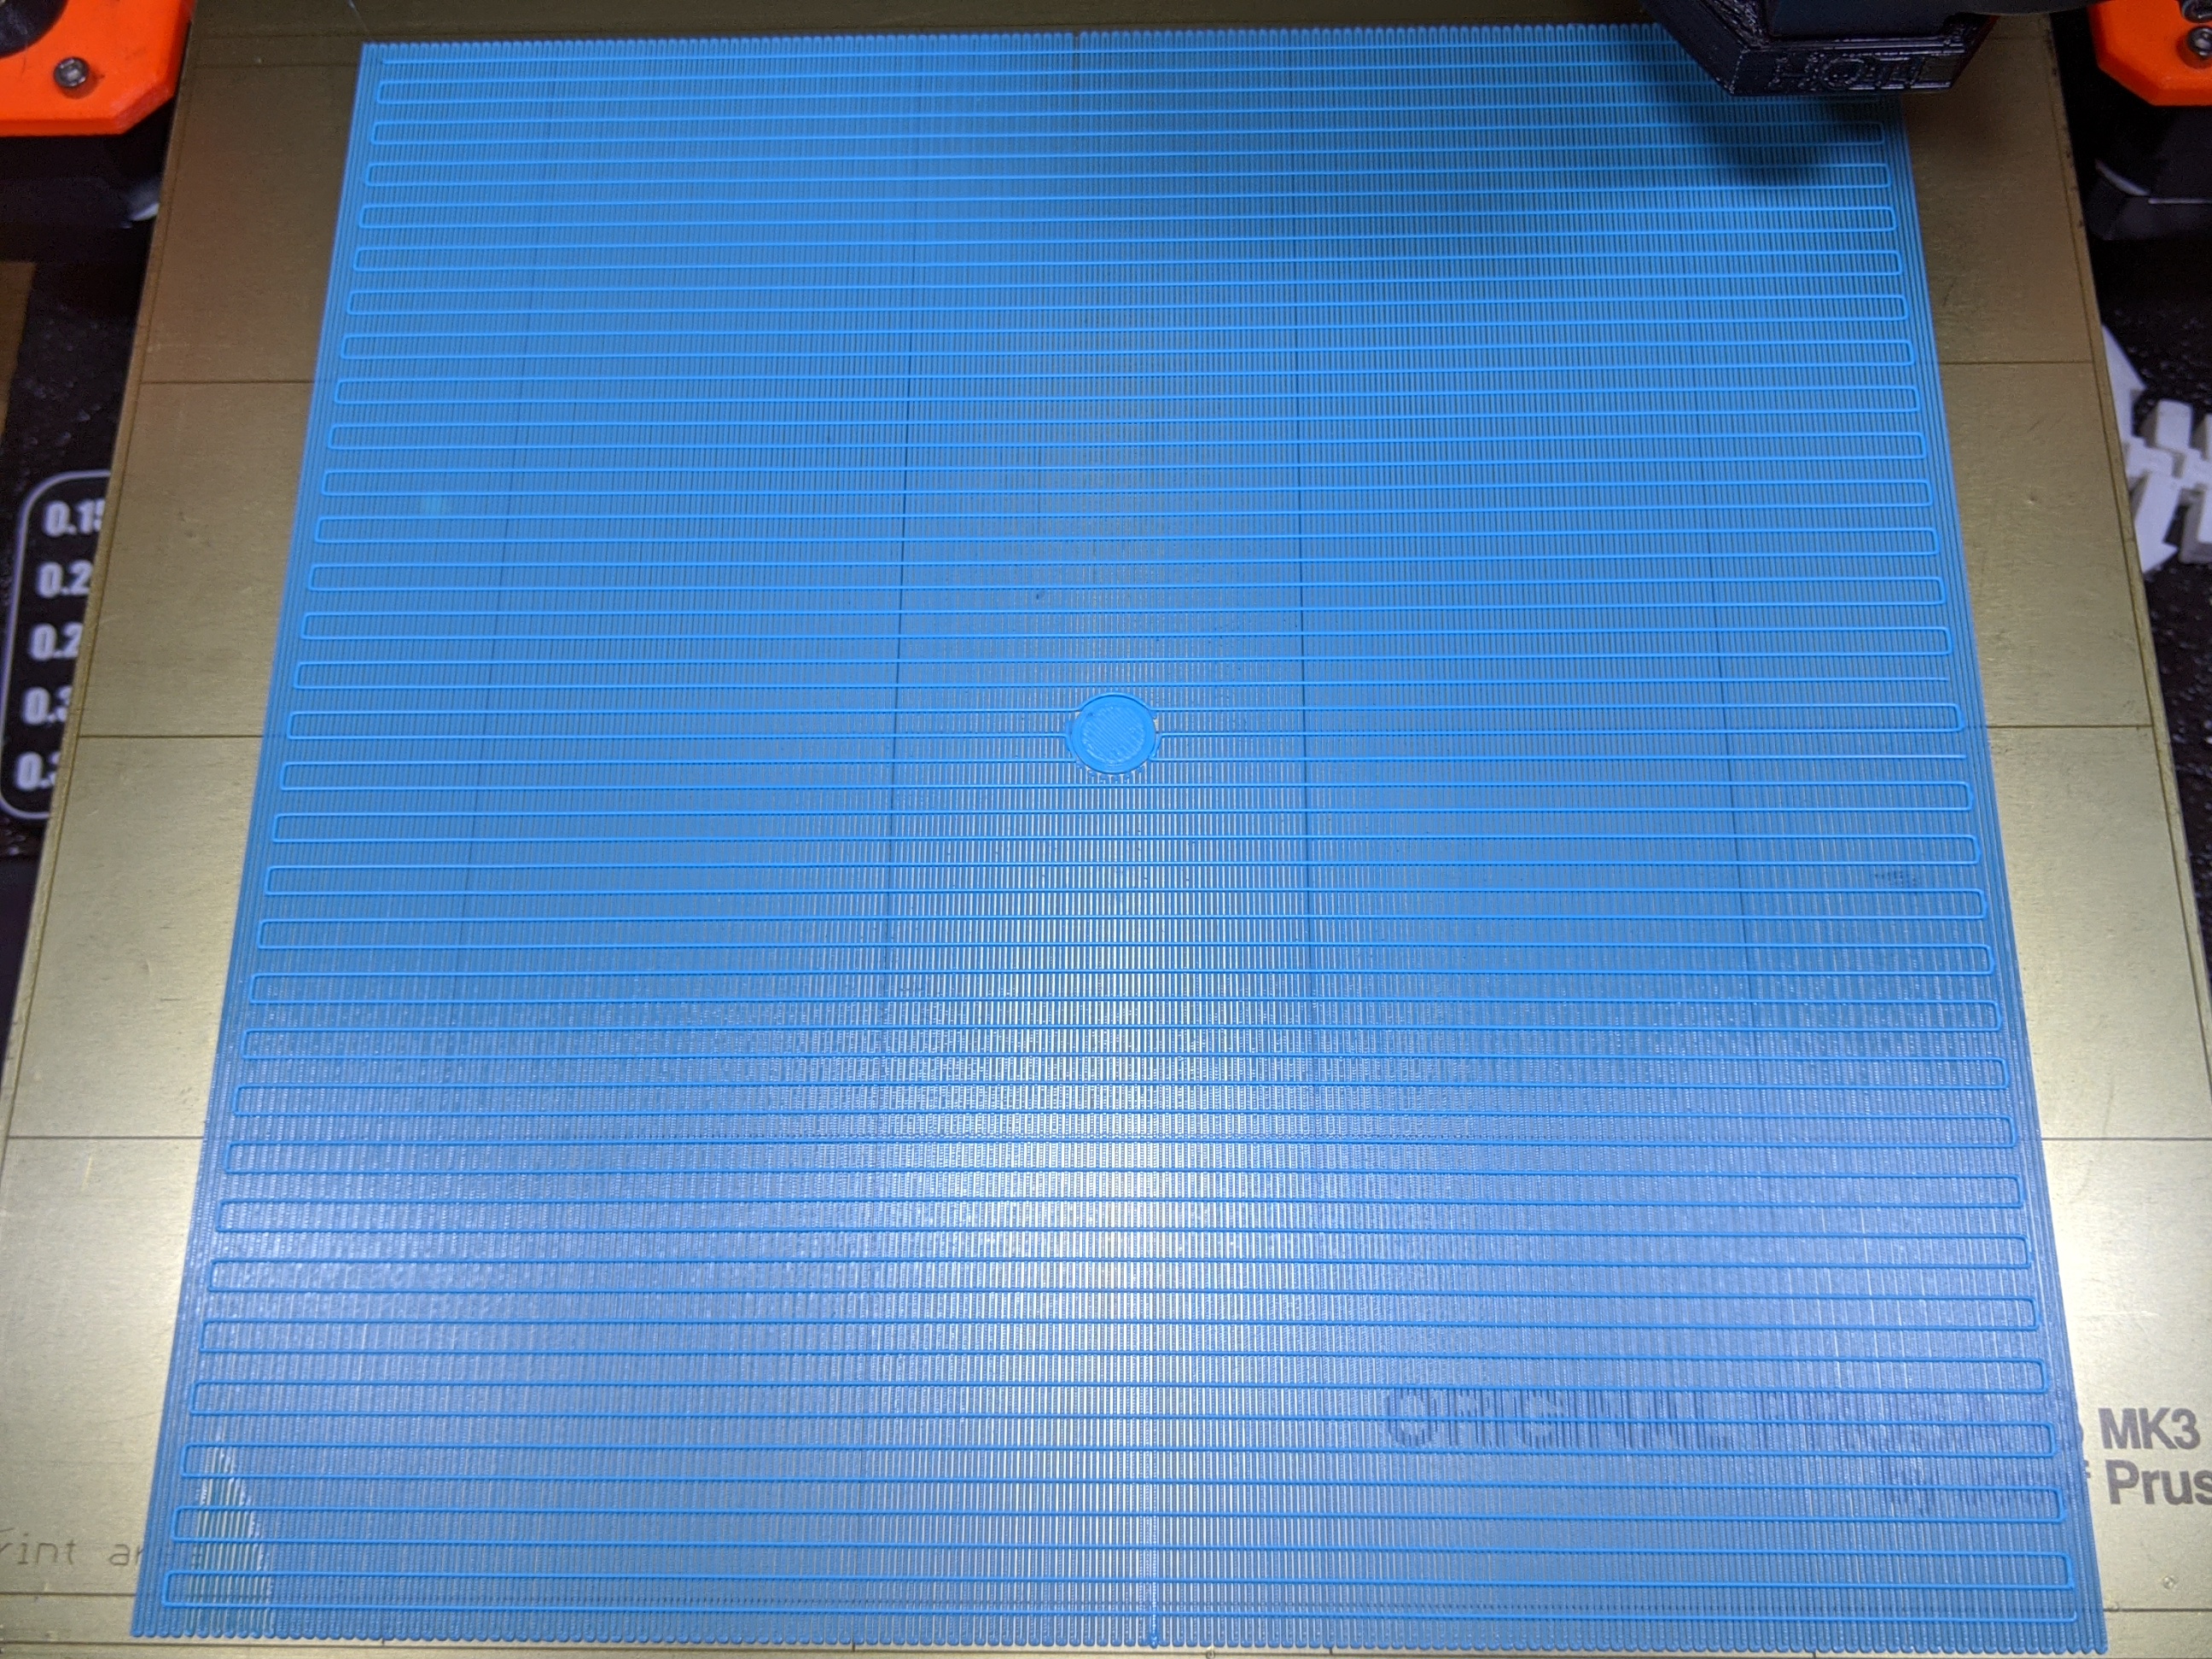
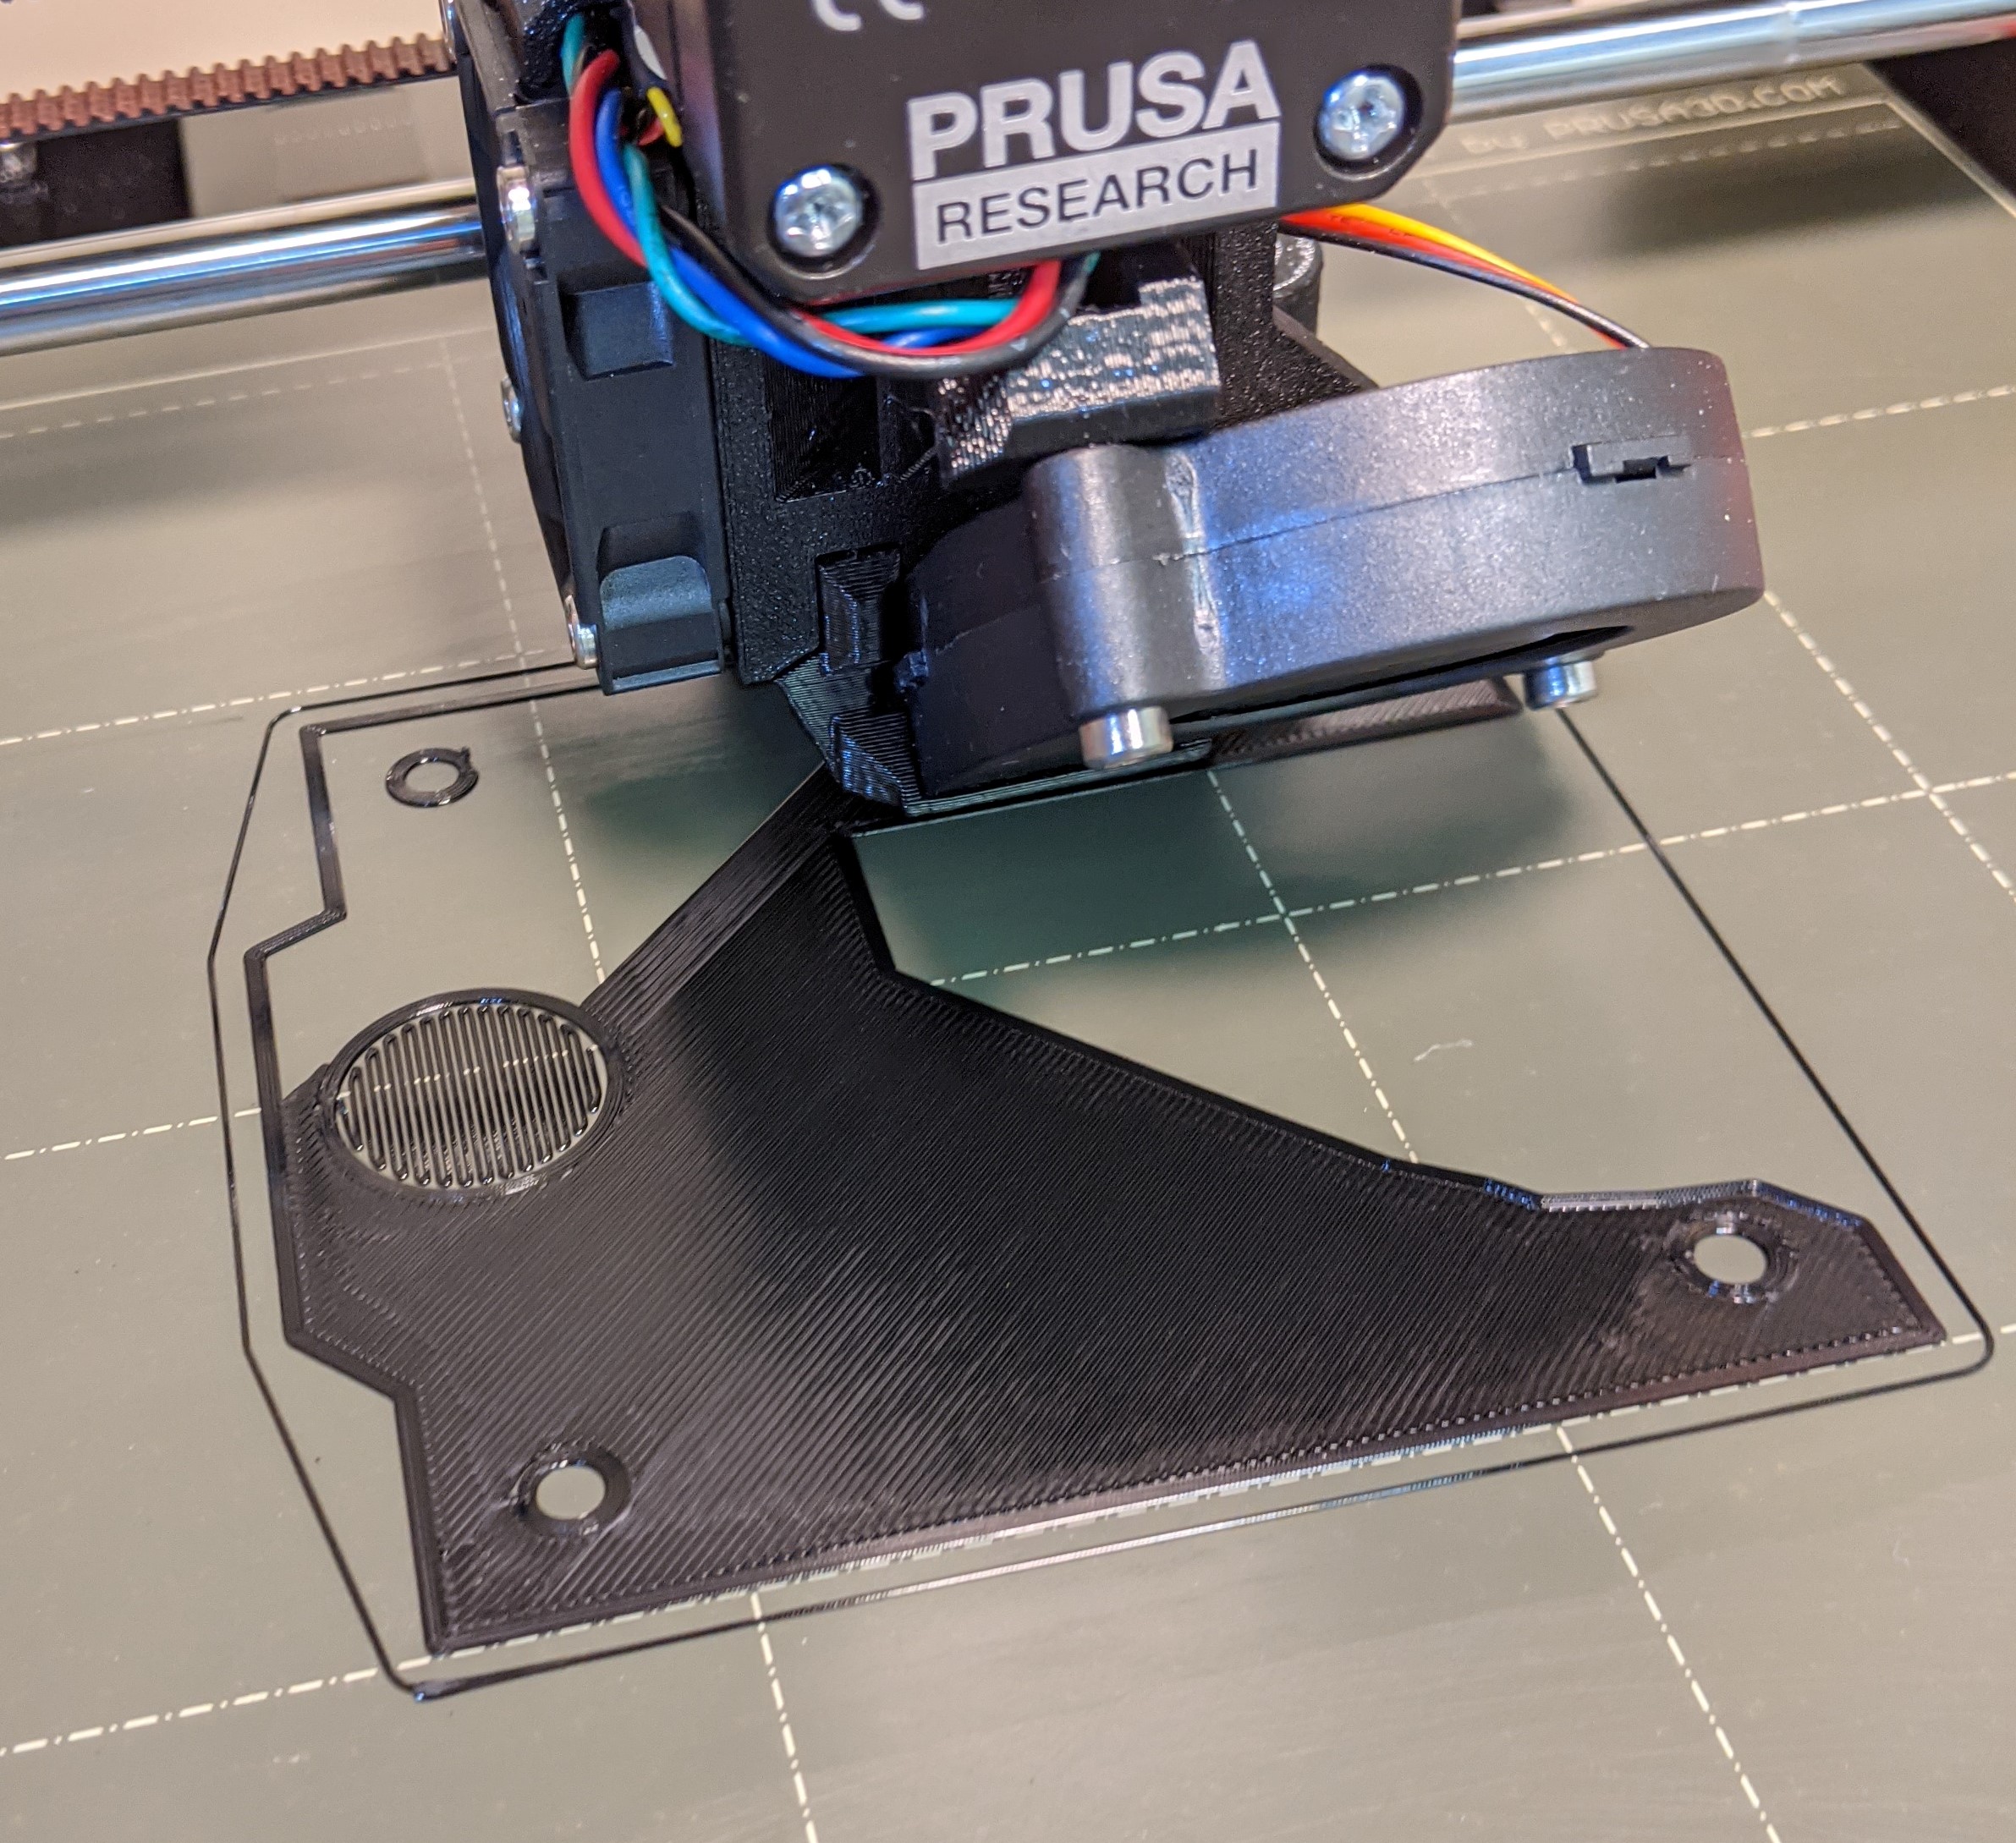
Another consideration. PETG likes to stick to whatever's hottest nearby. That's why a hot bed is recommended for the 1st layer. A sock reduces the external heat of the heater block, so can help tremendously with PETG 1st layer adhesion. This is a pretty typical 1st layer result with PETG.
RE: Problems with PETG first layer
@bobstro
I’ve tried these and on one of my printers it wouldn’t stay up. I ended up ditching them and adjusting my zoffset
RE: Problems with PETG first layer
@ssill2 - the V6 version will sag over time. A bit of uninsulated wire can be used as a retainer (or garter as someone once suggested) to wrap around the top (avoiding wires) to keep the sock in place. Someone suggested a spring from a ballpoint pen as another solution. Mine tend to be usable for several months. Avoid the "Pro" version with the tiny hole as a slip can get messy fast. A coated nozzle also helps with PETG and sticky stuff in general.
RE: Problems with PETG first layer
@bobstro
Yeah the pro version is what I had.
RE: Problems with PETG first layer
I guess it is a case of whatever works. I had an issue with my first try of petg and couldn’t get a good first layer. Unless I pushed the z lower it wouldn’t stick so ended up with very wide lines (1.2 mm with .6 nozzle ) and an elephants foot so I tried raised the nozzle temp to 240 from 230 and the filament laid down great and a perfect 1st layer. One other refinement was to ensure the nozzle was completely free of petg which stopped filament catching on the early layers.
i3 Mk3 [aug 2018] upgrade>>> i3MK3/S+[Dec 2023]
Finally a good PETG first layer
Thanks Martin Wolfe,
I was trying to figure out PETG (Inland) and actually printed finished object well, but the 1st layer looked bad, even though stuck. I used the Live Z adjust originally from my PLA setting. Then made some model adjustments and this time same settings, with same 1st layer issue went from bad to worse. But adding what you said earlier in post now the first layer looks great.
Mainly: 1st layer acceleration to 300 mm/s^2 and 1st layer speed to 15mm/s (had 10 before changed).
Then themzlab said he used Z offset of 0.03, so set mine to that and now 1st layer is looking great. (After setting my Live Z Adjust back to what was for PLA)
The rest mainly 1st layer nozzle temp 220, then 240 for rest and 90 for the bed the whole way thru (like you said).
Already on 2nd layer as typing this and still sticking to bed and looks much much better. Also would like to add that my sheet should have been clean, have only printed a few items since built printer. But did go clean it with dishwashing soap to get the glue stick off and then put some more glue stick back down. Just to make sure wasn't contaminated.
Thanks guys!
David
RE: Problems with PETG first layer
I struggled with my first PETG print after feeling I could do no wrong printing MANY PLA prints. Quite humbling if I'm honest. Tried the glue stick, messing with Z adjustments, still struggled. What I found that REALLY helped was all of the following.
1. Super clean textured bed.
2. Super clean nozzle, this stuff will stick to residue and tear up your first layer.
3. Dial that Z in.
After tending to these three things "Viola!" good first layer! I also bumped the bed temp up 5 degrees, but I've not really played with that variable to see its impact. Let's call that change a solid optional #4 for now...
RE: Problems with PETG first layer
My guess is a dirty bed or your Z offset if off.
Thanks Martin Wolfe,
I was trying to figure out PETG (Inland) and actually printed finished object well, but the 1st layer looked bad, even though stuck. I used the Live Z adjust originally from my PLA setting. Then made some model adjustments and this time same settings, with same 1st layer issue went from bad to worse. But adding what you said earlier in post now the first layer looks great.
Mainly: 1st layer acceleration to 300 mm/s^2 and 1st layer speed to 15mm/s (had 10 before changed).
Then themzlab said he used Z offset of 0.03, so set mine to that and now 1st layer is looking great. (After setting my Live Z Adjust back to what was for PLA)
The rest mainly 1st layer nozzle temp 220, then 240 for rest and 90 for the bed the whole way thru (like you said).
Already on 2nd layer as typing this and still sticking to bed and looks much much better. Also would like to add that my sheet should have been clean, have only printed a few items since built printer. But did go clean it with dishwashing soap to get the glue stick off and then put some more glue stick back down. Just to make sure wasn't contaminated.
Thanks guys!
David
--------------------
Chuck H
3D Printer Review Blog