New printer fun to build.
Finished my build late last night. The advice about The Life Z adjustment helped, a lot. Much appreciated.

First print other than testing this morning turned out really well. I’m beginning to appreciate a self assembled kit rather than the printer in a box(DaVinci). That was like 3D printing for dummies and so far this MK3S has been way more flexible. 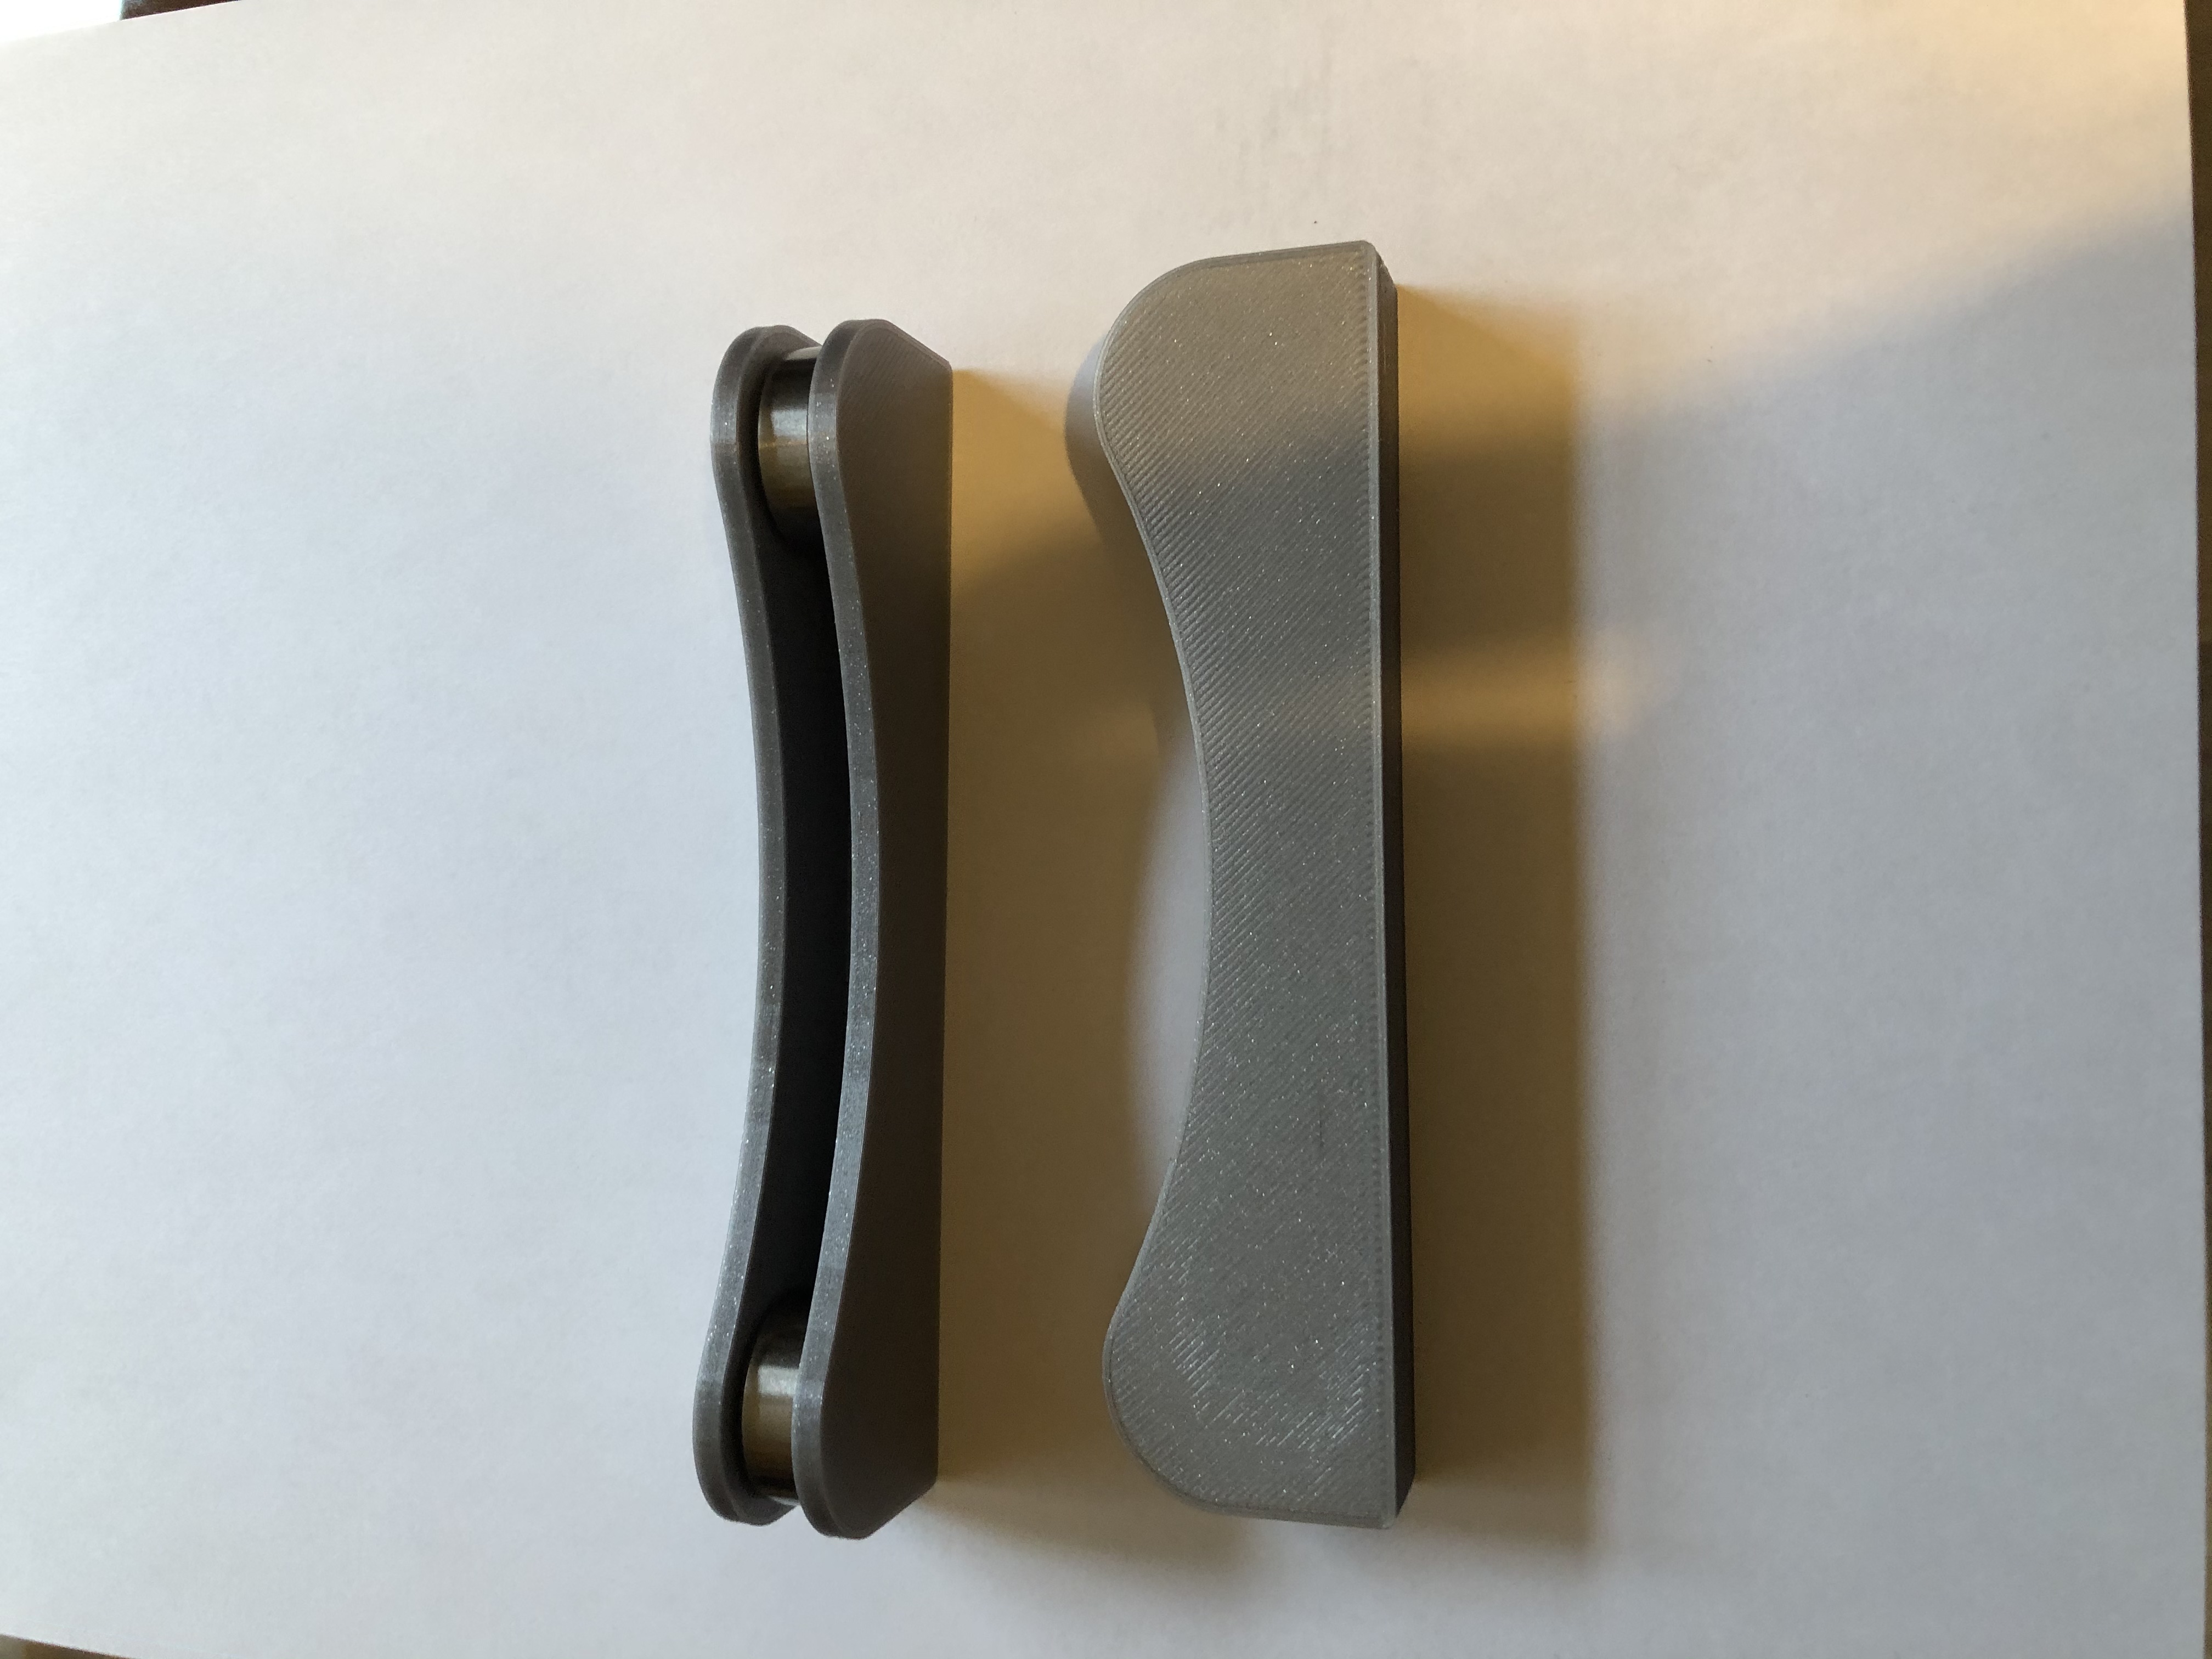
RE: New printer fun to build.
My only complaint is that there doesn’t seem to be any centering mechanism for the x idler and the pulley is moving from side to side when the x axis changes direction. That isn’t a huge deal, but the god awful squeak when the pulley hits the side of the housing is bad. As soon as my current print finishes I’m going to see if I can either get some lithium grease in there or find a way to get the pulley to stay centered on the shaft
RE: New printer fun to build.
the X idler migrates on the screw thread as the direction changes... 🙁
I replace with aftermarket 20 tooth idlers 6mm wide GT2 with 3mm Centre hole, which have two bearings instead of the original 1 bearing, and I don't notice the squeak
regards Joan
I try to make safe suggestions,You should understand the context and ensure you are happy that they are safe before attempting to apply my suggestions, what you do, is YOUR responsibility. Location Halifax UK
RE: New printer fun to build.
@joantabb
Thanks for the advice I’ll look into an upgraded idler.
RE: New printer fun to build.
If I ask very nicely can I have your enclosure...pretty please.
Andrew
RE: New printer fun to build.
Hey, congrats on the build I just finished mine today, having trouble getting the first print To stick to the smooth steel plate, it’s clean and some lines stick then it gets sloppy, what was the live Z advice u received?
RE: New printer fun to build.
@evanhovorka
I spray my plate with contact adhesive, like 3M Super 77 etc. Just lightly so it's kind of tacky when heated. I also do a larger first layer calibration (100mm square, infilled.). I uploaded one to myminifactory. It gives more time to adjust the Live Z, rather than the inbuilt one. I've seen some debate about what the live z 'should be' and mine isn't near the numbers bounced around, but I find it prints well, so why bother trying to get to some number? Whatever works.... works. 😀
RE: New printer fun to build.
There's clean and then there's Joan clean. Do the hot soapy water clean with a non scratch pan washing pad, dry and then alcohol rub before print and it should work fine.
Even if you have done this do it again to eliminate that as the problem.
As for Z. Do the first layer calibration and compare the results with pages 26 and 27 of the handbook. You can change Z up or down as it prints just like Mr P does on the video in the knowledgebase. If your lines are not sticking press and hold the dial button and select pause print. Pick off the bit that did not stick and look at it to see if it is round or squished. If it is round then Z too high. Restart the print (same button and select resume print). If it is squished is it squished enough (see the book page 26). It's also in the knowledgebase with even better pictures.
Hope that helps.
Andrew
RE: New printer fun to build.
@evanhovorka
Do a search of the forum for Life-Z. In that post you'll find a download link to a gcode file that is easier to use than the Prusa first layer cal. In my opinion the most important thing in the thread are the closeup photos that show you what the first layer is supposed to look like.
You can also use the Prusa slicer to make a square shape about 50mm x 50mm x .2mm and it will print a 5cmx5cmx.2mm high pattern on your plate. That will take a little while to print and give you some time to adjust your live Z value using the knob to get it right. Mainly I just checked eye balled it and then held the print up to the light and made sure no light came through in the middle and around the edges near the perimeters.
I could give you my first layer Z numbers, but it seems that they are very different from printer to printer.
RE: New printer fun to build.
If I ask very nicely can I have your enclosure...pretty please.
Andrew
No, you may not have my enclosure. I can tell you where I got it if you didn't figure it out from the image. 3D Upfitters. www.3dupfitters.com I built, and installed it Thursday and it's been working like a champ. I picked up a fan and a fan controller from coolerguys and put in a 3 inch flexible dryer vent to the window. Right now I've got the extra gap in the open window sealed off with some foam core poster board. I'm tinkering in Fusion360 to try and come up with a printed adapter to close off the opening a little more efficiently though.
RE: New printer fun to build.
I spent most of my weekend printing with PC-ABS, so having that enclosure was awesome. No nasty fumes in the house.
RE: New printer fun to build.
@evanhovorka
To add to Andrew's advice, I have only used hot water and Dawn dish soap(Thanks @joantabb) and haven't had any adhesion issues. I also use one of those cheap scrubber sponges with a non abrasive scrubber on the back side of it. After I've scrubbed it thoroughly i immediately dry it and only handle it by the edges. Keep in mind that there are two plates, textured powder coated and smooth PEI. Each plate excels for adhesion with different groups of materials.
Here is a good description of the plates and what materials you should be printing on them: https://help.prusa3d.com/en/article/flexible-steel-sheets_2195 .
RE: New printer fun to build.
@mgruenloh
Thanks for that. I will eyeball them. Just don't tell my printer it will be a nice surprise and soften the blow as it will be banished to the garage once I get my new enclosure sorted. The last enclosure simply will not work unless I mount the controller externally (which will defeat the purpose of keeping the wood dust out of it). The last one had sufficient cunningly placed holes that it maintained a fair temperature inside did not degrade the electrics and yet kept the dust out too.
Andrew
RE: New printer fun to build.
@mgruenloh
Thx @mgruenloh, I made adjustments to the Z axis and cleaned the smooth plate completely the first long plat print had slight curling, then the second print oof a small benchy worked! well 70% complete at this point, but looks great.
Thx for the tips, Im still going to look up Z life
RE: New printer fun to build.
@andrewld
The enclosure I picked out draws air through the power supply to keep it cool and the chamber warm. I've done 3 hour prints with nozzle temps at 275C and the enclosure only got up to about 38C with the fan running.