RE: life adjust Z - my way
Here is the finished calibration print?
RE: life adjust Z - my way
But when I took it off of the heat bed, the diagonals are all separate? Should the be squished together?
RE: life adjust Z - my way
@bill-h
Look back a page and Joan has a very good illustration of what to look for.
Tank you very much!
RE: life adjust Z - my way
And yes, needs to be 1 solid sheet.
Check out Joans post, its very helpfull.
Tank you very much!
RE: life adjust Z - my way
@bill-h
Need to go lower still. Need to get rid of the gaps between the lines until they get squeezed into each other. And minimize the holes on the edges.
Another good way to tell is by peeling up the print and holding it up to a light source. You shouldn't be able to see any light thru gaps in it, except for maybe a little on those holes around the edges.
RE: life adjust Z - my way
Did this in a bit of a rush and it's a little confusing (my results that is). I have looked back (and read Joan's) description of how to get a perfect first layer.
I started with the nozzle at -1.202 and ran the Prusa 1st layer calibration and increased to -1.235. Here are the results:

Then I started a print and stopped it when found the method explained in this thread. As you can see the layers are all separating indicating that the nozzle is still too high:

Without changing the Z offset I did the 75x75 calibration dowloaded from this thread, I thought it looked fine:

However when I removed it from the build plate it was all stringy, again suggesting that the nozzle was still too high:

So I ran the calibration print again and this time started to reduce the offset, I ended up at -1.330. At this setting it appeared to get a little rough on the edges:

The rough part in the bottom RH corner is where I reduced the setting below -1.330, but turned it back up again to -1.330. Here's the underside:

However this time both the -1.235 and -1.330 ended up as one sheet and not separating (apart from a little) when I picked it up:

So what's happening here, why is the second print now not separating? Any advice on the setting?
RE: life adjust Z - my way
Can anyone update me on the above, ref nozzle heights? Do I need to preheat before printing and should I be using Prit Stick.
RE: life adjust Z - my way
What an awesome section of the forum, Joan your method rocks. Thanks for posting. I am actually have some interesting results that I can't explain. I went through the process changing the Z on the fly until i got to a specific range that seemed about right, on my printer -1.95. I has tested from -1.6 (did not adhere well) to 1.21 (lots of ridges started to appear) and then went back to zero in more closely on -1.195 only to find a completely different result this time printing the same offset, this pic explains a bit...

Sorry, don't know how to rotate the image, the print on the right (bottom) was my original zeroing in on -1.195 starting out at -1.180. The print on the left (top) is my return to that setting to zero in on a more accurate number and you can see that at -1.195 i got crazy ridges I did not get before. Adhesion is great, no otjher changes other than offset have been made.
Any thoughts from this wise crew?
RE: life adjust Z - my way
More unusualness :-), I turned the printer off, waited a while and then turned on and reprinted starting at -1.197 (bottom right corrner with the dot) and reduce to -1.190 by the top left corner... different results again.

So looks like -1.195 or -1.192 are about where i need to be but the consistent repeatability of the test is concerning.
RE: life adjust Z - my way
@richardschreier
First things to check, is the X axis carriage loose, hold the print head/extruder assembly and gently see if you have any play in it up and down, if so, the plate on the back of the X axis could be slightly loose.
Check your Z axis motors are both tightened to the metal upright frame correctly and to the orange printed motor brackets and nothing is loose.
Check the Y axis (Bed) has no up and down play in it, if so you could find the bearing holders or rod holders are loose.
Also check the SPinda sensor is nipped up so it does not move, and the Hotend assembly is also not moving and installed correctly.
Tank you very much!
RE: life adjust Z - my way
@JeffJordan - thank you, my man! I've been banging my head against "PLA no adhesion on the PEI sheet" for many more months than I care to admit. First layer calibration "ran fine" every time, but I'd start a genuine print and be lucky if I got a finished object at the end of it. Following your method (I split the square into four zones though), I began with my current first layer and then started to dial in what I actually needed. Turns out I was 0.3 too high all along (-0.260 down to -0.560)! This procedure should be in the documentation, it's that helpful and obvious.
And while I'm at it, @JoanTabb, your "just wash the sheet with dish soap, dry it immediately with paper towel, then don't touch it" - another gold dust hint. Just need to get a proper tool for removing prints now...
So just wash the sheet, does this refer to the smooth magnetic printing surfaces? I started using Prit Stick as it came in the box with the printer?
RE: life adjust Z - my way
@bill-h
Yes, the smooth sheet(s) and the simplicity of hot water, a little ordinary dish soap (Fairy in the UK, Dawn in the US, E5 in Europe), and a soft, non-scratch sponge.
Personally, I get the hot water running from the tap (prep your two paper towels, and wet the sponge and squeeze it, then pour on a little soap - a few drops max, while the water heats), then I soak both sides of the sheet with the hot water, holding the edges of the sheet ONLY (who remembers how to hold a vinyl LP?). Now I wipe the soapy sponge on both sides of the sheet (I zig zag up/down, then left/right, front and back). Finally, rinse the sheet under the still running hot water, then immediately dry it with lint free paper towel and get it back onto the printer ASAP (using the still damp paper towel so you don't touch the now clean surface).
Only time I'll be using glue stick from now on is when I switch to printing PETg things.
RE: life adjust Z - my way
Tried again today.
Pre Heated the printer using the Prusa PLA settings.
Carried out a Prusa First Layer Test and it looked ok.
Started a print and brim looked ok, still lines though and not smooth, but let the print run.

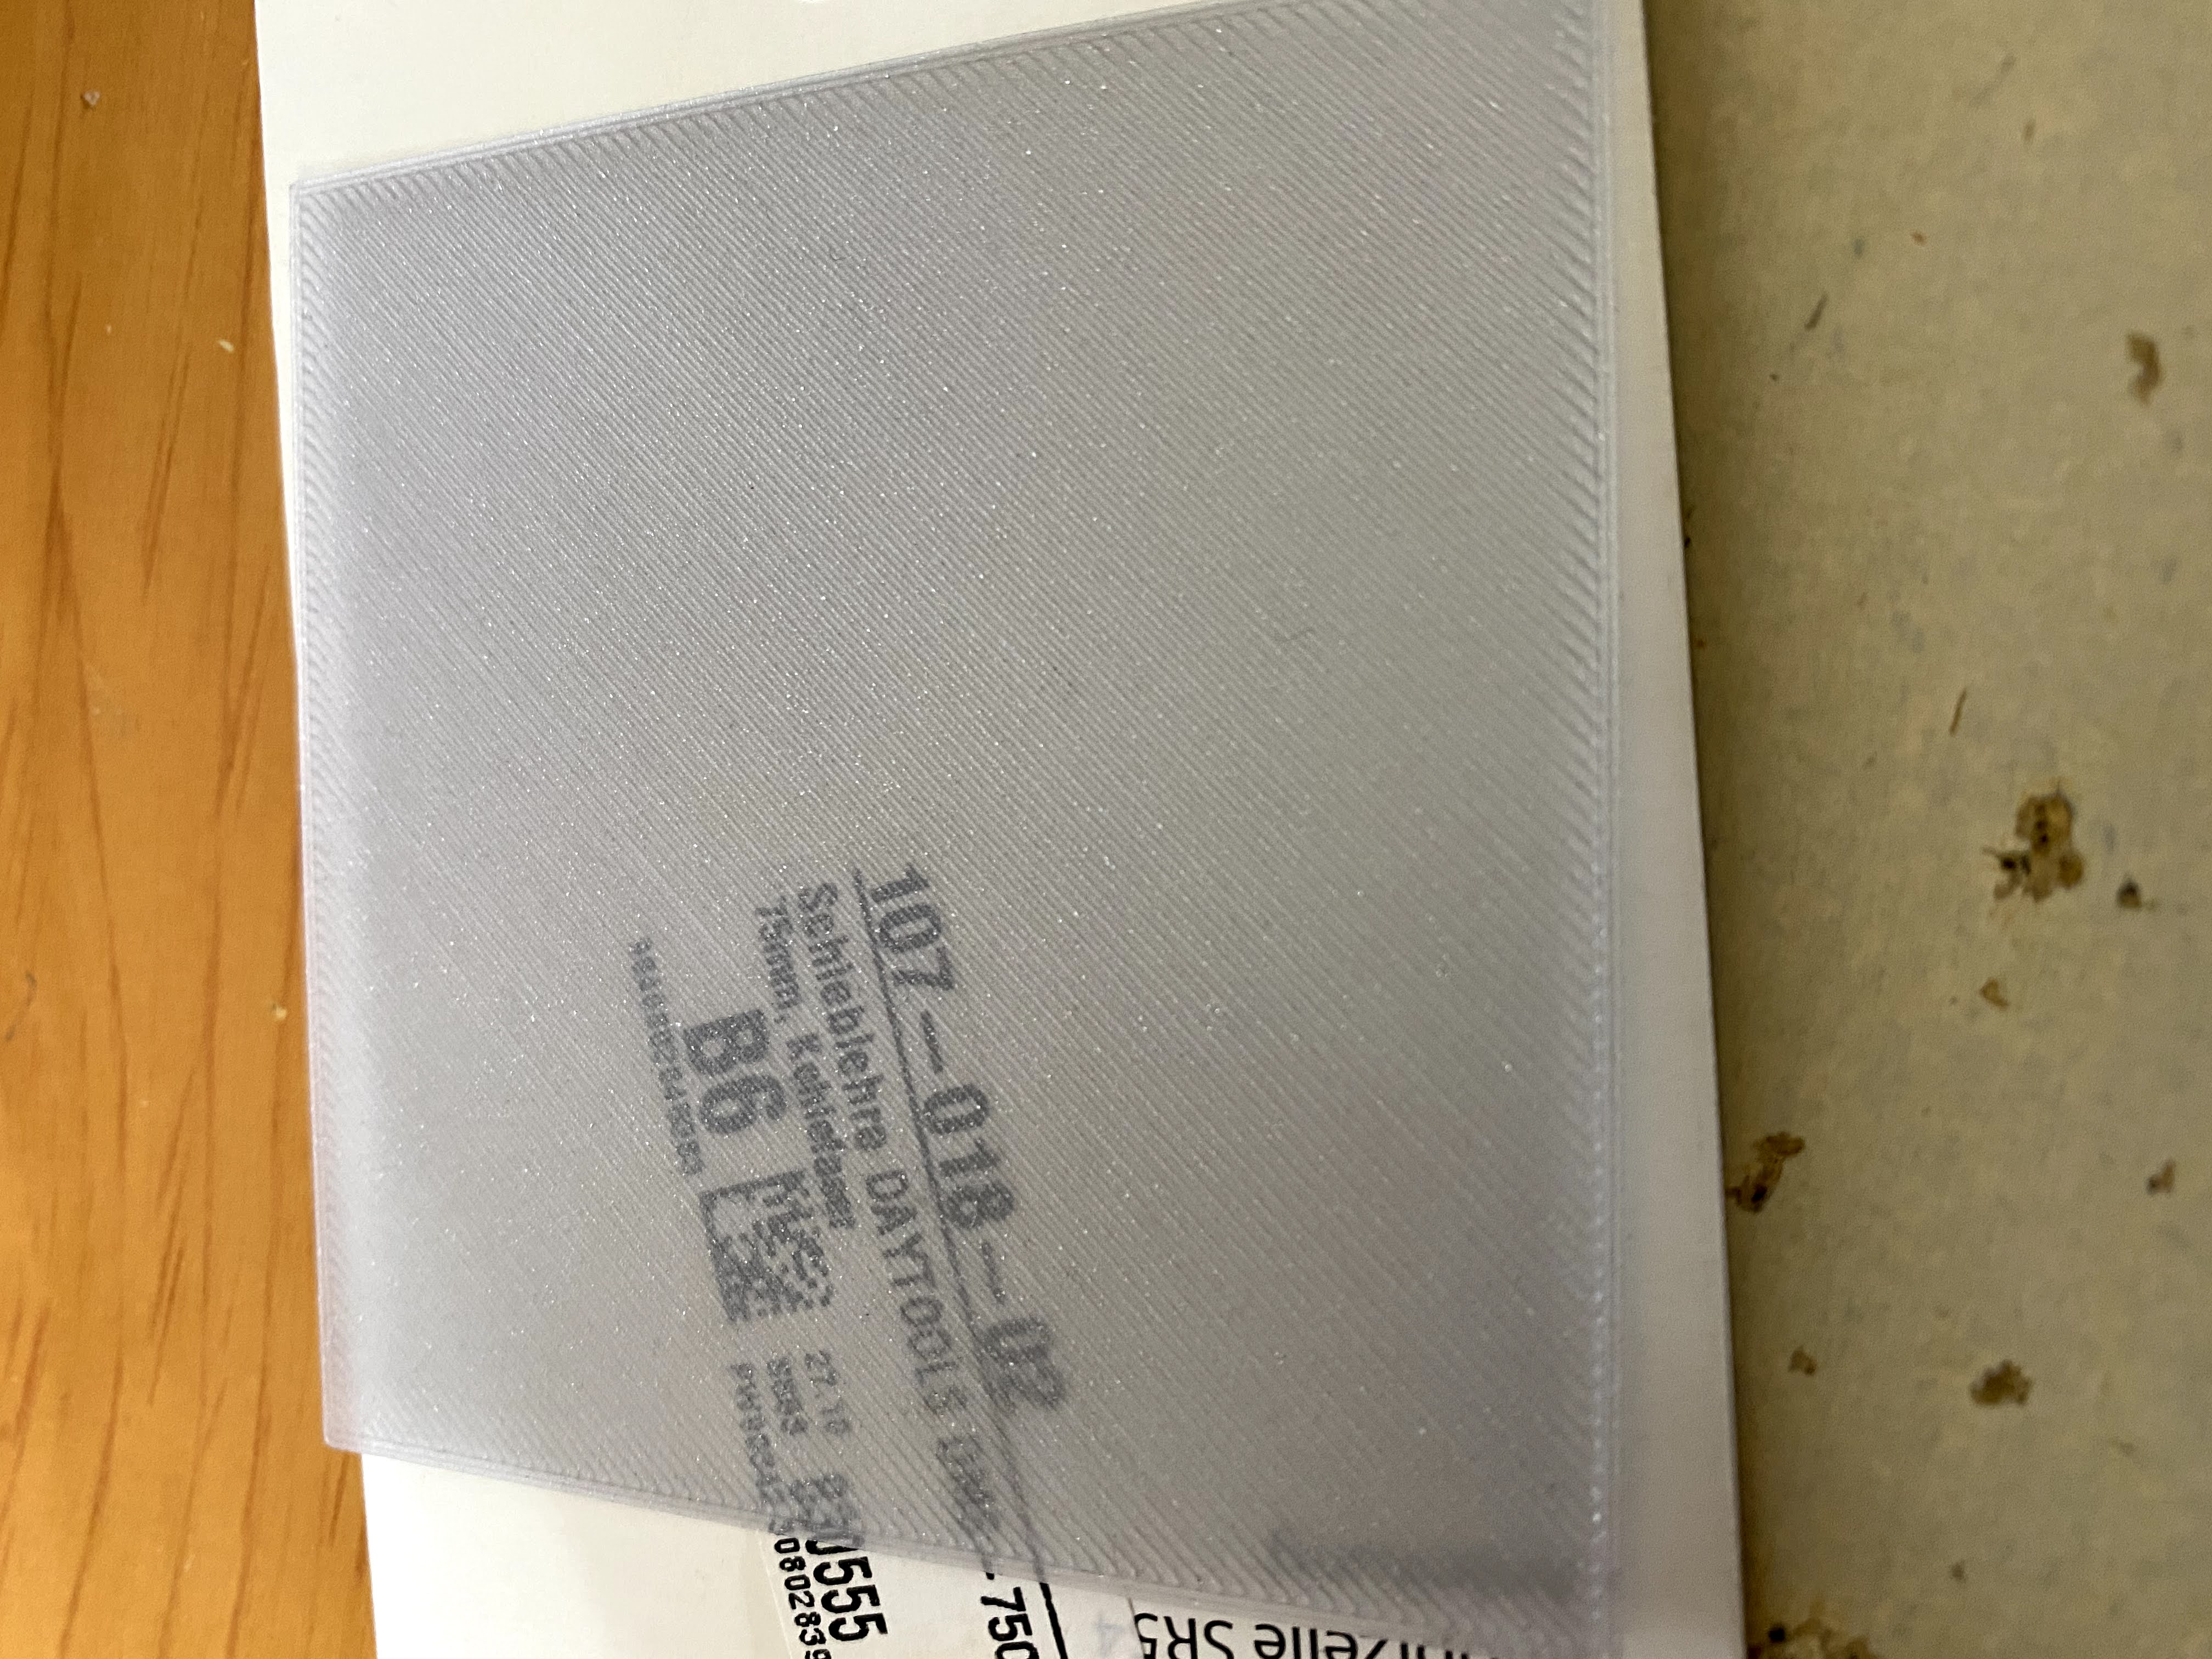
After a couple of hours here we have it:

Only thing now is why does it look like the top layer is missing?
RE: life adjust Z - my way
Hi there.
I´m fairly new in 3D-printing (got my first printer today) and have a question to be on the safe side. The pictures below are showing my first test template. The surface is a bit rough. Am I right, this means Z is to deep and I have to make it less negative? So from 1.003 to maybe 0.995 for example?
Thanks in advance.

RE: life adjust Z - my way
It's a fine line between too low and too high. You want a welded solid piece of plastic, not a harp. Too low and you will get ridges along the strands, too high and you get gaps. The bed isn't perfectly flat, and bed correction only helps so far, so you can get thin spots. I usually opt for too low - and deal with any ridges because a spot with gaps is worse.
Also - keep in mind run to run variation can also change things - starting temps are important as mechanical things warp and twist with temp change. So a perfect setting can easily turn into a subsequent non-perfect setting.
RE: life adjust Z - my way
Well I’m happy with that, maybe slightly low but hey Ho.
RE: life adjust Z - my way
@bill-h
When we speak to washing the print sheet, we are talking about the thin metal removable PEI coated sheet on most Prusa Mk2/Mk3/Mk3s FDM printers. The sheet that you print directly on. When clean, PLA sticks rather nicely to the smooth sheet, and sometimes sticks to the textured sheet. At this point, I think many recommend not using the Prusa textured sheet for PLA unless you want to fight with it - and we use alternatives when we want texture.
Some have found tack glues help with the textured sheet, or simply reserve it for PETG or stickier filaments. In all cases, if glue is needed to make PLA stick to the Prusa smooth PEI sheet, the sheet has oil, grease, fingerprints, or other contamination on it.
Ok good advice.
I'll stop using the Prit Stick
What about Isopropyl Alcohol?
Oh and is it ok to leave the metal print sheet on the bed or should it be stored off of the bed?
RE: life adjust Z - my way
@bill-h
Hi Bill.
I generally leave my working sheet on the printer, and store my spare sheets on their edge so things don't get dumped on top of them
I don't recall the last time I used pritstick and similar glues, I rarely use IPA... (I have 99.9%lab grade IPA...) I mostly rely on washing with dish soap and hot water... if I notice dust on the build plate I may wipe with IPA...
for TPU or PETG I put a little talcumpowder on the surface and rub it until there is no loose powder left, or I use finger grease to contaminate the surface.
Id a tpu or PETG print doesn't pop off the build plate, I spill a little IPA around the base of the model on the build plate and let it soak in, if it's a lrge print I may flex the plate and repeate the IPA application, and the parts usually come right off...
regards Joan
I try to make safe suggestions,You should understand the context and ensure you are happy that they are safe before attempting to apply my suggestions, what you do, is YOUR responsibility. Location Halifax UK