Funky first layer - newbie scratches head
Just got the printer (MK3s, factory assembled) a few days ago. Was working fine.But suddenly I get failed prints.
Picture shows first layer with printing PLA.
And yes, cleaned plate with IPA, also running standard PLA settings
Thanks
Helle
RE: Funky first layer - newbie scratches head
Scrub your textured build plate with hot water and unscented dish detergent like Dawn. Dry with a clean paper towel.
Use NO IPA this time. Just that hot water scrub.
And follow this:
RE: Funky first layer - newbie scratches head
Thanks,
I somehow believe that my issues lay with bad extrusion: Causing bad first layers and failed prints half way through.
In the picture below the 1st layer was not bad looking.
Then, on the 4th layer I got this:
The right part had some "ridges" already before the print finally failed with spaghetti on the left part.......
Not happy with my factory assembled printer 🤔

RE: Funky first layer - newbie scratches head
Very important is the first layer, make this low enough, so the filament stick very good.
Slow down the speed of printing.
Prusa settings are for maximum speed, like the fast infill speed of 200 is to fast for big flat models, make this slower, like the travel speed 180 i find to fast.
With a test object, a big flat square on the whole bed, the fast infill does not work, how to solve this, higher extruder temperture , or slower speed.
RE: Funky first layer - newbie scratches head
Just from your picture it looks like your Z is way to high.
Please print a calibration square from the link I gave you and post here. It will tell us a lot.
RE: Funky first layer - newbie scratches head
@helle
Ideally you should recalibrate the first layer before using the printer for the first time and after each repositioning. But first, clean the print bed with soap and water. A well-adjusted first layer is very important for the further course of printing.
Statt zu klagen, dass wir nicht alles haben, was wir wollen, sollten wir lieber dankbar sein, dass wir nicht alles bekommen, was wir verdienen.
RE: Funky first layer - newbie scratches head
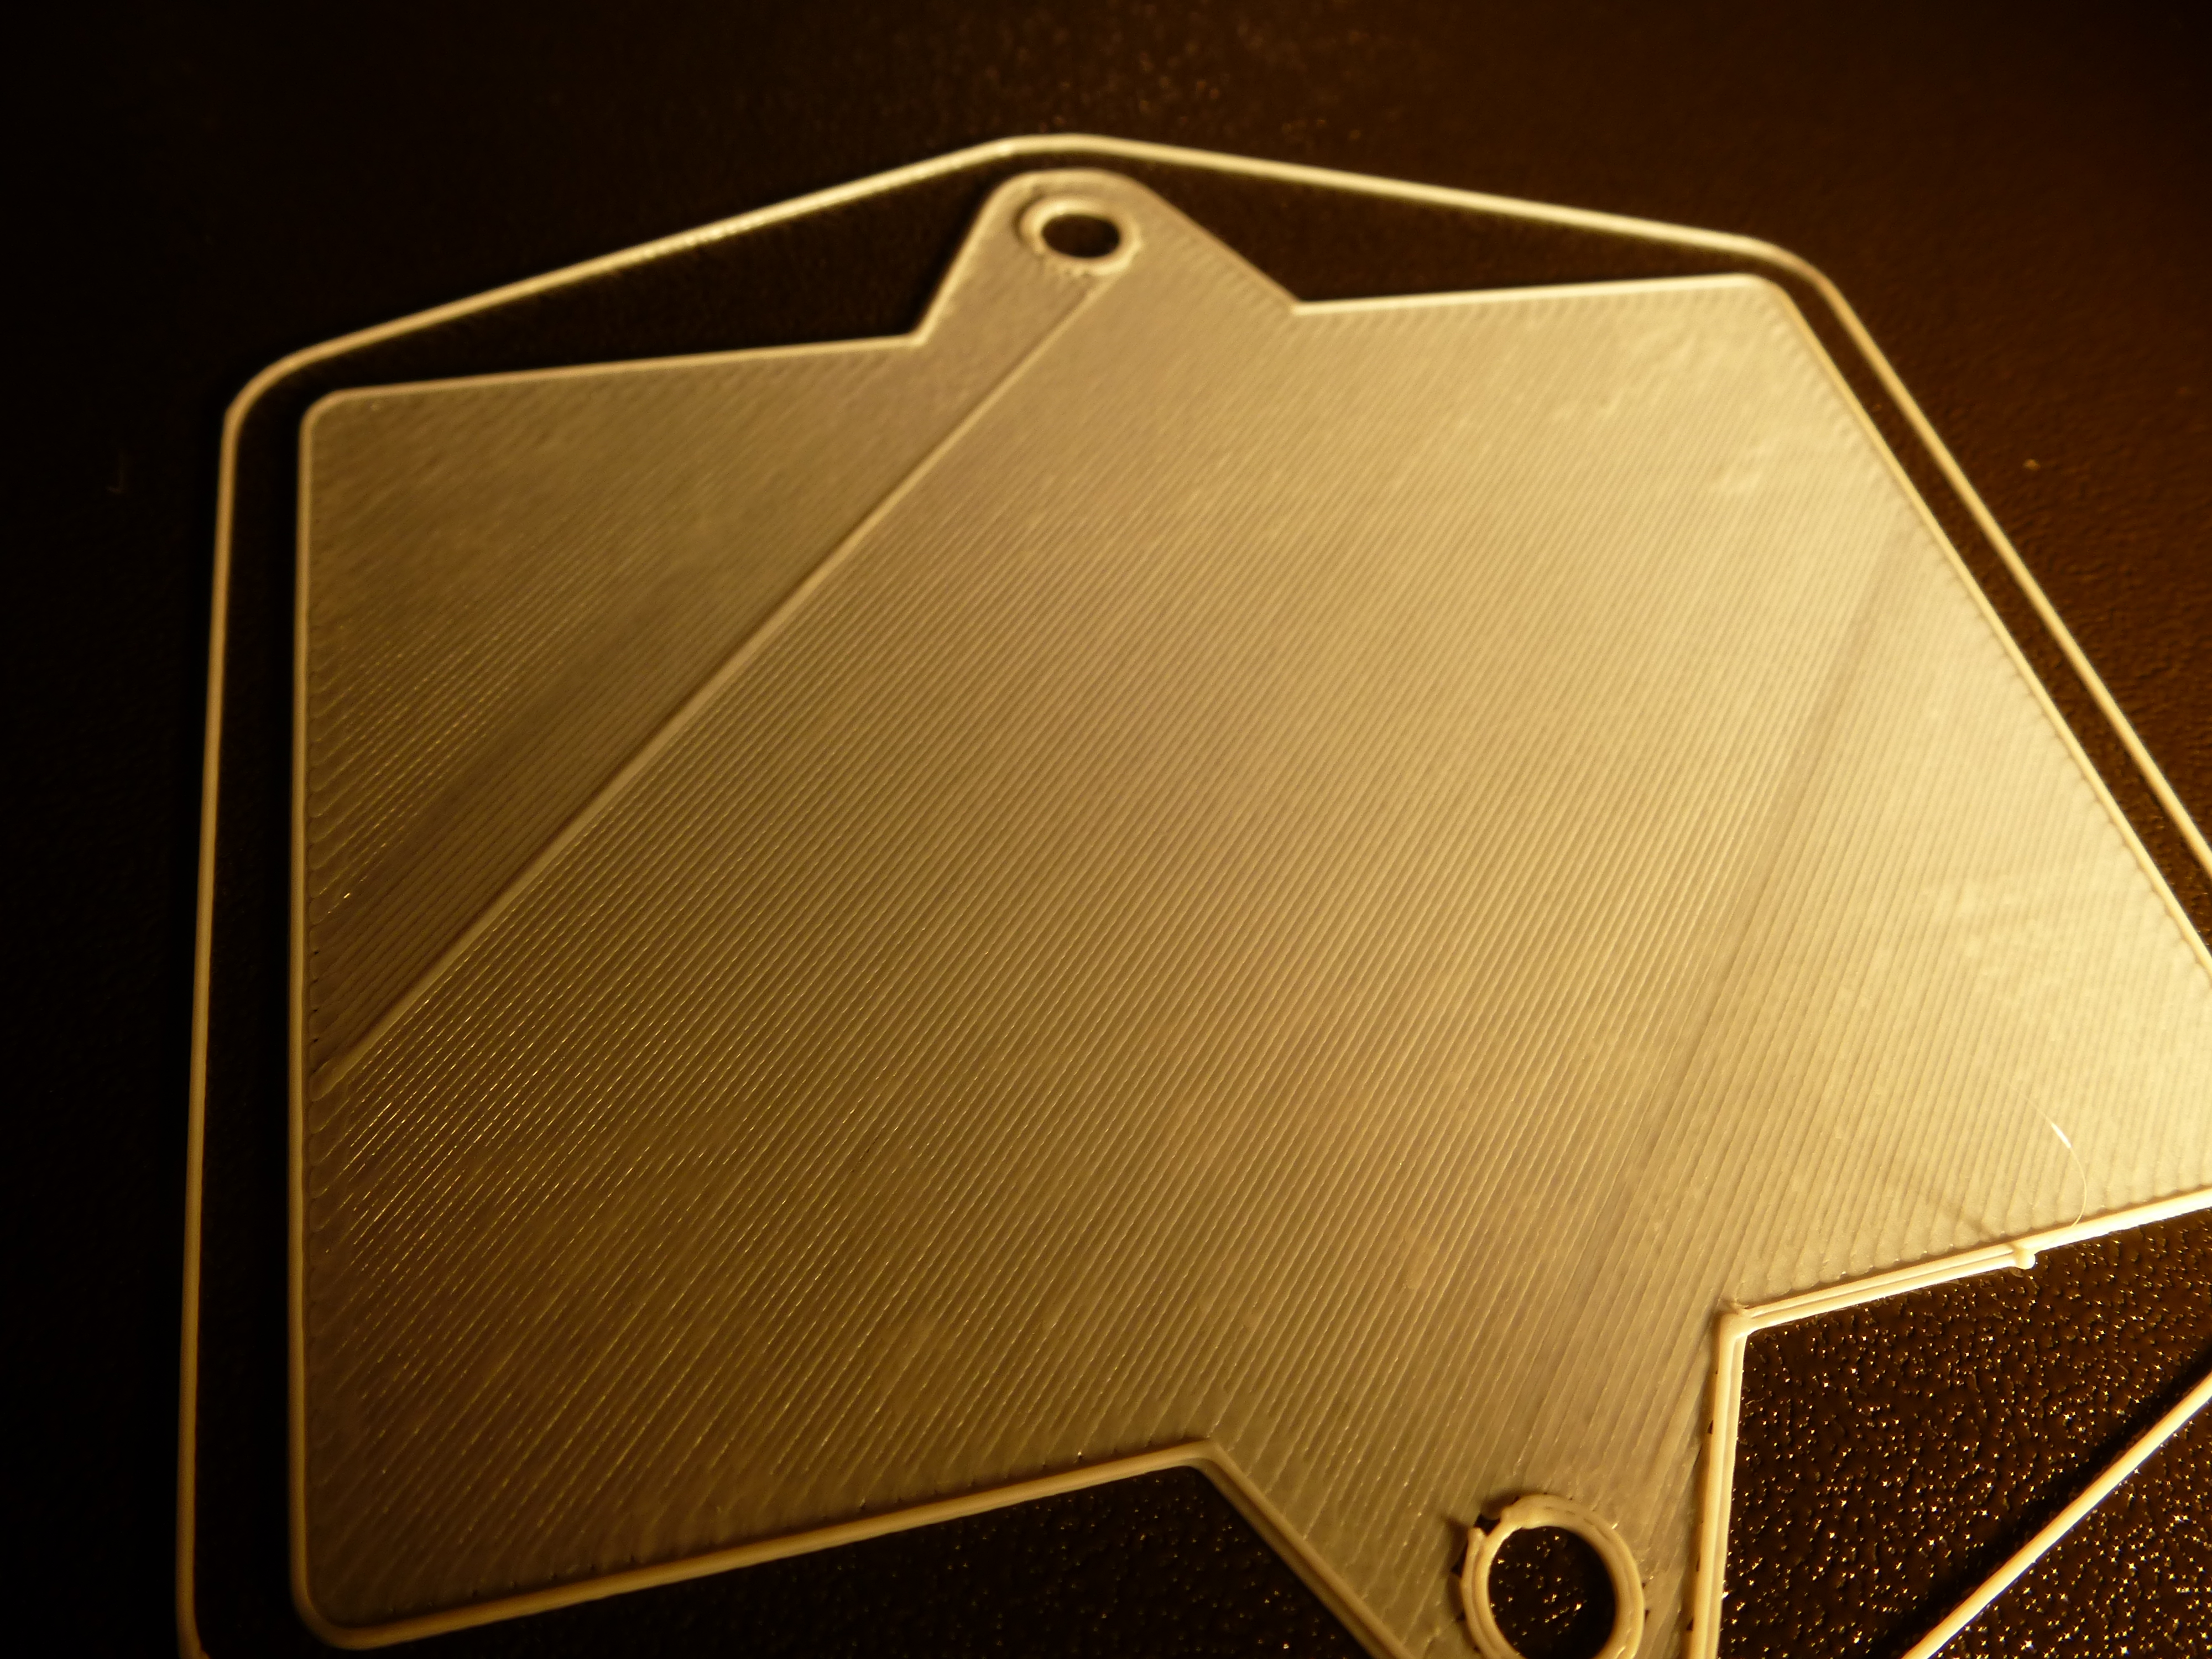
With the textured sheet and PLA the first layer now looks like this:
I re-trained the Z from scratch, it is now 50 mils higher.
In addition I had to set the mesh leveling to 7x7 . (is that normal for a factory assembled brand new Mk3s??)
If I do 3x3 the first layer often fails.
RE: Funky first layer - newbie scratches head
@helle
7x7mesh bed levelling is an advancement on 3x3 mesh bed levelling, I use it all of the time.
I think your Live Z could do with being a tiny bit higher,
regards Joan
I try to make safe suggestions,You should understand the context and ensure you are happy that they are safe before attempting to apply my suggestions, what you do, is YOUR responsibility. Location Halifax UK
RE: Funky first layer - newbie scratches head
Thanks everyone for your input
@joantabb...... what is a tiny bit? 0.01?
Anyhow, the Saga continues: After the last successfull 1st layer (see picture in prior message) I switched from PLA back to PETG and I got this:

looks pretty bad.......
I carefully removed the failed print and WITHOUT cleaning the sheet I printed a PETG square to re-adjust Z.
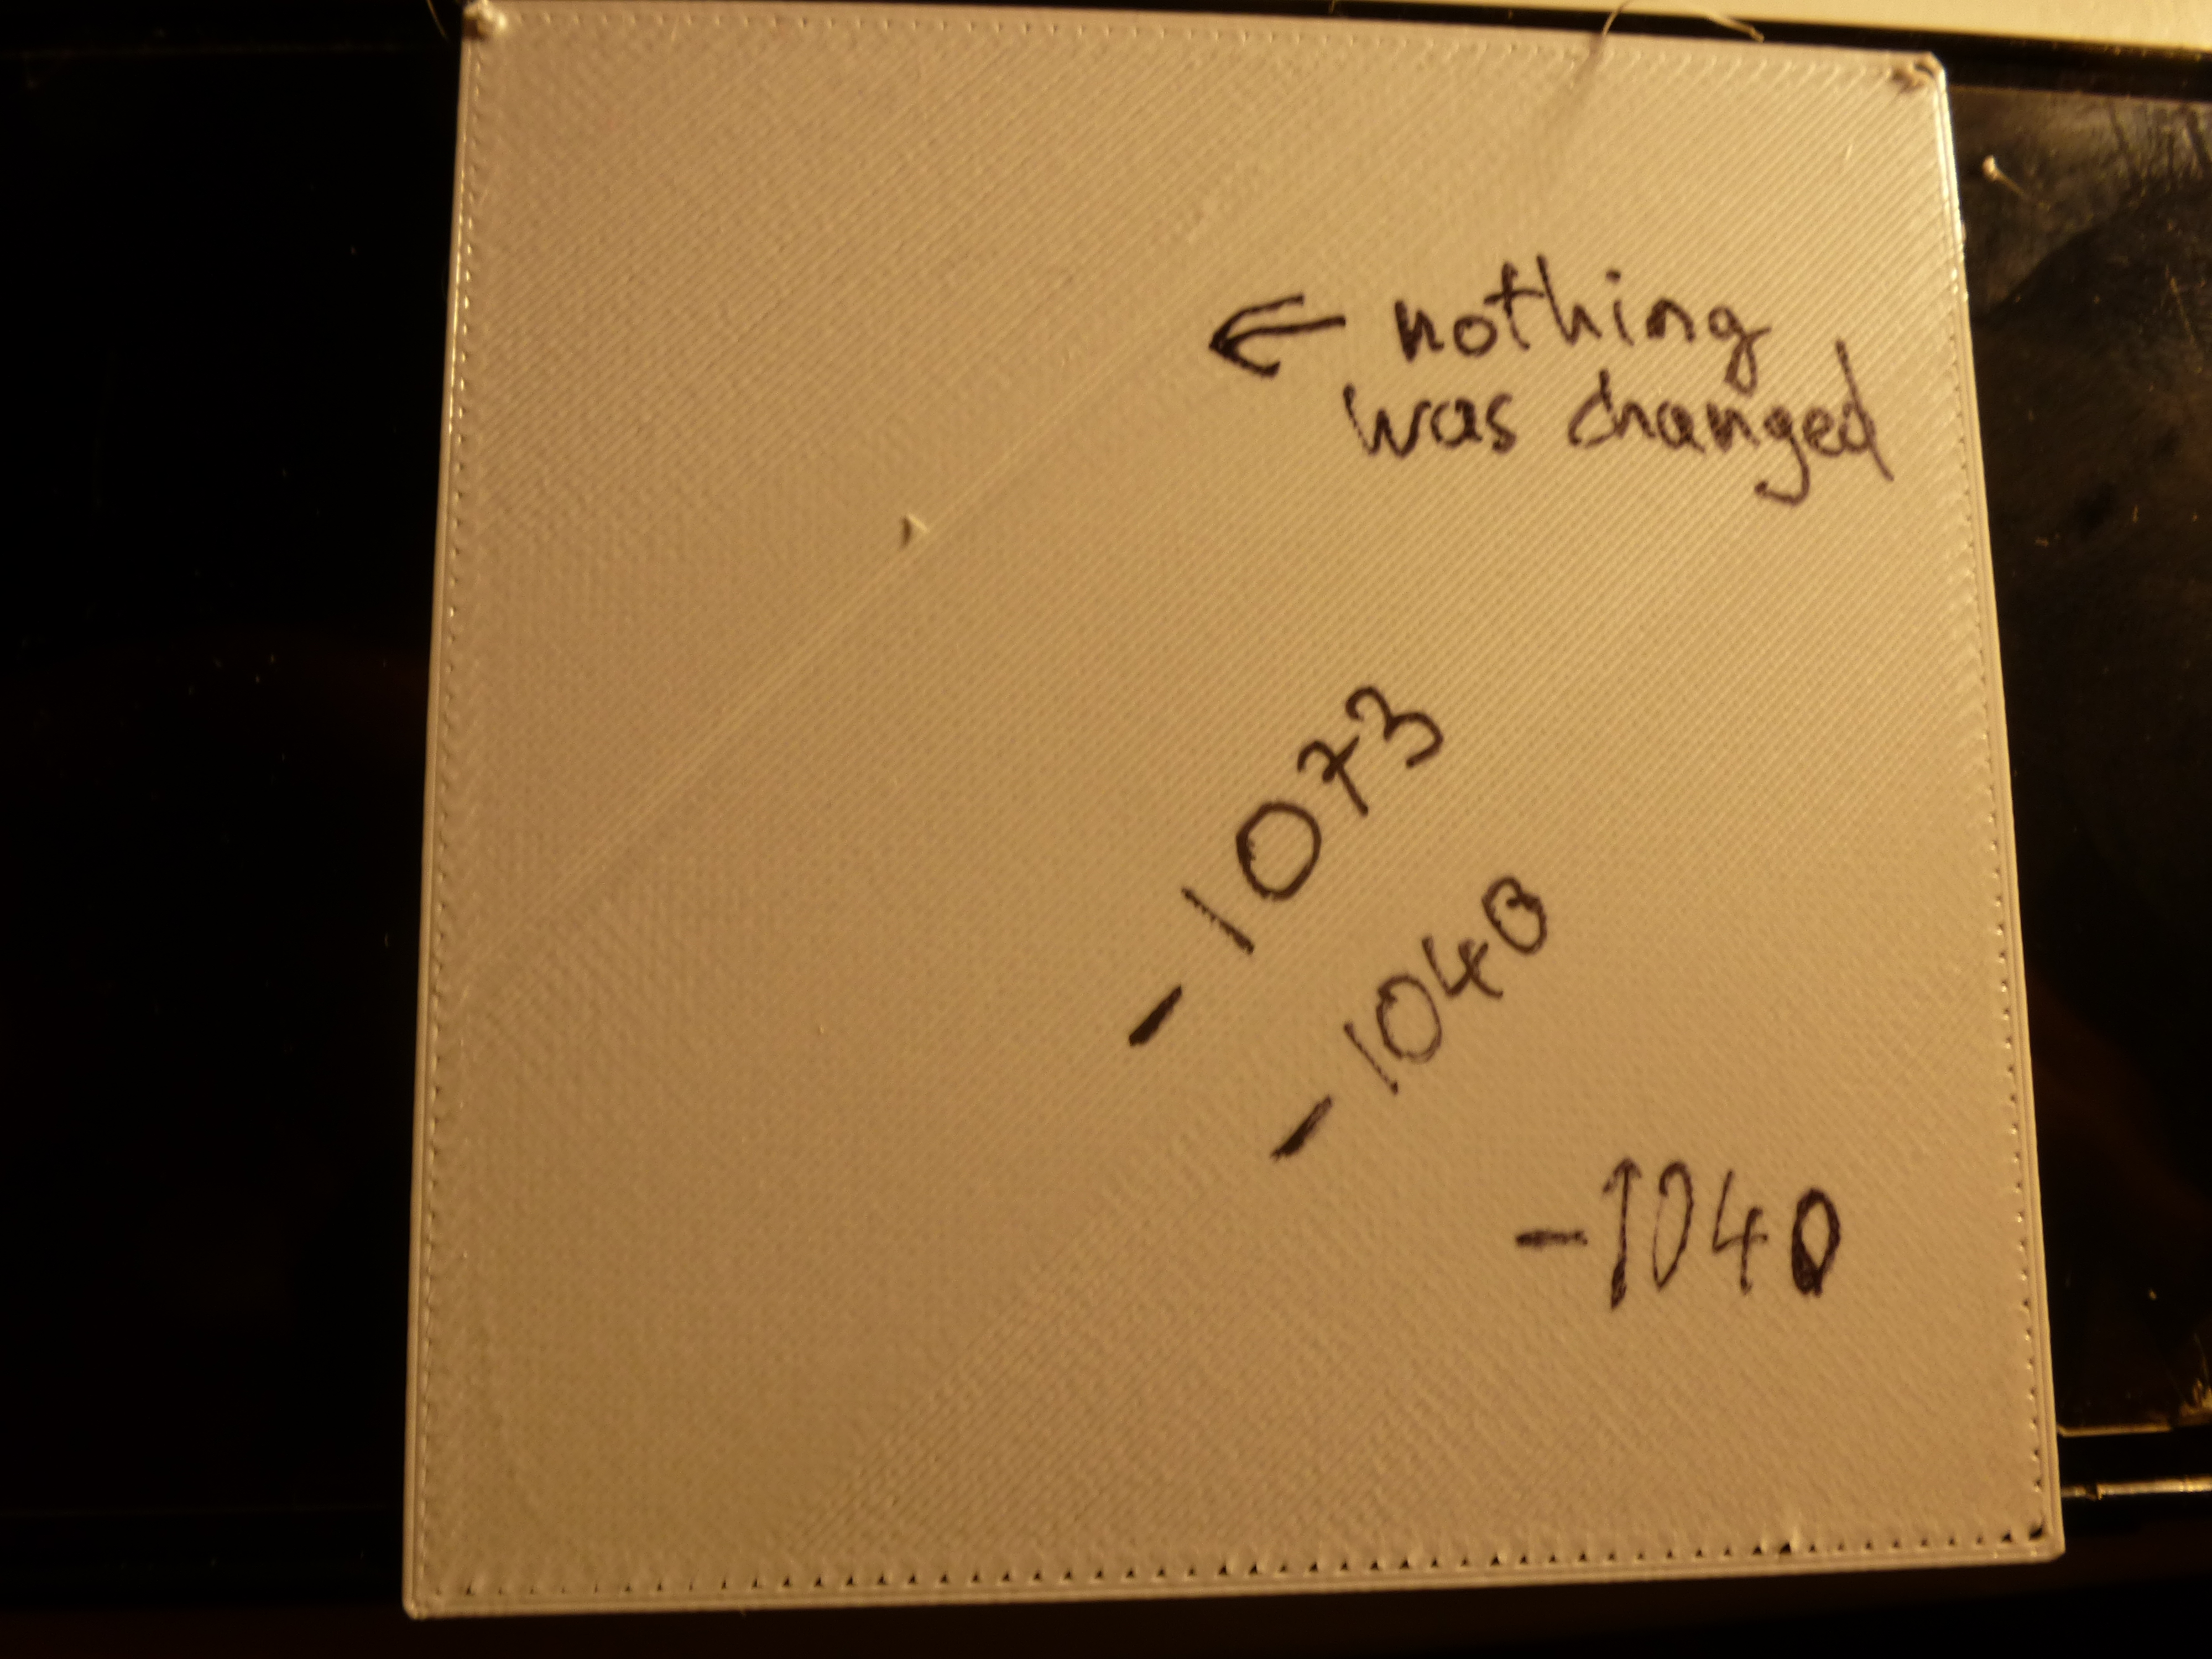
The print started in the lower right corner, with a setting of -1040.
The print did not look bad, but was lacking a bit of connection to the outline of the square. So I lowered Z to -1073. The connections to the outline improved. The funny thing is that this print was printed on the very same spot which failed 10 minutes earlier (without cleaning sheet and with same settings when starting (-1040)).
There is an arrow in the picture below. The print suddenly changed WITHOUT me changing any parameter. I do get artifact like this throughout my prints.
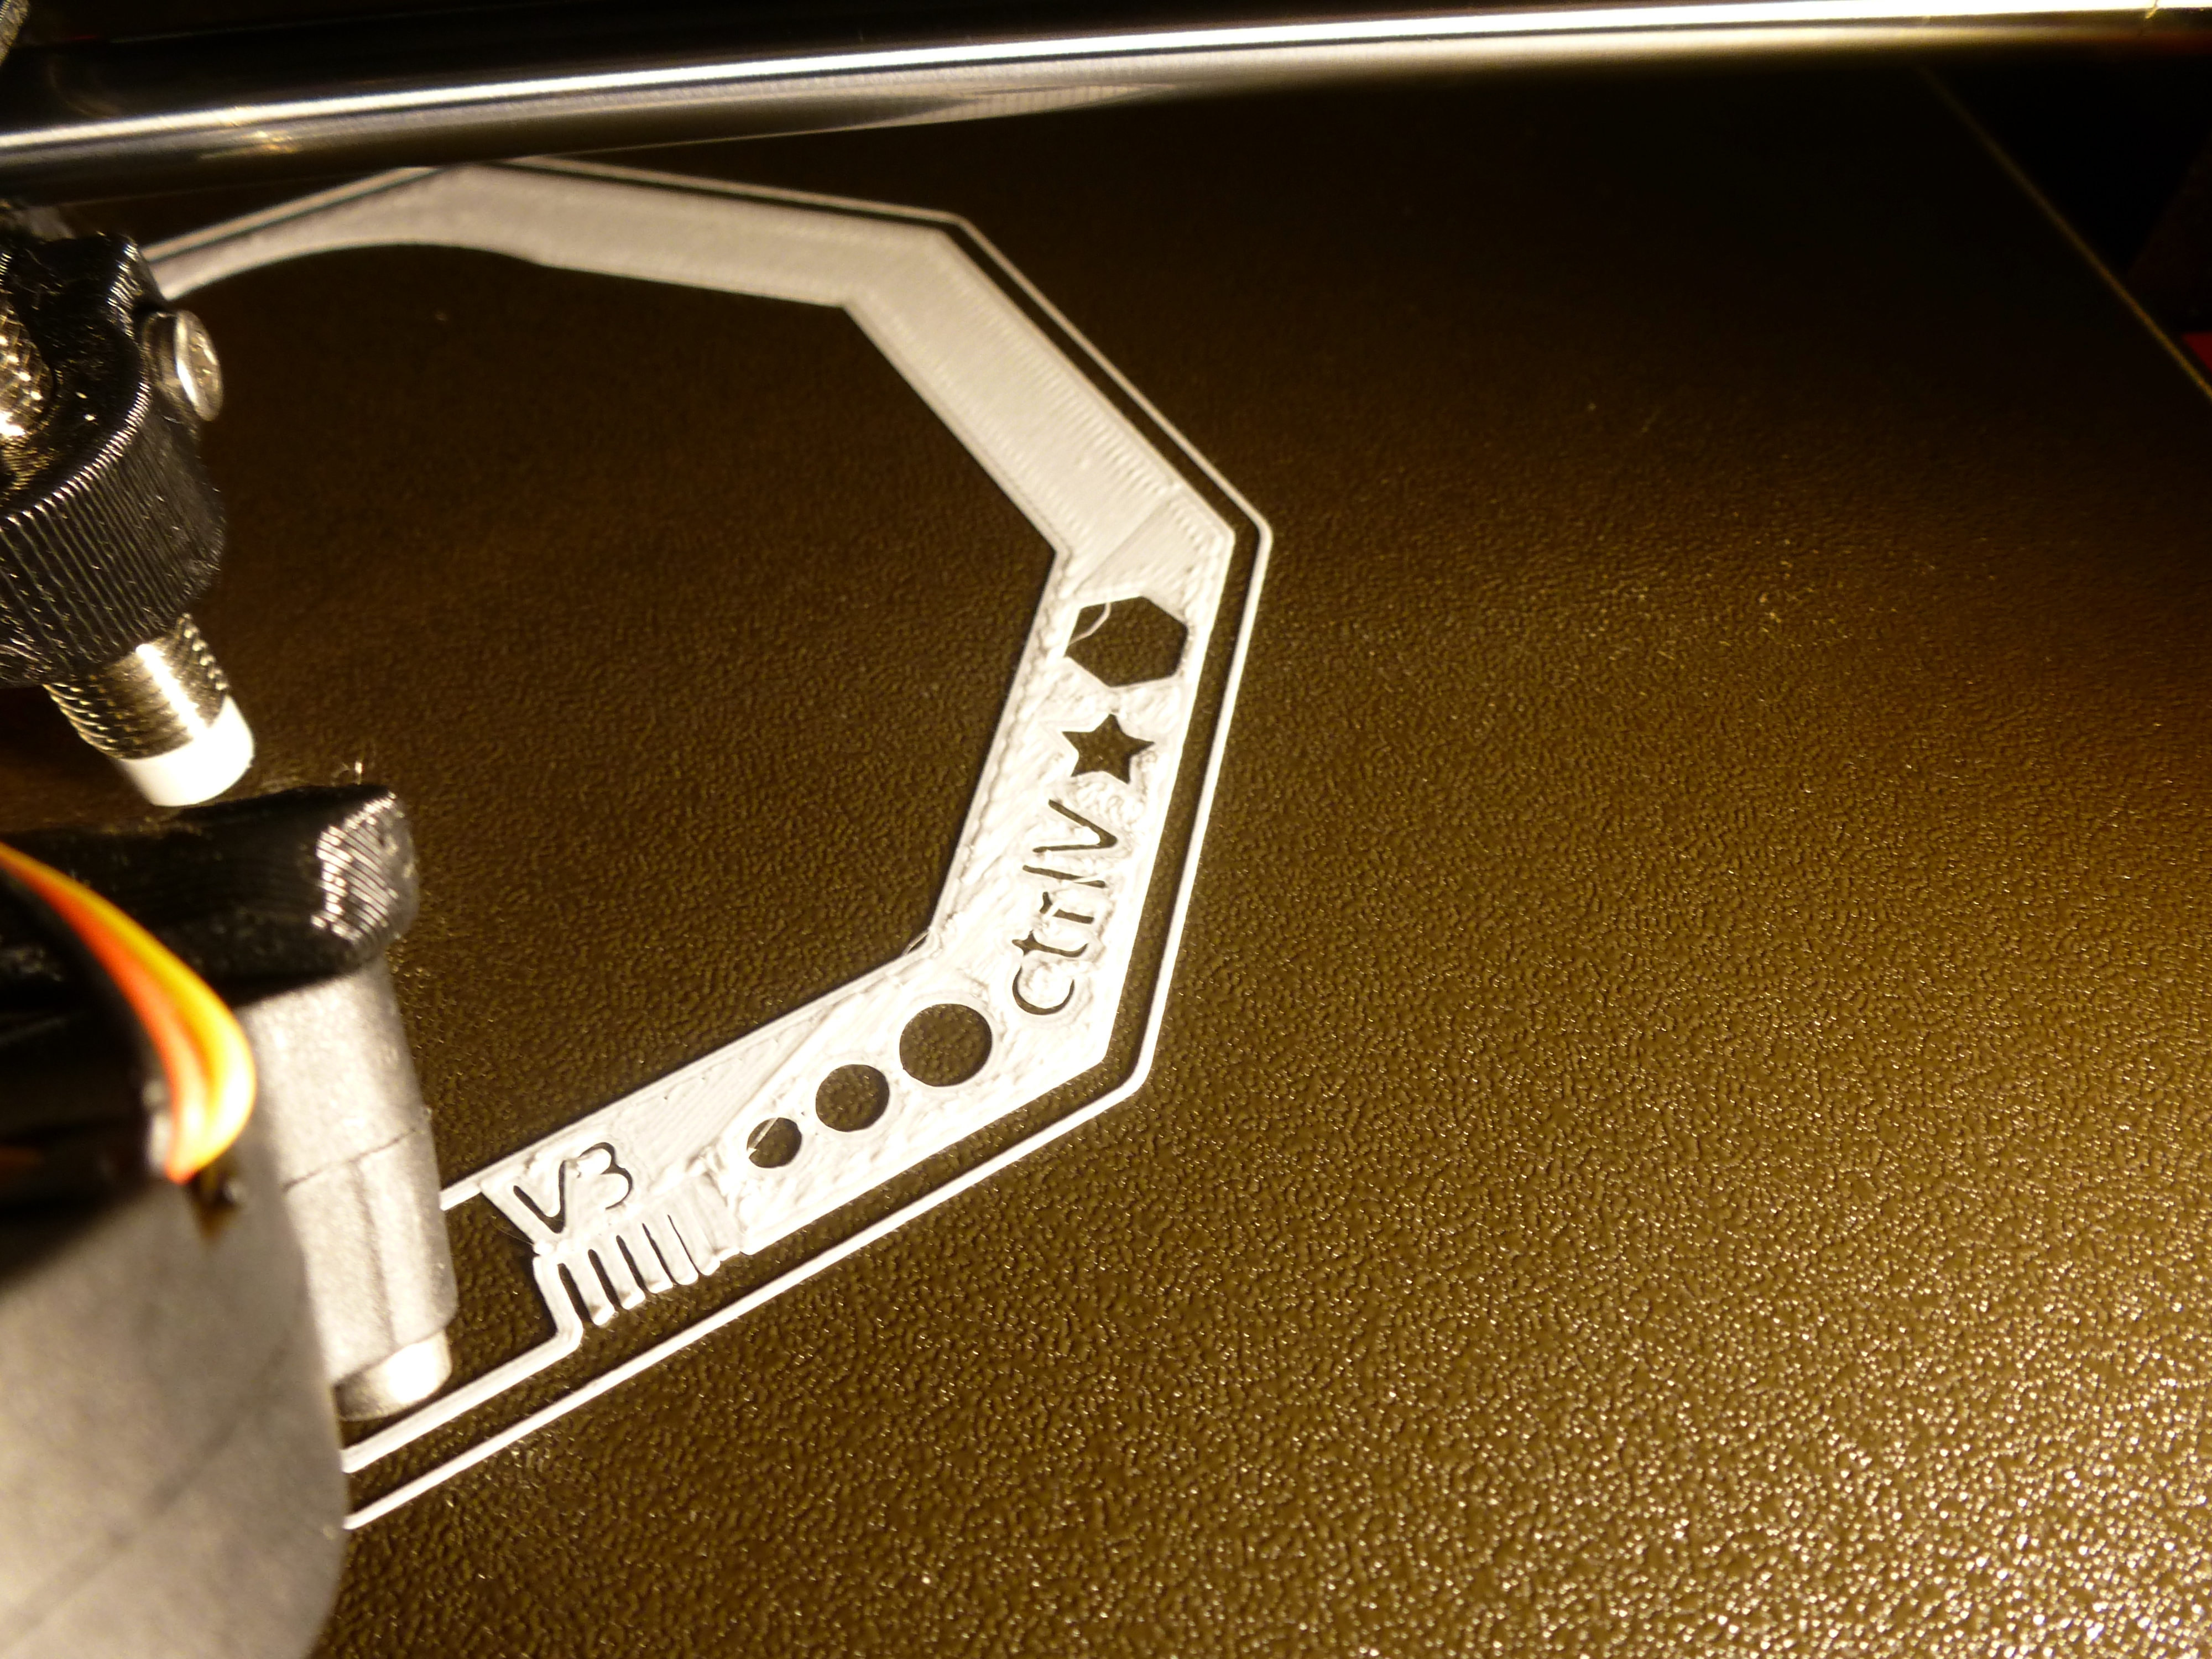
So I removed that test print and then again WITHOUT cleaning the sheet I tried the test-print which failed before printing the square.
The first layer looked decent. But I did get some "lines" and stringing in the later layers (see pic). The print quality in some of the upper layers looks not good to me (again, first layer was fine).

I also noticed a rattle (see video). Turns out I got some play in the Y-axis. I can wiggle the heatbed left and right by 0.5mm. This is what causes the rattle with certain print movements.
