First Layer Printing Problem
Hi,
i bought a Prusa MK3S second hand and had some problems with the first layer on metal sheet. I wanted to upgrade it to mk3s+ and so i bought the kit and mounted it. This was very easy because of the super manuals, but the problems with the first layer still exist.
I tried to do bed level correction and it made it a little better but still, the test file which i downloaded from this site (bed level correction) with all the squares on the print bed makes a lot of problems.
First i thought i had to correct the left side a little (about -75um) and after that the print was now at least doing something (beforehand i always had to interrupt). But it is still not perfect.
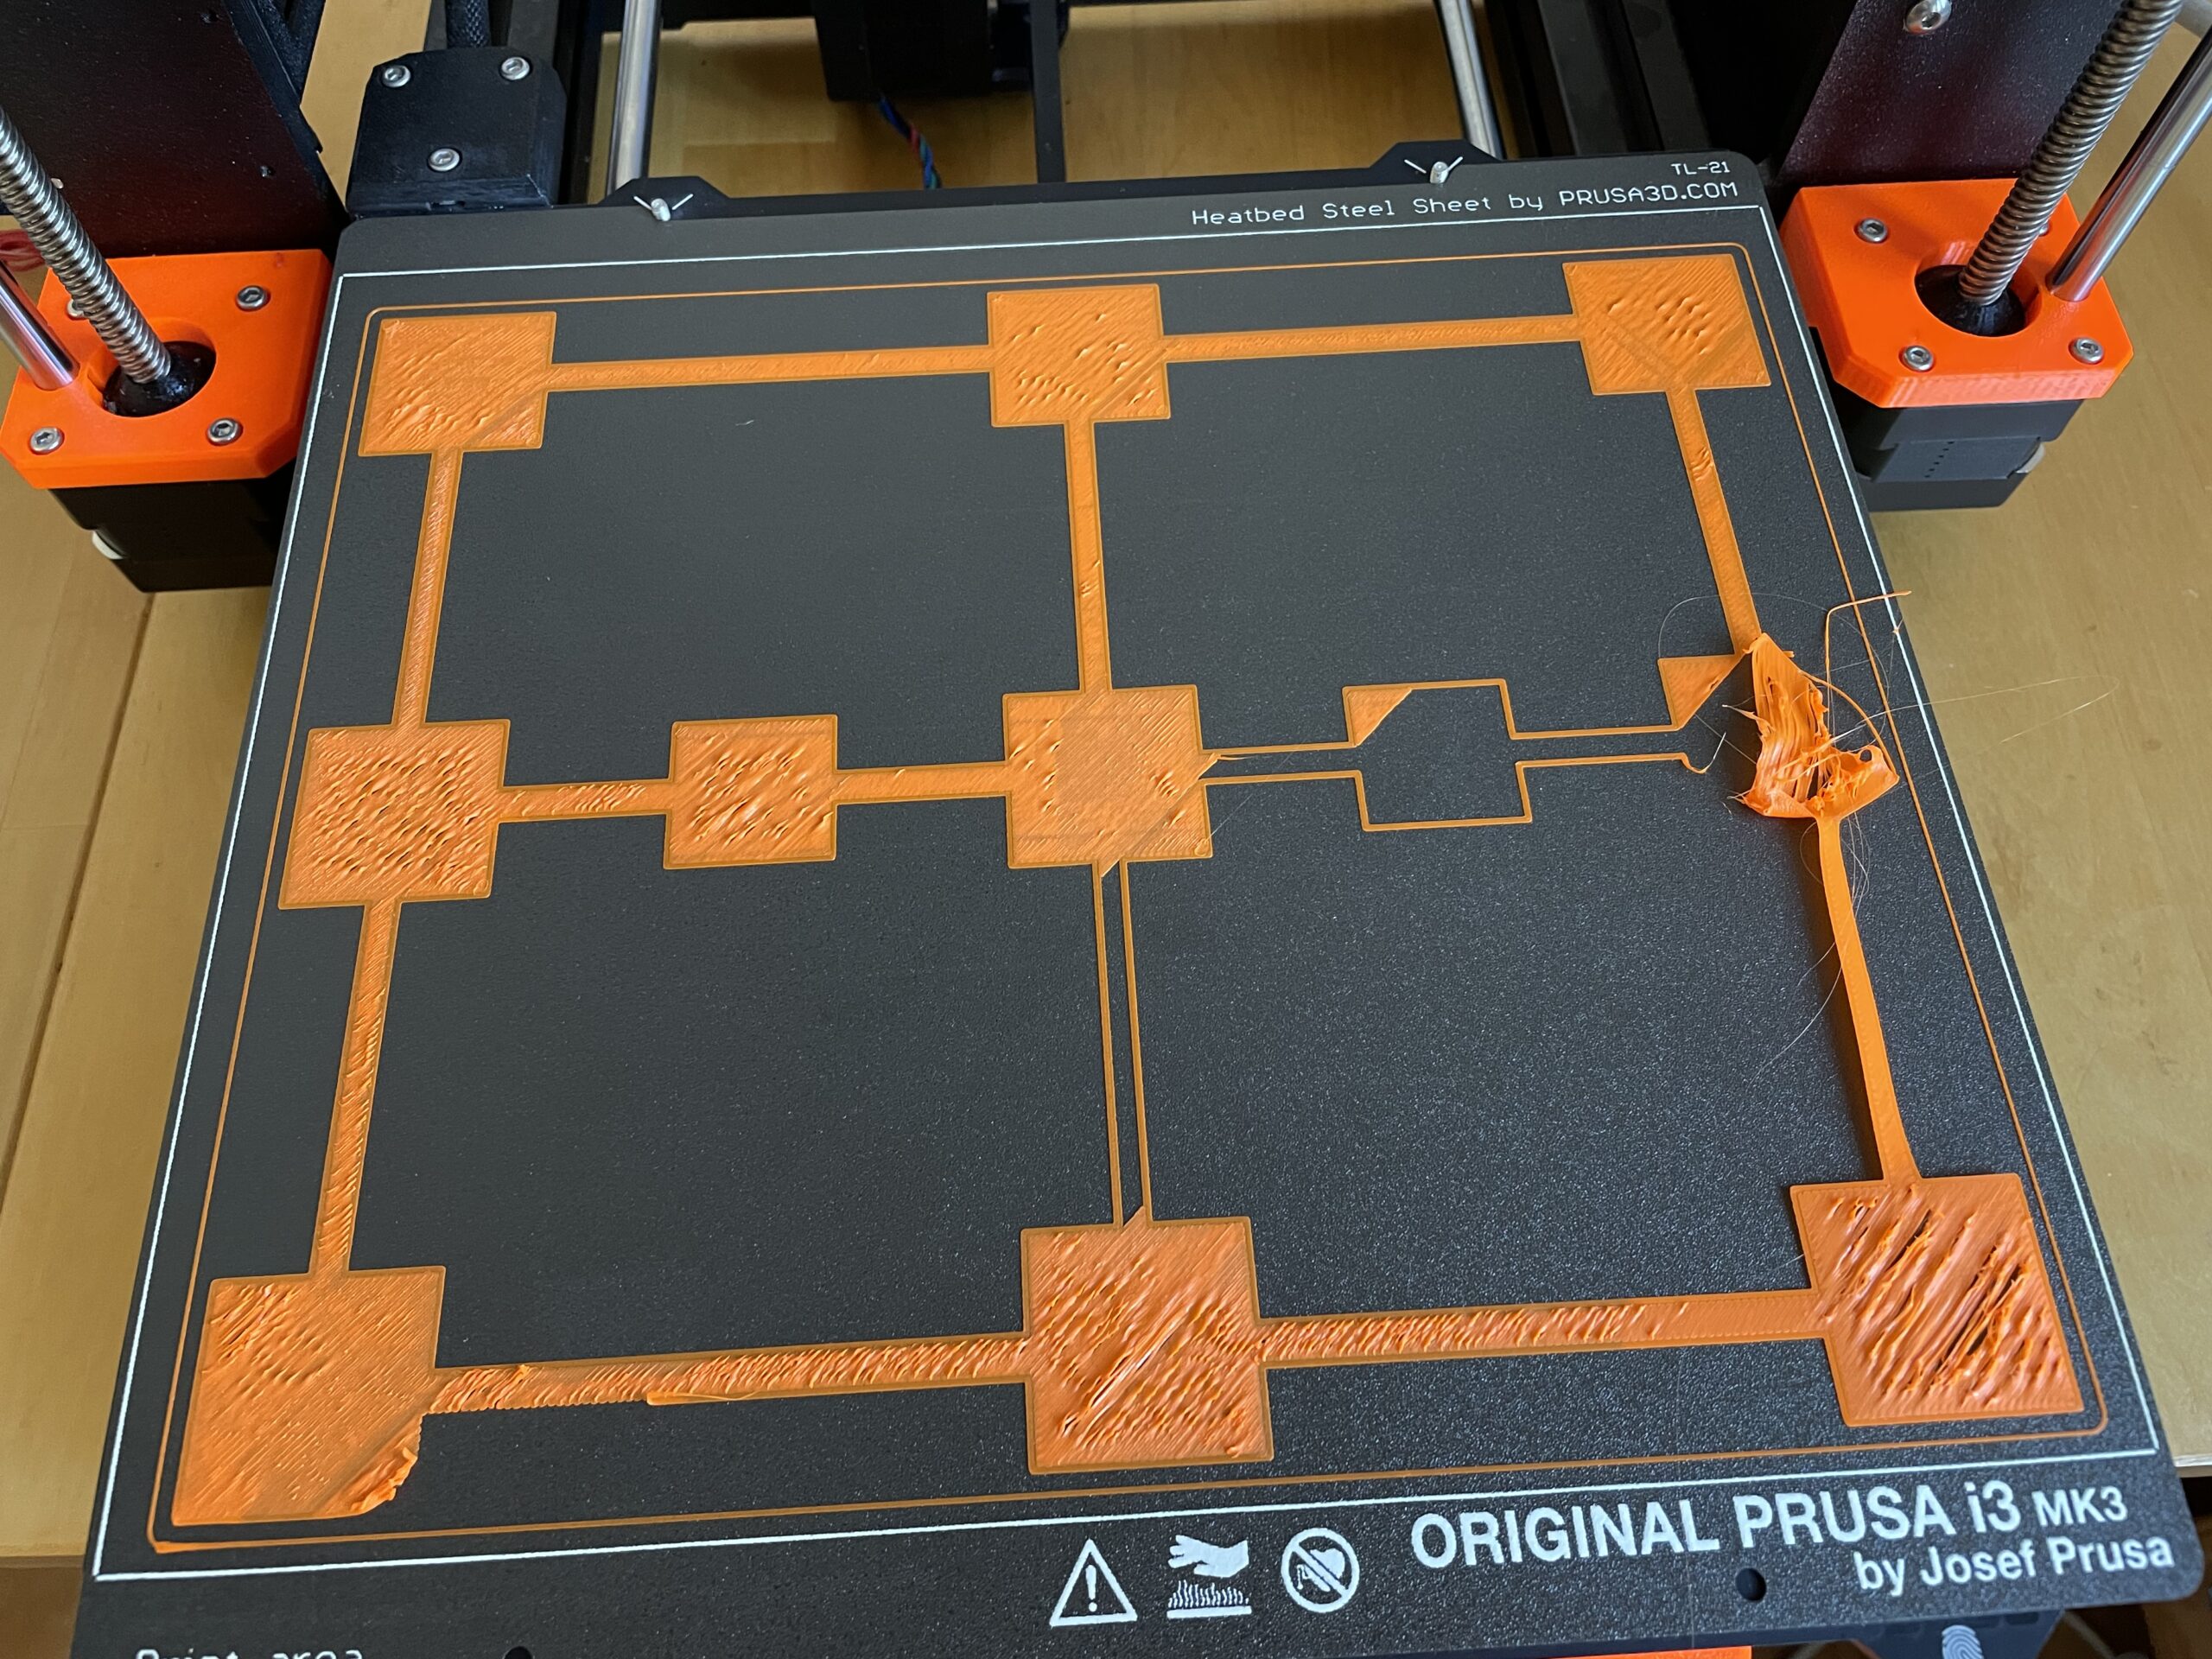
This looks nearly identical on the whole plate, what is wrong here? am i to far away or to near on the plate with the nozzle?
Thanks in advance for help.
M.
Your first layer Z is a little too low, too squished.
At the end of the calibration you are aiming to print a single layer *sheet*. It should be possible to peel it off in one and fold it without the threads seperating. If it breaks into lines it is too high, not squished enough. If it is a single sheet but with wavy lines or drag marks on it you are too low.
Cheerio,
too low means?
too low means i have to correct in the + direction?
there is one more thing i do not understand, i always though, that Super PINDA is calculating the correction layer (if the print bed is not even enough) in the first calibration phase (9 points) and based on that a correction is done. But why do i have to correct with the bed level correction manually again?
too low means i have to correct in the + direction?
Correct.
The (super) PINDA detects the metal bed, you are calibrating the difference between the detection point and the precise mechanical position required. It varies with different beds and, to some extent, different filaments.
Cheerio,
corrected, better but space for improvements
hey, thanks for your help. i managed to adjust it a little bit and now i have the following print result. Its orange PLA made for PRUSA Research printed with 215 degree nozzle and 60 degree bed (first layer settings).


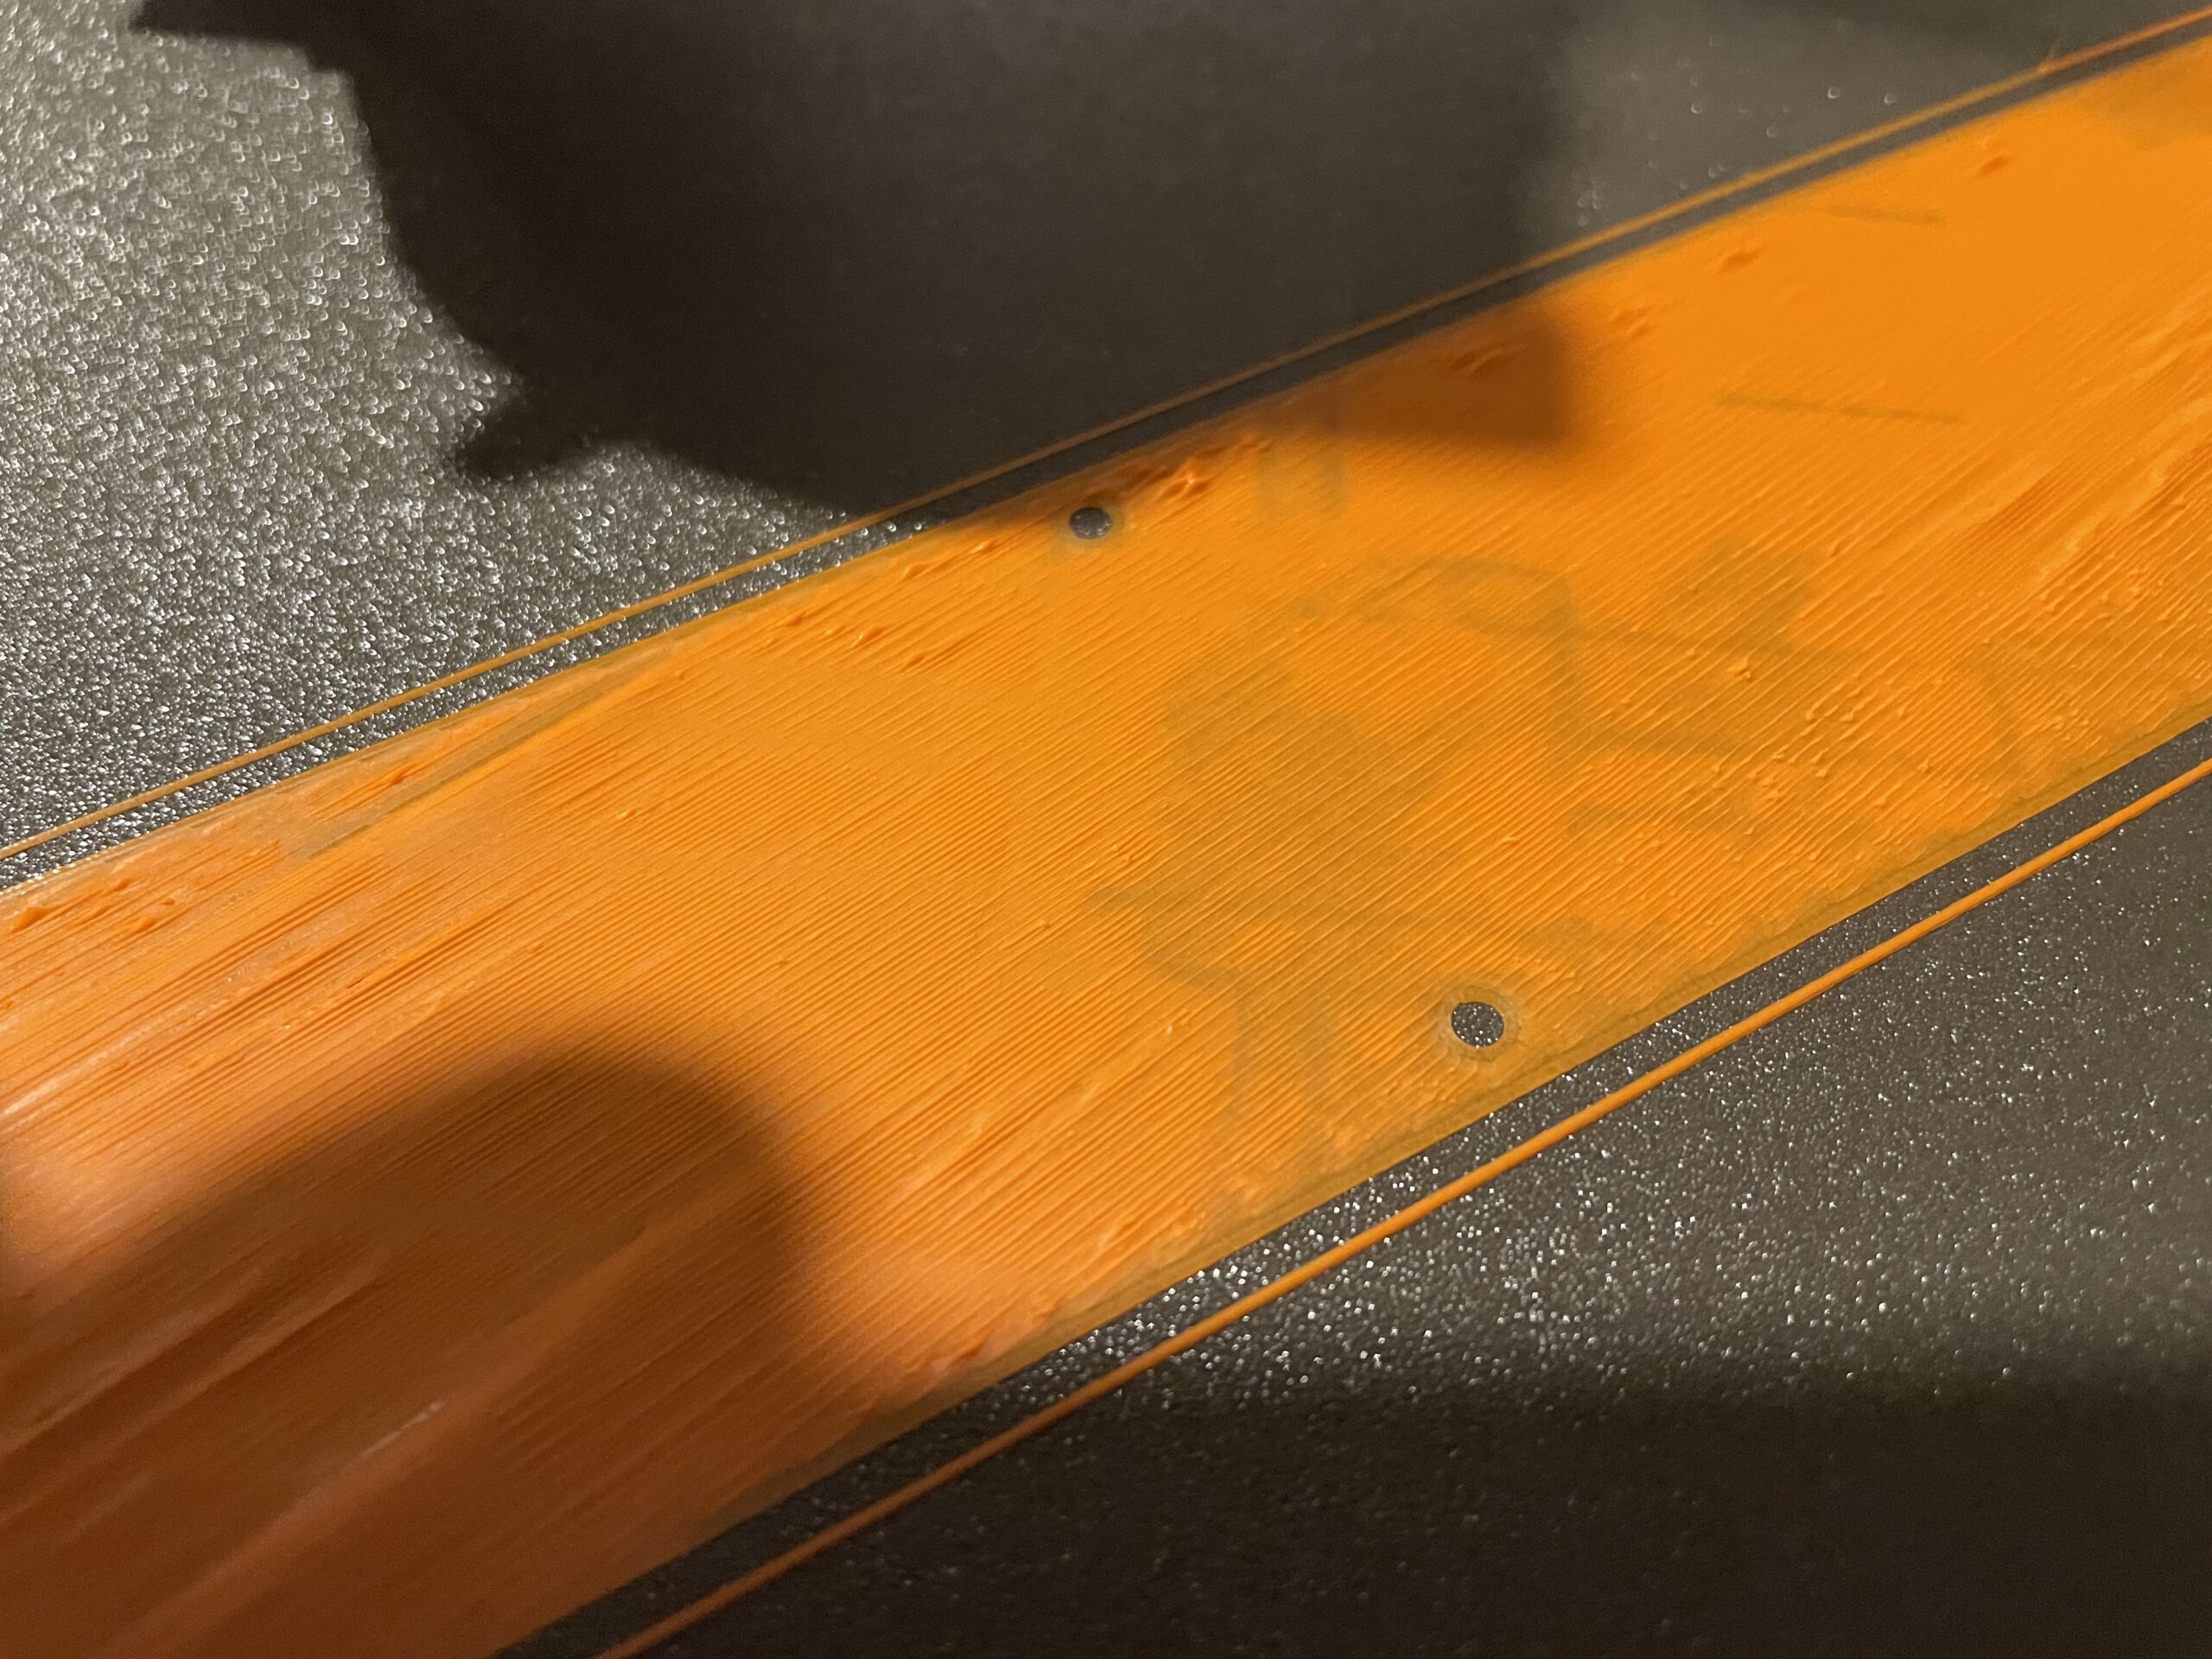

And these are my settings for now, what should i correct now? iam not sure if there is another problem existing then bed leveling...

Seeing the first picture, what would you correct now, also seeing my settings!?
Thanks
M.
First layer and adhesion
after I assembled my MMU2s, I tried to calibrate the first layer and could not get good adhesion. The filament looked very thin and would just slide right off the bed. I am using the smooth steel sheet with PLA. Bed temp is 60. The photo is the bottle opener about five minutes from completion and it came loose from the bed.

Seeing the first picture, what would you correct now, also seeing my settings!?
First, I see you're using Textured sheet -I recommend to use Smooth sheet for PLA for better adhesion.
Also make sure that sheet is really clean (not only visually) -use some dish soap which will dissolve any grease (fingerprints!) and then wash with clean water.
-same advice for CJWizard (I see sheet is quite damaged too).
[Mini+] [MK3S+BEAR]
what would you correct now
Your first layer Z is still a little too low.
And @bogdanh is right; if you have one, use a smooth sheet for PLA.
@cjwizard:
Please show us either a first layer on the print sheet or else the bottom of a failed print.
Cheerio,
Your first layer Z is still a little too low.
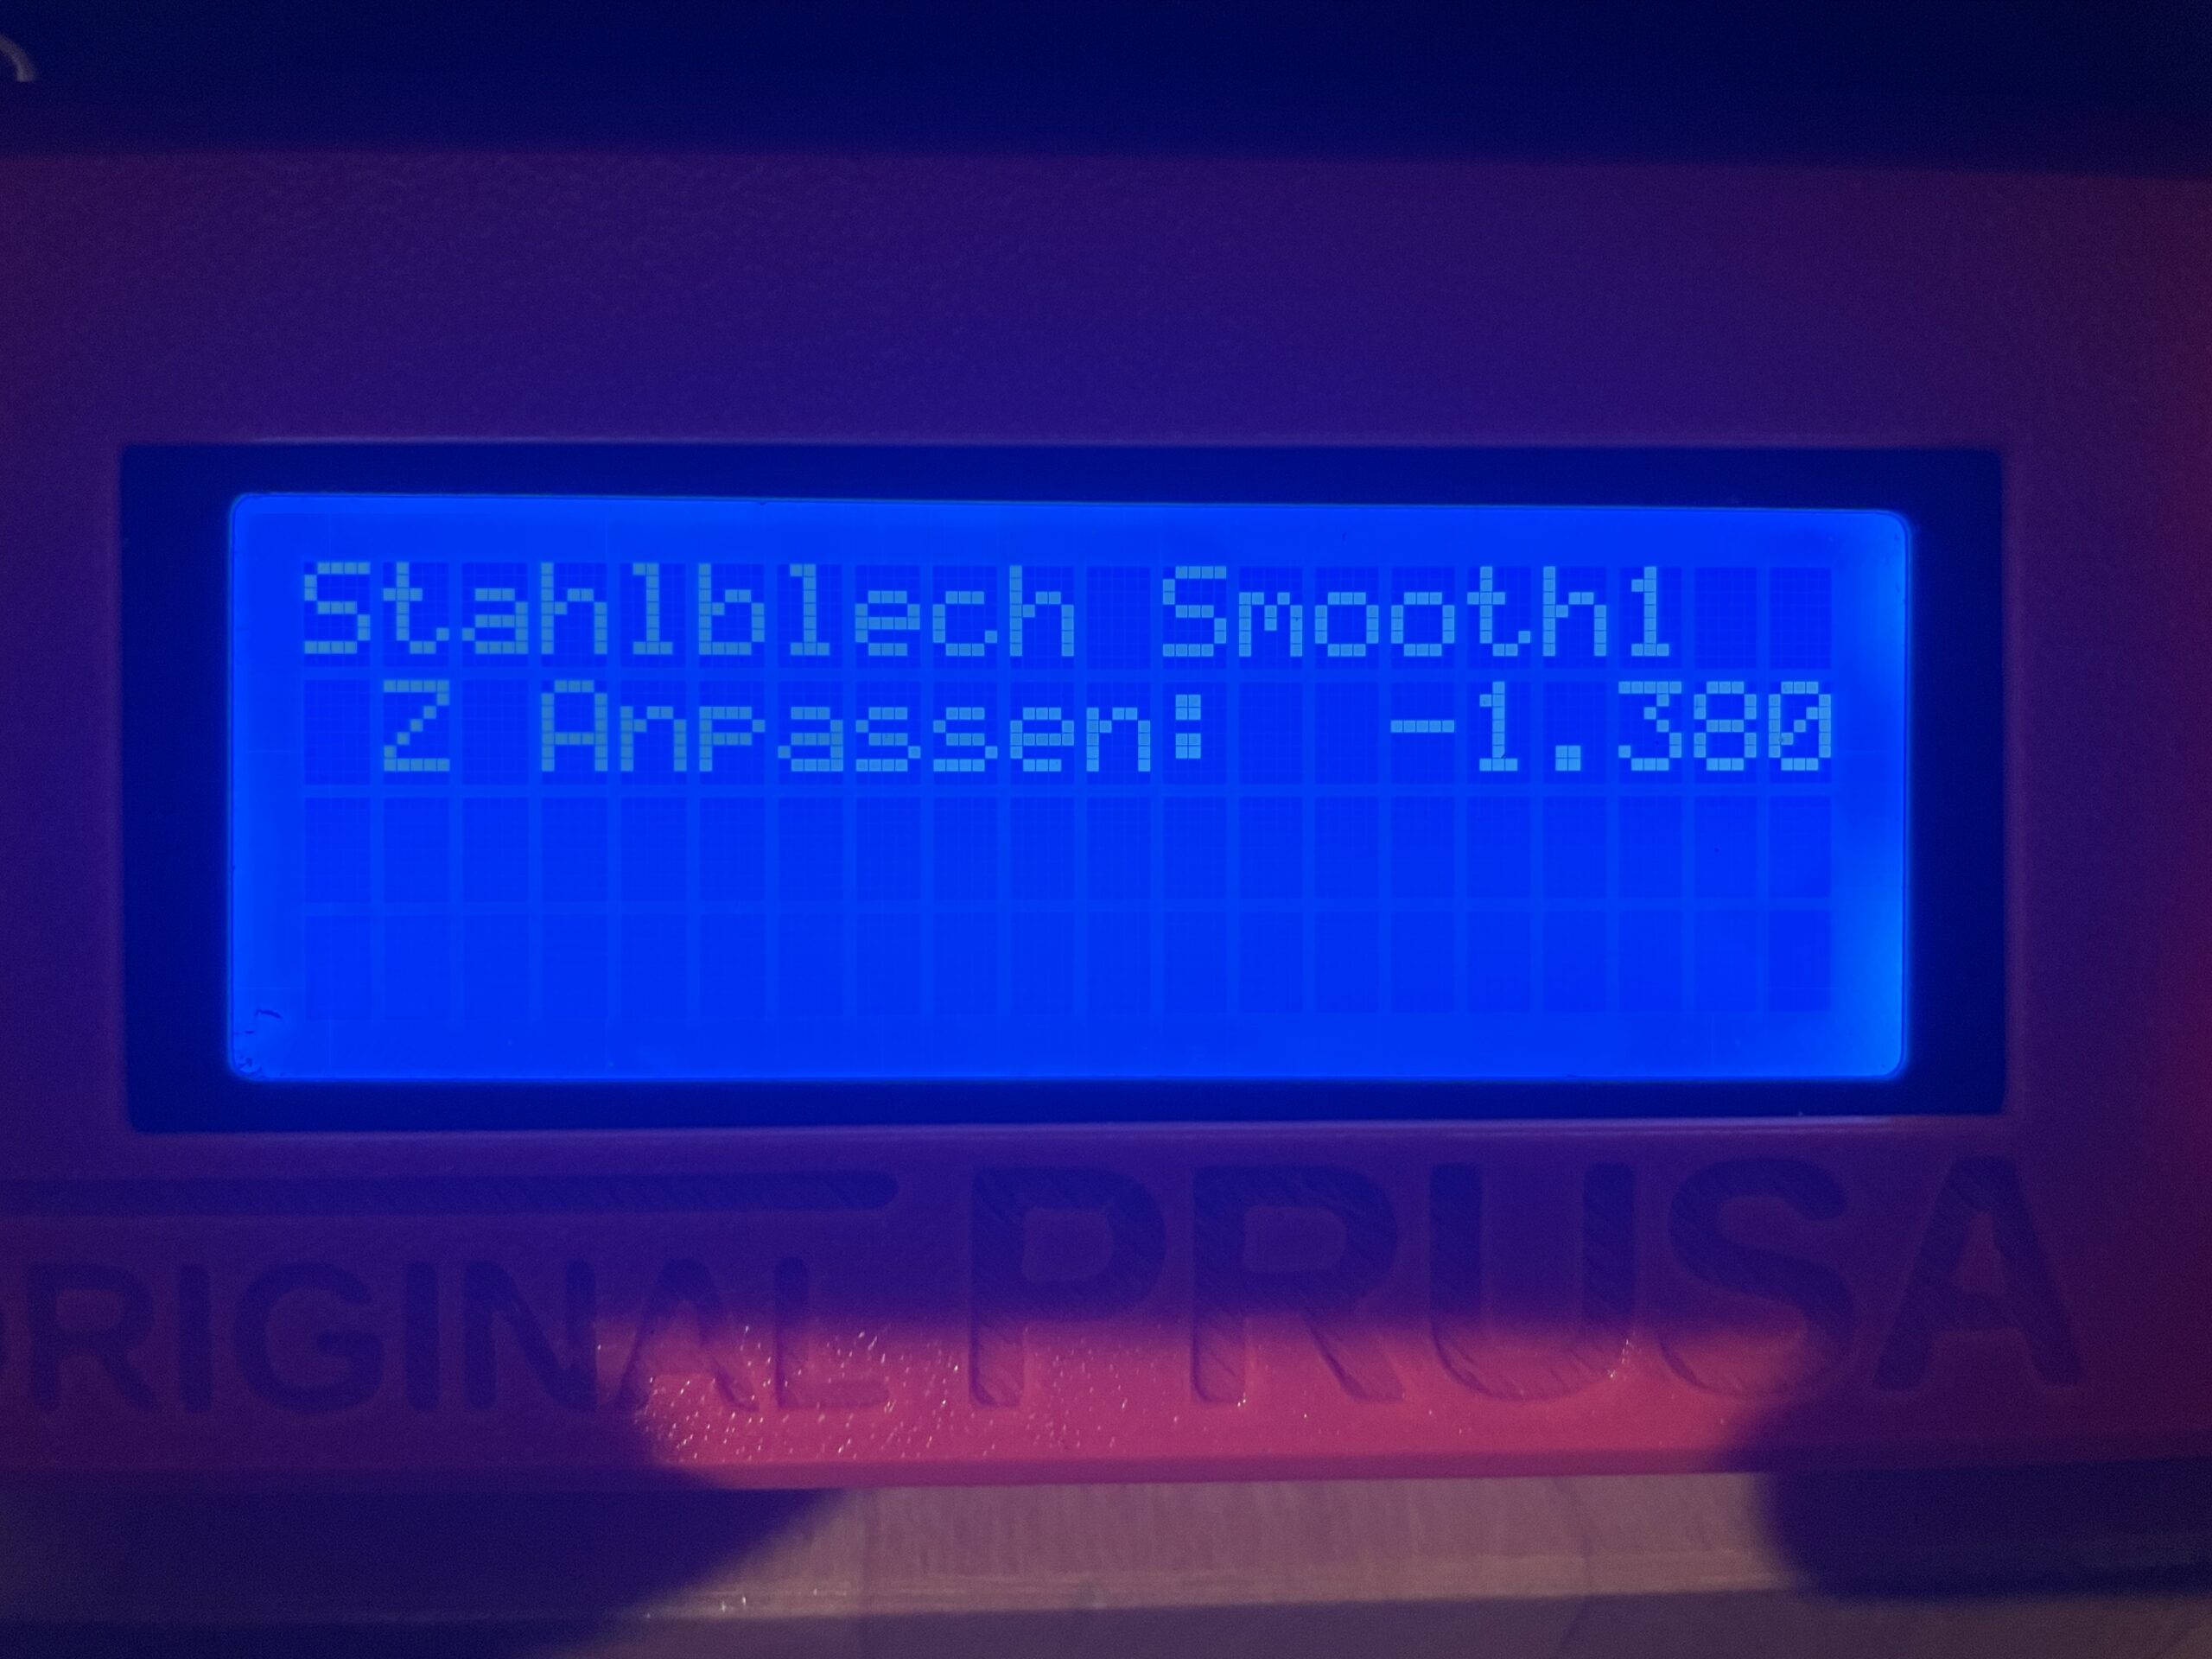
Still to low means -> the z-correction should be corrected in + direction at about 0.1 or 0.01?
What are good values to try here and avoid to do 10 failed prints to find the best height.
thx for your help...
ok, i changed to the other brind sheet and adapted the bed level correction once more... this is the result now


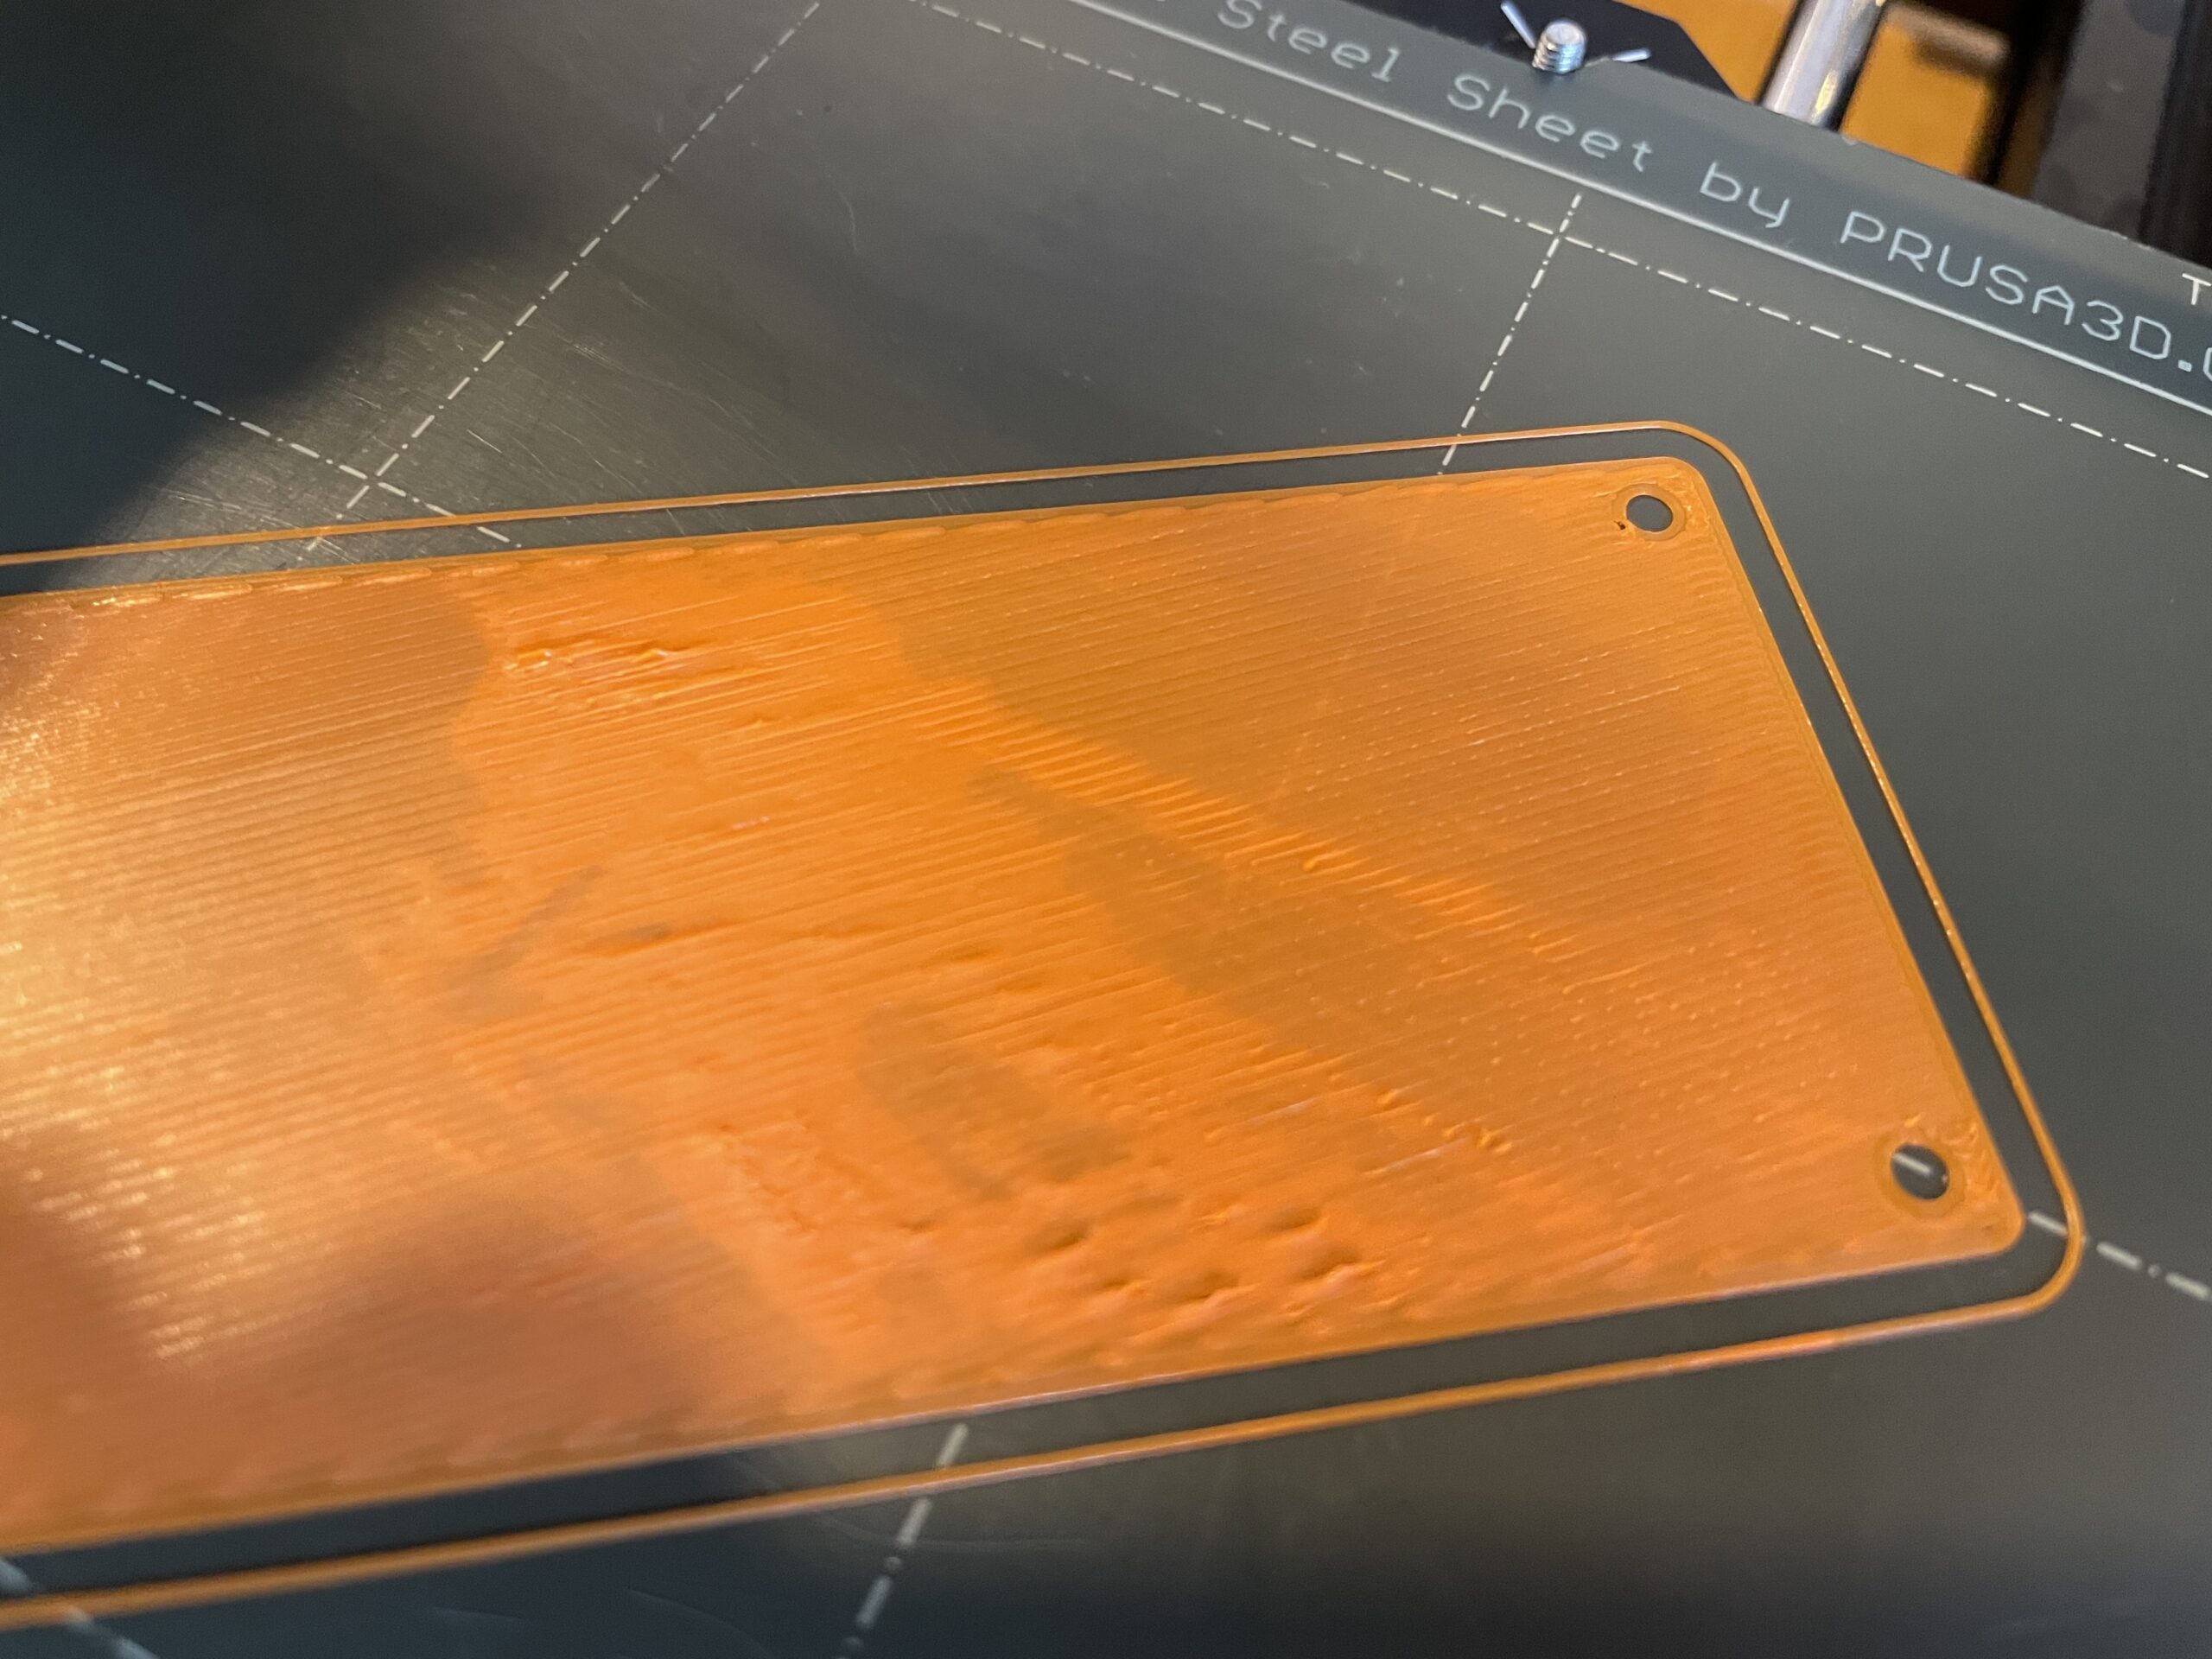
way better in my opinion, but still some artefacts...
any suggestions?
this first layer thing is such a pain in the a** :-). iam not sure if the correction i enter here is doing what i want it to do, maybe i have to activate this somewhere in the settings?
Thanks M.
Still too low. Raise the print head by .5 at a time
Turn the knob to the right when in live Z mode to raise the bed. Each # is a micron, so changing by .1 isn't going to make a visible difference. You need to be far more aggressive - go 10 at a time while it is printing.
How do we know it is too low? Look at the surface - it is wavy like water - which means print head is too close to the bed.
ok, thanks for all the help.
I think i might have found what the problem was.
First, my belts of X and Y were far too loosen, so i fastened them a little and it got better, but then the printer always signalled that he crashes (on the second layer). I saw that the bearing of the X-Axis wasn't moving and disassembled the printer again, the bearing was broken.
Now i ordered a new bearing...
What i also tried is, i installed an octoprint on a raspberry pi with the prusa bed leveling plugin and saw that my bed was about 0.9 mm out of level (from one side to the other). To fix this i followed the tip with the nylock screws which can be found on youtube here.
After that, i now have a bed which is 0.05 out of level -> waaaayyyy better...
When the bearing housing arrives and i can finally build this printer together i will post here my proceedings.
M.
For tightening the belts
Do use the printed GCODE provided by prusa for the belt tension gauge (in the print library). Must use Prusament PETG to get any value out of it - but you want your belts in the mid-sweet spot range.