First layer issue
Hey guys and girls,
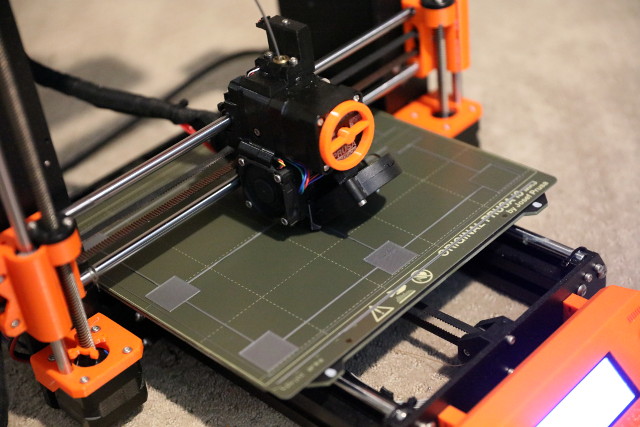
Just finshed building my I3 MK3S today!
But run into a issue calibrating / first layer. The first layer on the left and front left keeps getting lose something along those lines. No matter how many time I tried to calibrate the printer doesn't seem to fix it. Anyone has some idea ? 

RE: First layer issue
This just happend on my current test.

RE: First layer issue
@jordy
Give,
Life Adjust 'Z' My Way, a try,
use 7X7 Mesh bed levelling if you are not already using it (Select via LCD Menu)
Make sure that your build plate is perfectly clean,
I use hot water and dish soap, rub well with a new dish sponge, and rinse really well with Hot Water, then Dry Immediately with a fresh paper towel.

Regards Joan
I try to make safe suggestions,You should understand the context and ensure you are happy that they are safe before attempting to apply my suggestions, what you do, is YOUR responsibility. Location Halifax UK
RE: First layer issue
I swear by those 3x3 level test prints.
They don't take long to print, use very little filament, and are a very good sanity check as to the bed being level on all corners.
I would suggest when you do this (or even with the internal Z calibration) that you be very sure to preheat the machine for the filament that you are using and let it stabilize, maybe 10-15 minutes at least after it comes up to temperature.
RE: First layer issue
@joantabb
Thank you! changing it to 7x7 did wonders. 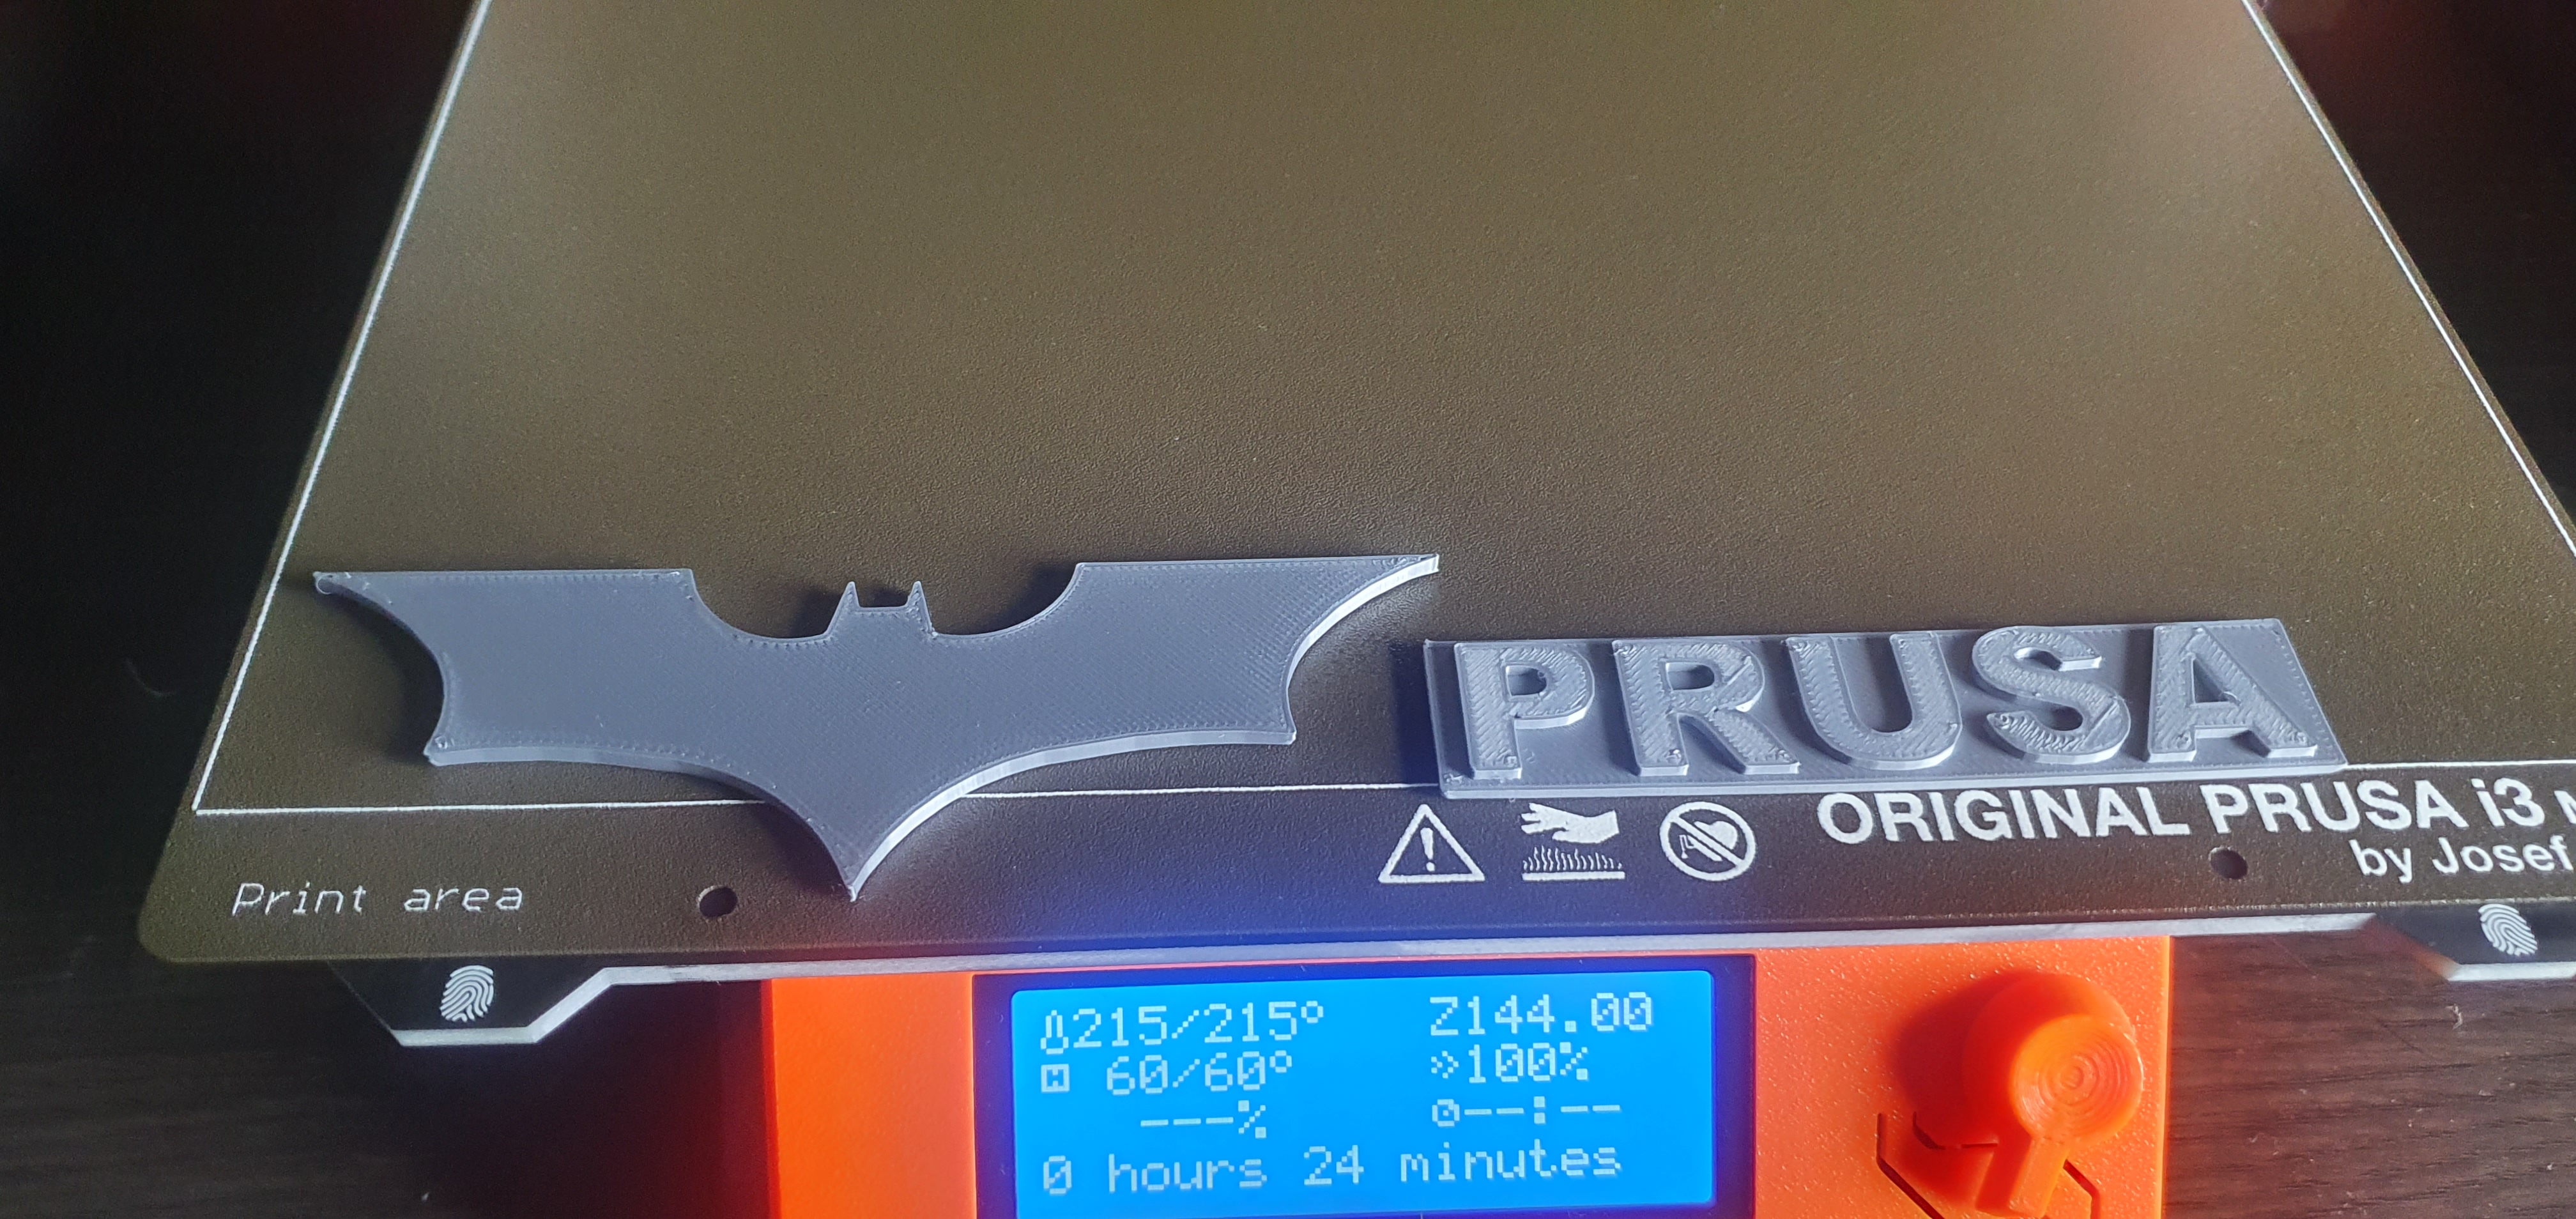
RE: First layer issue
@jsw
Thanks for your reply!
I indeed found out preheating the machine helps alot. Also getting rid of excess fillement drooping out before the print starts help prevent a mess!
RE: First layer issue
Update. Did the first layer grid test and the left side seems to be thin or get lose.
Got some photos also. This has to be fixed with bed leveling? If so can someone explain it a little bit how to do this ?
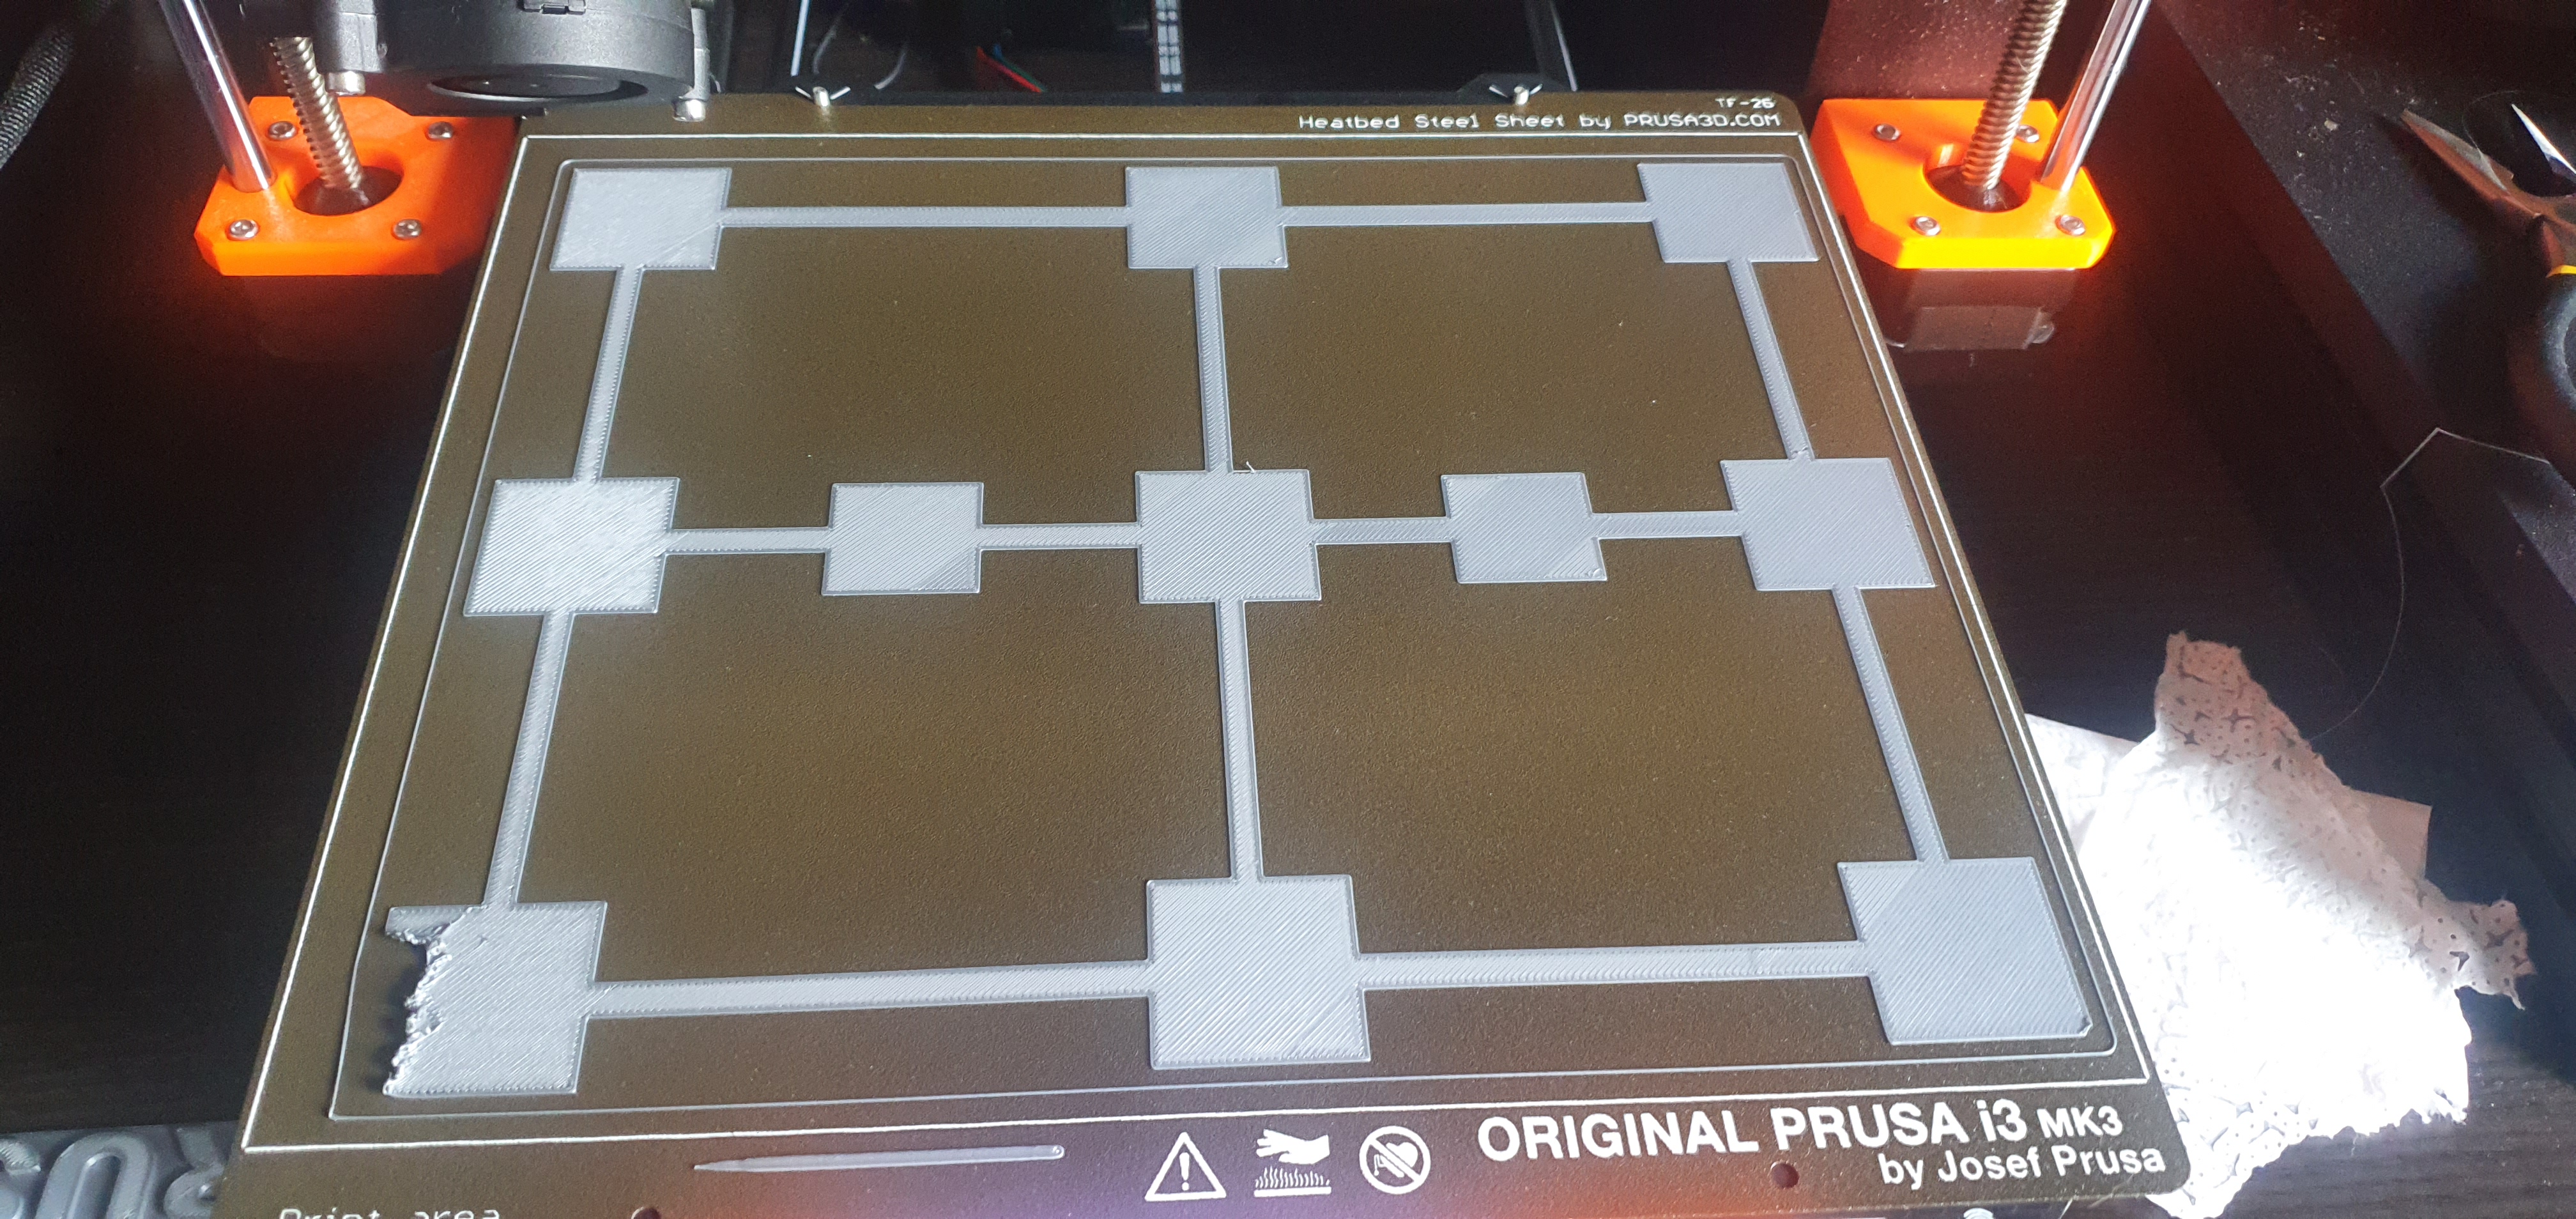
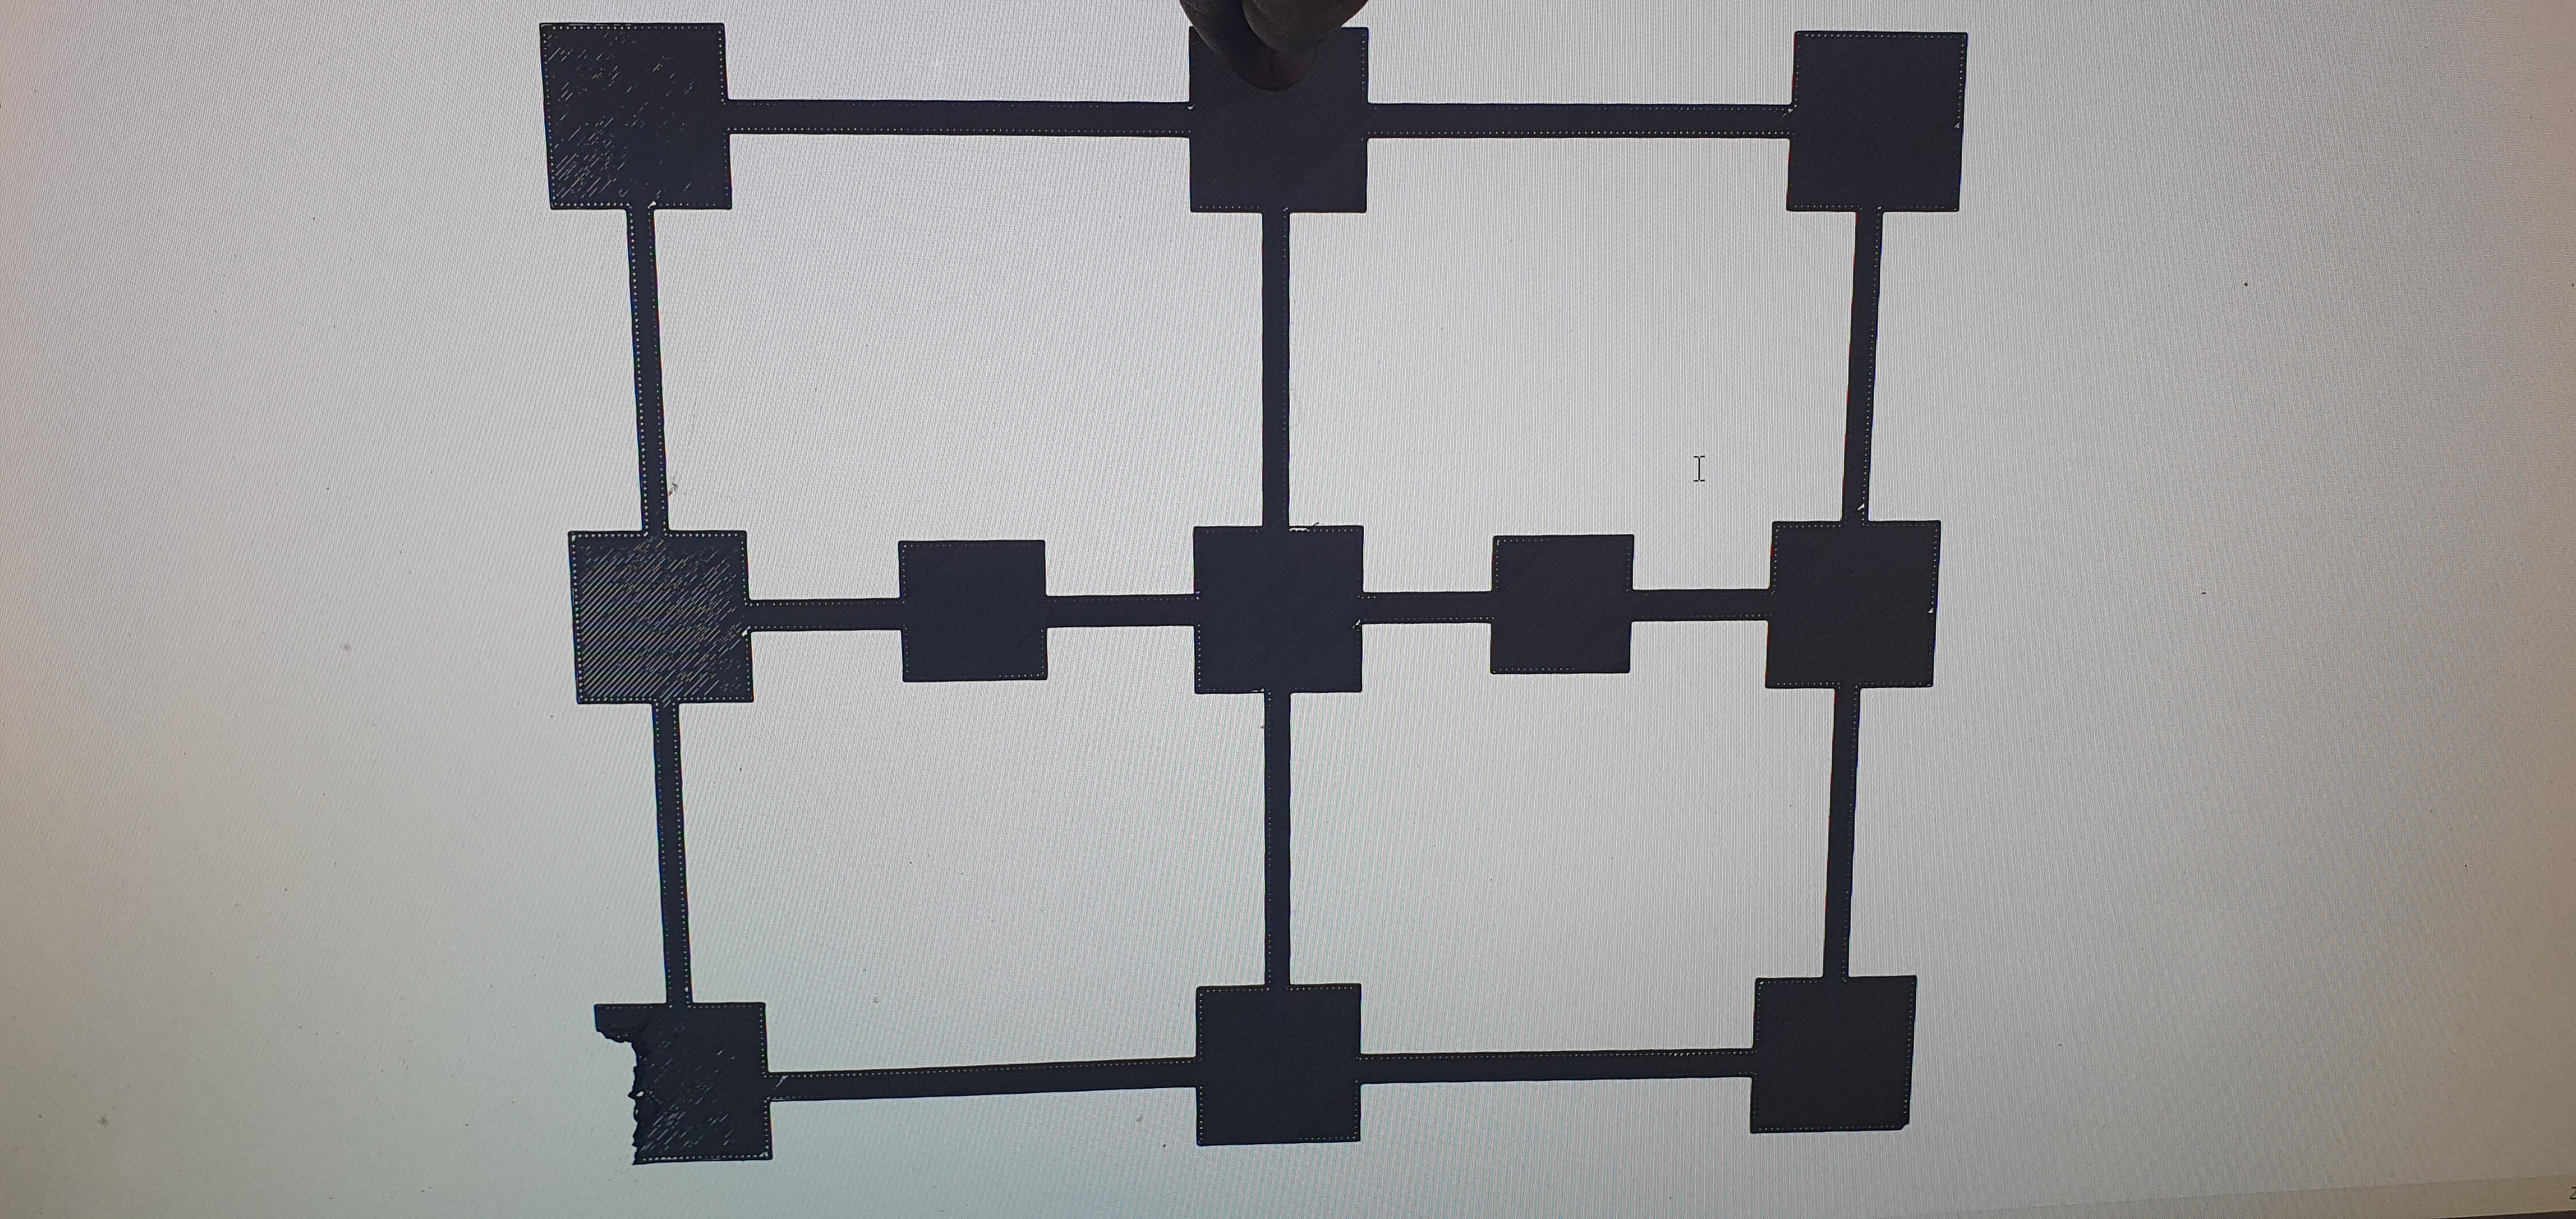
On the second photo you can see that light goes true the squares
RE: First layer issue
Here's the instructions for advanced bed leveling, and you can indeed tweak the left, front, etc.
https://help.prusa3d.com/en/article/bed-level-correction_2267
RE: First layer issue
You need to go lower, the line on the outside is not pushed down a little.
Most important for 3d printing is,
Clean bed,
First layer 100%.
RE: First layer issue
Hi Jordy,
In this instance I would consider creating another Gcode, with just the Left hand Pads on it, to reduce the print time
Because I am a cheapskate and hate hanging about when doing first layer tests...
We have to assume that the Middle and Right hand side are good at the moment, so we are only looking at the left hand side... for the moment
there is little point printing the middle and right rows of patches until the left side is performing better.

I wonder if the front left pad has printed poorly because of finger prints, (that's the area I often pick my build plate up by... )
Might be worth giving the plate another wash, just to be sure, then
Click on the LCD Menu's and select "Calibration> Bed Level Correction"
you are offered Front, Back, Left, Right... all should start off at 0
consider setting the left side to -0.020 and printing the partial pattern,
see if you get an improvement. If the left middle patch goes good, but the front left patch is still poor, you could try adjusting the front to 0.20 as well... these values are just example values, you are the person on site, and who can best evaluate the changes.
You may need to make several adjustments.
Once you get the left hand patches looking good, try another full plate test...
Be wary of making more than one change at a time.
Once you get pretty close to perfect it may be worthwhile trying Live Z, a little up, or a different down..... maybe +- 0.020
It can be a bit of a Faff..
Good luck,
Joan
Good Luck,
I try to make safe suggestions,You should understand the context and ensure you are happy that they are safe before attempting to apply my suggestions, what you do, is YOUR responsibility. Location Halifax UK