Feedback on my print of Prusa Logo on newly assembled printer (3KS)
Hi,
I'm new to 3D-printing and don't know what to expect of results!
I feel my top layer are somewhat rough, but maybe it is within aceptable reults. Anyway, I've included some pictures, please give me some feedback on the result.
The top Prusa Logo, is printet with no changes, printed directly from SD-card.
Middle Picture, I've chaged the flow to .90. Based on advice on forum reading.
Bottom picture, I've changed the Top Solid Infill from .4 to .38, based on forum reading.
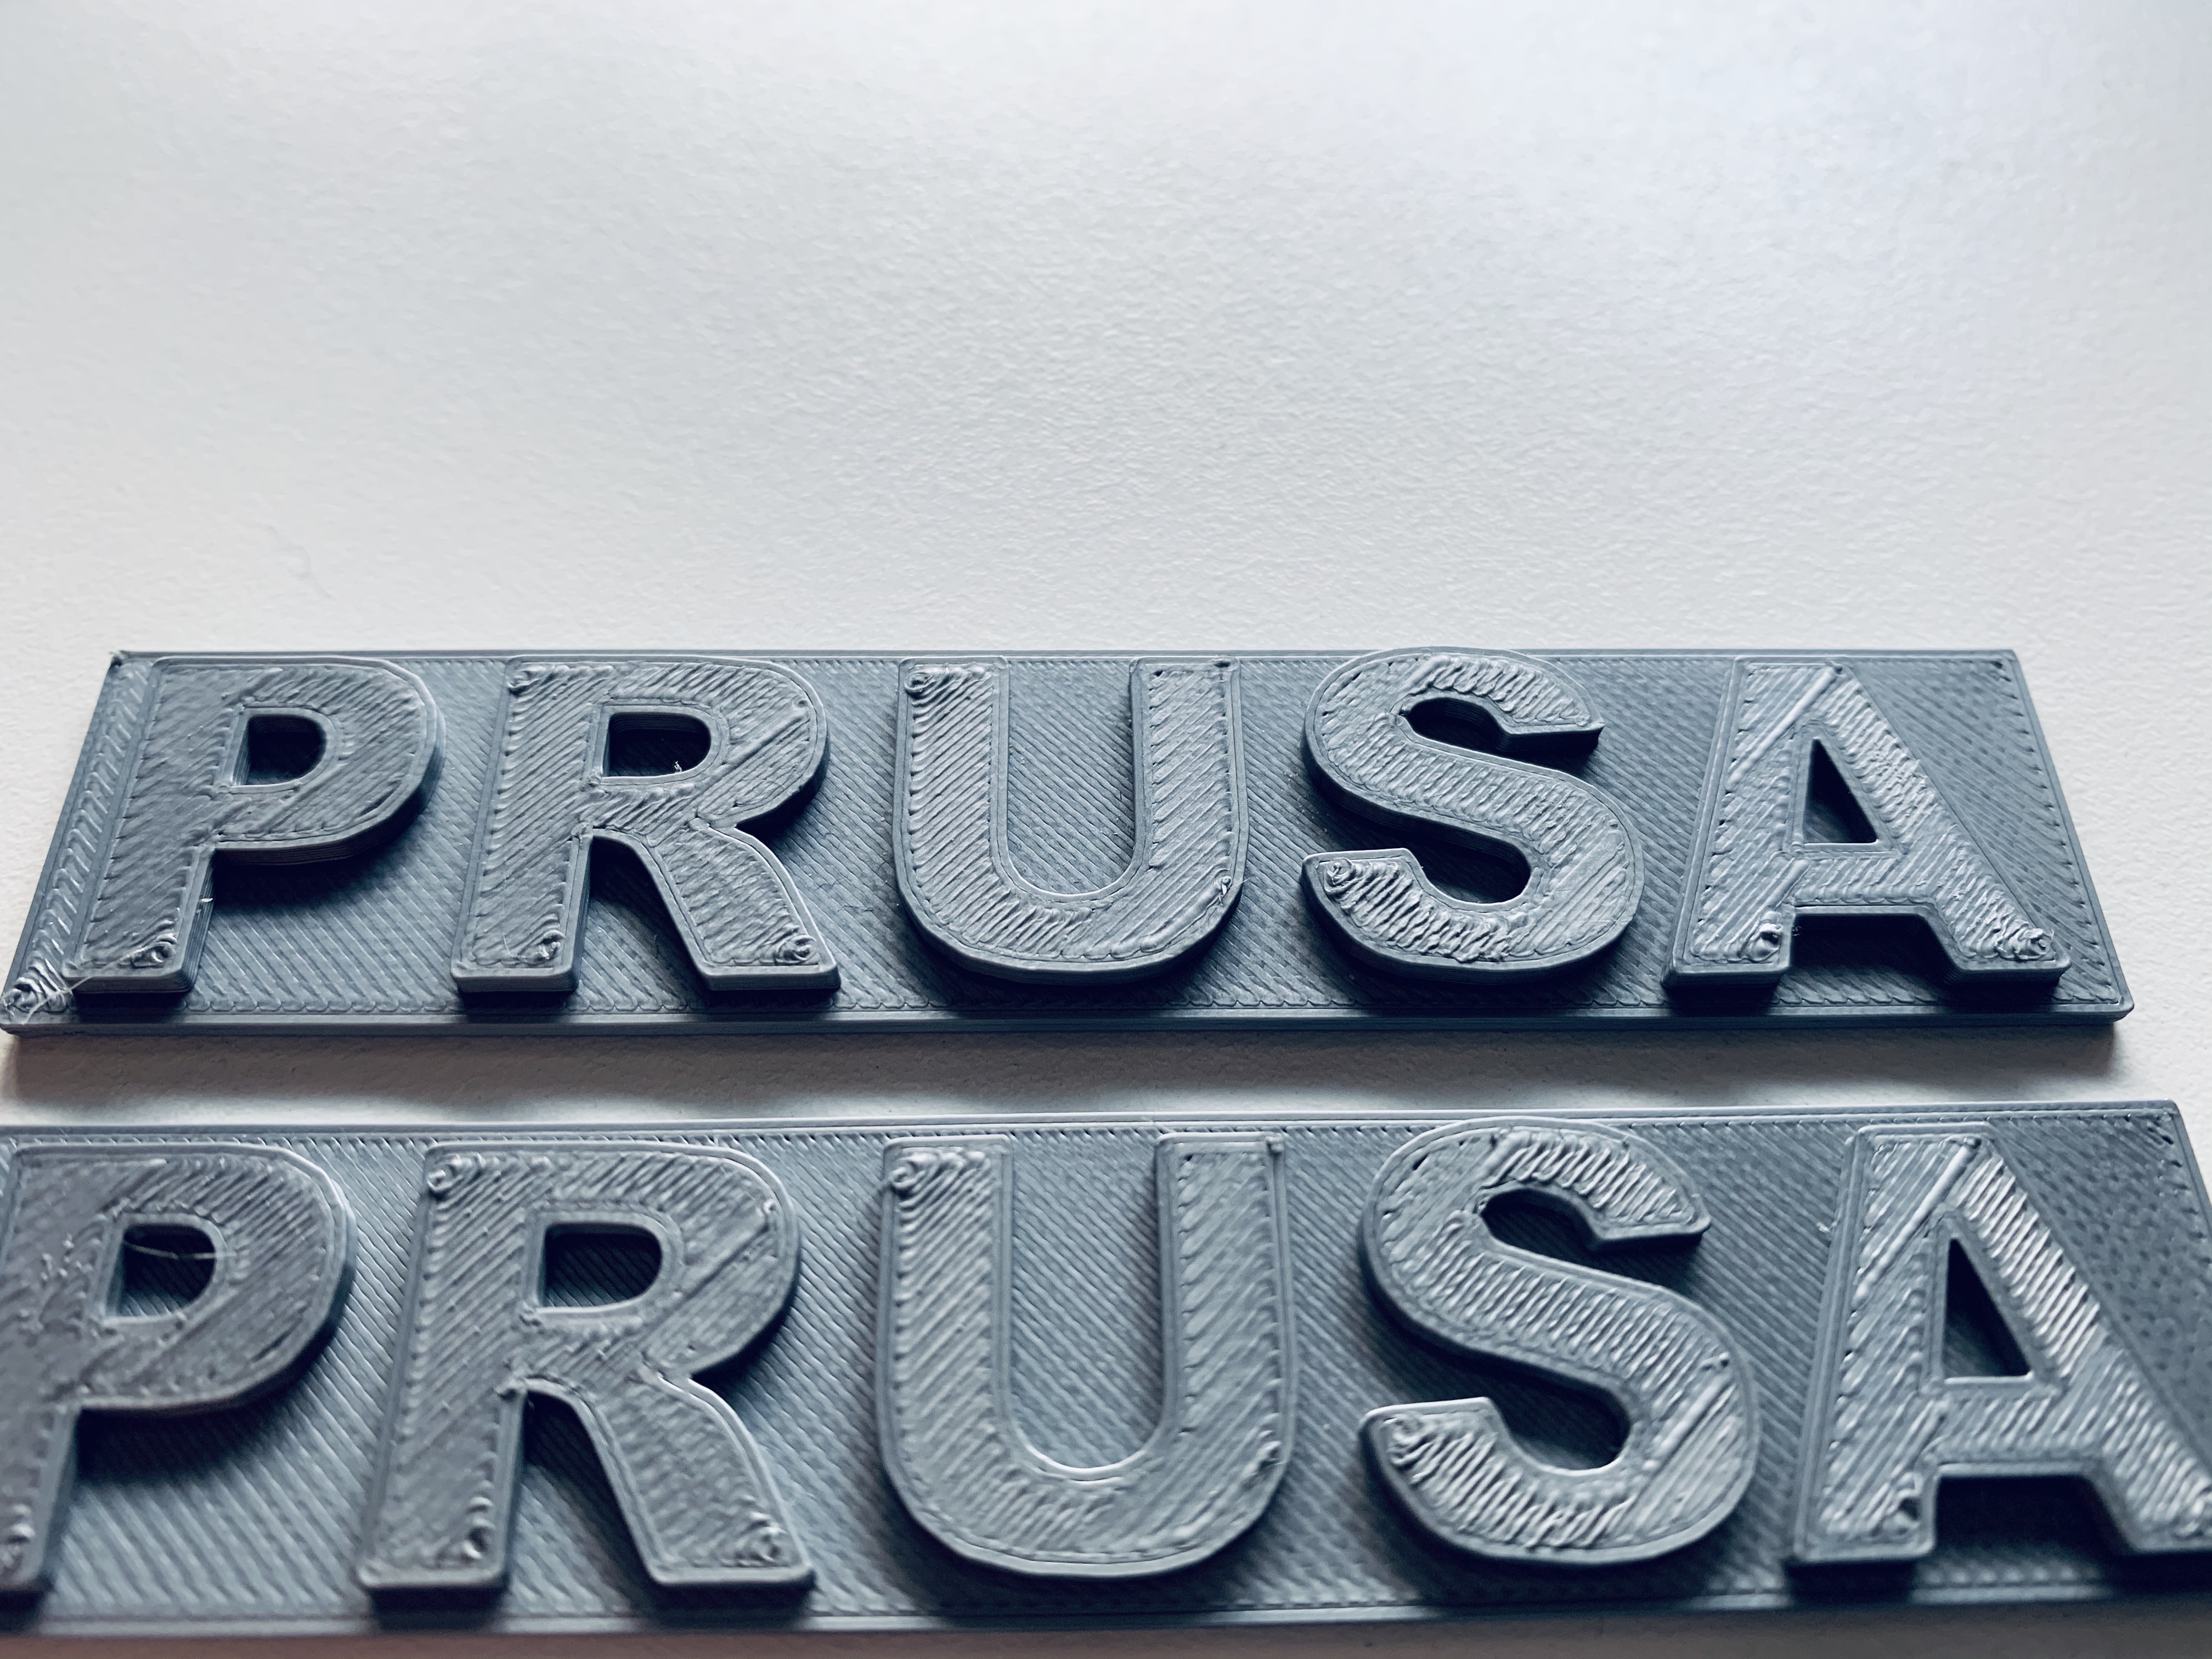
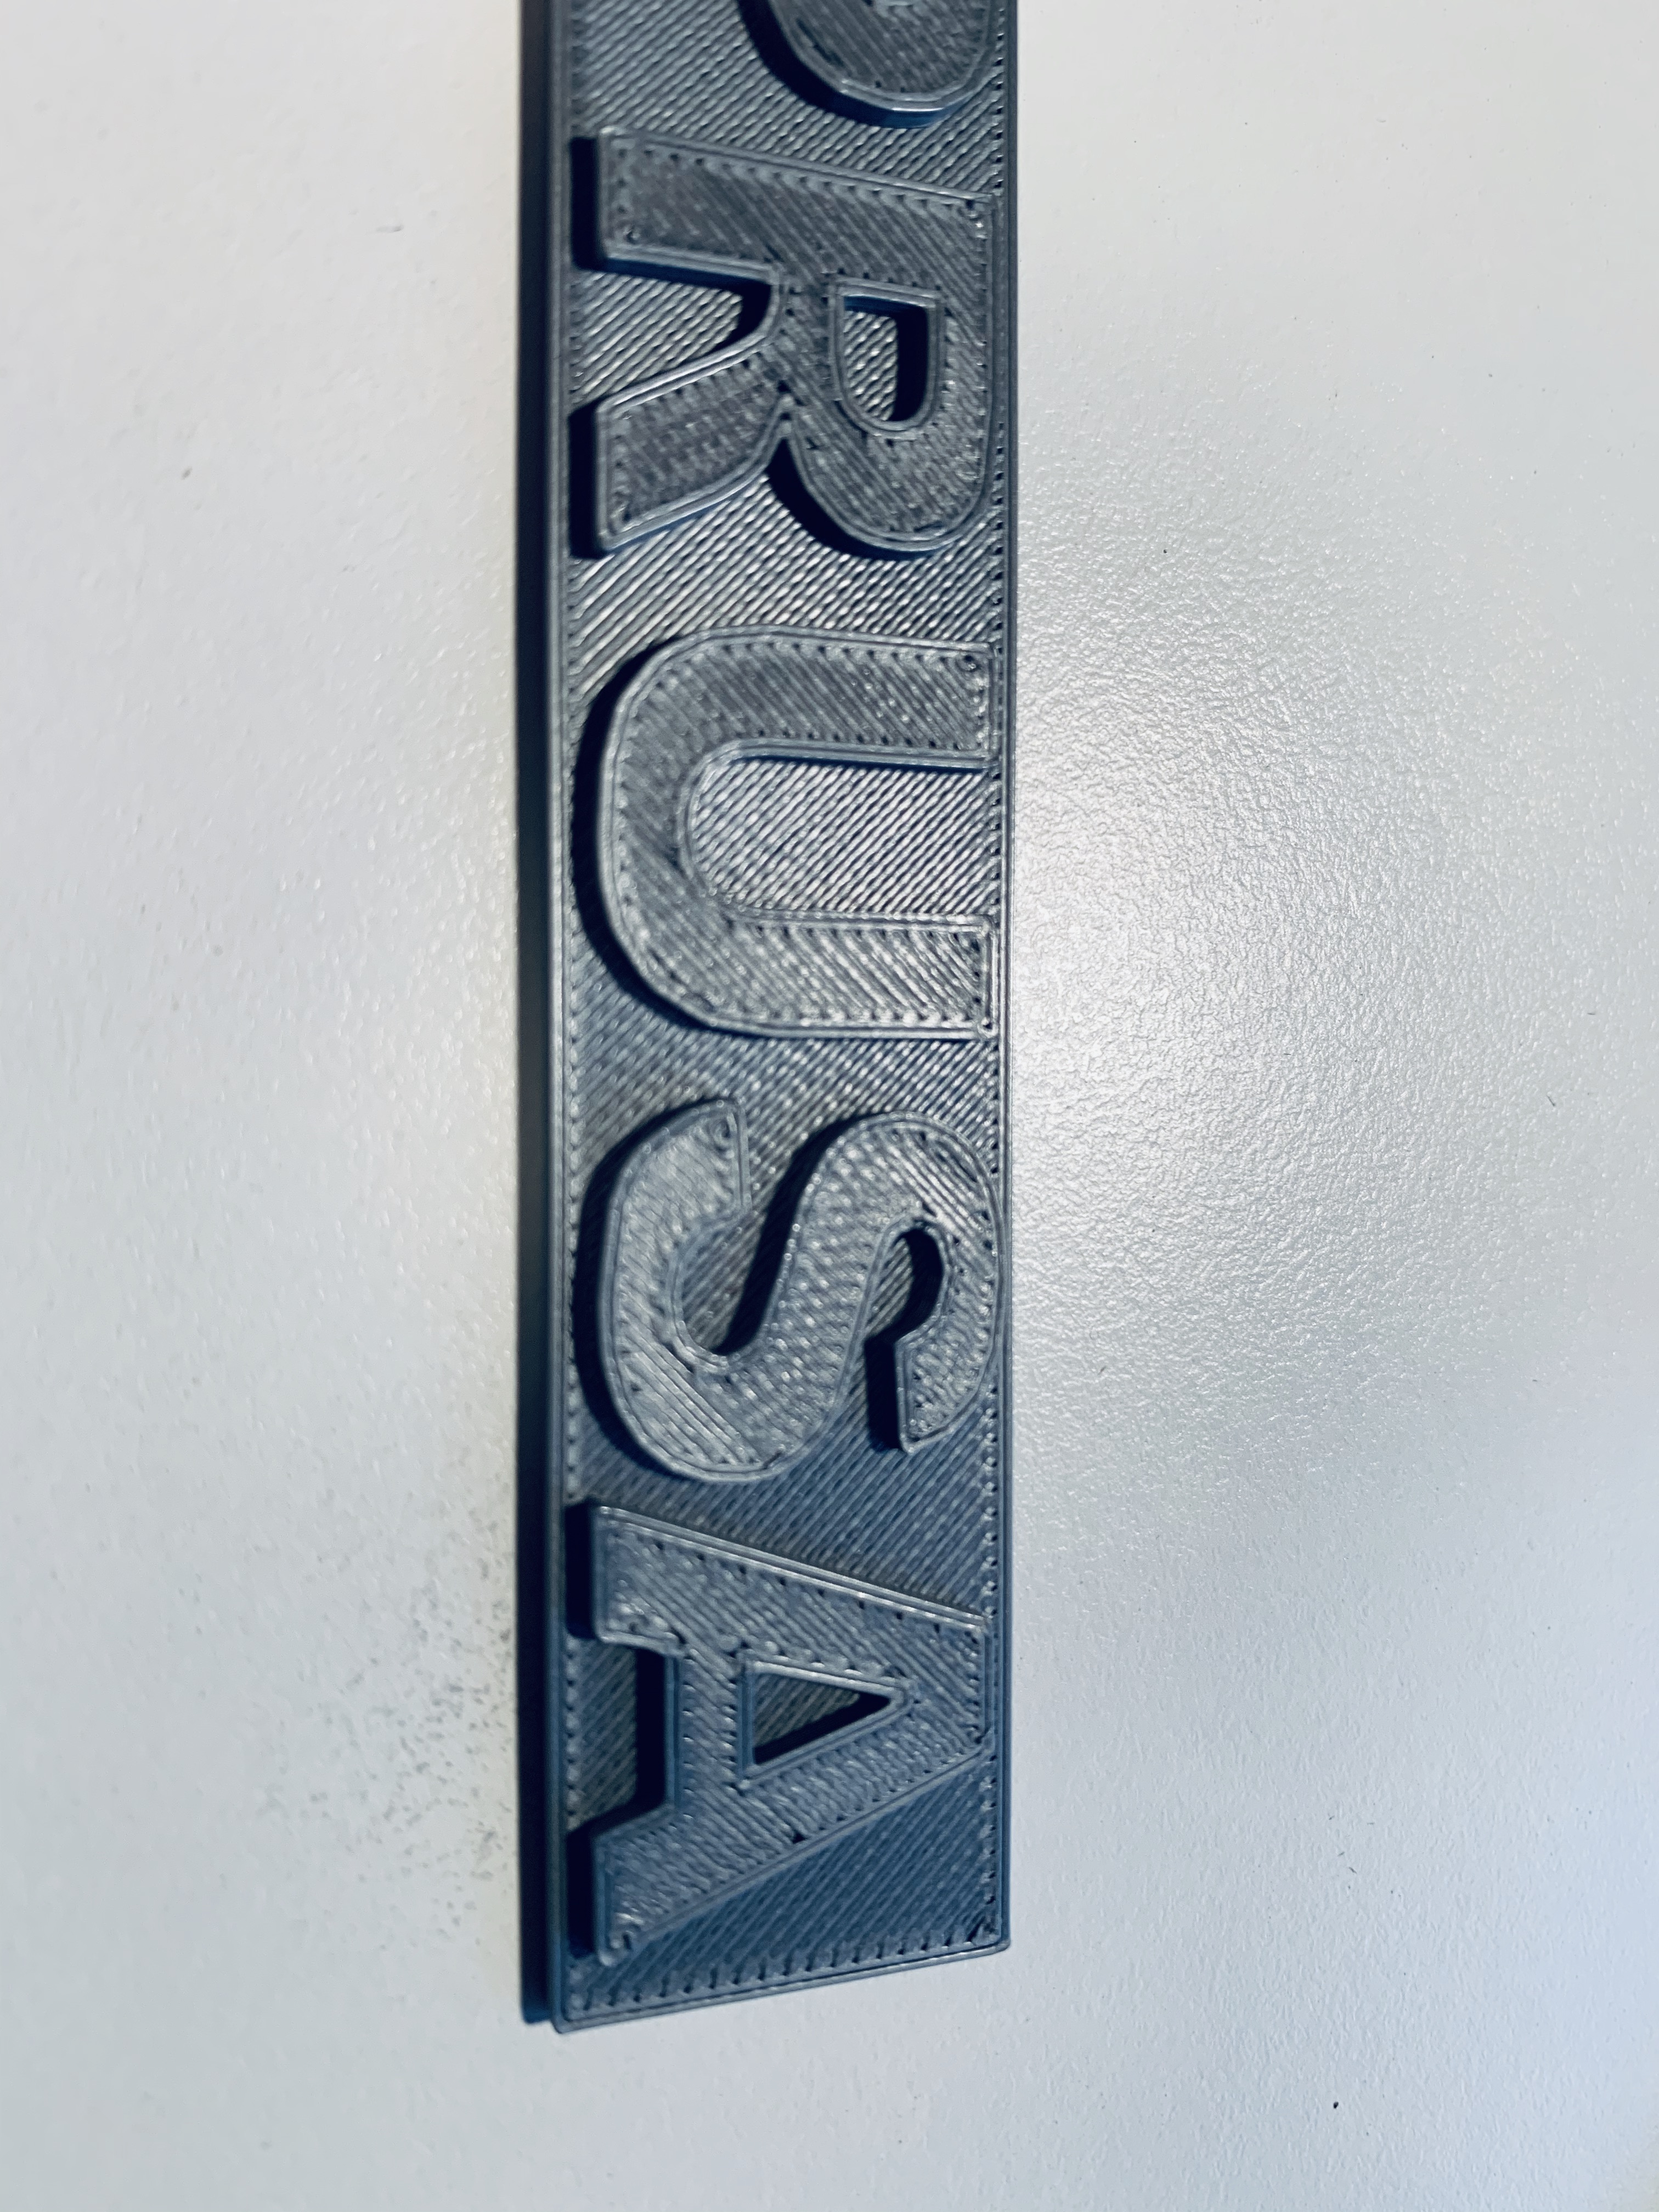
I don't see much difference on the samples. I get a very distinct patterns on all curved top layers (on the P,R and S)
I'm not sure on the way forward.

RE: Feedback on my print of Prusa Logo on newly assembled printer (3KS)
I'm also not seeing much of a difference considering the changes you've made. If you want to save a 3MF project file off with your part & settings, zip it and upload here, more suggestions may be forthcoming.
RE: Feedback on my print of Prusa Logo on newly assembled printer (3KS)
Hi,
I've included 3 versions of the Logo, unchanged, top layer change and Flow Change
Maybe you see others reasons why I get this rough surface
RE: Feedback on my print of Prusa Logo on newly assembled printer (3KS)
Those aren't terrible prints. It does look like you're over-extruding a bit at worst.
I printed using your 3MF file settings with 100% extrusion multiplier for the print at top and using 90% for the bottom print:

They look very close. The difference is likely between your filament and mine. You can see some differences with the diagonal ridge at the top of the A and bottom of the S that are more pronounced on the to print with higher extrusion rate.
Keep in mind, these pics are blown up 400%, so don't worry too much about it. Try reducing your extrusion multiplier. There's a fine line between too much, causing uneven surfaces, and too little, causing gaps between extrusions. Prusa has a guide on the calibration procedure.
Also worth noting that Prusa is working on a new version of PrusaSlicer that will offer more top finishing options which will help smooth out these sorts of surfaces.
RE: Feedback on my print of Prusa Logo on newly assembled printer (3KS)
@bobstro
Thanks for your feedback and time on this.
Will try as you suggested to reduce the extrusion multiplier and will buy another roll of filament, just to see the effect.
Sounds great that Prusa are improving their Slicer for these issues 🙂
Thanks
RE: Feedback on my print of Prusa Logo on newly assembled printer (3KS)
@bobstro
Tried again, it does look a lot better, the surface is a lot better, more even. (extrusion multiplier if 0,9)
Thanks again for your help 🙂
RE: Feedback on my print of Prusa Logo on newly assembled printer (3KS)
I do a similar calibration for each brand and type of filament. Also measure the filament diameter at several points and enter the diameter into your filament profiles. This combination clean up a LOT of persistent problems I was having. Have fun with it!
Same print issues with SD card logo & Prusa Filament
I am seeing the exact same thing (diagonal lines on the A, S and R) on my newly assembled MK3S. I am using the Prusa PLA silver that came with the unit. I have read somewhere that with the Prusa Filament one need not to worry about over/underextrusion and if seen, there are different problems behind it.
I have gone through all the screws, tighten everything, checked belts etc, made sure 1st layer calibration is spot on.
I do see filament occasionally leak out of the nozzle during heating... is this a temperature problem?
Any other suggestions, before I give up and start playing with the extrusion multiplier ?😊
Thanks!!
RE: Feedback on my print of Prusa Logo on newly assembled printer (3KS)
@tj-1
Prusament filament is made to tighter tolerances than most but not all filament so adjusting for out of average is not needed as much. However not all filament sold/supplied by Prusa is prusament. When I bought my mk3 the silver filament that came with it is actually supplied by PM, (plasty madec, which I’m sure I’ve butchered the spelling of). It isn’t made to the same tolerances.
filament leaking out of the nozzle is not an issue. Unless you modify your start gcode to do a 2 stage warmup this is normal. Just remove it before the mesh levelling starts. The new mini uses a 2 stage warmup in the defaults but it’s trickled down to the mk3 profiles yet. Some of us have been doing it since before the mini was released though. If you want to see some of the stuff you can do by modifying your start gcode and explanations then follow the links in Bobstro’s signature.
The other thing to remember is that the pre-sliced gcode on the sd card was done for earlier versions of the firmware. While the new firmware is supposed to seemlessly work with older sliced files you can probably get better results by re-slicing with the latest software and profiles.
the diagonal lines are causes by the top infill being filled in using different directions, where they meet there’s a tiny bit too much filament. Calibrating your filament reduces this extra. When Prusa Slicer 2.3 is released there’s a new infill option called Monotonous that will be available, it fills in the top in one direction only which pretty much eliminates that effect. That version is not on general release as yet though.
RE: Feedback on my print of Prusa Logo on newly assembled printer (3KS)
@neophyl
Hmm, the pla does say produced FOR Prusa, whereas the others have the indication of variation, so I think you are right. That makes a lot more sense. I did also compare the firmware version and it was for an earlier.
I did re-slice it and it got a bit better. After changing the extrusion multiplier, it was spot on!! I am quite happy man now 😊
Now I will start experiment with other materials, since the printer is working perfectly!
Thanks and have a great weekend!!
RE: Feedback on my print of Prusa Logo on newly assembled printer (3KS)
I have exactly the same problem, also with a newly constructed printer. Probably filament from the same batch.
Thanks for the thread I'm going to try this and see how it goes.