corner of box lifting
Had prebuilt Prusa i3 MK3 for a couple of weeks and so far so good with all prints sticking fine to the bed during prints.
Tried to print a box today and noticed one corner curling
Bed temp is 210. Used 0.2mm FAST MK3 in Slic3r.
Could this be too low bed temp or too fast first layers?
Dave
Re: corner of box lifting
Hi Dave,
210 Centigrade is a bit high for the bed temperature.... could it be the filament temperature, Bed temperature is normally 50 - 60 centigrade.
Sharp corners, are prone to lifting 🙁 bed cleanliness is paramount for PLA prints... Have you given the removeable plate a good scrub with dilute dish washing detergent, and dried the plate with a fresh plain paper towel? ~
~
High infill ratio's increase the likelihood of shrinking, lifting...
Try reducing the print speed to resist thermal shrinking,
I have used the pictures below, because they were already on my laptop...
hopefully they give you an idea of what I am suggesting
consider adding 'mouse ears'
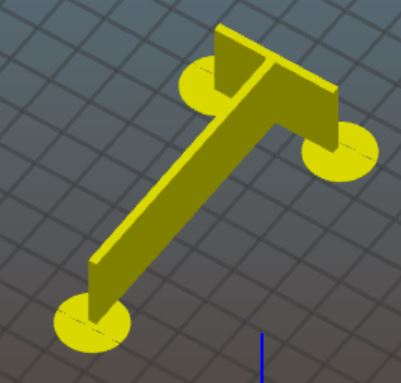
or a 'brim',

if lifting persists
regards Joan
I try to make safe suggestions,You should understand the context and ensure you are happy that they are safe before attempting to apply my suggestions, what you do, is YOUR responsibility. Location Halifax UK
Re: corner of box lifting
Hi Joan,
Thanks for the reply. Yes I got bed temp and filament temp mixed up. It was 210 for filament for PLA and 60 for bed temp. I was using a high infill - 80%.
I will try the following:
regards,
Dave
Re: corner of box lifting
Tried again after following the advice and print came out perfect. Cleaned the bed. Used extruder temp of 215 and bed temp 60 degrees. Used 0.1mm DETAIL mode with 40% infill and used a brim. Changed first layer print speed to 10mm/s. Went with the PLA supplied by Prusa just in case. Everything else left at defaults.
Many thanks.
Dave
Re: corner of box lifting
Magic!
🙂
Joan
I try to make safe suggestions,You should understand the context and ensure you are happy that they are safe before attempting to apply my suggestions, what you do, is YOUR responsibility. Location Halifax UK
Re: corner of box lifting
That’s great. Now you only need to work out which of the solutions was the right one. :ugeek:
i3 Mk3 [aug 2018] upgrade>>> i3MK3/S+[Dec 2023]
Re: corner of box lifting
Hello,
sorry to hop on this train as well but I have a similar issue since I started printing big things the last few days. For me however it seems to be a location thing on the print bed. Printing small things on the bed anywhere is not an issue usually but if I print something large like an enclosure or box it ALWAYS lifts the rear left corner and ONLY the rear left corner. Looking at my bed levelling in Octopi the rear left and front right seem a little higher and the rear right and front left a little lower. Anyway, if that was an issue I would guess I had 1st layer problems all the time since the bed does not change between prints (usually if not relocating printer). I have this issue with ABS, Prusament and other PLA. PLA is the standard settings, i think 215 nozzle and 60 bed temp. ABS i think was 255 nozzle and 100 bed. The boxes and things i print use the standard 20% infill and all other settings are the default from slic3r-pe for the materials I print. I did on 2 occasions reduce speed to 60% for the first two layers without success and with ABS I have increased the bed temp to 110 degree. Again the rear left corner always lifts.
This might be a silly thought but can a little draft/airflow in the room cause such distortion ? Would t make sense to try to enclose the back of the printer ? I would have accepted that idea easy for ABS but PLA ?
Any thoughts anybody ?
Thanks
Jan P.
PS: Forgot to mention, before every big/long print I clean my bed with washing up solution to remove all possible finger prints and remaining glue. For large surface area prints I use hairspray and the 1st and at least 2nd layer stay flat till much later in the print when the corner starts lifting.
Re: corner of box lifting
To snoOZER:
It may be worth going back and double, triple and quadruple checking your first layer.
I thought for a long time I had everything set up perfectly and later learned I was quite a bit off, and/or that my nozzle height did not work the same for all filaments.
I started an 18h print last night with a new roll, and I watched the first layer carefully, stopping the print several times, until it was just right.
I also like to slow down the first layer (tune to 75% or 80%).
I made sure that the first layer was flawless and the perimeter and infill were all welded together well. (the first looked perfect, but fell apart when pulling) I also measured the layer height and at 0,21-0,22 mm I had found the right setting.
I have not figured out all the factors myself, but this process helped me when I started having issues with print adhesion.
Re: corner of box lifting
Georg, thanks for that suggestion ! I am ofc not experienced enough to be sure yet, I just did not have issues with smaller prints. As I mentioned before, I did slow down some bit on the 1st layer. I will make some large square or so only with 2-3 layers for testing this out. By "welded together" you mean in vertical or horizontal direction ? When I look at the bottom of my prints they are smooth, there is no feel of ripples resembling lines of filament.
On a different note, I had a large print going since last evening, went to work in the morning and kept the print going. Today is a bit of a cold day and when I left home the temperature in the room went from 22 degree to 18 degree pretty quick. I watched my print in Octoprint and seen a large chunk of an outline wall detaching mid print, so I stopped the print ofc. This was ABS so I guess it was just that little bit to cold. In addition to what you said above I definitely need to look into an enclosure. For now I give ABS a miss till I have that sorted.
I report back re 1st layers.
Thanks
Jan P.
Re: corner of box lifting
Hi Jan!
Ok, I think that’s a good chance to learn more about the first layer! 🙂
Check out this thread:
https://shop.prusa3d.com/forum/assembly-and-first-prints-troubleshooting-f62/life-adjust-z-my-way-t2981.html#p110869
Best method I have seen, much better than the criss cross line in the Prusa routine. Follow that instruction. 1 layer only! Take it off the bed. Check if the perimeter and infill are welded together. Check if the infill strands are welded together. If you can pull them apart, the nozzle is too high.
Good luck!
Re: corner of box lifting
Yes, Georg !!!! Exactly what I was looking for. The "too close" is probably more what I have to figure out. But I rather do it on the removalbe bed, not the heater PCB 😉
Thanks for that link !!
Have FuN!
Jan P.
Re: corner of box lifting
Oh yes..... there is definitely something just not quiet there yet. I have to go to work now so only had time for 2 prints. No time for pictures now but i started the 1st with my settings I used all along. Worked as per usual. Only setting life-z -1.050 to -1.000 things fall apart, had a hard time even getting it off the bed in one section. I need to get a battery for my caliper, have nothing to measure the hight of the layer.
The g-code gote me puzzled at 1st, uses different temps than the slic3r-pe would and has some "beeps" build in.
I continue this after work, definitely some adjustement needs to be done. Thanks for pointing me in that direction Geoar.
Bye for now.....
Jan P.
Re: corner of box lifting
Sounds like you are on the right track! You'll see, when the first layer is perfect, the print will stick much better to the bed.
I haven't used those Gcodes myself but from what I read the beeping is prompting you to change the Live-Z value. That way you can compare 2 settings in 1 print.
BTW, you don't really need the caliper at this point, using it is an additional confirmation, but if you lower the nozzle in 10 or 20 micron steps until you get a fully welded and smooth surface you also find the right setting without the caliper.
Re: corner of box lifting
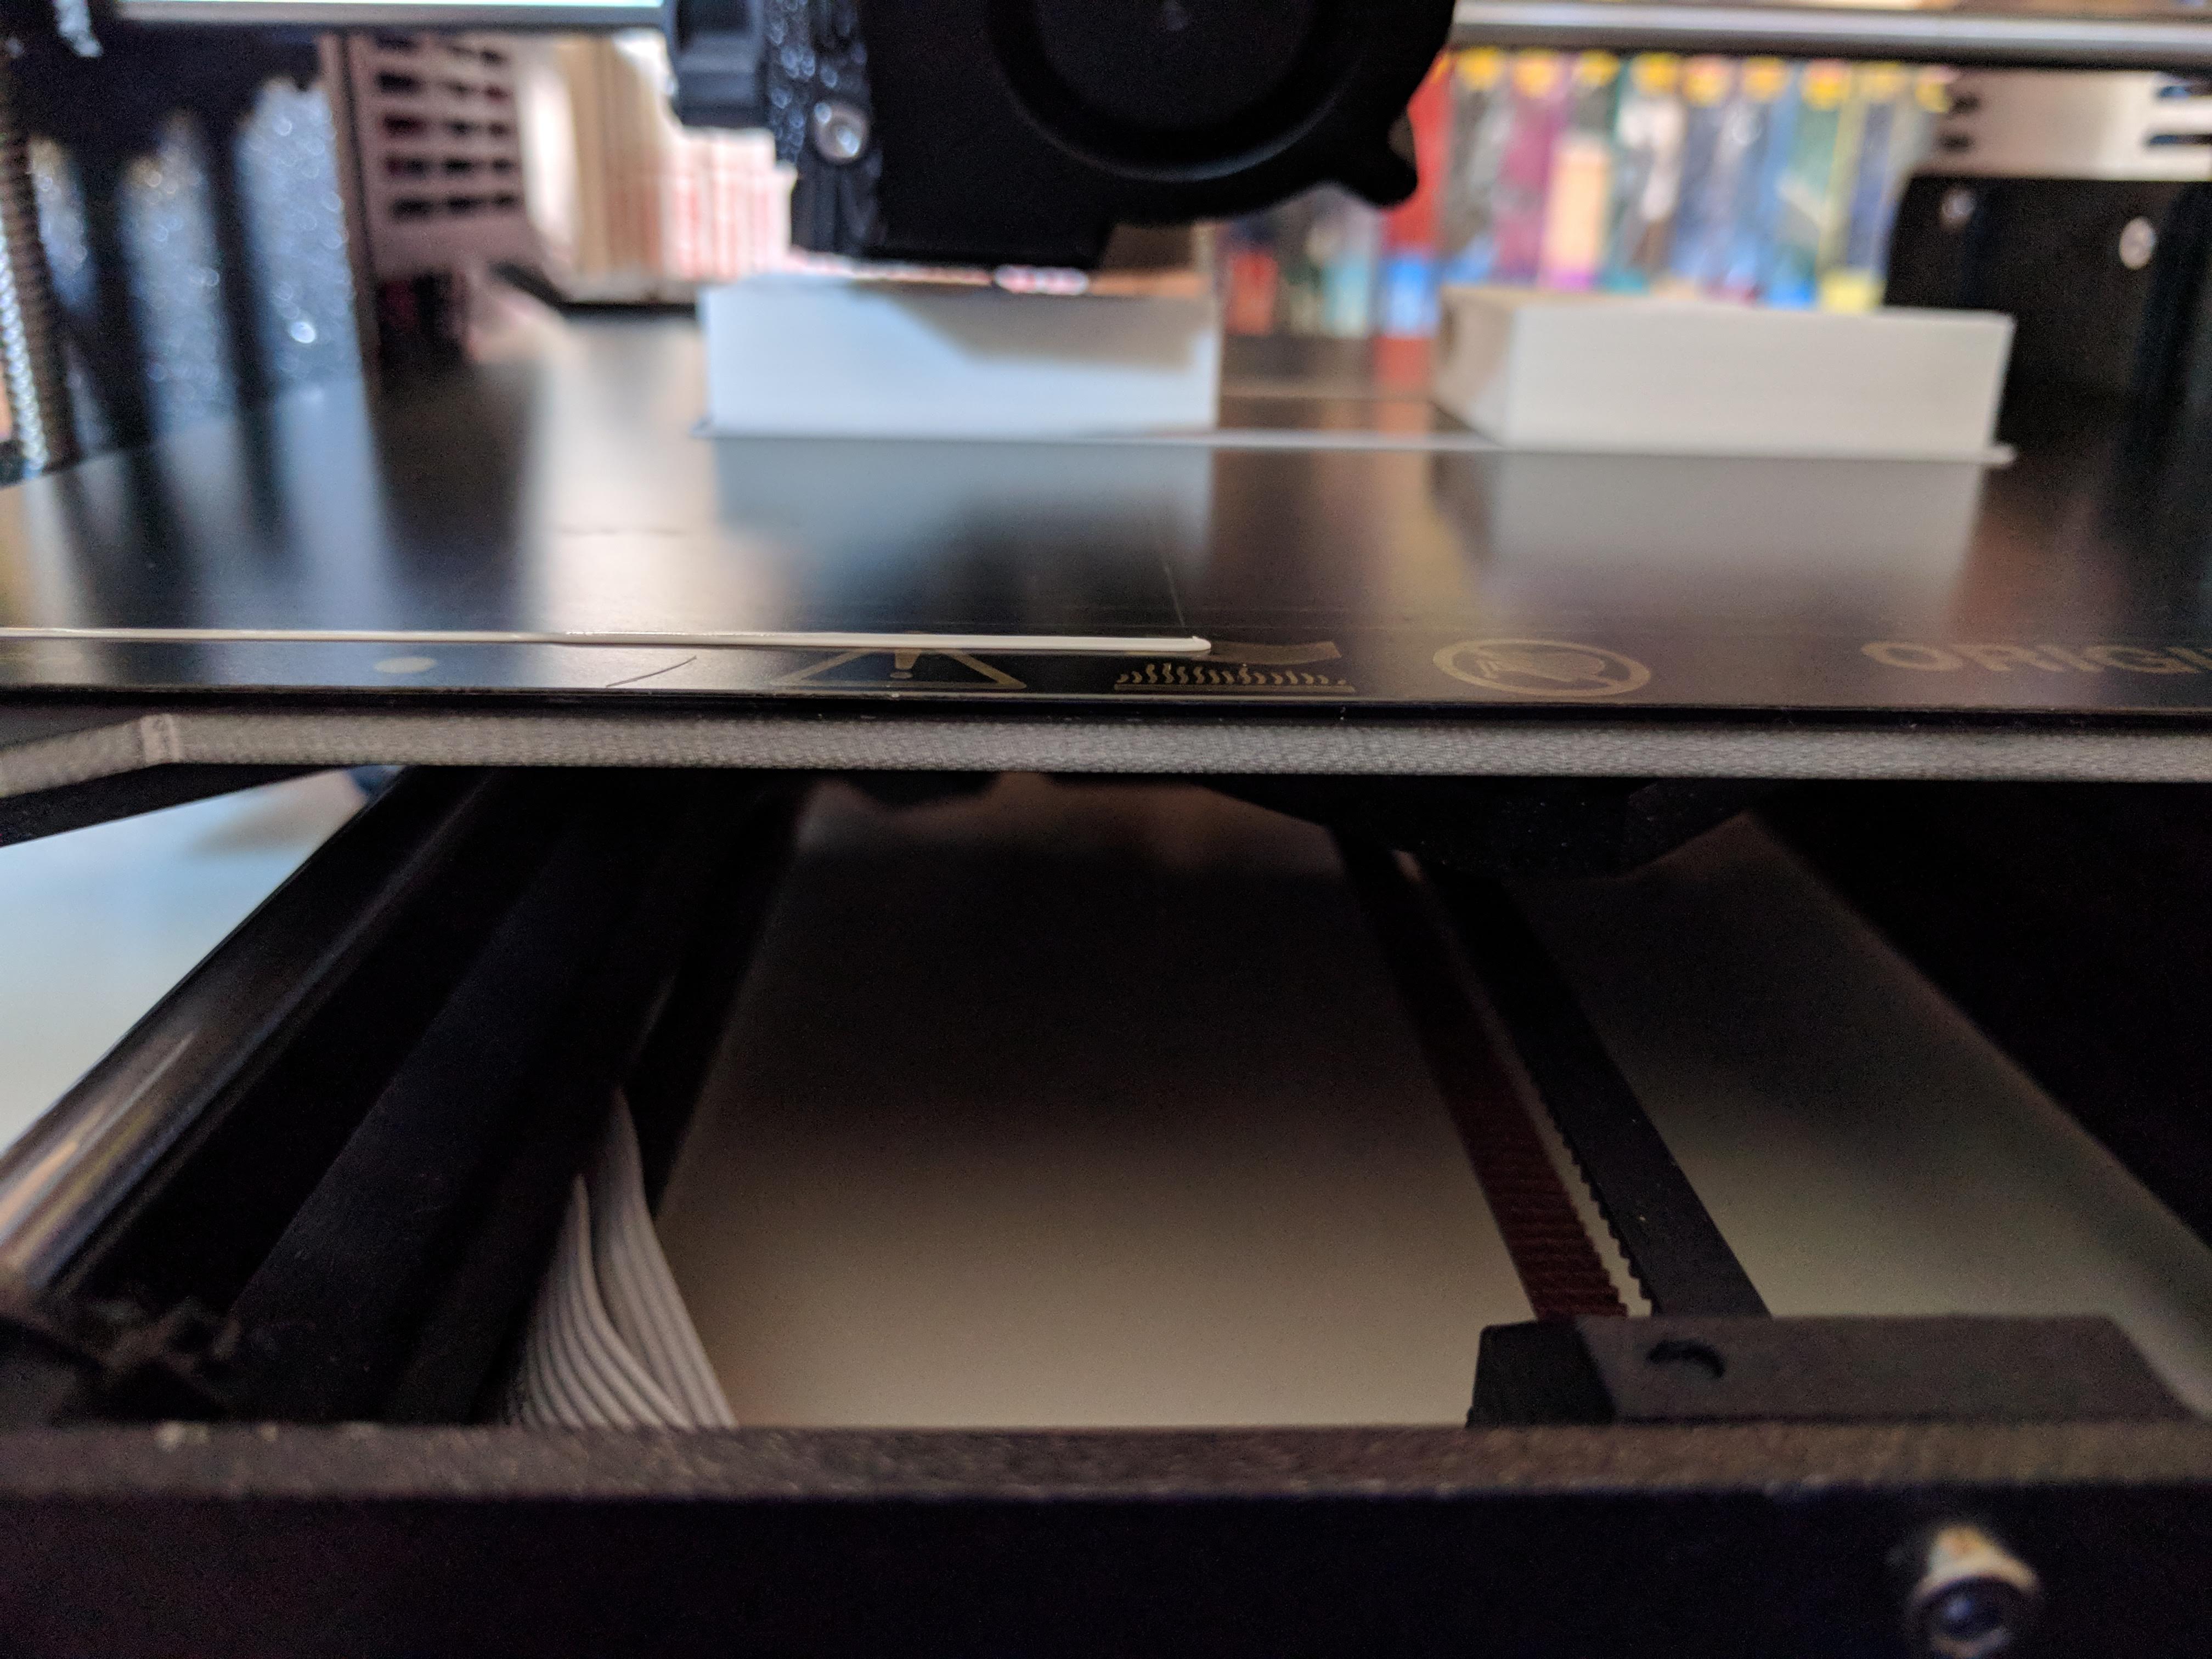
The same is happening to me. 1st print after prusa logo test print.
As you can see from the picture below (even if a bit off focus, done with smartphone), the left object lifted a bit in its right corner, that is the thinner.
The print is quite ok the same, but just to know why.
Since it's my first print, I've used PrusaControl to slice, just to be sure to use standard settings.
I've cleaned the bed with isopropilic alcohol 99%.
The nozzle is 210° and the bed 55°. Don't know why 55 and not 60, I've used standard settings. Maybe this could be the issue?
The print is fine at the end, just to be sure for my next. Thanks.
Re: corner of box lifting
Wow..... I have spend hours now. So I have to put it down to my room temperature. This morning I had good results at -1.080 at 18 degree in the room. Now I got home after work, lit the fire 1st ofc and its now 22 degree. The sweet spot shifted to -1.000 now. This is for PLA now. I have gone from -0.900 all the way to -1.100 at 20 micron increments. Just to confirm this tomorrow morning when its cooler again I run the same series. If I am back to near the same results than this morning I am happy out. This just goes to confirm that in my situation with these fluctuations in temp I am better off with an enclosure.
I run ABS now as well, just to check but I only have black filament, its not so easy to see. But I can still feel it.
This test with those 75mm squares is much better than that single line zig-zag that Prusa does for the calibration.
Have FuN!
Jan P.
PS: Also just to add this, I got my delivery of Aceton and Isopropanol/Isoprophyl today and cleaned the bed, did not need any glue for the entire series even for cases when the strings of filament came apart as i touched it.
Re: corner of box lifting
Jan, did you solve the first layer issue on the weekend?
Andrea, did you check out the 1st layer calibration with the 75mm squares?
Rule #1: get the 1st layer perfect, it's literally the foundation of everything.
Re: corner of box lifting
Georg,
I have done a lot more testing. As I mentioned before the 1st layer level is also highly temperature dependent. I have put a temporary shroud around 3 sites on my printer now and I use Isopropyl after almost every print. My 1st layer height was definitely off to start with, the square you pointed me to did a GREAT job getting me through that. With that I also identified the temperature sensitivity and i now know about it and can hold off on a print till the room is warm or adjust to suit the temperature. I have the squares put on a sheet at home to have a visual reminder with the level and temp written on it. The cleaning on the bed is another thing I totally underestimated. I dont even want to touch it any more now, I only grab it by the very corner and pop the print off trying not to leave any finger oils/grease on the surface, I have not used any hairspray or glue stick all weekend, all prints went straight down to the clean bed. I think in my case (probably not for many others) the shroud was also helpful, I live in an old modernised Irish cottage, there is always a bit of a draft somewhere and the rear left of the printer was actually facing a window. I have move the printer to a different location and put some cardboard around (with Thingiverse clips and angles). Also added a temperature probe above the printer to get an idea about fluctuations. I have a 1-wire setup at home anyway other reasons. Last but not least, For larger prints I start the 1st layer at 70% speed, once the 1st layer is done and sticks everywhere I go to 100%.
Result of all this, The 1st layer is totally homogeneous at the bottom, drastically reduced corner lifting. In fact when the bed cools down the corners now stick so well the bed is bending under the contracting print to create a hollow in the middle.
Just to add this, I have printed in ABS all WE cause I figured that the worse case scenario. Still not 100% there however, I have noticed on large prints layer adhesion can be an issue, I guess that's ABS typical and I have to find a way to dial in Nozzle temp and extrusion rate ......... something for a different time.....
Georg, thanks for your help, you pointed me in the right direction !
Have FuN!
Jan P.
I had issues finding Acetone and Isopropyl in reasonable quantities at reasonable price locally, got mine at Radionics:
RS 918-5046, Acetone, 1 l, 13 Eur
RS 448-180, Iso-Propyl, 2.5 l, 20 Eur
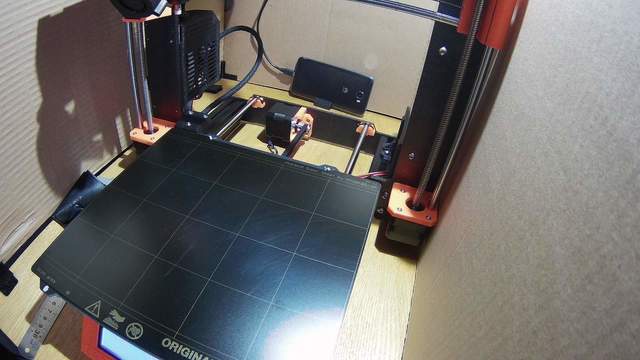
Here how my print-chamber looks just now:
Re: corner of box lifting
Well done Jan! Sounds great!
And you really went straight for the big challenges with big ABS prints!
I have only printed small ABS parts so far, and according to the information shared ABS really benefits from, if not outright requires a closed build chamber to control shrinkage and warping.
I recently finished my Lack enclosure and can share that it does not get too hot. With 18-19 ambient temperature I only get to abotu 27°C in a 10 hour PETG print. So no danger of overheating.
But if I'd do it again I'd rather go for a bigger IKEA PLATSA cabinet, 60 wide, 55 deep.
The LACK enclosure is quite small.
Cheers!
Re: corner of box lifting
Hi,
yes an enclosure is what I definitely need. I am not so much a guy for ornaments or figurines, so most my prints have a technical/practical application which requires a bit more than PLA can offer in many cases.
The next IKEA is in Dublin, that's a day trip return *lol*. I will make one myself. Also need to avoid vibrations so need it to be rigid. Just for testing I printed a vase (not in vase mode) and the infill of the thin wall cause the X axis to rapidly move short and quick, that caused some noticeable vibrations. I will make a frame from angle iron profiles and try to find a paving slab (concrete) big enough for the footprint of the printer incl. room for the harness and bed etc.....
Regarding the temperature control, heating the camber is no problem I think, but should it get to warm it would probably be devastating for an ongoing print if a fan just blows in cold air, the challenge would be to get heat out without causing a cold draft on the print. Well, I will share my findings once I have the camber/enclosure build.
Regards
Jan P.
Just checked, the table I use just now (coffee table) is 430 wide and 600 deep, I think 600x600 would be perfect. the 430 width is JUST OK for now but in the long run I don't like how close it is with the vent openings on the PSU and also the X axis stepper cable is touching the cardboard on the left, also not ideal. Once I start with the enclosure I will open a post in the relevant section of this forum.
RE:
I am so glad that I found this before searching further. In my case the bottom-right corner of whatever I print was always lifted if the object was big (taking about 70-80% area of the heatbed. Mine is Mini). I added 2 layers at the build plate using Prusa slicer and so far (The mini is printing the object now) it works fine.