REMOVING BRIDGING FUNCTION FROM SLICER ? (in specific areas)
Hey, new to the forum and Prusa 3D Printing world in general.
wondering if any Prusa Guru's out there might be able to assist,
currently working on a project where I have one solid with a cavity, I pause the print when the print reaches the top layer of the cavity so that I can drop in another solid object in the cavity, and then the print carries on.
(actually started using the above method a lot to embed magnets and larger foreign objects in my prints, love it ..)
but when I ask the slicer to do its thing, it always treats these voids accordingly and the layers directly above the void are heavily bridged, and if It's not buried under at least 3 or 4 layers it then becomes noticeable.
is there a way to ask the slicer to NOT bridge over these cavities? (and to NOT use bridge infill above or below it) and to print as if the cavities weren't there.
pic one shows how the layer is treated because of the upcoming cavity (so instead of a nice continuous purple surface you have this red area treated separately below the upcoming cavity.
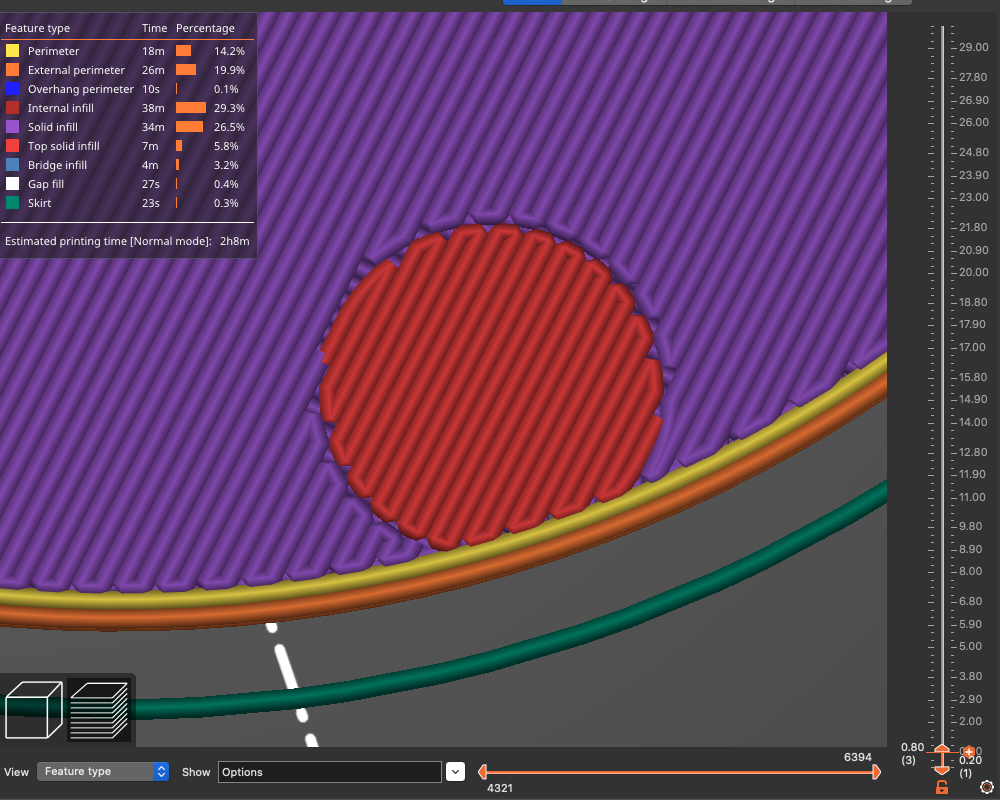
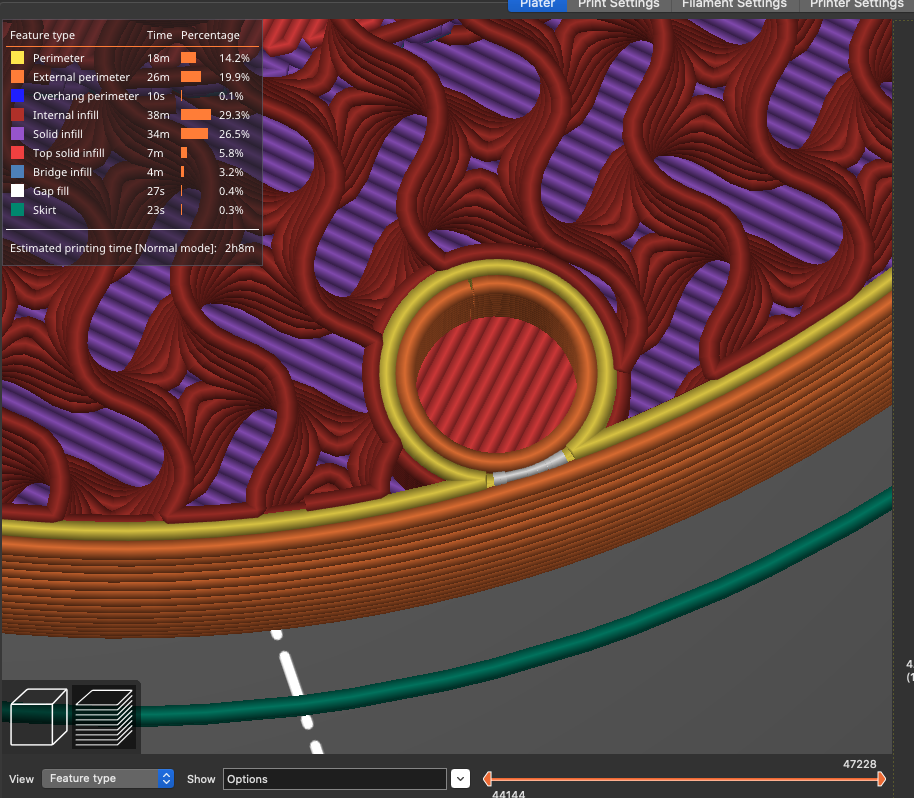
then you have the cavity which i will be filling in manually during the pause
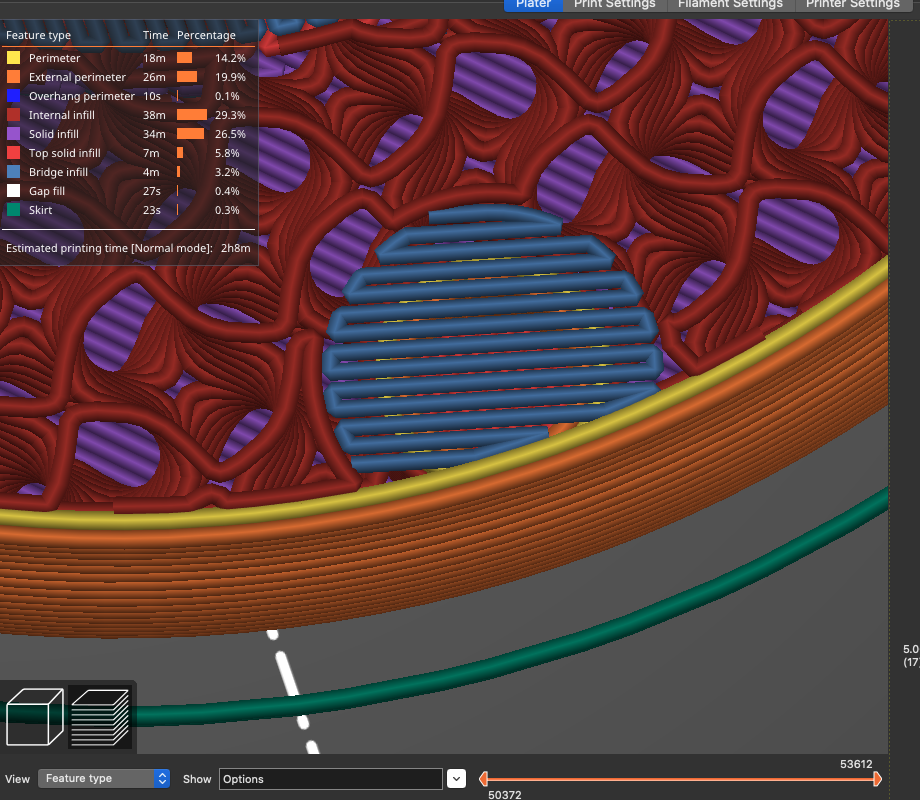
and then the layer above the cavity ( which by now has been filled ) and is treated with bridging infill which I'm trying to avoid as in several projects the top layer is only 0.6mm away and the bridging infill ruins the overall look and quality and prob waste a little time anchoring and bridging the area where it could just printed as normal.
have other examples i can upload, but basically would love for the prusa slicer to ignore the cavity completely and to calculate the below and above layers as if that cavity was not there at all.. can i get the slicer to ignore that cavity ( and ignore that cavity alone )
any help would be greatly appreciated 🤩
RE: REMOVING BRIDGING FUNCTION FROM SLICER ? (in specific areas)
Not exactly what you're asking for, but iPrusaSlicer tends to add 0.2mm to the thickness to bridged surface thickness. You might try increasing the depth of your openings by 0.2-0.3mm and see if that helps.