Hide retraction defects on a sphere
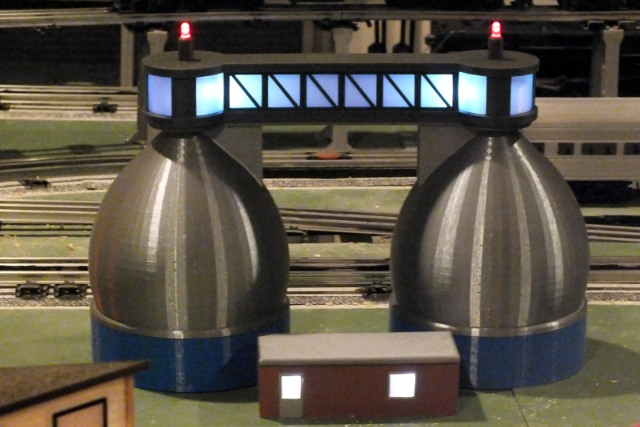
I have this model that is a sphere on a pedestal. I'm using Silver Silk PLA so it's hard to photograph but you can see the retraction marks which match the sccreenshot from Prusaslicer. I tried that Exterior Perimeter First setting and it removed the retraction marks on the slicer preview but they still appeared in the same location on the model. I also have a problem with the bottom that needs support, but right now I'm more concerned about the retraction marks. I know I can move it from "nearest" to "aligned" or something but I don't think that will help me because I want them completely hidden. Is there any way to start and end the layer inside the print? I think vase mode would probably give me the look that I want, but I need these parts to be solid for strength. I can mess with retraction parameters, but the marks are mostly visible; it's barely noticeable even running my fingernail across it.

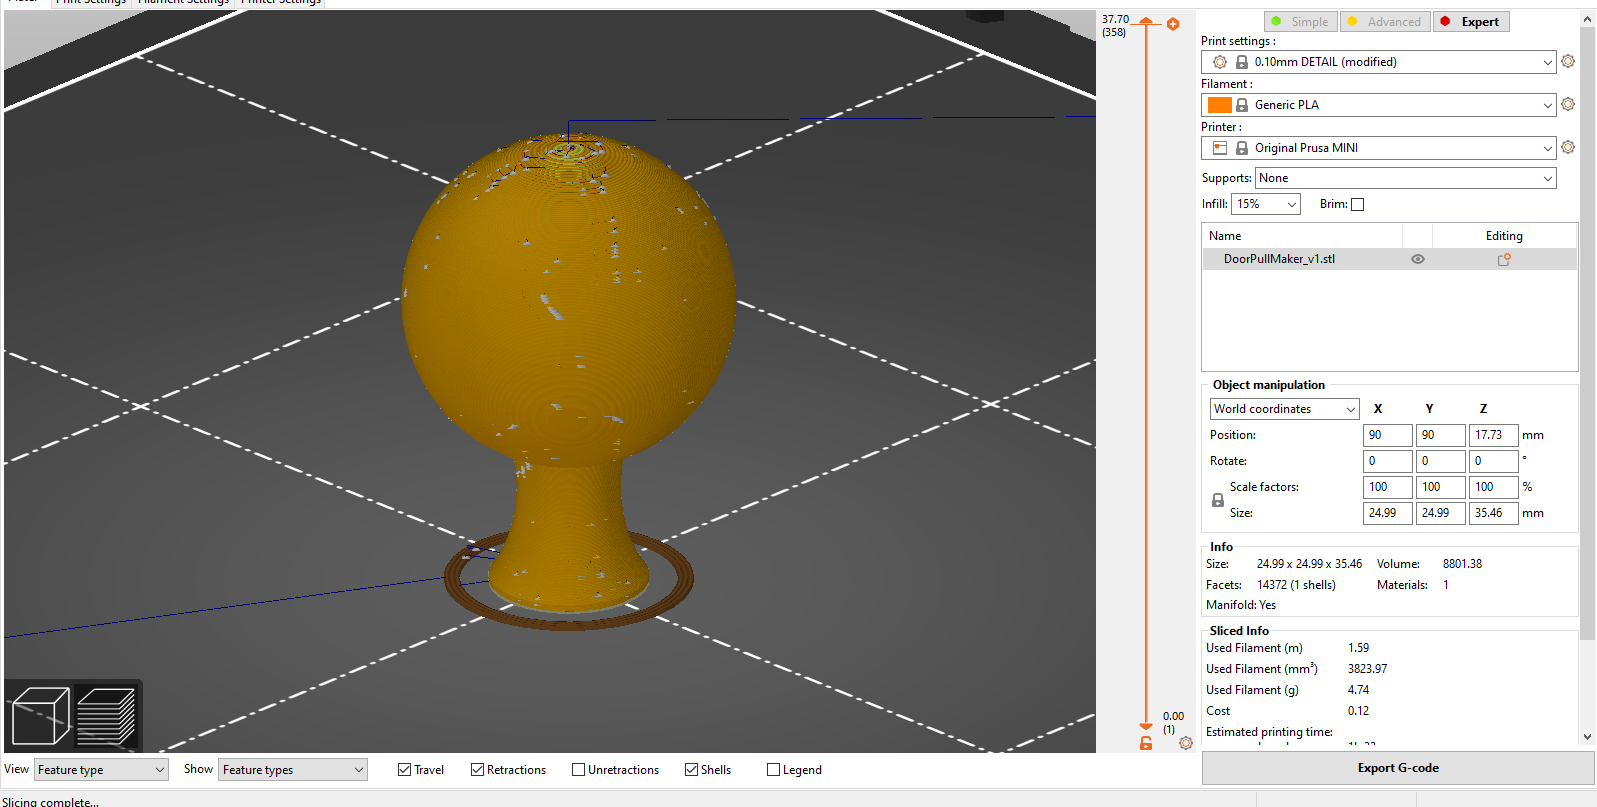
Left is default PrusaSlicer 2.2.0 settings at 0.1mm. Right is with "Layers and perimeters -> External Perimeters First" and "Support on Build Plate only"
View in PrusaSlicer with Retraction locations enabled:
Thank you
RE: Hide retraction defects on a sphere
The z-seam you're seeing is caused by the start and stop points as each layer is printed. You can't really eliminate it with current consumer-grade FFF 3D printing. You can try repositioning it as you've already noted, but it has to go somewhere. On rounded or cylindrical parts, about the best you can do is align it to an area where it will be less visible or do some post-processing to fill the gaps and sand down the bumps.
You can reduce the effect with good extrusion multiplier calibration. If your slicer settings don't closely match the physical parameters of your printer and filament, very slight over-extrusion can result. This contributes to stringing and exaggerated z-seams. With a bit of calibration, you can usually reduce the seam down to where it can be ignored or easily sanded out.
Calibrating linear advance can also help. More notes here.
RE: Hide retraction defects on a sphere
@bobstro
Thanks for that information. I did the calibration and was had to change to 112% to make match the values. I printed again with aligned seam and it's still pretty visible (on the left). On the right is a part sliced in Cura because I read that they have better support for spheres for the overhang. I thought it wasn't worth making one part of the print perfect if I couldn't make them both perfect. The support didn't make much of a difference. I think I would have to print it in two pieces (top & bottom) for best results. I also tried some post processing with sandpaper and that didn't work very well. I used a full sheet of 120 grit and didn't remove the defects. At this point, I think I'm going to drop the experiment. FDM just can't get the effect that I want on this model.

RE: Hide retraction defects on a sphere
OUCH!
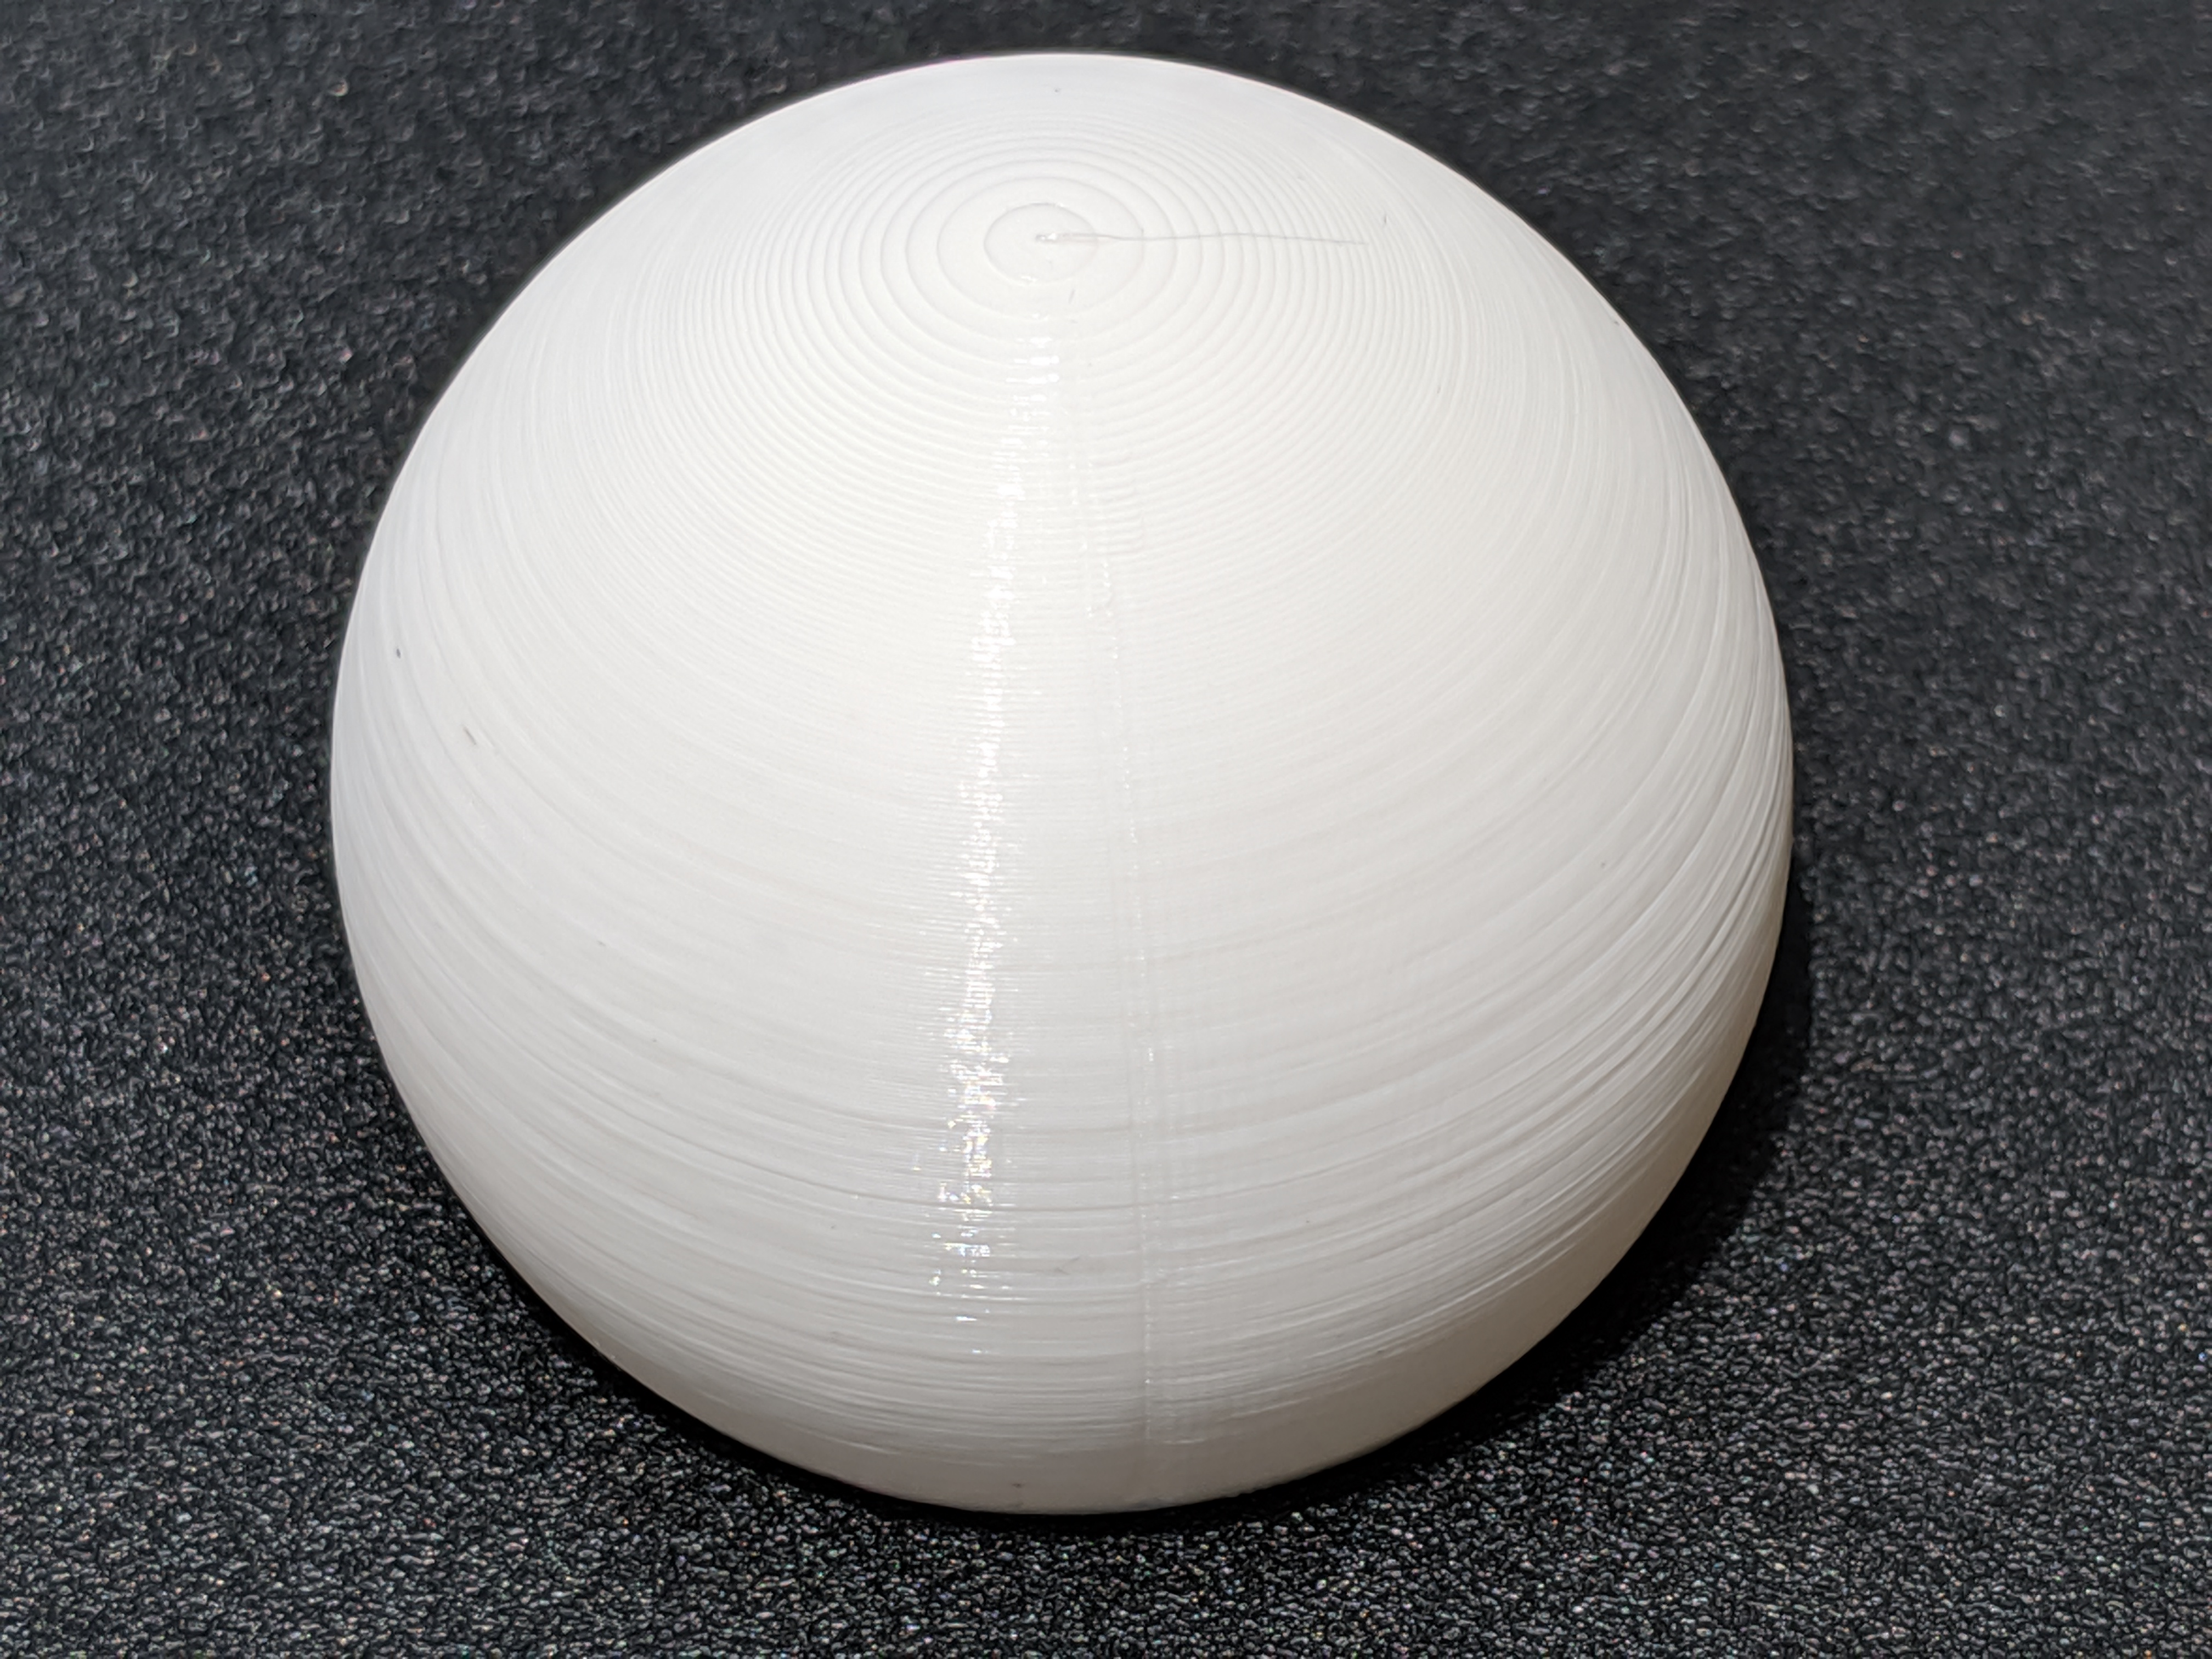
The item below was done with a very vanilla PLA using PS with pretty much default generic PLA settings. The artifacts are not obvious at all.