Thermistor cannot be removed
Hey all,
I'm trying to remove my hotend - it needs thorough cleaning due to filament leaking issues - and am running into a lot of trouble with the thermistor. The Prusa disassembly guides say to simply loosen the grubscrew and gently push the thermistor out with an allen key, and that definitely isn't working for me.
I've removed the grub screw, and tried all forces between "gently pushing" and "as hard as I can" to get the thermistor to budge - no dice. Even tried some light taps from a hammer with a punch - again, no luck.
Any other ideas on what I can try?
RE: Thermistor cannot be removed
Gave heat a shot and it seems to have worked out. Used a mini torch to get the block up to around 170C and the thermistor was much more amenable to leaving its hole.
RE: Thermistor cannot be removed
I heat mine up with a hot air head gun line the one in the link. It will loosen the debris in the hold with the grub screw.
--------------------
Chuck H
3D Printer Review Blog
RE: Thermistor cannot be removed
Hey all,
I'm trying to remove my hotend - it needs thorough cleaning due to filament leaking issues - and am running into a lot of trouble with the thermistor. The Prusa disassembly guides say to simply loosen the grubscrew and gently push the thermistor out with an allen key, and that definitely isn't working for me.
I've removed the grub screw, and tried all forces between "gently pushing" and "as hard as I can" to get the thermistor to budge - no dice. Even tried some light taps from a hammer with a punch - again, no luck.
Any other ideas on what I can try?
To remove the thermistor and the heating cartridge I always set the temperature to maximum (290 degrees C.) If it does not work then, I would remove the hotend and try with the heat gun. Before installing the components I would coat them and also the screws with ceramic or copper paste - as well as the nozzle.
good luck!
Statt zu klagen, dass wir nicht alles haben, was wir wollen, sollten wir lieber dankbar sein, dass wir nicht alles bekommen, was wir verdienen.
RE: Thermistor cannot be removed
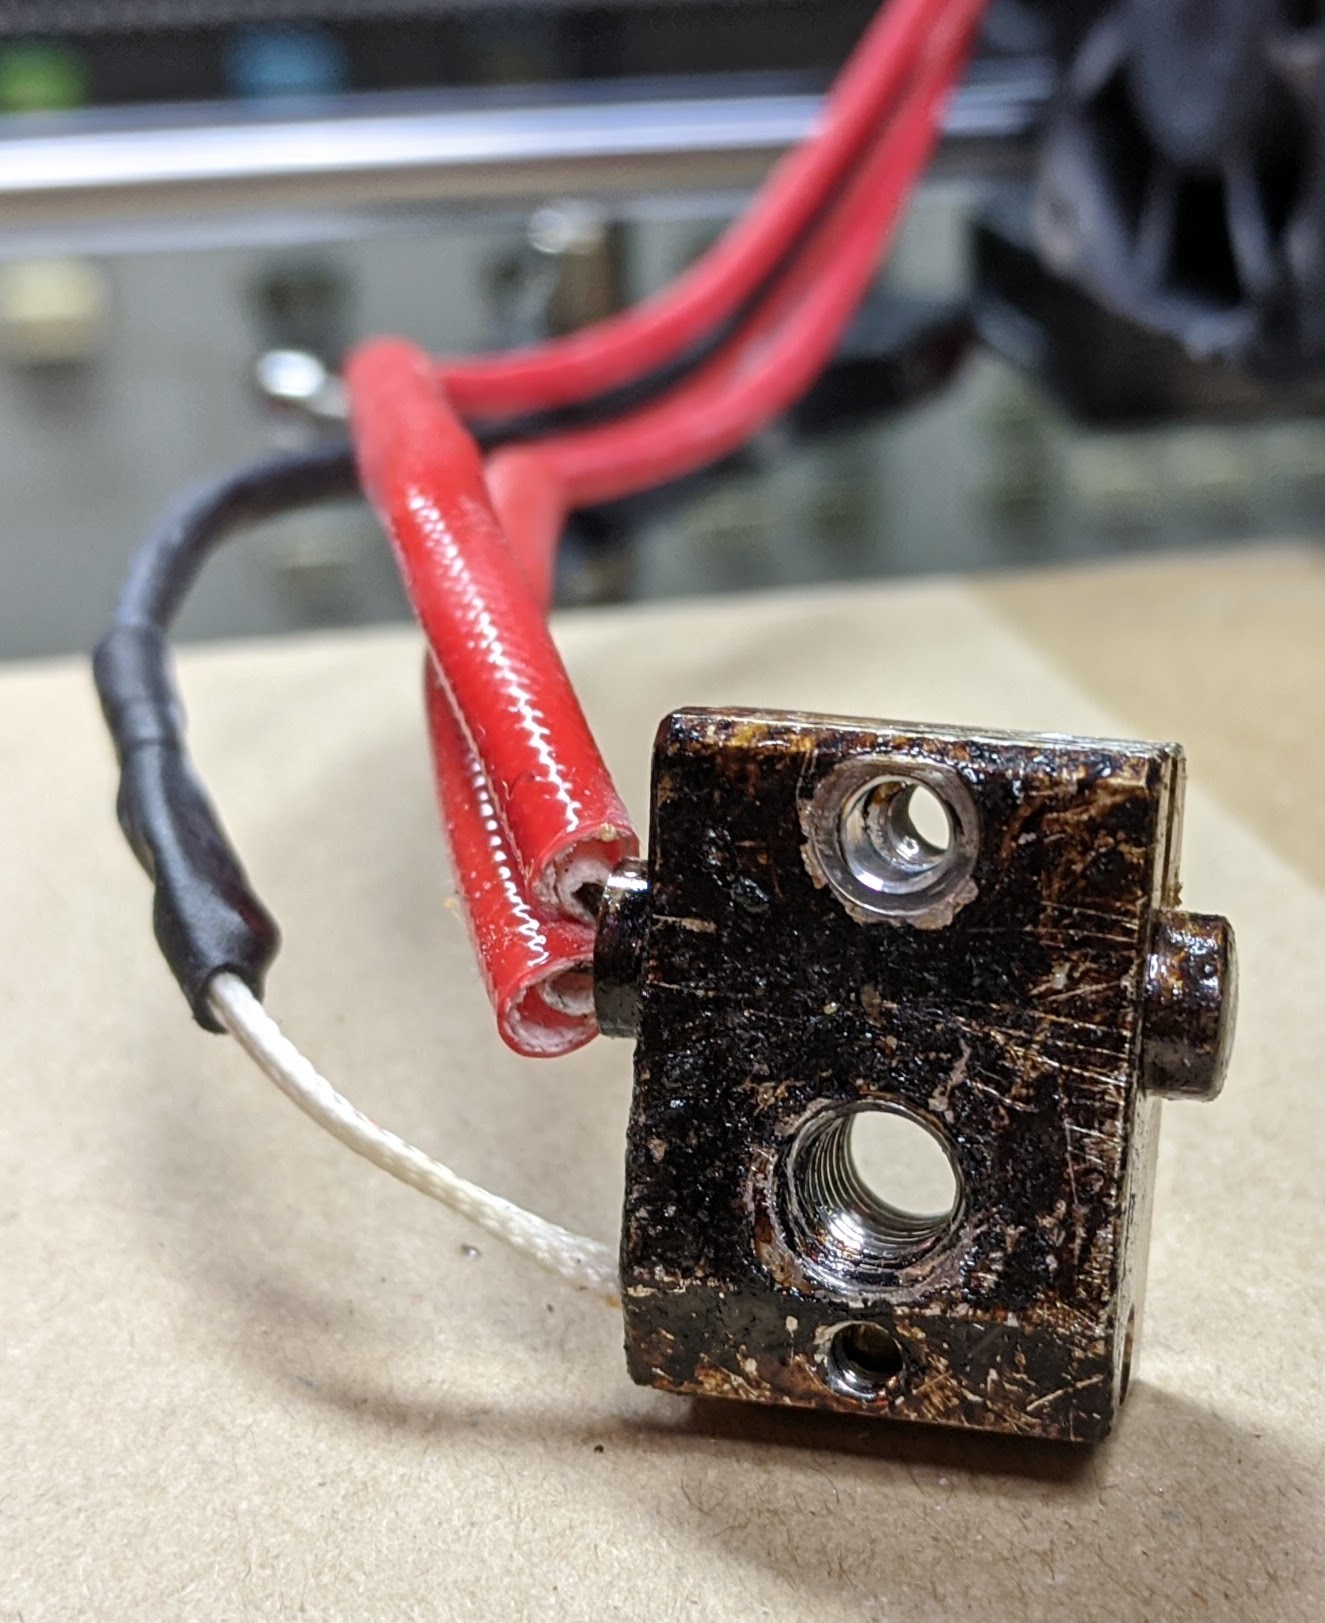
I know this is an old thread, but are there any new ideas on how to get the heater and thermistor out of the old heat block? I have tried Acetone and the carbonized plastic does not dissolve. I tried a heat gun and tapping but I have no idea how much heat and force might damage the parts. The heat block is toast obviously. I even bent it to open up the gap and they still will not come out.

Regards,
Mark
RE: Thermistor cannot be removed
If whoever assembled the kit applied a bit too aggressive force on the thermistor set screw, it is to all intents and purposes a permanent installation. The metal thermistor case deforms and fills the threaded cavity quite well, making removal impossible. Add the fact the thermistor that is inside that metal shell is encrusted in glass then when inserted into said metal shell encased in epoxy... if the crunch of the set screw didn't crack the thermistor any attempt to remove it will do so. At this point, get a spare on order so that it'll be ready and waiting when you finally pull the wires out of the metal case and off the remaining bits of glass and thermistor material.
When you install the new thermistor in the new heater block, and if you ever want to remove it later, use a high temp anti-seize compound to coat the metal thermistor shell (like what it used on exhaust manifold bolts on cars). And, torque the set screw so it contacts the case, but not more.
ps: some time ago I think Voj mentioned a solvent for PLA - nasty stuff - not anything I want in my home. You might search along those lines.
Thanks for the info. Both the heater and thermistor are stuck. The screws came out with no problem. I mostly use PETG, so PLA solvent won't help. I already tried Acetone as I also use ASA, but that did nothing either.
I do have a silicone sock for when I reassemble, so hopefully this may not happen again. If I do need to replace the heater and thermistor, it will be the third spare parts order from Prusa. It would have been nice to know this could be an issue so I would have tried to totally disassemble first and find out all the parts I needed. Then I would only spend one shipping charge rather than three. Otherwise, Prusa's prices are competitive, but shipping around the world in this case about doubles the cost. Maybe these postings will help someone else.
Torque settings would be useful, and I normally use a nickel anti sieze, Permatex 77134 when both Aluminum and Stainless Steel are together. It is rated at 1316 degrees C.
Regards,
Mark
RE: Thermistor cannot be removed
@mark-6
I was able to push mine out with an Allen key even though mine were stuck. I use thermal paste on the thermistor, heat cartridge, and screws to prevent this.
--------------------
Chuck H
3D Printer Review Blog
RE: Thermistor cannot be removed
@mark-6
You will probably have to completely replace the heating block, heating cartridge and thermistor. When assembling the new components, I would make sure that you use a release agent such as copper paste (also for the screws). This counteracts the process of cold welding and heat corrosion.
E3D components are also available at other local distribution offices.
PETG and PLA are not soluble in Acteon.
Statt zu klagen, dass wir nicht alles haben, was wir wollen, sollten wir lieber dankbar sein, dass wir nicht alles bekommen, was wir verdienen.
RE: Thermistor cannot be removed
@mark-6
You will probably have to completely replace the heating block, heating cartridge and thermistor. When assembling the new components, I would make sure that you use a release agent such as copper paste (also for the screws). This counteracts the process of cold welding and heat corrosion.
E3D components are also available at other local distribution offices.
PETG and PLA are not soluble in Acteon.
I ordered a new heater and thermistor and that is my plan, to replace them all. I have been told that copper anti seize is not appropriate when aluminum and stainless steel are together, so I use the nickel anti seize. Other sources say it is OK. The thermal paste appears to be silver based, so not sure about that. I really am surprised how stuck these are. I cannot move them using quite high forces.
The locally available E3D parts are not cheaper that I have found. It is unclear if they have the correct length wires and connectors.
Regards,
Mark
RE: Thermistor cannot be removed
@mark-6
I've been using copper paste on the hotend for years without any side effects. I think that copper and aluminum only corrode in pure form due to contact, but since the heating block is an aluminum alloy, this does not seem to be particularly problematic. Alternatively, you can use ceramic-based pastes.
Statt zu klagen, dass wir nicht alles haben, was wir wollen, sollten wir lieber dankbar sein, dass wir nicht alles bekommen, was wir verdienen.
RE: Thermistor cannot be removed
@mark-6
No entirely true. Copper is fine. I have good success with this too:
https://www.sliceengineering.com/collections/accessories/products/boron-nitride-paste
--------------------
Chuck H
3D Printer Review Blog
RE: Thermistor cannot be removed
Did you get your thermistor out?
--------------------
Chuck H
3D Printer Review Blog
RE: Thermistor cannot be removed
@cwbullet
No, neither came out. I'm just replacing the thermistor, heater, heat block, heat break, PTFE tube and nozzle. I'll start another year with new parts hopefully.
Regards,
Mark
RE: Thermistor cannot be removed
@mark-6
What thermal paste did you use to assemble the hotend elements?
wbr,
Karl
Statt zu klagen, dass wir nicht alles haben, was wir wollen, sollten wir lieber dankbar sein, dass wir nicht alles bekommen, was wir verdienen.
RE: Thermistor cannot be removed
@karl-herbert
Prusa provides thermal paste with the heat block and heat break. I figured to use that.
Parts have not arrived yet. Each time is about Monday to Friday to ship from Czech Republic to the US.
Regards,
Mark
RE: Thermistor cannot be removed
So, what order of assembly is recommended?
Install the heater and thermistor in the heat block first, then attach the heat break, install into the heatsink, add PTFE tube, nozzle and reassemble?
Install the heat block and heat break first in the heatsink, then the heater and thermistor and the rest?
The wires have to dress cleanly from the heat block to the wire bundle.
Suggestions welcome.
Regards,
Mark
Rebuilt
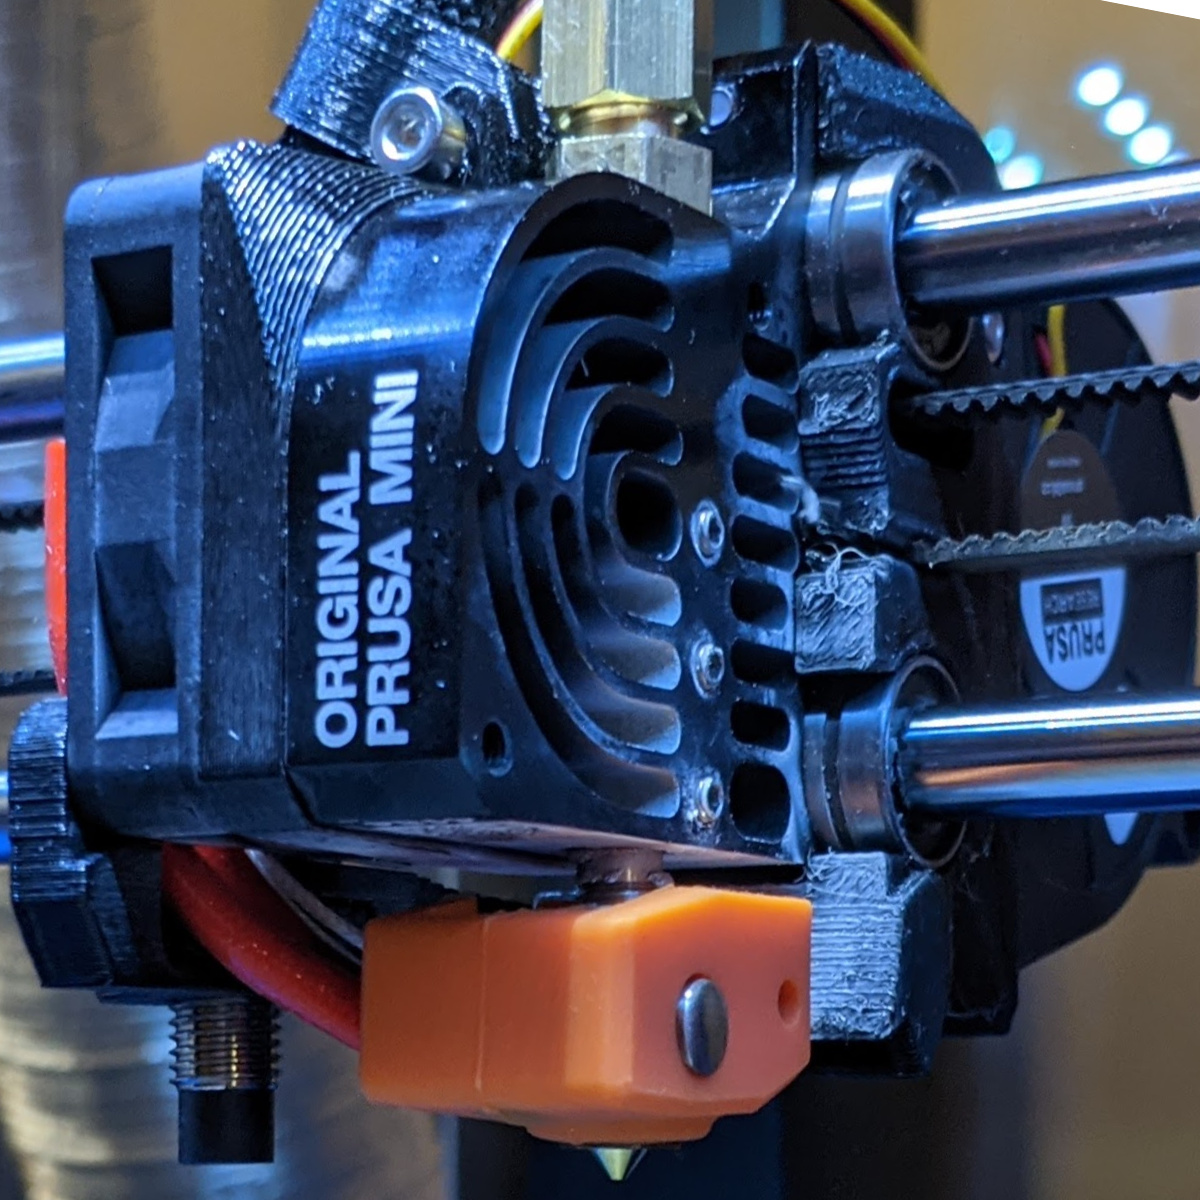
I finally got it all back together, new heat block, heat break, PTFE tube, nozzle, heater and thermistor, and added a silicone sock. I followed all the Prusa guides. They at first shipped the wrong wire length heater, but then shipped the right ones. It seems to work.
Regards,
Mark
heater
I finally got it all back together, new heat block, heat break, PTFE tube, nozzle, heater and thermistor, and added a silicone sock. I followed all the Prusa guides. They at first shipped the wrong wire length heater, but then shipped the right ones. It seems to work.
Regards,
Mark
Good to hear. Did they ship the wrong model of heater?
--------------------
Chuck H
3D Printer Review Blog
Heater
I finally got it all back together, new heat block, heat break, PTFE tube, nozzle, heater and thermistor, and added a silicone sock. I followed all the Prusa guides. They at first shipped the wrong wire length heater, but then shipped the right ones. It seems to work.
Regards,
Mark
Good to hear. Did they ship the wrong model of heater?
They shipped the one for the MK3+, same specs, shorter leads. I sent pictures and they shipped the right ones for free.

Regards,
Mark