Illuminating PC Power Button
Re: Illuminating PC Power Button
My computer came with this:

Re: Illuminating PC Power Button
My computer came with this:
I think the point was his computer on off switch is hard to get to.
i3 Mk3 [aug 2018] upgrade>>> i3MK3/S+[Dec 2023]
Re: Illuminating PC Power Button
I am hoping he understands the humor.
Re: Illuminating PC Power Button
That's what I would call over engineered 😯 .
Anyway cool led project 😉
Couple suggestions for improvement:
* Print the plexi-part with clear PETG
* Check the voltage you're getting from mainboard power led. Most likely it's 5V (otherwise you would fry your arduino input port because you're using ground from USB.)
* You can use power from mainboard power led and arduino nano to put all electronics into the button. There's a lot of free space.
Often linked posts:
Going small with MMU2
Real Multi Material
My prints on Instagram
Re: Illuminating PC Power Button
Most motherboards have a secondary power switch input, and those that don't can be wire or'd; with LED power split from the primary power LED. An Arduino is way overkill.
ps: @GroundedAstronaut: Nice looking power puck. I've seen something similar a very long time ago, and for servers buried under desks they are a great idea. One even added audio and I/O for similar reasons: basically a remote front panel. I hope my "irony" photo didn't upset, it wasn't meant to. 😉
Re: Illuminating PC Power Button
Most motherboards have a secondary power switch input, and those that don't can be wire or'd; with LED power split from the primary power LED. An Arduino is way overkill.
Arduino is for the light animation. He mentioned that somewhere. That's fine.
Often linked posts:
Going small with MMU2
Real Multi Material
My prints on Instagram
Re: Illuminating PC Power Button
I have been considering building an enclosure for my MK3S for the sake of the printer as well as noise. Yours seems like one of the nicest I have seen to date, did you build yours yourself? any info/recommendations on where to start?
Re: Illuminating PC Power Button
I have been considering building an enclosure for my MK3S for the sake of the printer as well as noise. Yours seems like one of the nicest I have seen to date, did you build yours yourself? any info/recommendations on where to start?
Are you referring to my enclosure?
Re: Illuminating PC Power Button
Most motherboards have a secondary power switch input, and those that don't can be wire or'd; with LED power split from the primary power LED. An Arduino is way overkill.
ps: @GroundedAstronaut: Nice looking power puck. I've seen something similar a very long time ago, and for servers buried under desks they are a great idea. One even added audio and I/O for similar reasons: basically a remote front panel. I hope my "irony" photo didn't upset, it wasn't meant to. 😉
Arduino is primarily there to give the breathing effect to the LED. I'm an electrical engineer and although I could do that about 100 other ways, I chose Arduino so that hobbyists could follow. The second reason is that I was planning to add other features which would require the Arduino/other-uController (RGB LED with programmable software and/or sound dependent color effects which would be cool for the hardcore gamers etc...) but as the video got little to no attention (so far atleast), I may as well drop it.
Re: Illuminating PC Power Button
That's what I would call over engineered 😯 .
Anyway cool led project 😉
Couple suggestions for improvement:
* Print the plexi-part with clear PETG
* Check the voltage you're getting from mainboard power led. Most likely it's 5V (otherwise you would fry your arduino input port because you're using ground from USB.)
* You can use power from mainboard power led and arduino nano to put all electronics into the button. There's a lot of free space.
1)Thanks for the suggestions. I thought about the clear PETG but I was not so sure how well the light would pass through all the "inclarities" of the "clear" PETG
2)The voltage is Arduino friendly. You could even wire an LED directly to that pin as there is a current limiting resistor integrated into the motherboard.
3)As I have stated, the Arduino is there for possible future developments of the project. I needed it to be permanently connected to the USB and by integrating it to the button, the cable(s) behind the button would be so thick/too many.
Re: Illuminating PC Power Button
1)Thanks for the suggestions. I thought about the clear PETG but I was not so sure how well the light would pass through all the "inclarities" of the "clear" PETG
I used clear PET as a 40 lumen flashlight lens adapter / beam spreader and it seems to work well enough. Better than I expected, too. Just keep the material as thin as possible.
Re: Illuminating PC Power Button
1)Thanks for the suggestions. I thought about the clear PETG but I was not so sure how well the light would pass through all the "inclarities" of the "clear" PETG
2)The voltage is Arduino friendly. You could even wire an LED directly to that pin as there is a current limiting resistor integrated into the motherboard.
3)As I have stated, the Arduino is there for possible future developments of the project. I needed it to be permanently connected to the USB and by integrating it to the button, the cable(s) behind the button would be so thick/too many.
1) I've used it in couple projects already. You can get very nice results, sometimes unexpected nice 🙂
2-3) The cables are not a problem. You can use a nice white/black network cable or even USB cable modified to your needs. No need for ugly thick wires
In general this is not a critic to your current setup. Just some ideas for future projects or for somebody who is building your project and wants to modify it.
Often linked posts:
Going small with MMU2
Real Multi Material
My prints on Instagram
Re: Illuminating PC Power Button
Thanks guys for sharing your experience with clear PETG. I will try it.
Re: Illuminating PC Power Button
I would say that for this application even natural PLA should work fine. Especially if you only print a ring rather than the full disk.
I used natural PLA as lenses for a project I'm working on and I think it worked perfect for my needs (diffusing and dimming the LED). I have some other "someday" projects that I intended to work with translucent/clear filaments for lenses over LEDs, but after this project I'll probably stick to natural PLA for most cases.
Re: Illuminating PC Power Button
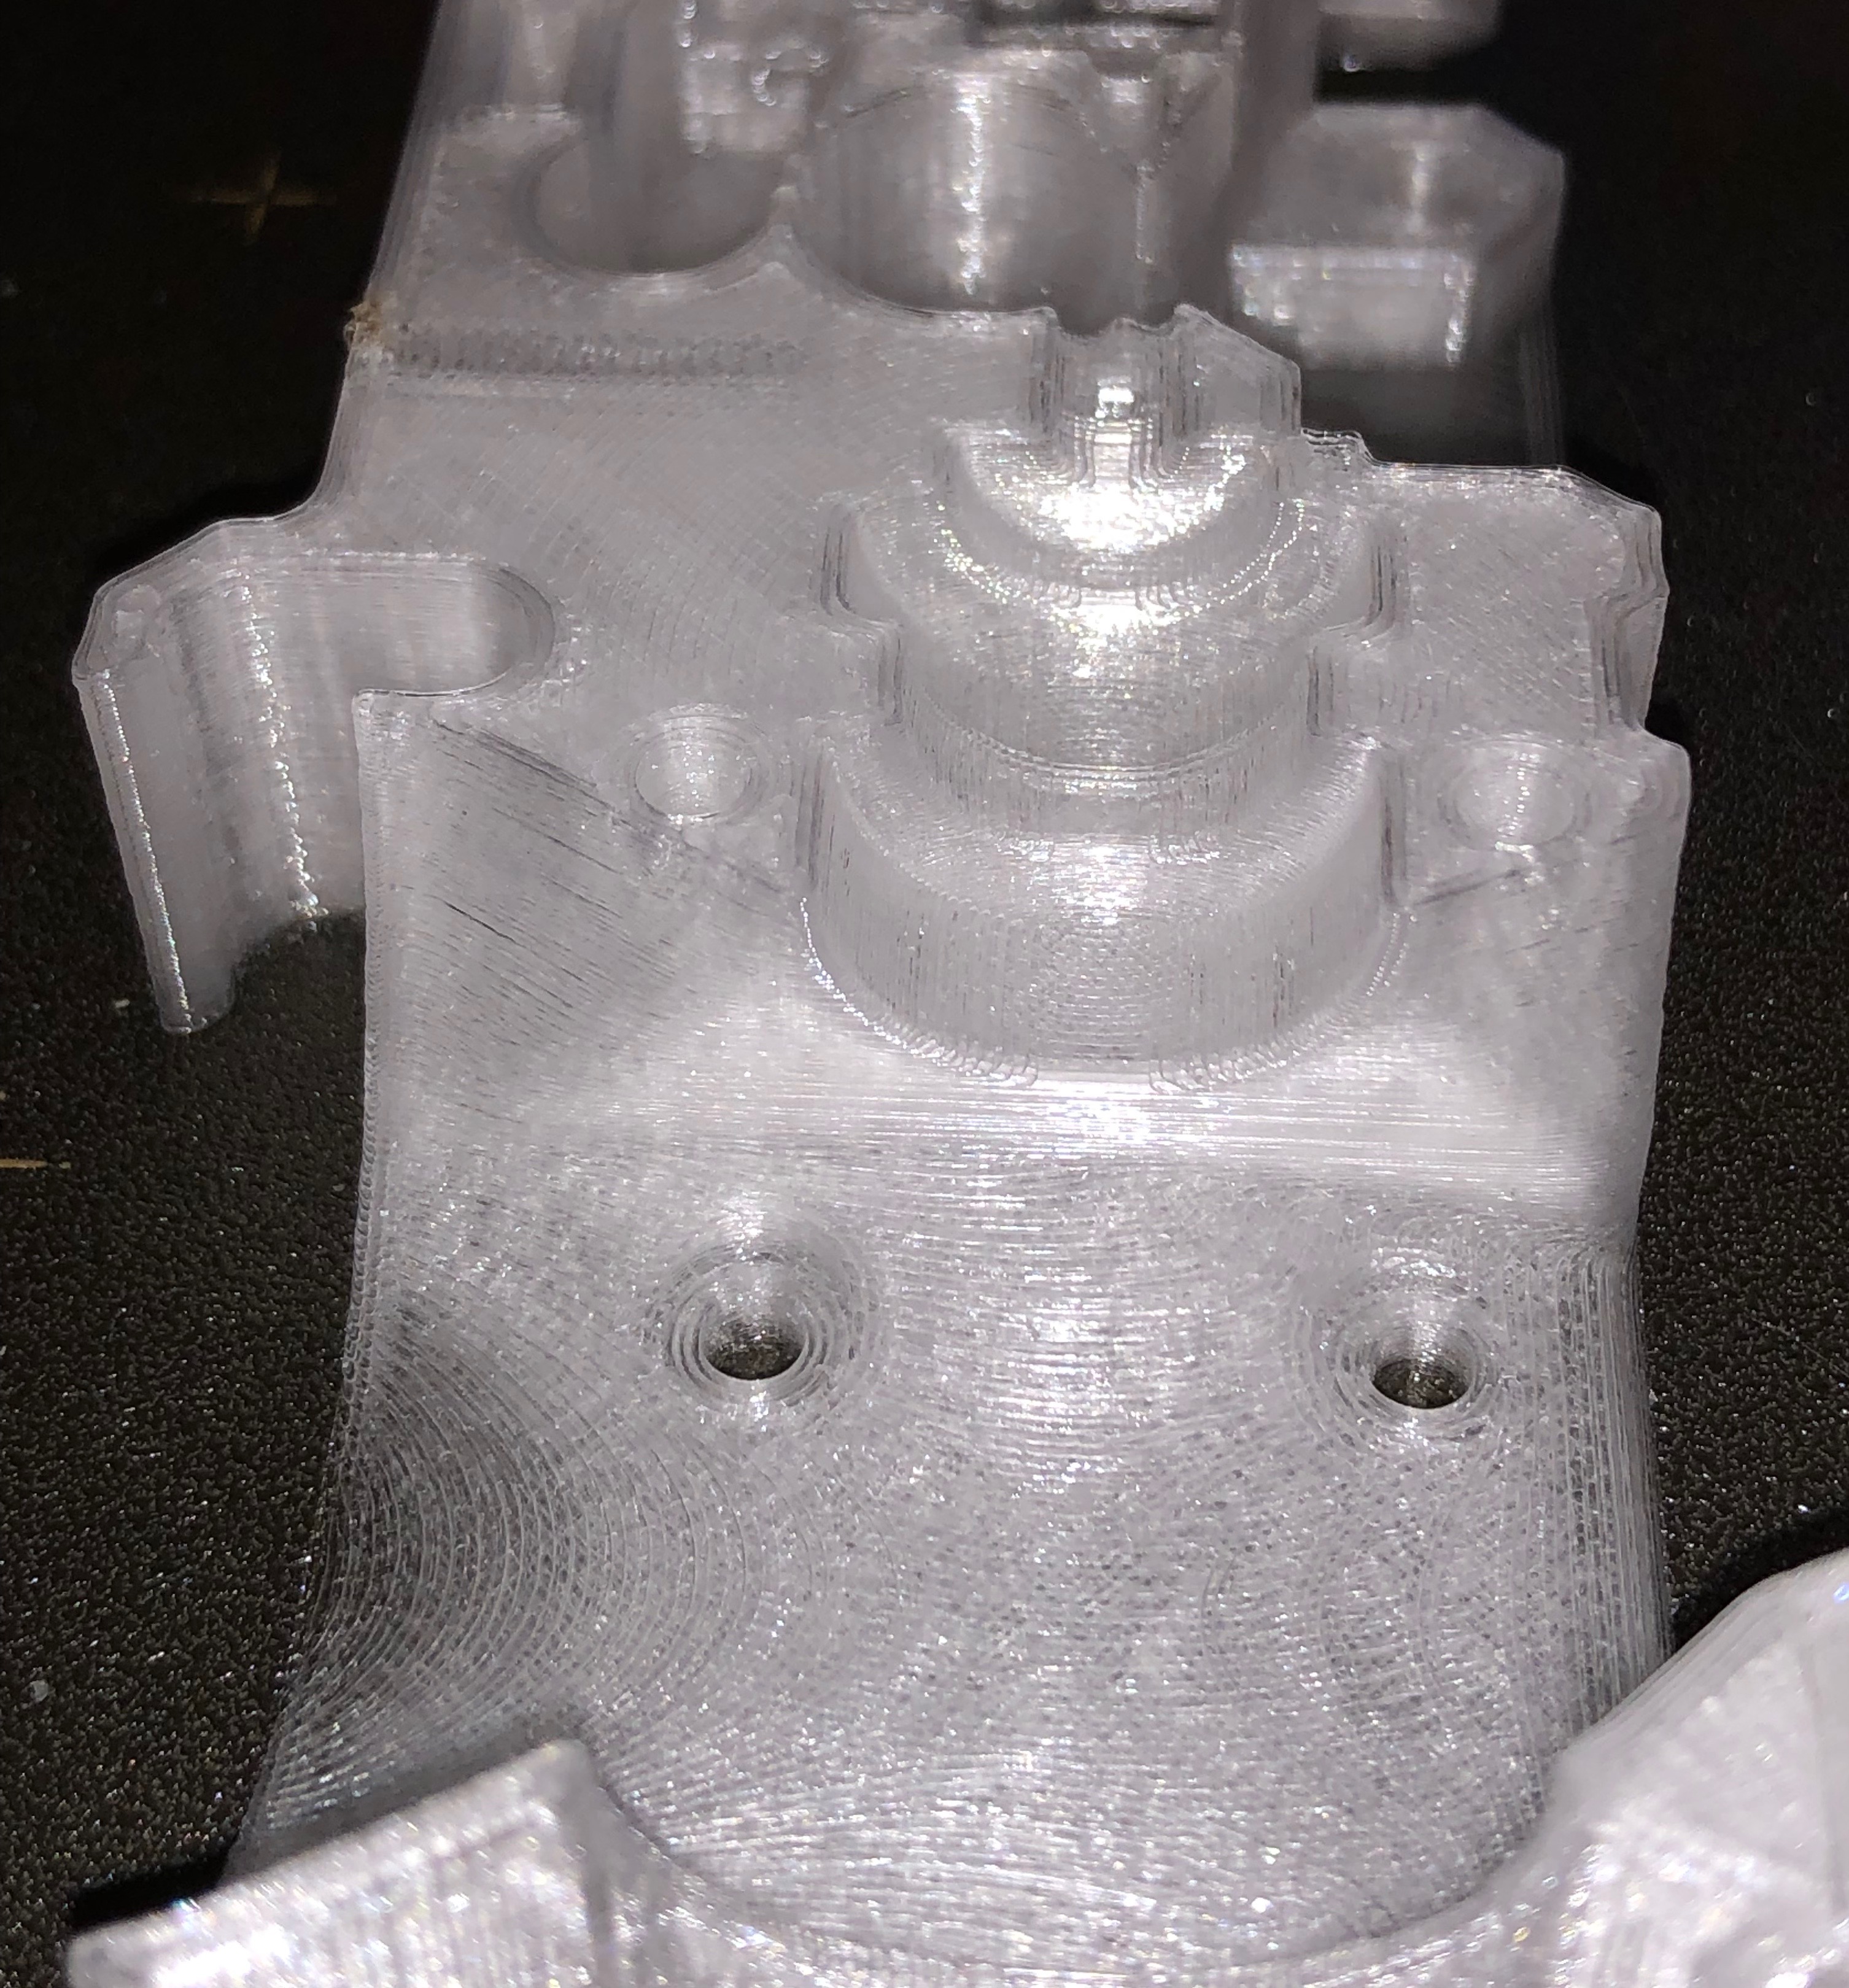
I have had very good results with the Prusa clear PETG

transparency is linked to the thickness of the part
Re: Illuminating PC Power Button
I have been considering building an enclosure for my MK3S for the sake of the printer as well as noise. Yours seems like one of the nicest I have seen to date, did you build yours yourself? any info/recommendations on where to start?
Are you referring to my enclosure?
Yes! sorry i should have been more specific, it was shown briefly in your video and seemed well built but different than any i have found online.
RE: Illuminating PC Power Button
if you leave your computer power off the system for 2 hrs, and try to boot it, does it come up ?
if it come up to bios then your problem is overheating.